(Accounts Manager) Agents
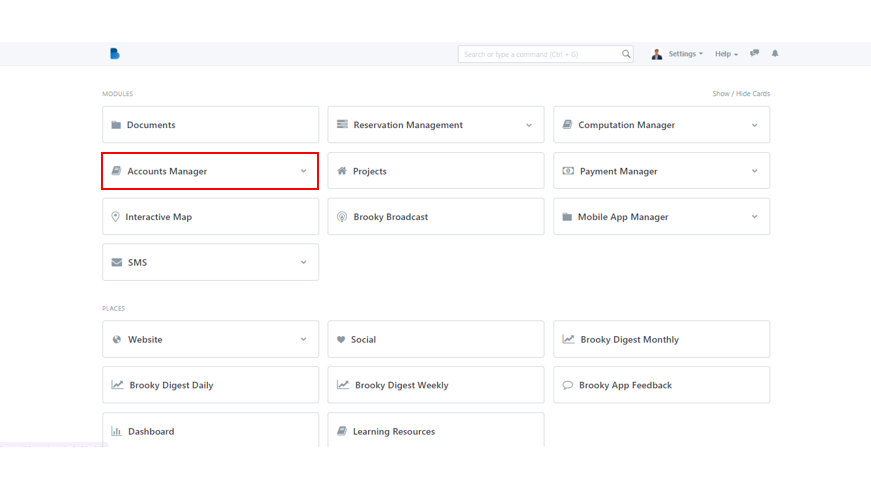
1. In the MODULES section, select Accounts Manager module.
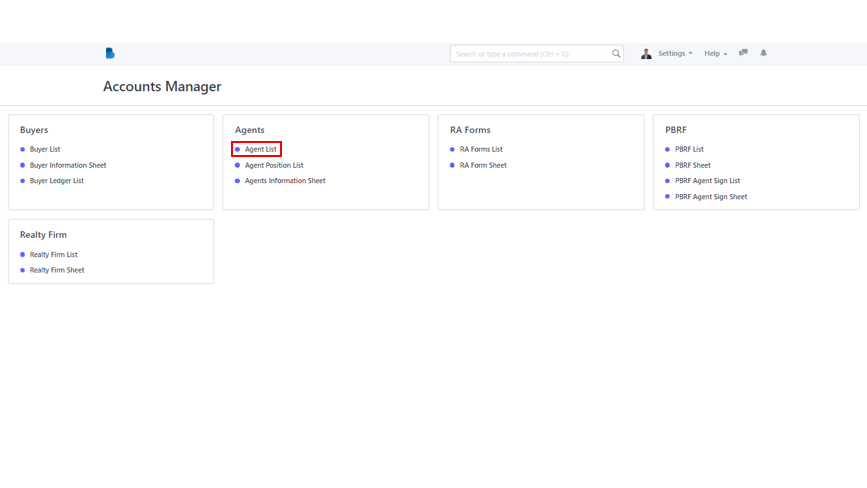
2. Notice the Agents category and under it, click Agents List to get redirected to the next page.
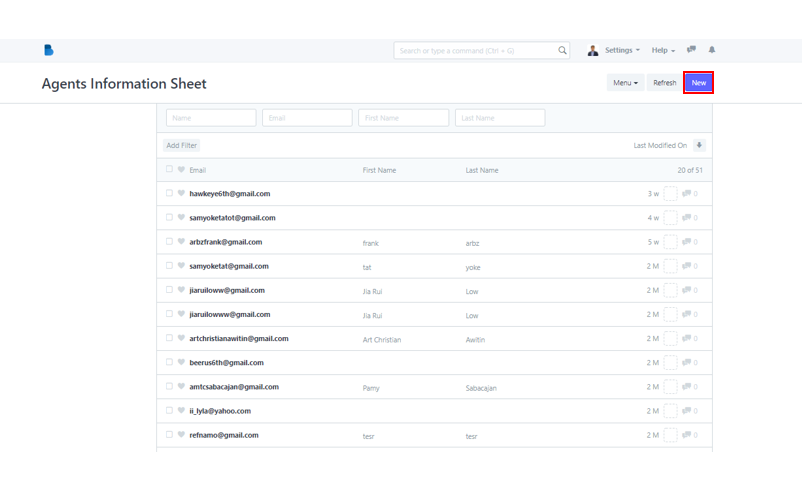
3. To create a new Agents Information Sheet, click the New button in the upper right corner of the screen.
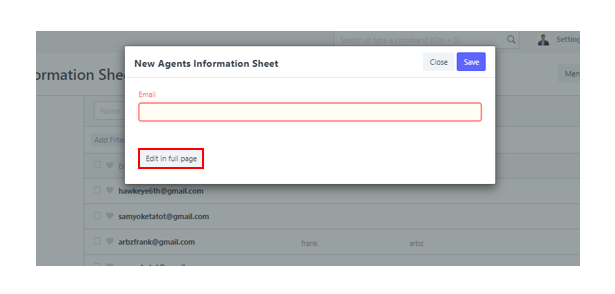
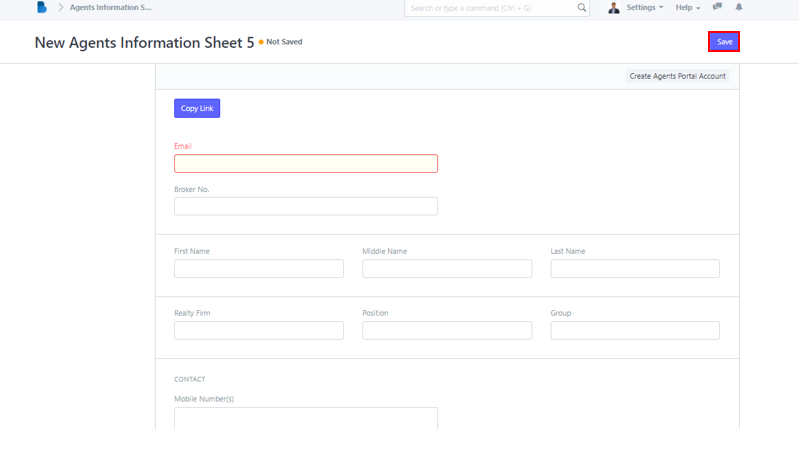
4. The New Agents Information Sheet pop up page will appear. You can simply add a new email in the field but it's better if you add the agent's other important information completely. Click Edit in Full Page to add those other data.
5. In this sheet, you can add the agent's Email, Broker No., Full Name, Reality Firm and others. Once done inputting necessary information, click Save to add new agent sheet.
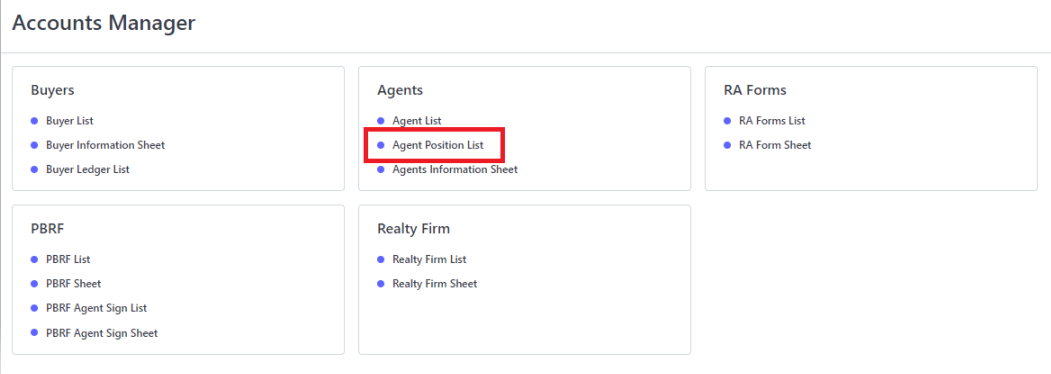
Inside the Accounts Manager Module click Agents Position List.
Agents Position List Page...
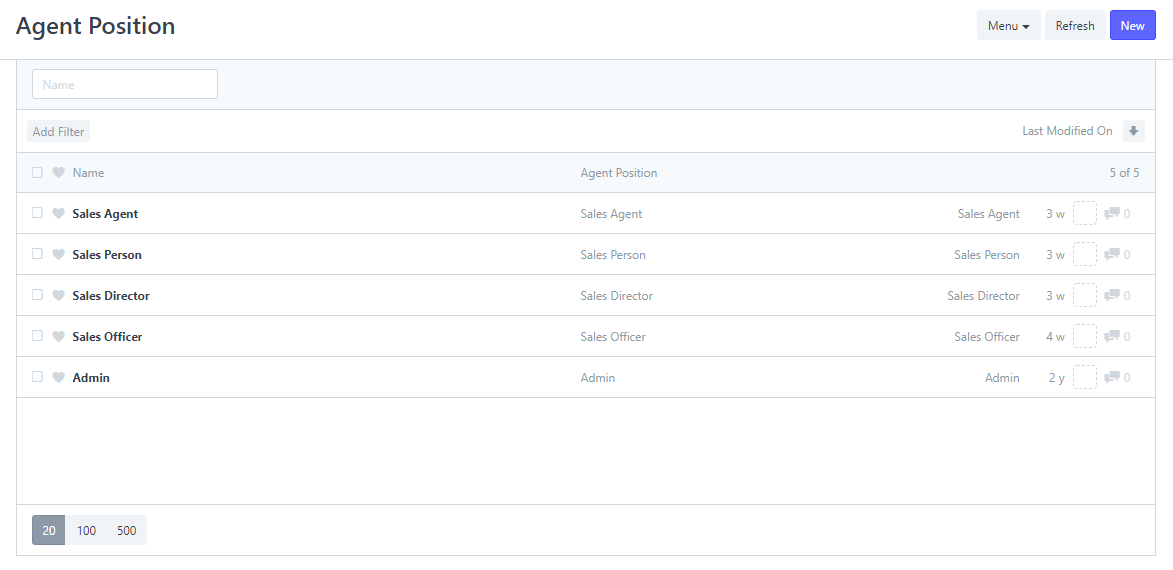
2. Click New to add new Agents Position.
3. Enter new Agent Position in the field.

By clicking Edit in full page, you can edit it in full page. The page would look like this...
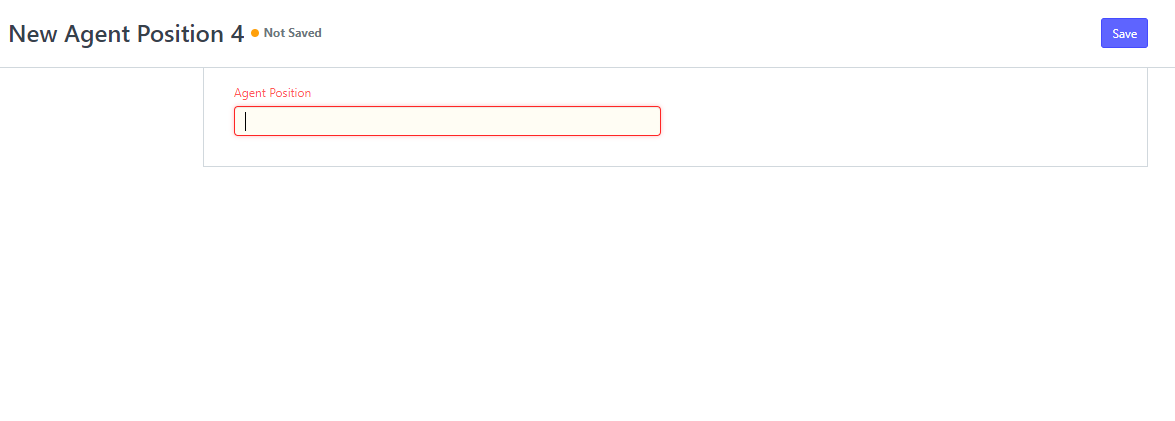
4. Click Save.