(MODULES) Accounts, Computation, & Payment
Accounts Manager
How to View and Edit Buyers Information in Buyers Information Sheet?
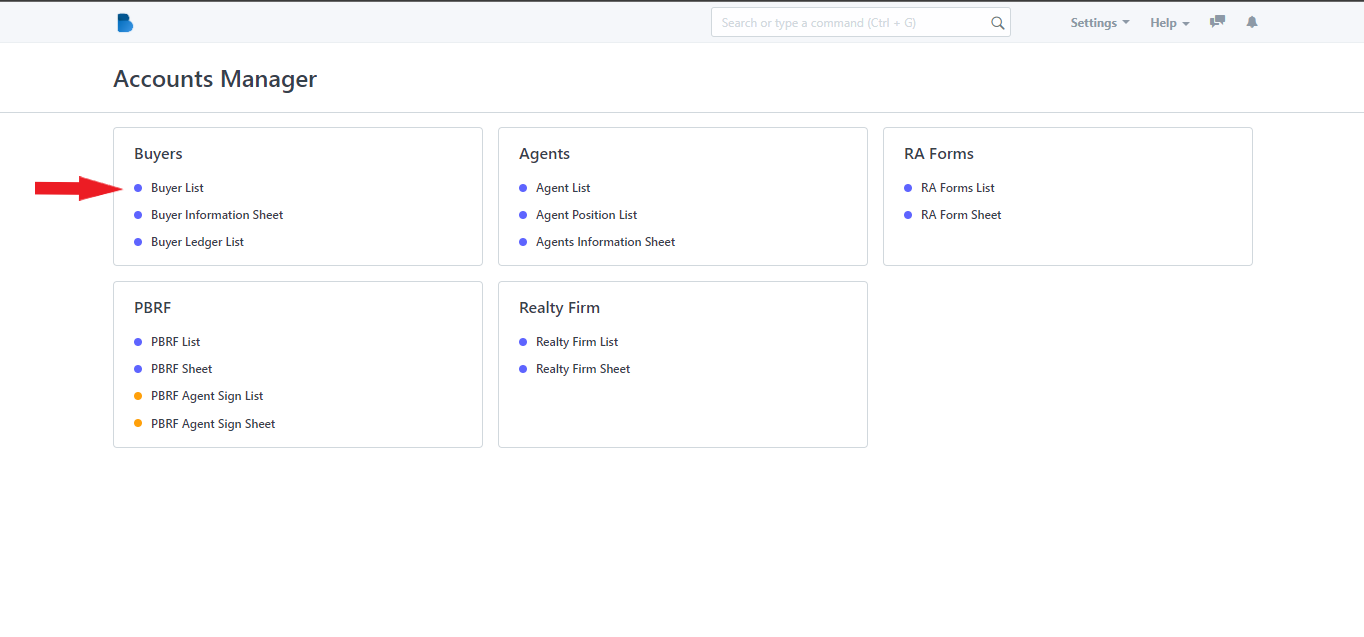
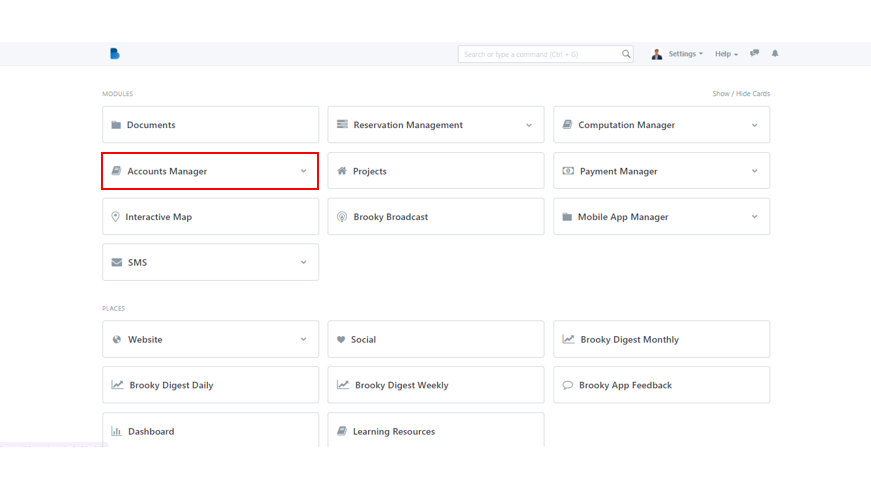
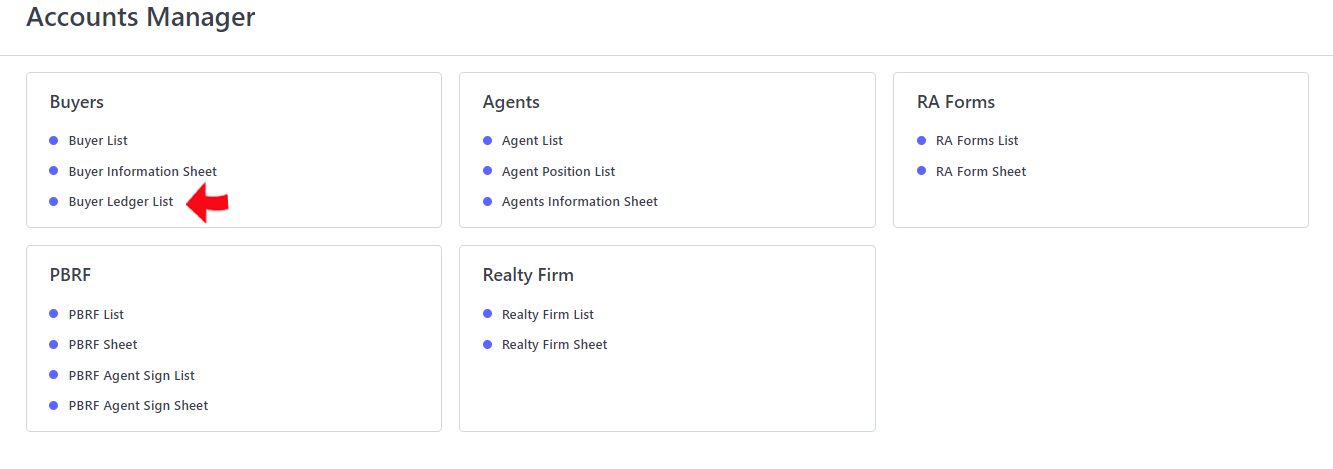
- After clicking Accounts Manager you will be navigated to this Accounts Manager Page and then click Buyer List.
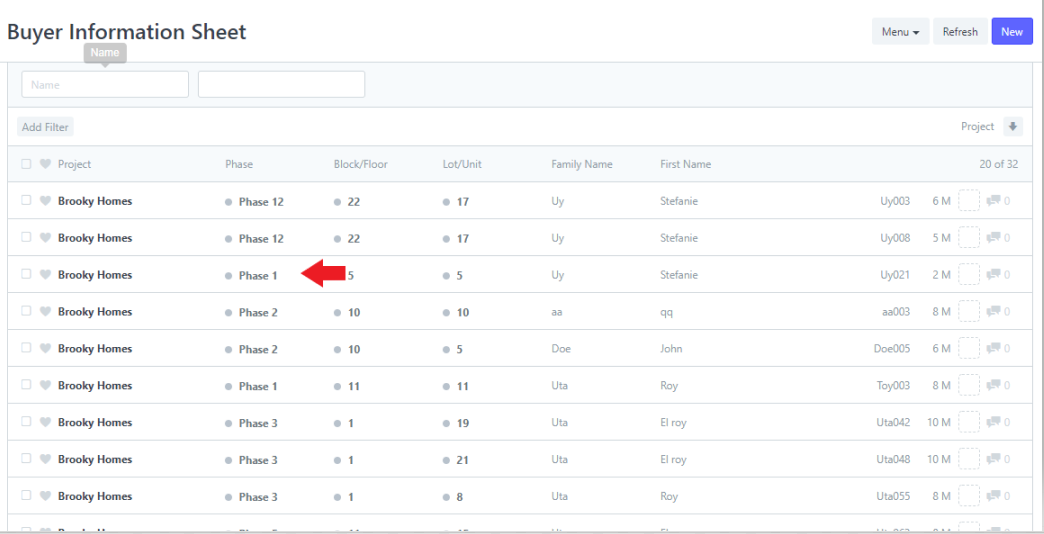
2. Select a Buyer's Information that you want to view, edit or update.
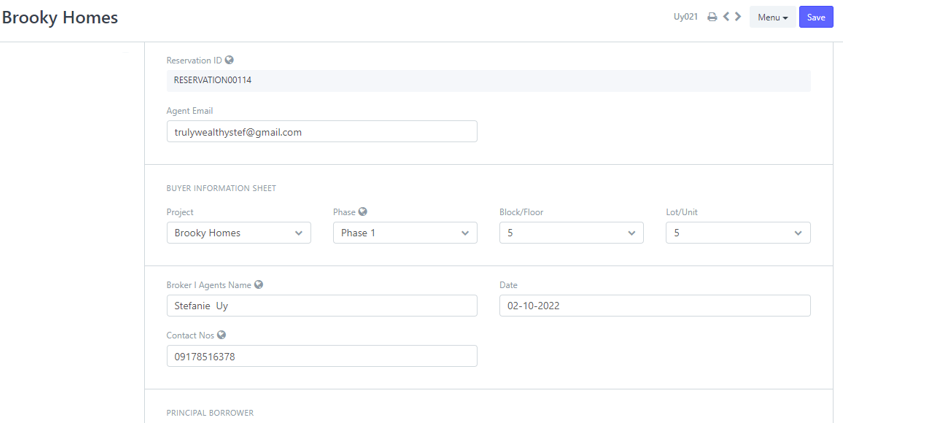
3. Enter the data to the fields that you want to change on the Buyers Information Sheet.
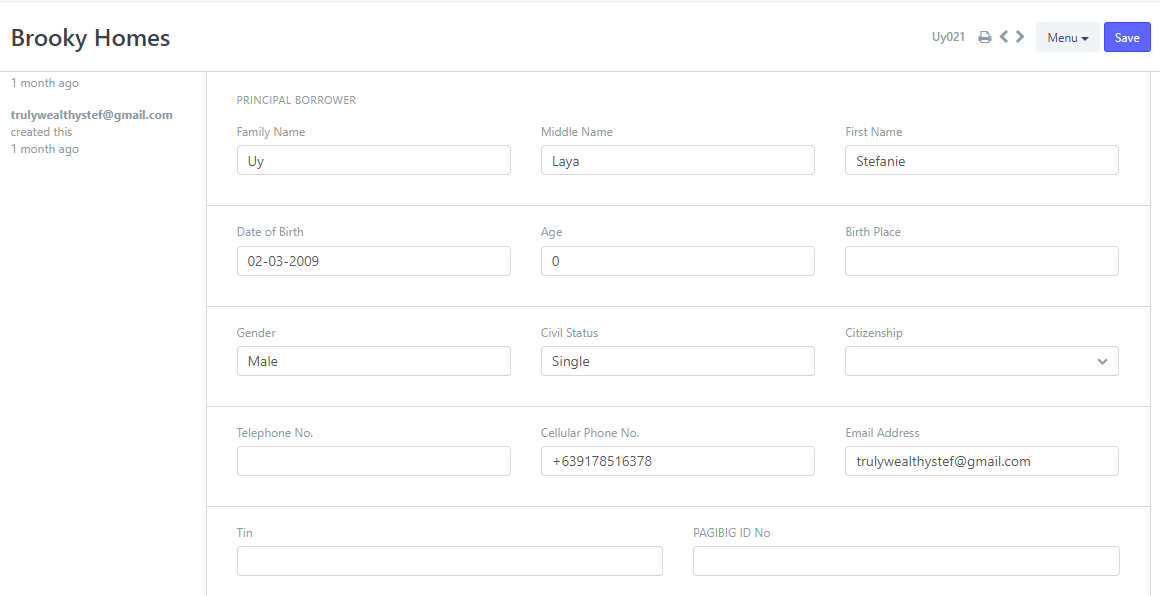
4. Click Save update changes you've made to the BIS.
How to go to Print View and Print specific Buyers Information Sheet?
- After clicking Accounts Manager you will be navigated to this Accounts Manager Page and then click Buyer List.
2. Select a Buyer's Information that you want to view, edit or update.
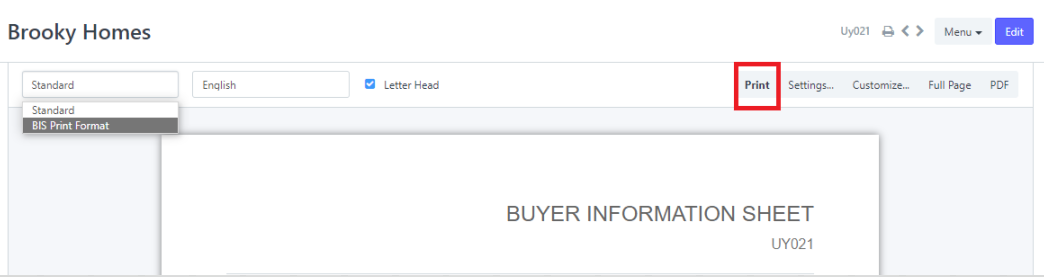
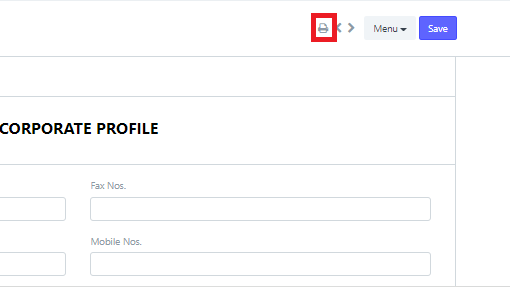
3. Click the Print icon at the top, near the Menu button.

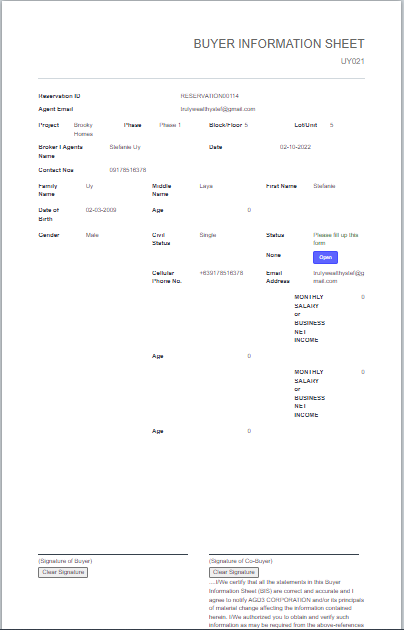
Print view...

4. You can also change the format of what the BIS to be look like when printed.
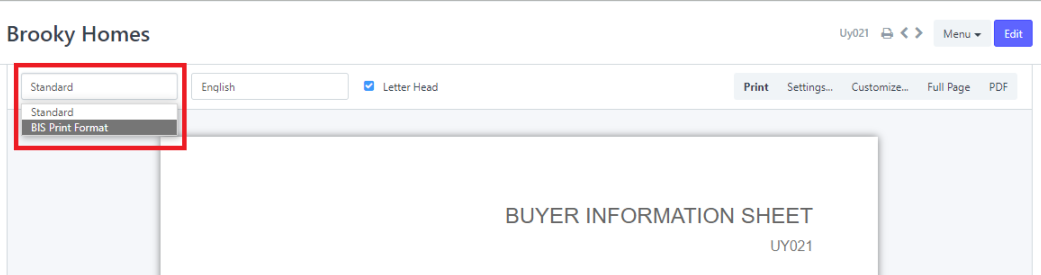
Standard...
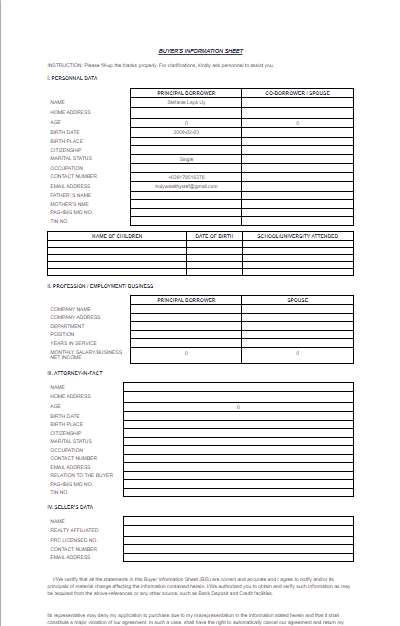
BIS Format...
5. If you want to download a PDF copy, click the the PDF to the right.

6. To print the BIS, click the Print button.
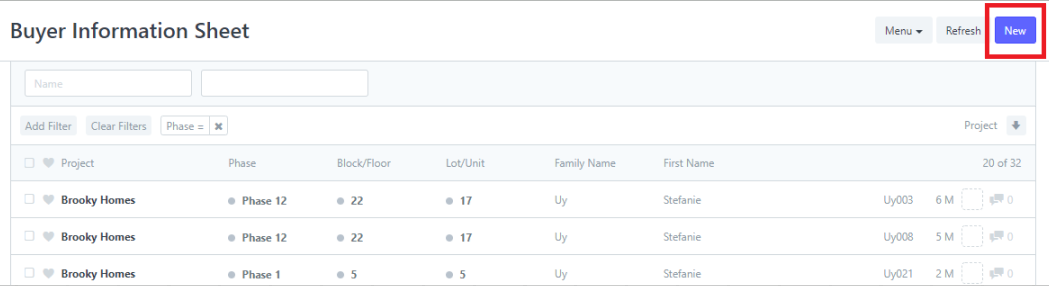
How to Add New Buyer's Information Sheet?
- After clicking Accounts Manager you will be navigated to this Accounts Manager Page and then click Buyer List.
2. Click New to add new BIS.
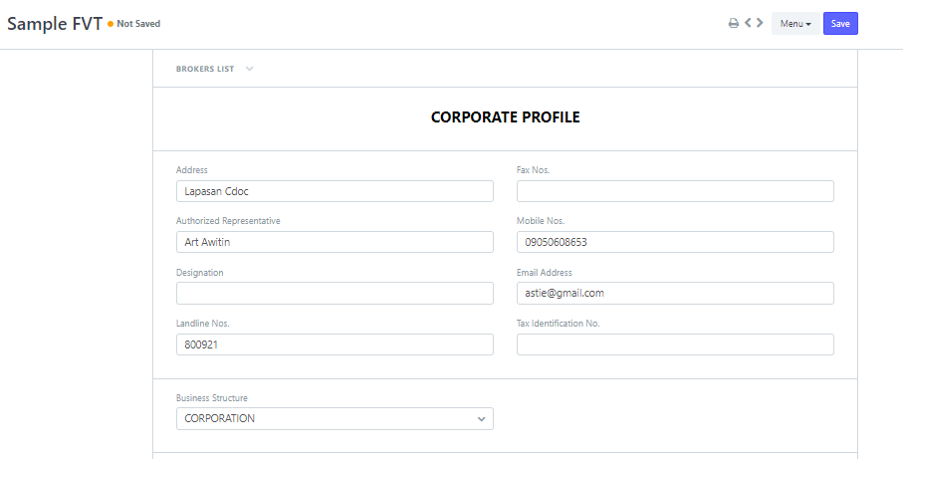
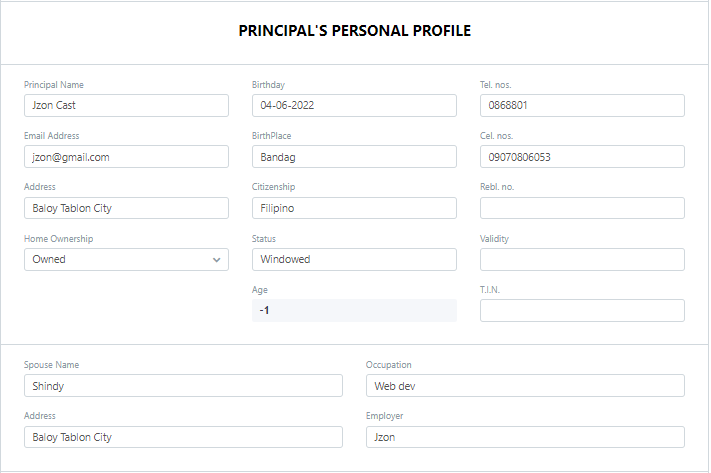
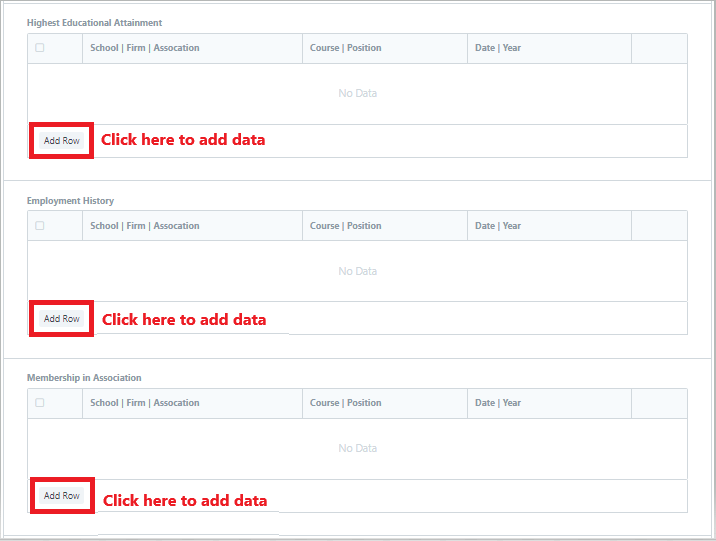
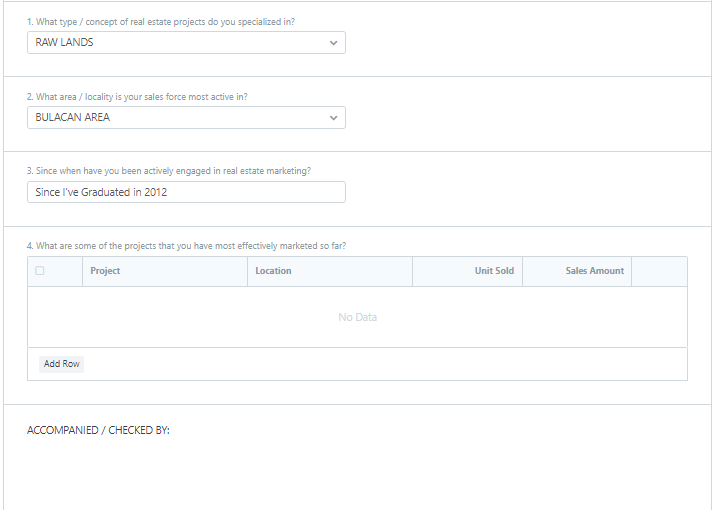
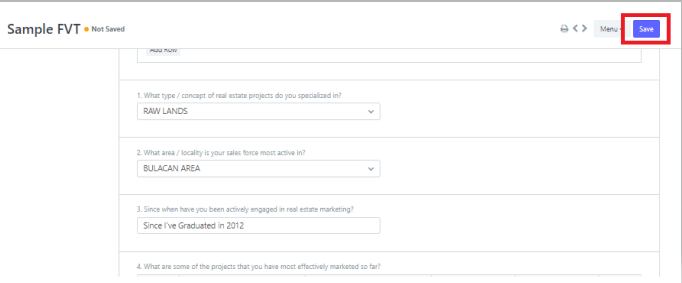
3. Provide the data to the fields for the new BIS.
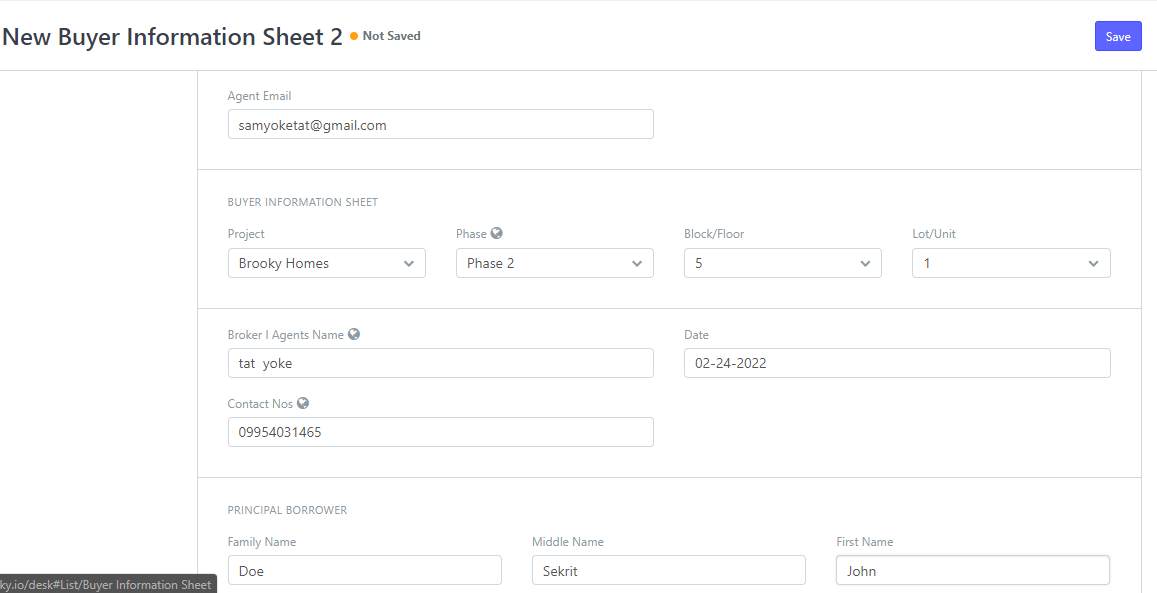
Down to this form...

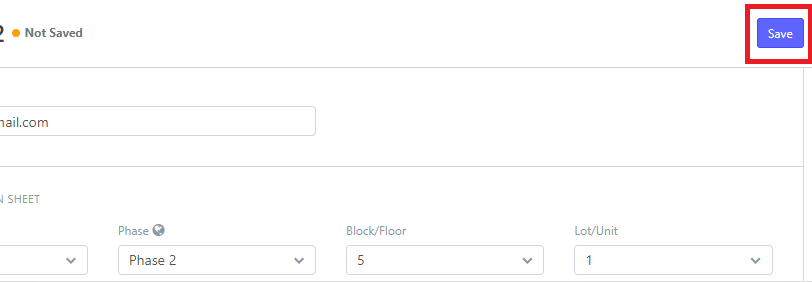
4. Click Save, to save new BIS.
How to create a new Buyer Ledger
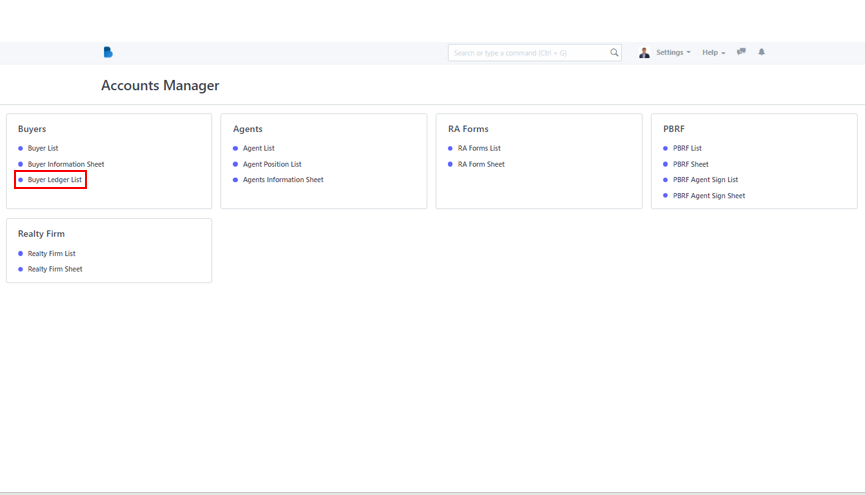
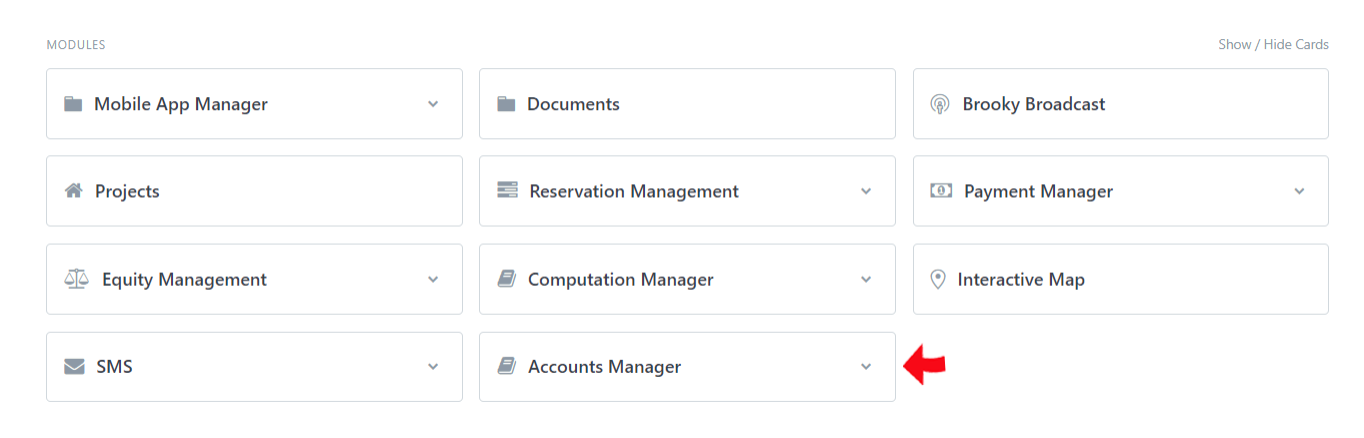
- Select Account Manager in MODULE section.
2. Under Buyers category, click Buyer Ledger List to proceed.
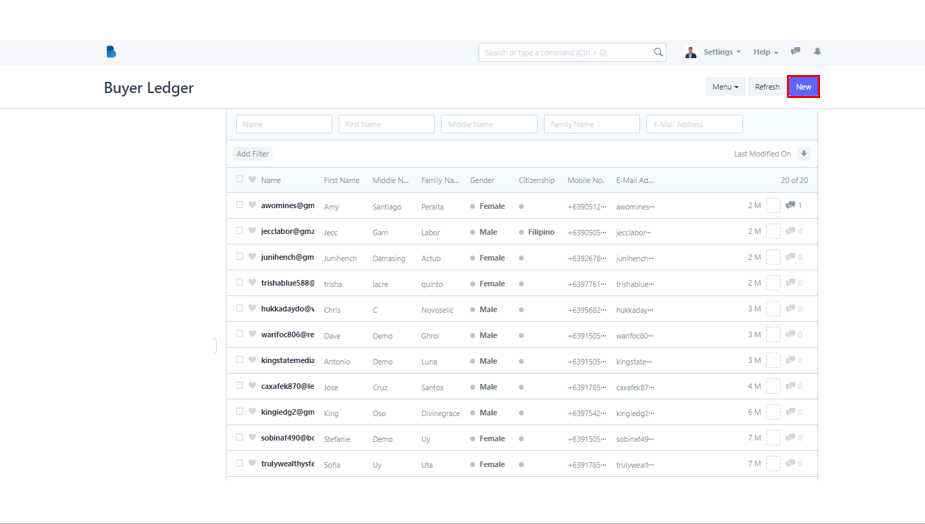
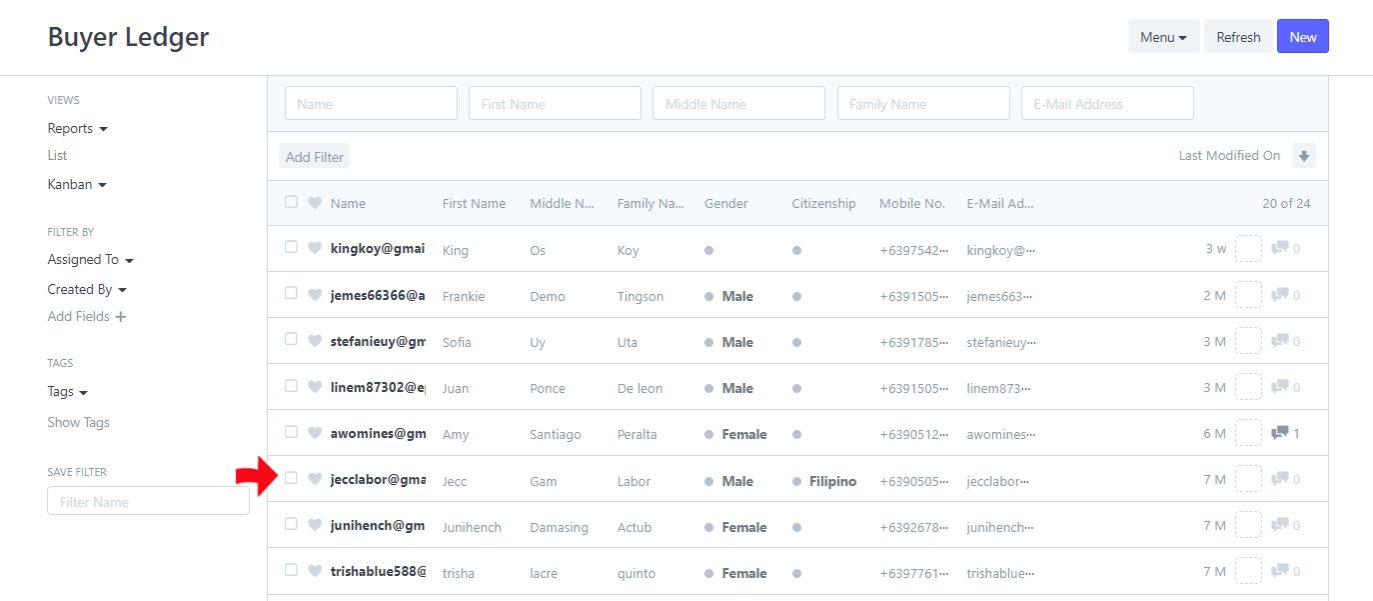
3. To add a new buyer ledger, simply click the New button.
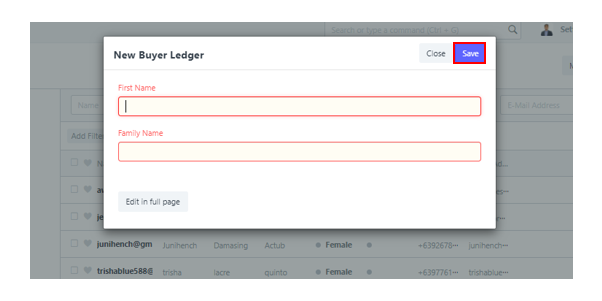
4. A pop-up page will appear and the system will ask you to enter the ledger's Full Name. After inputting such data, click Save to add new buyer ledger.
How to edit Ledger Lists
- Choose Accounts Manager from the list.
2. After clicking Accounts Manager you will be navigated to this Accounts Manager Page and then click Buyer 2List.
3. Select a buyer from the ledger list that you want to view, edit or update.
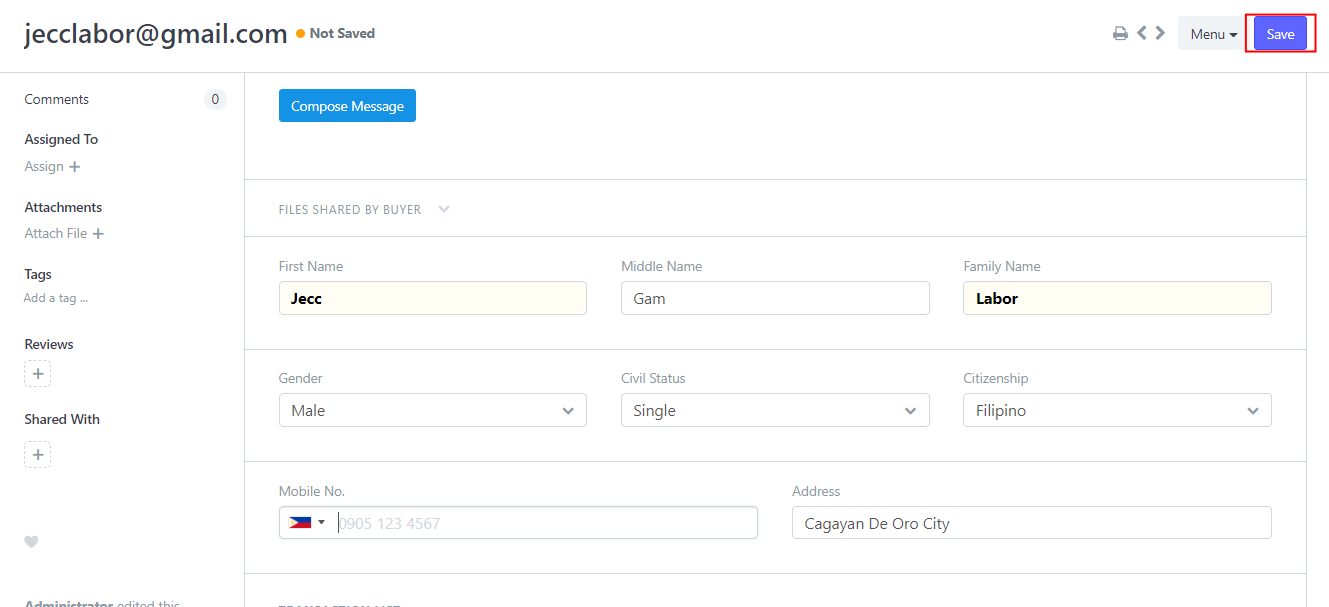
3. Provide new information that you want to edit from the given form. If done click Save.
How to create a new Agents Information Sheet
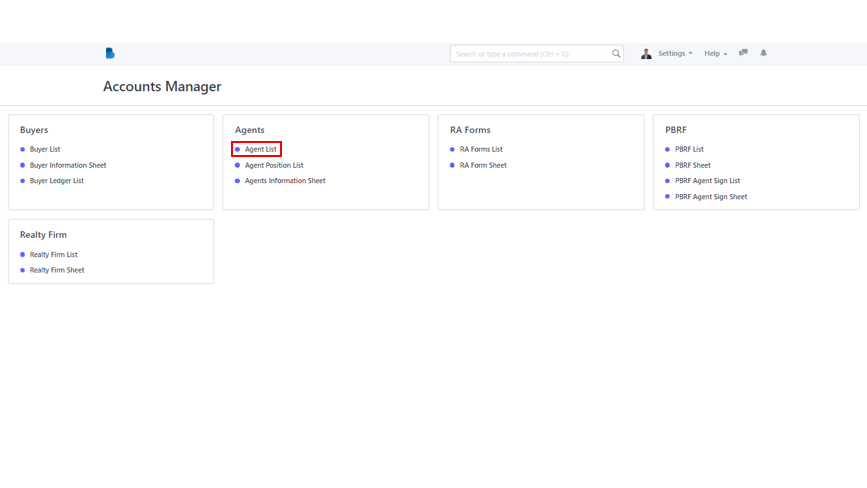
1. In the MODULES section, select Accounts Manager module.
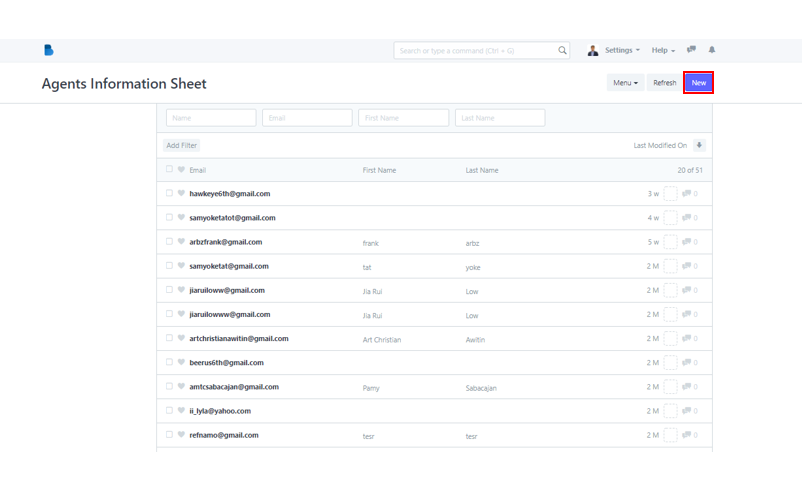
2. Notice the Agents category and under it, click Agents List to get redirected to the next page.
3. To create a new Agents Information Sheet, click the New button in the upper right corner of the screen.
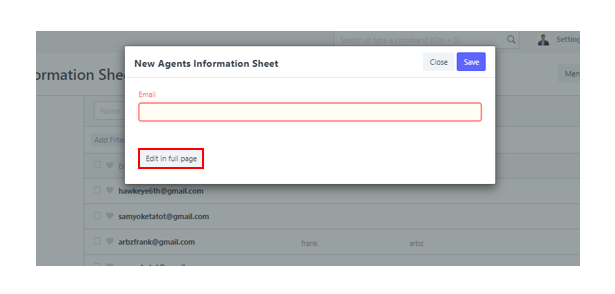
4. The New Agents Information Sheet pop up page will appear. You can simply add a new email in the field but it's better if you add the agent's other important information completely. Click Edit in Full Page to add those other data.
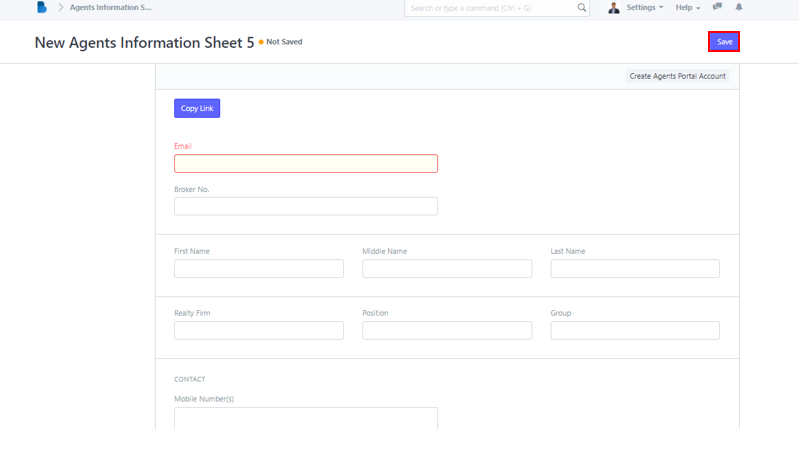
5. In this sheet, you can add the agent's Email, Broker No., Full Name, Reality Firm and others. Once done inputting necessary information, click Save to add new agent sheet.
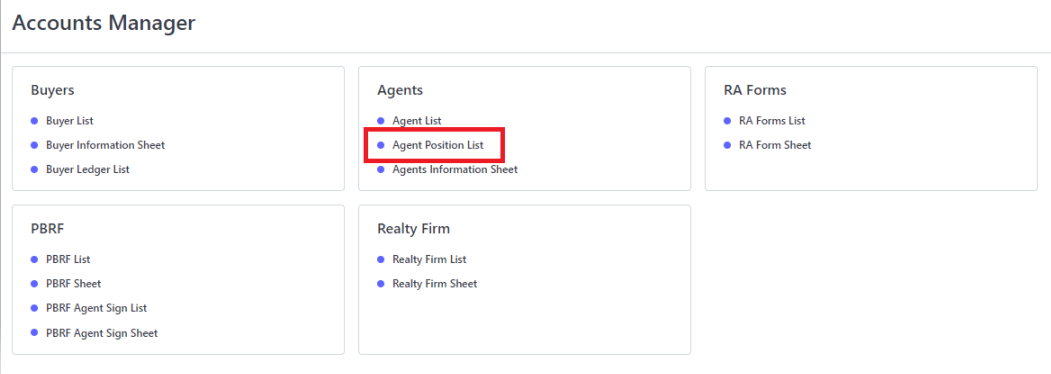
How to Add New Agents Position?
Inside the Accounts Manager Module click Agents Position List.
Agents Position List Page...
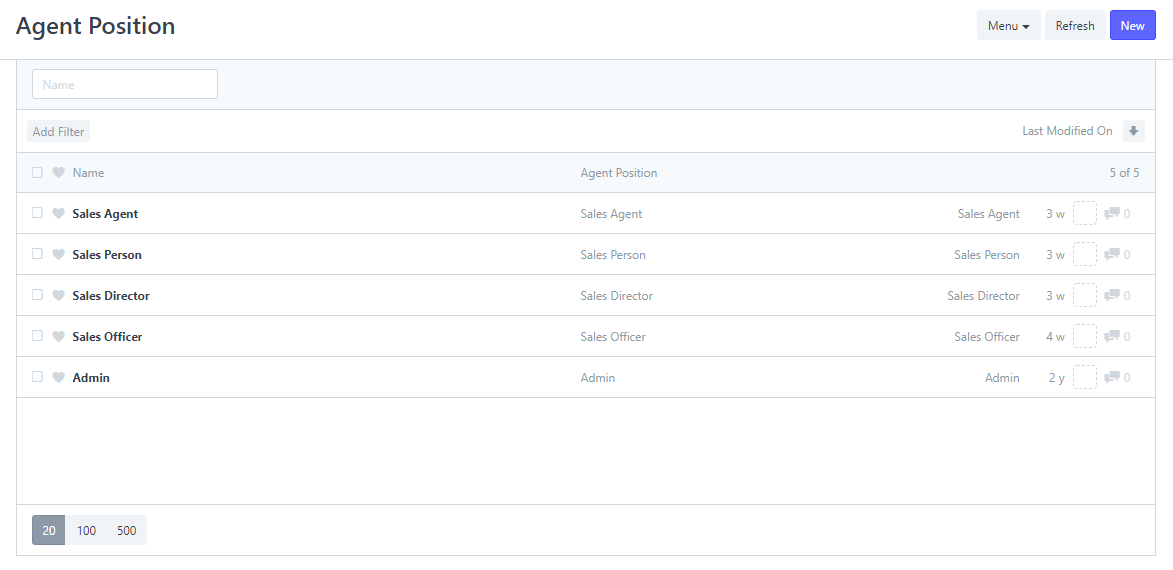
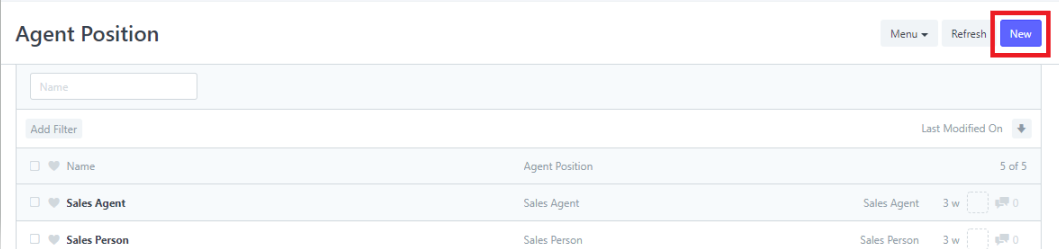
2. Click New to add new Agents Position.
3. Enter new Agent Position in the field.

By clicking Edit in full page, you can edit it in full page. The page would look like this...
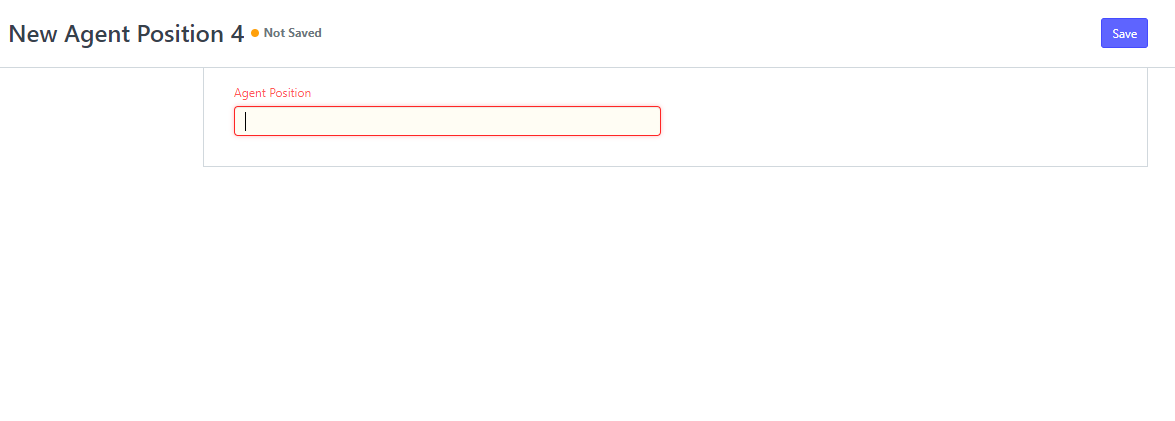
4. Click Save.
How to view and update RA Form?
Inside the Accounts Manager Page click the RA Form List to navigate to the RA Form Page.
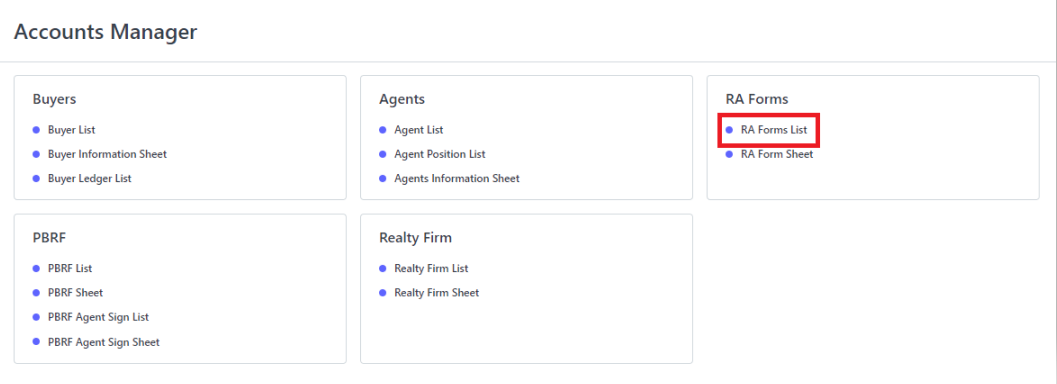
RA Form List Page…
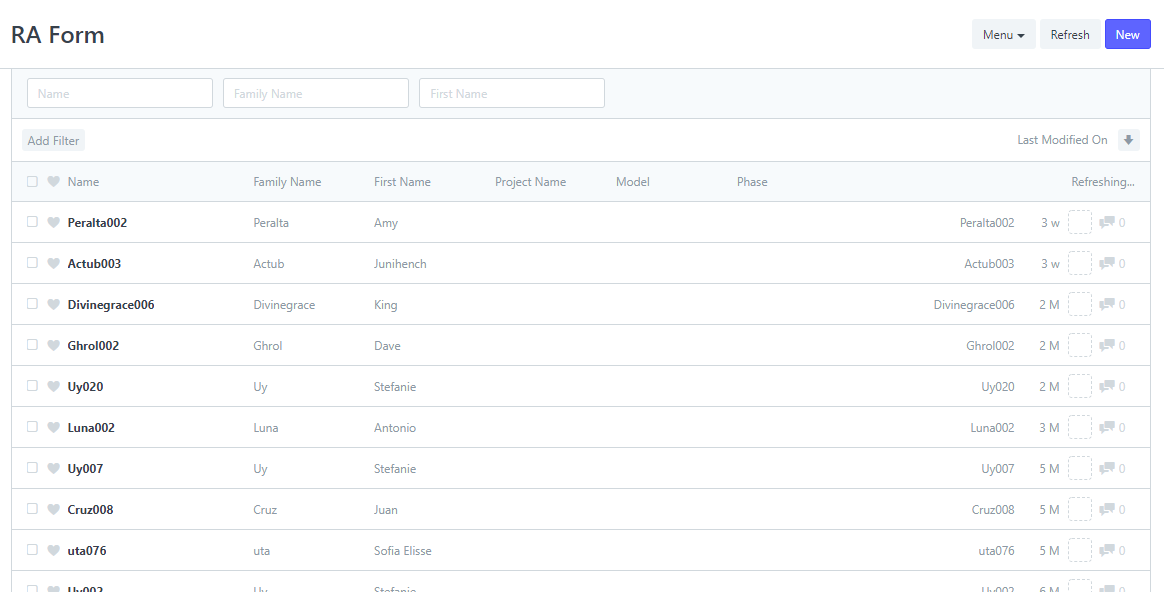
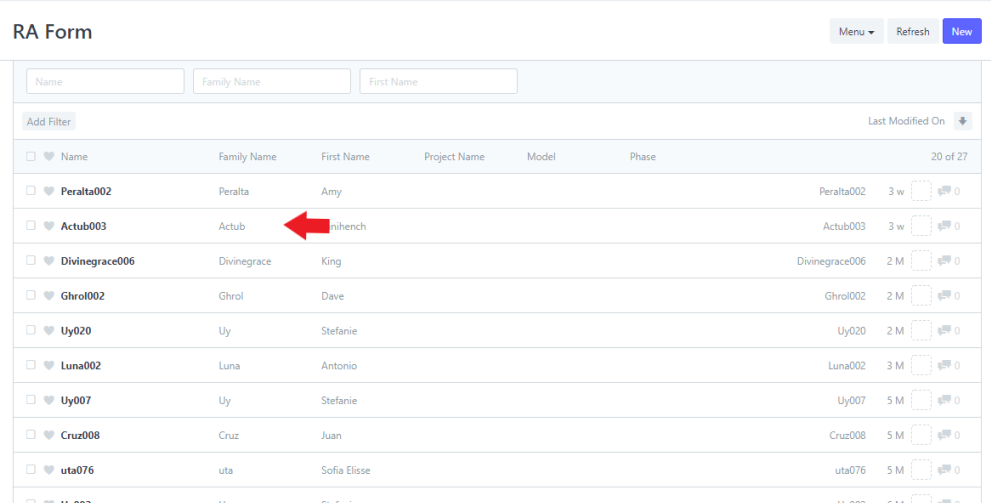
2. Select a RA Form that you want to view or update.
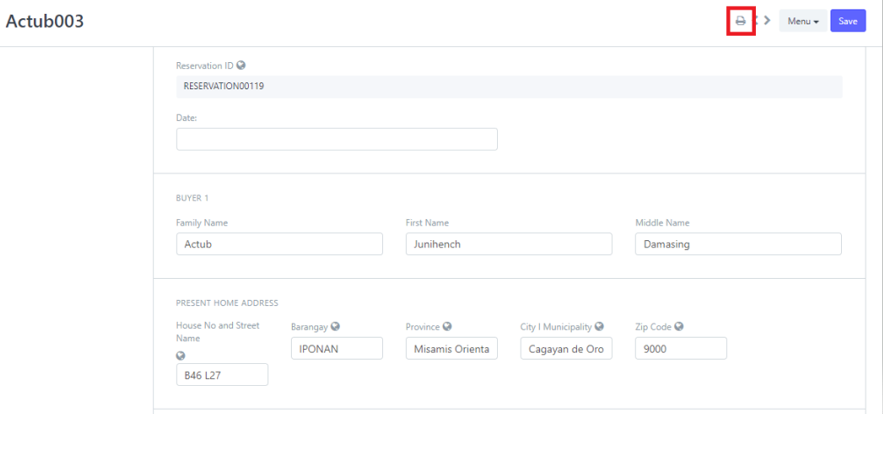
3. Edit the information that you want to change.
4. Click Save to update changes.

How to go to Print View and Print RA?
1. Inside the Accounts Manager Page click the RA Form List to navigate to the RA Form Page.
RA Form List Page…
2. Select a RA that you want to Print.
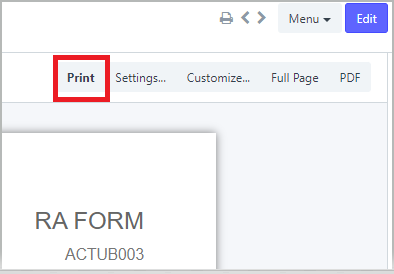
3. Click the Print icon at the top.
Print view looks like this...
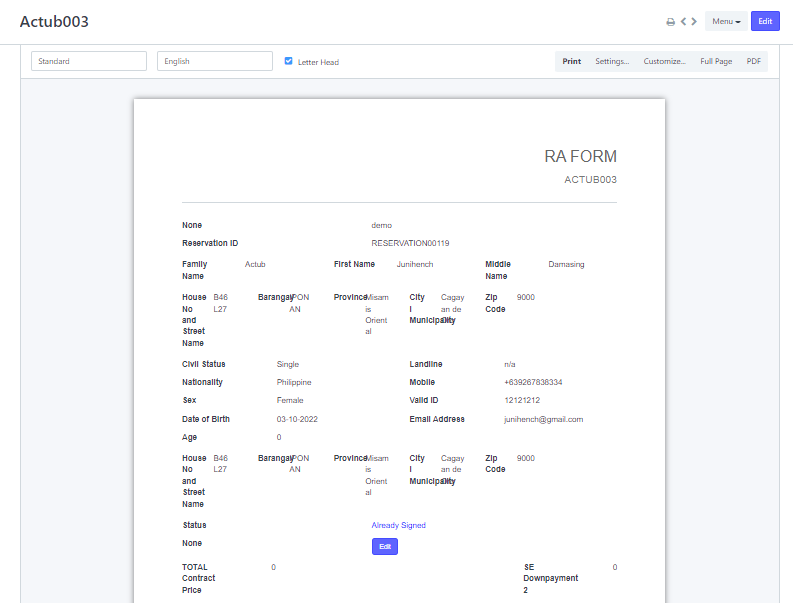
4. If you want to download a PDF copy, click the the PDF to the right.
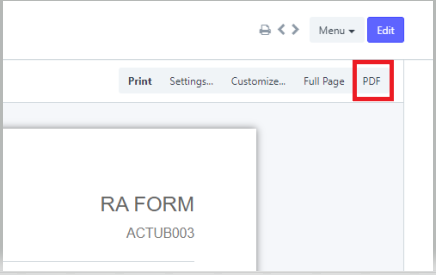
5. To print the RA, click the Print button.
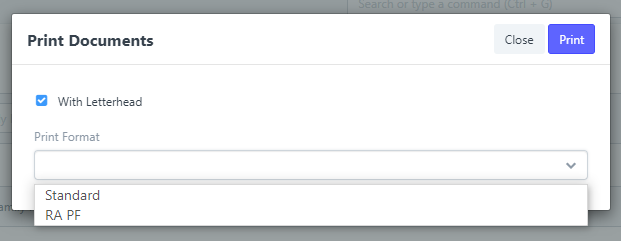
Another way of printing...
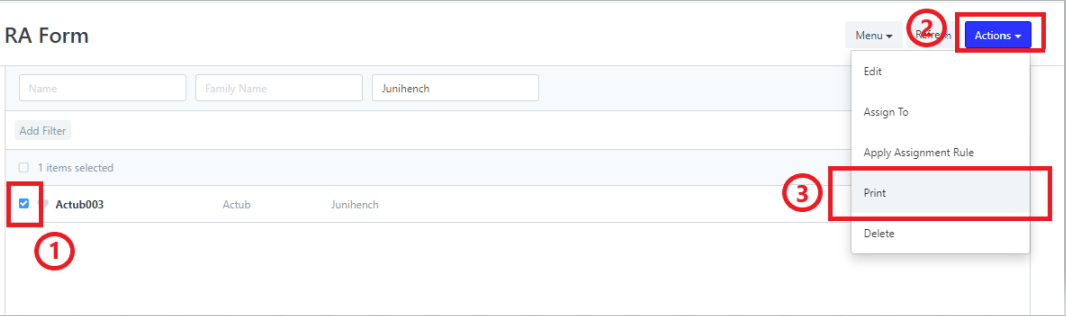
Select Print Format then Print...
How to Add New RA?
1. Inside the Accounts Manager Page click the RA Form List to navigate to the RA Form Page.
RA Form List Page…
2. Click New to add new reservation agreement.

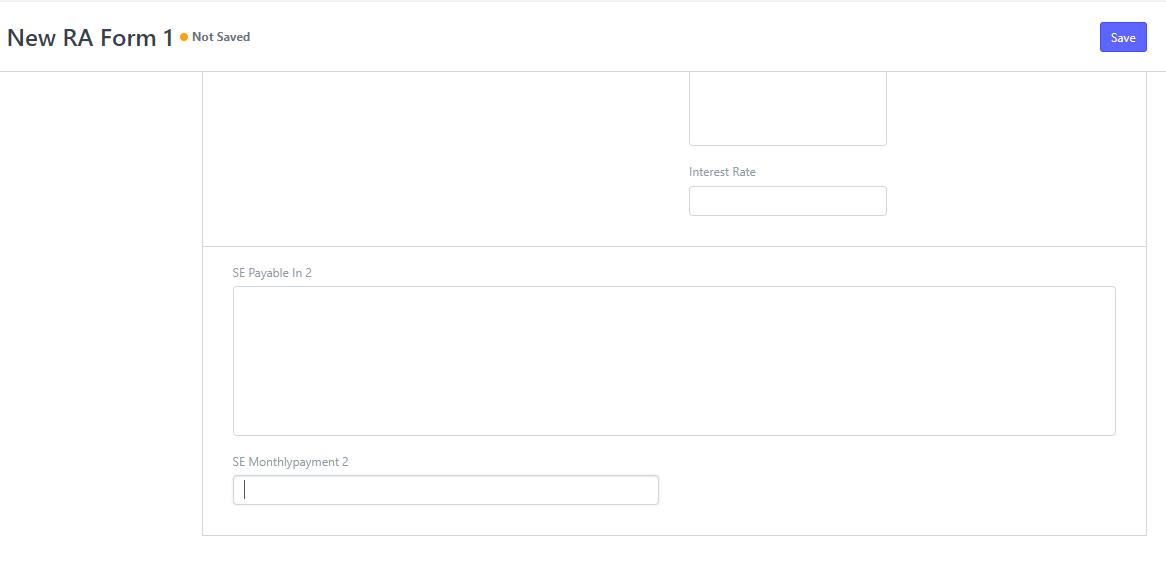
3. In the RA Form page, fill up the fields for the Reservation Agreement.
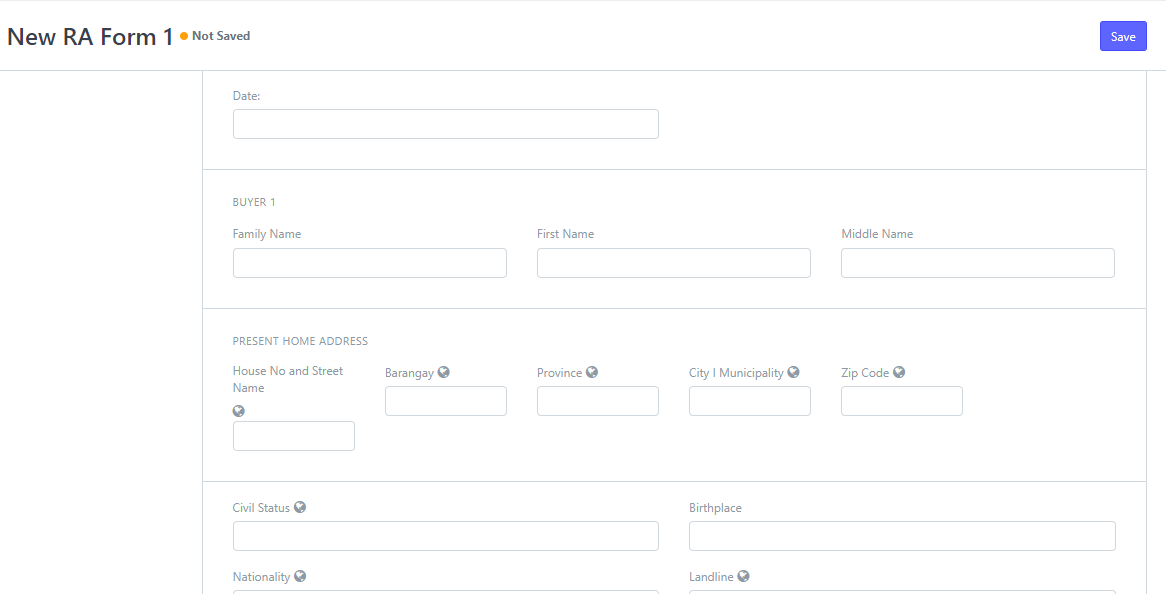
Down to this fields...
4. Then click Save at the top right of the page after filling the necessary fields.
How to View And Edit PBRF?
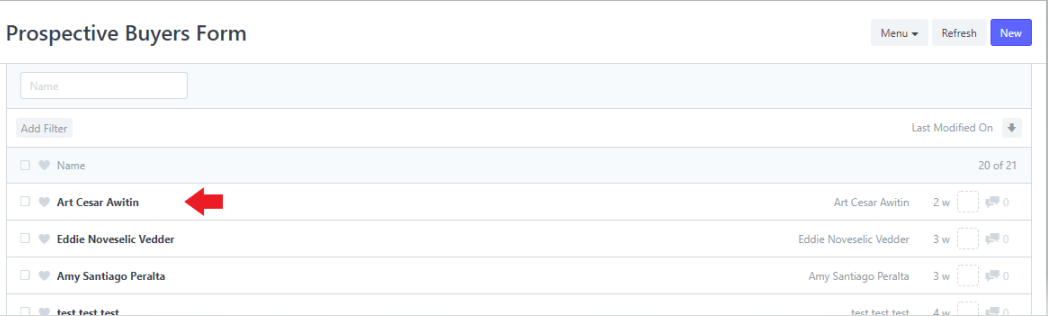
- Inside the Accounts Manager Page click the PBRF List to navigate to the Prospective Buyers Form Page.

Prospective Buyers Form Page…
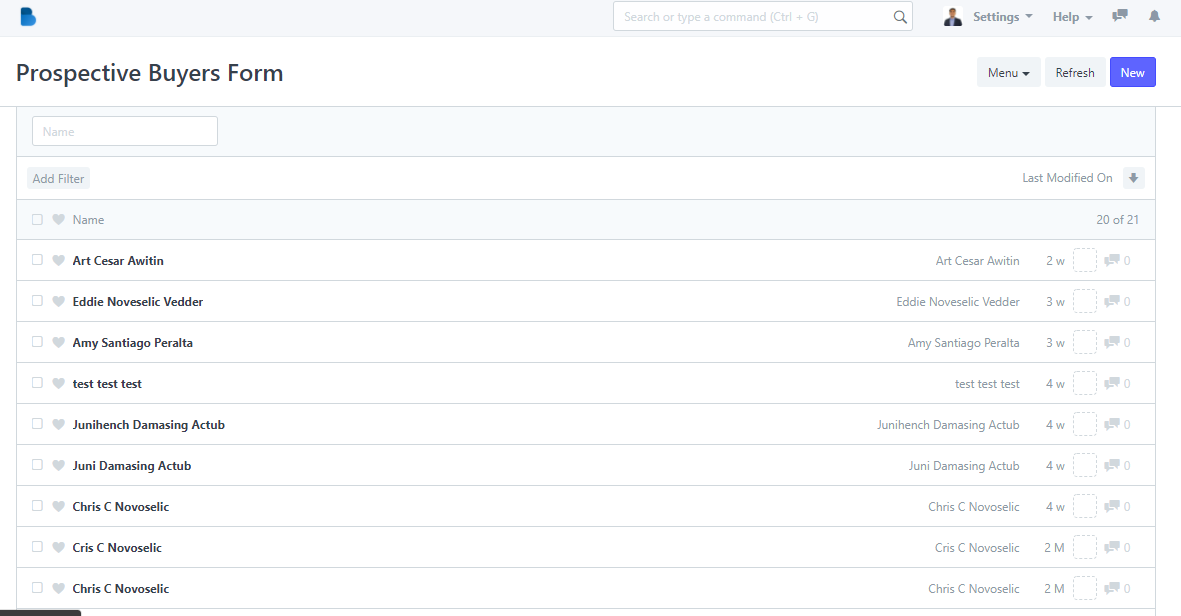
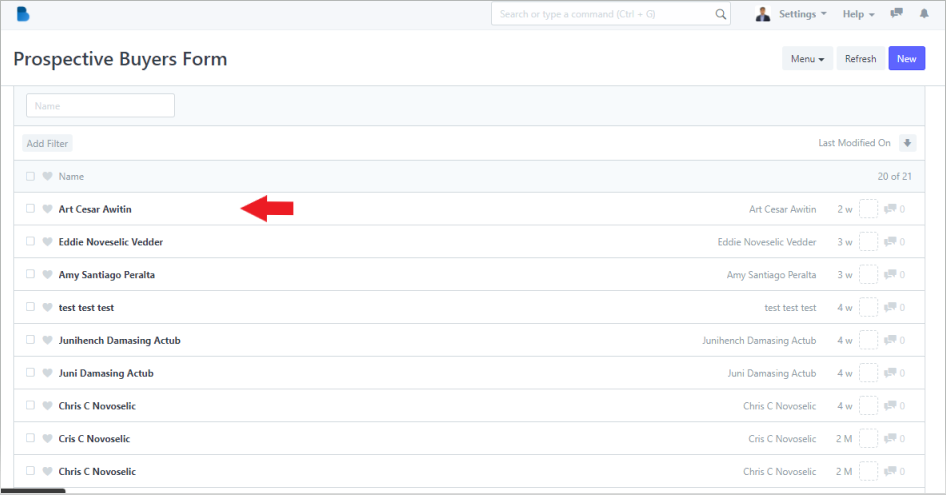
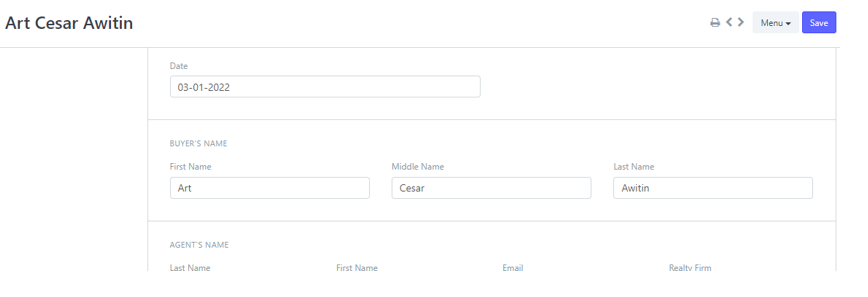
2. Select a PBRF that you want to view and edit.
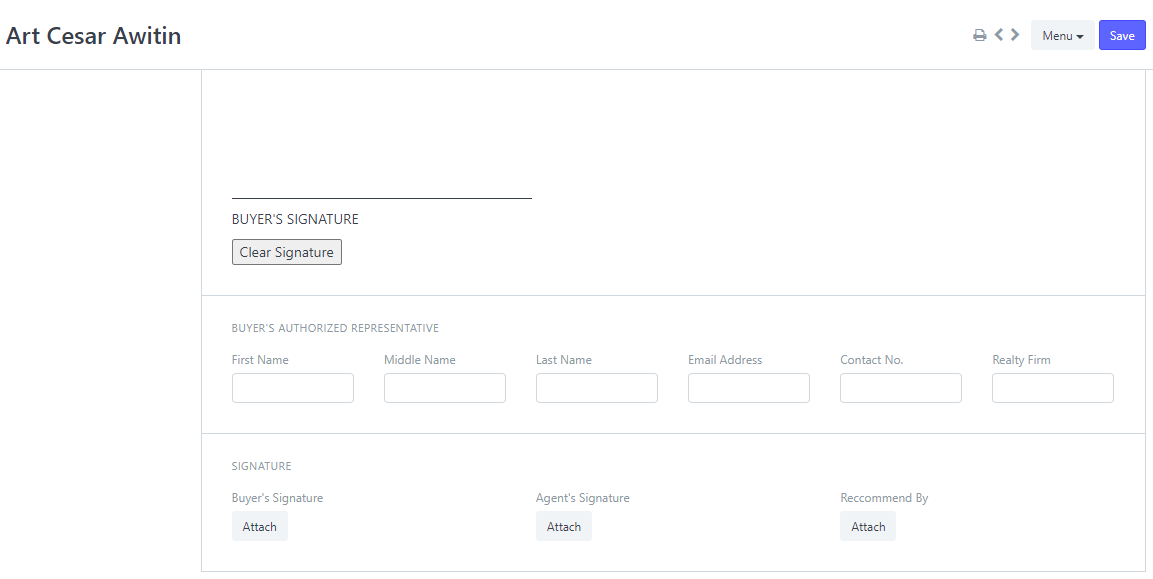
3. Edit the field that you want to change.

Down to this fields...
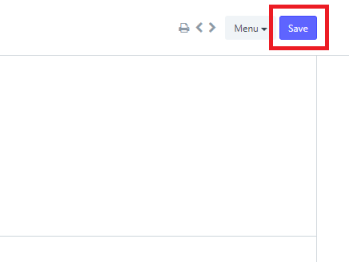
4. Then click Save to update changes you've made.
How to go to Print View and Print PBRF?
- Inside the Accounts Manager Page click the PBRF List to navigate to the Prospective Buyers Form Page.
Prospective Buyers Form Page…
2. Select a PBRF that you want to Print.
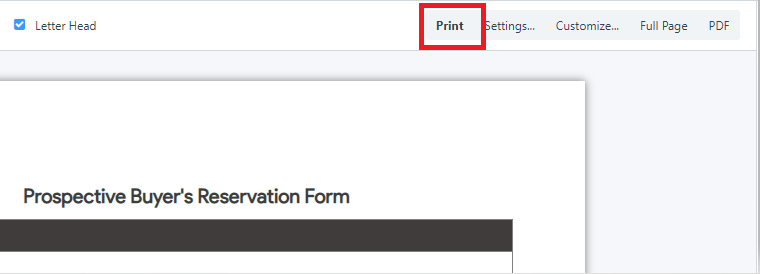
3. Click the Print icon at the top.
Print view would look like this...
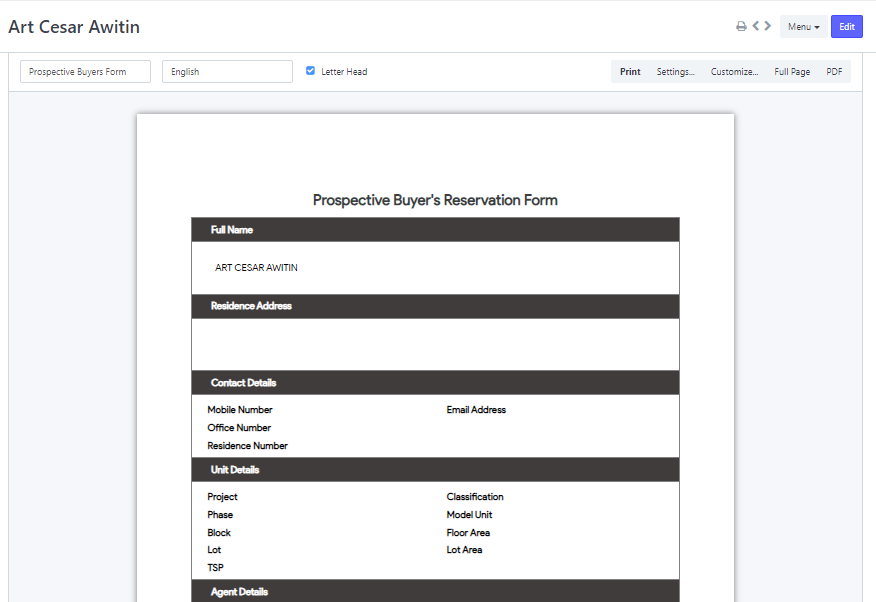
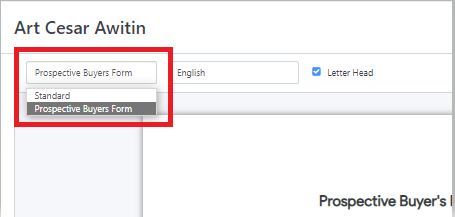
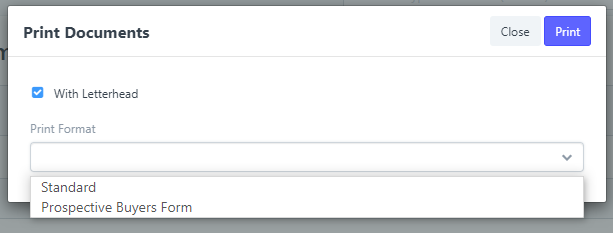
Note: Change the Print Format to Perspective Buyers Form
4. If you want to download a PDF copy, click the the PDF to the right.
5. To print the PBRF, click the Print button.
Another way of printing...
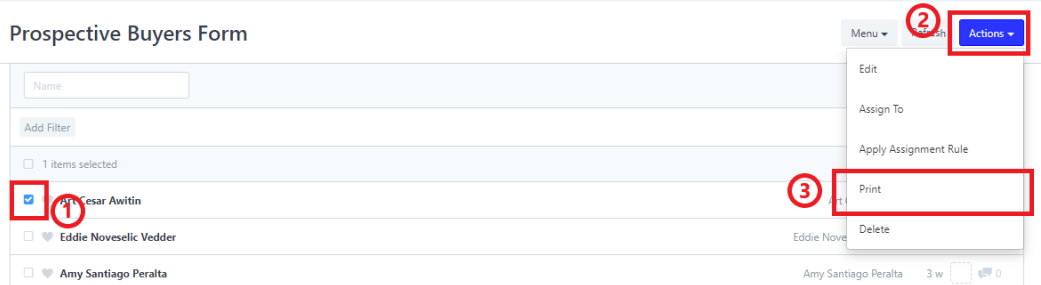
Select Print Format as Prospective Buyers Form, then click Print.
How to add New PBRF?
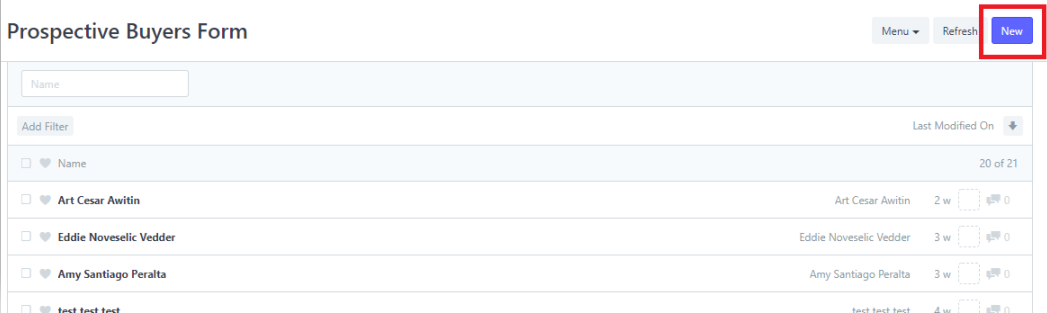
- Inside the Accounts Manager Page click the PBRF List to navigate to the Prospective Buyers Form Page.
Prospective Buyers Form Page…
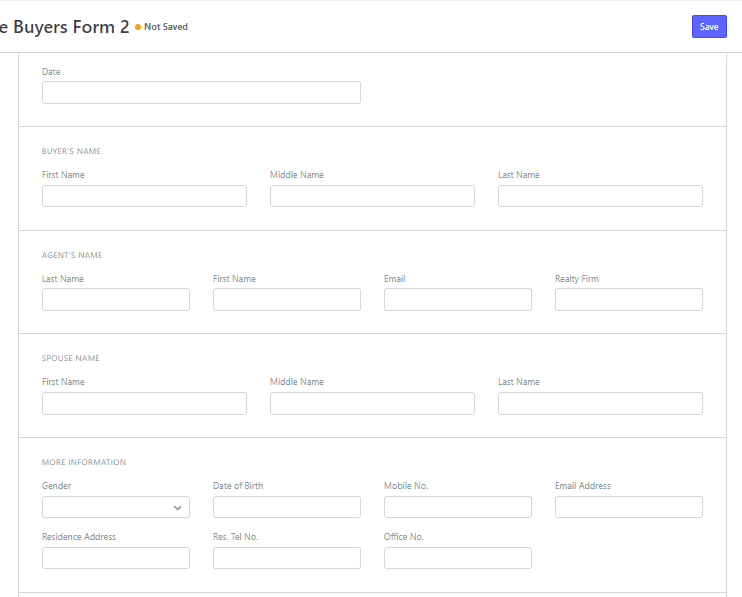
2. Click New to add new PBRF.
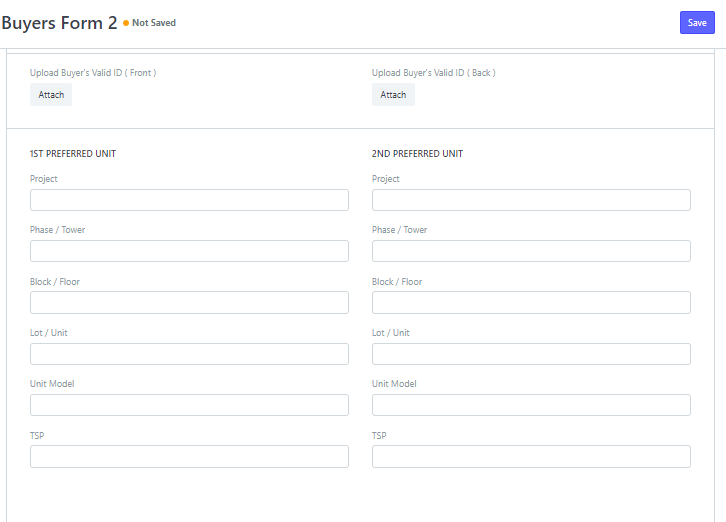
3. Provide the information about the Buyer, Agent, more information about the buyer, preferred units, etc.
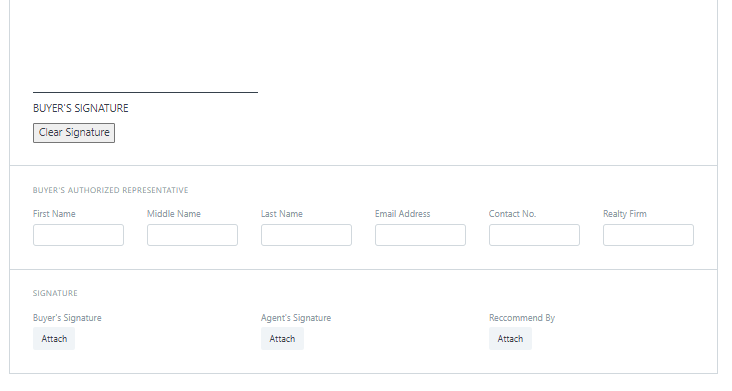
4. Then click Save.
How to View and Edit Realty Firm?
1. Inside the Accounts Manager Page click the Realty Firm List to navigate to the Realty Firm List Page.
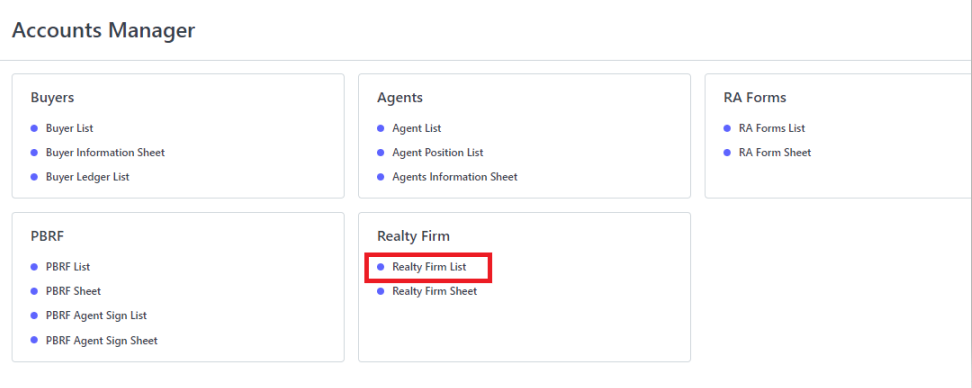
Realty Firm List Page…
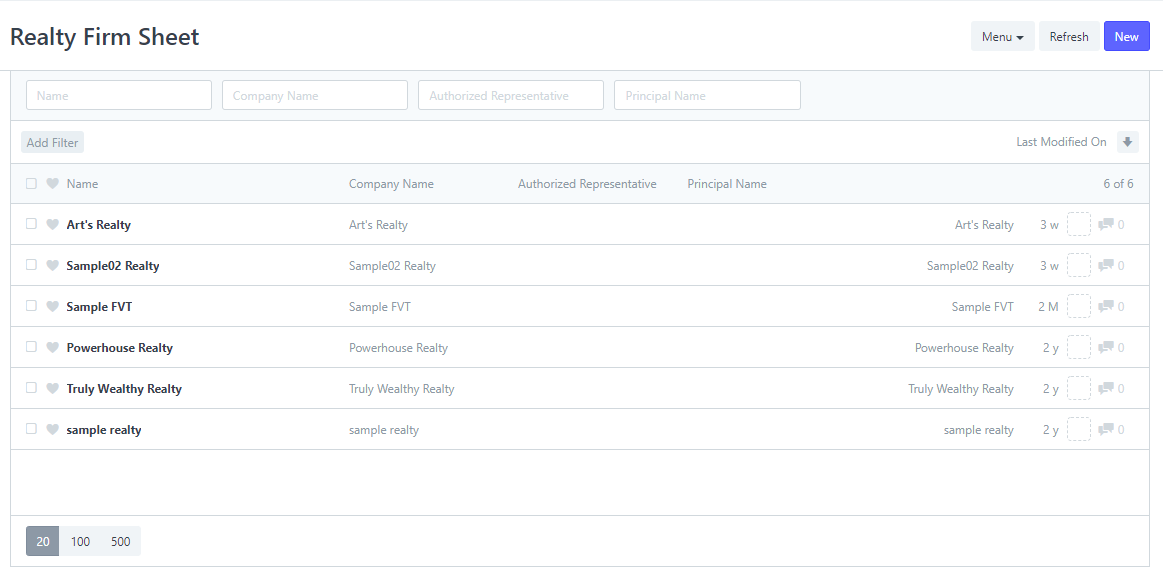
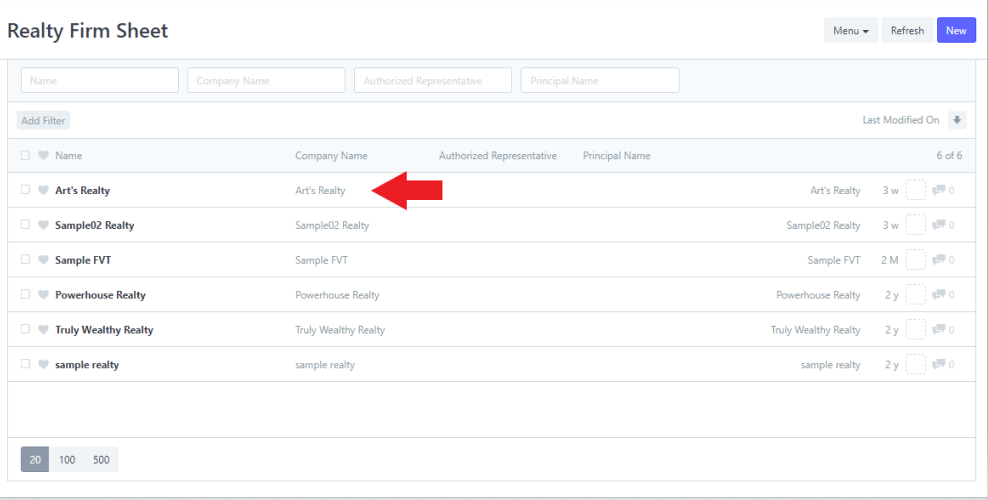
2. Select a Realty that you want to view and edit.
3. Edit the fields that you want to change.

4. Then click Save after editing to save changes.
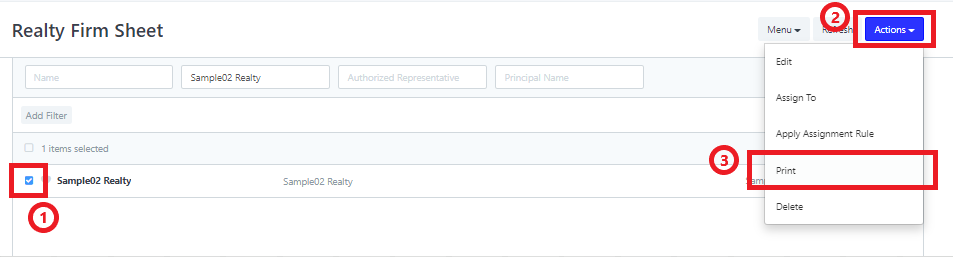
How go to Print View and Print Realty Firm?
1. Inside the Accounts Manager Page click the Realty Firm List to navigate to the Realty Firm List Page.
Realty Firm List Page…
2. Select a Realty that you want to Print.
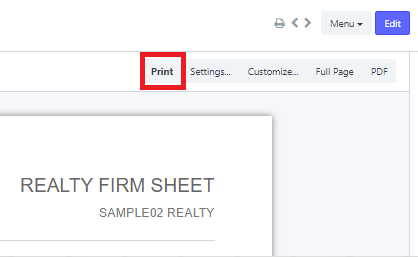
3. Click Print at the top.
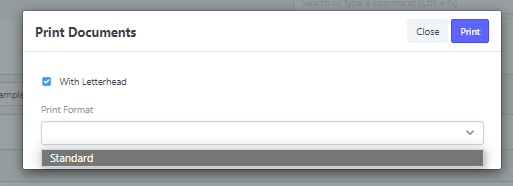
Print view looks like this...

4. If you want to download a PDF copy, click the the PDF to the right.
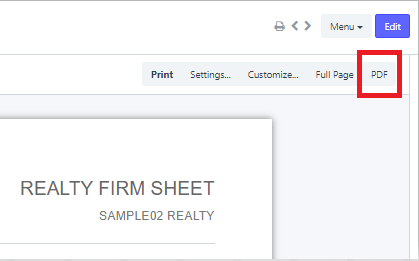
5. To print the RA, click the Print button.
Another way of printing...
How to add New Realty Firm?
1. Inside the Accounts Manager Page click the Realty Firm List to navigate to the Realty Firm List Page.
Realty Firm List Page…
2. Click New at the top right corner of the page.

3. Provide the data about your Realty on the fields.
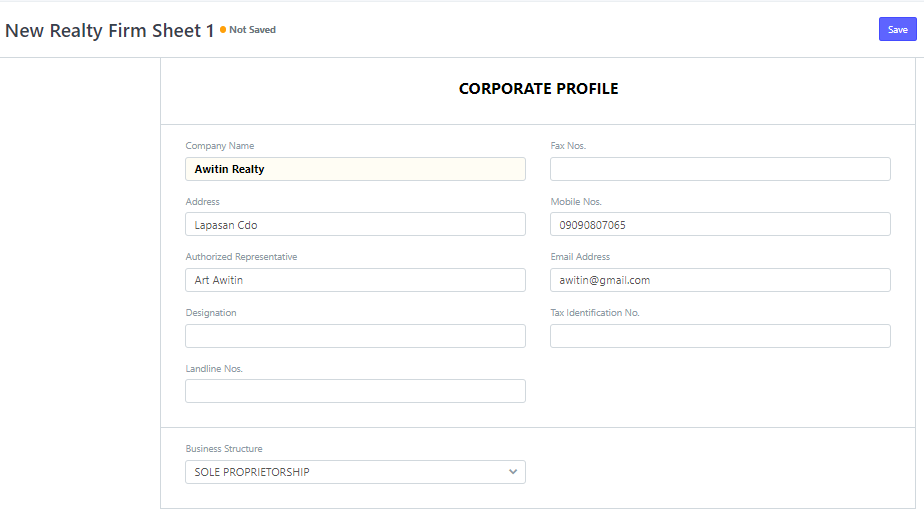
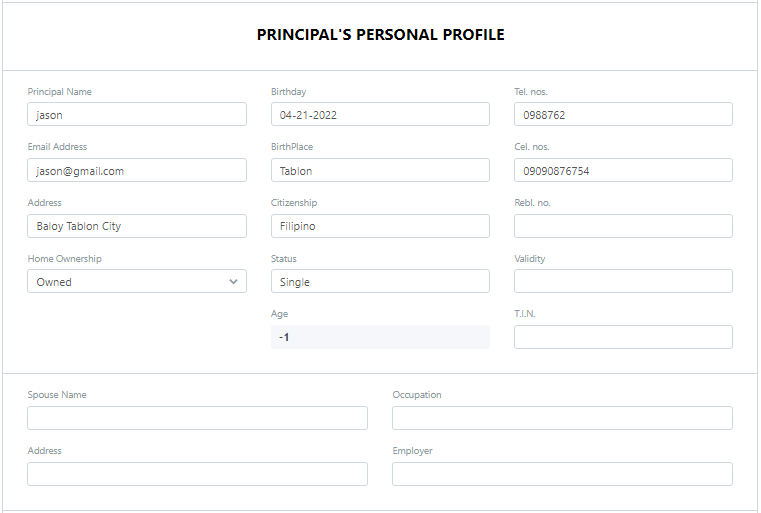
4. Click Save
Computation Manager
How to view sample computation
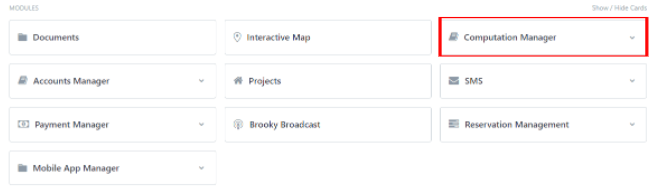
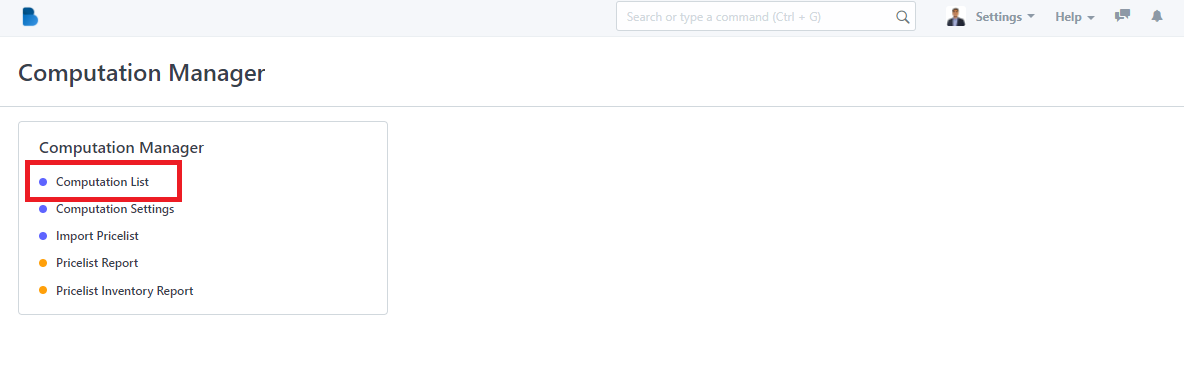
- On the Brooky web app dashboard, under modules, on the right side of the page, you will see the COMPUTATION MANAGER, then click it.
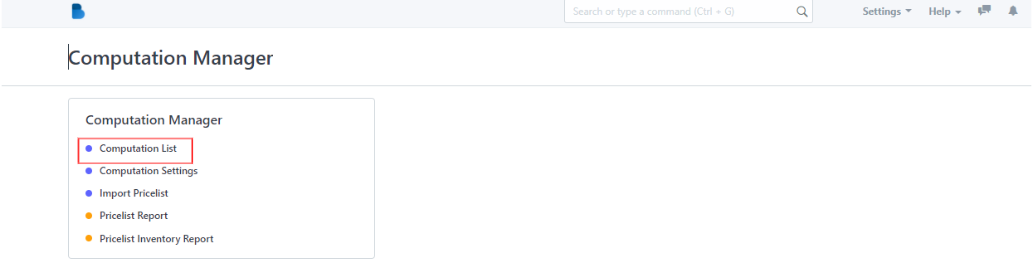
2. On this page click the computation list to see all the sample computations.
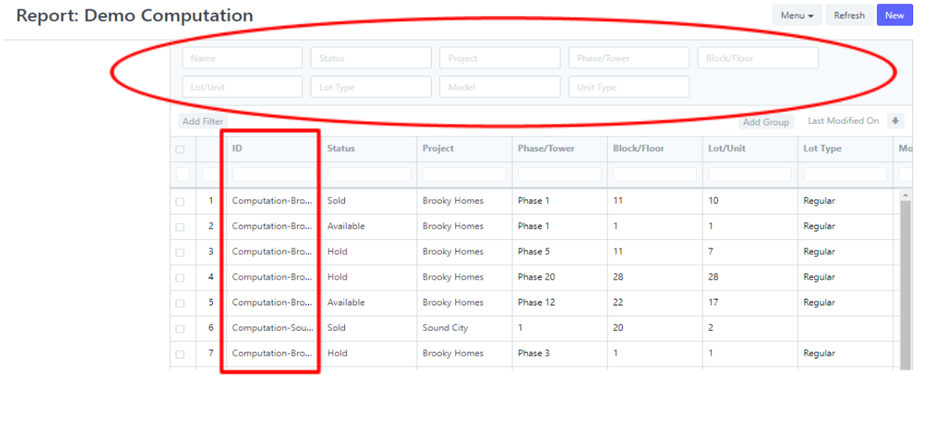
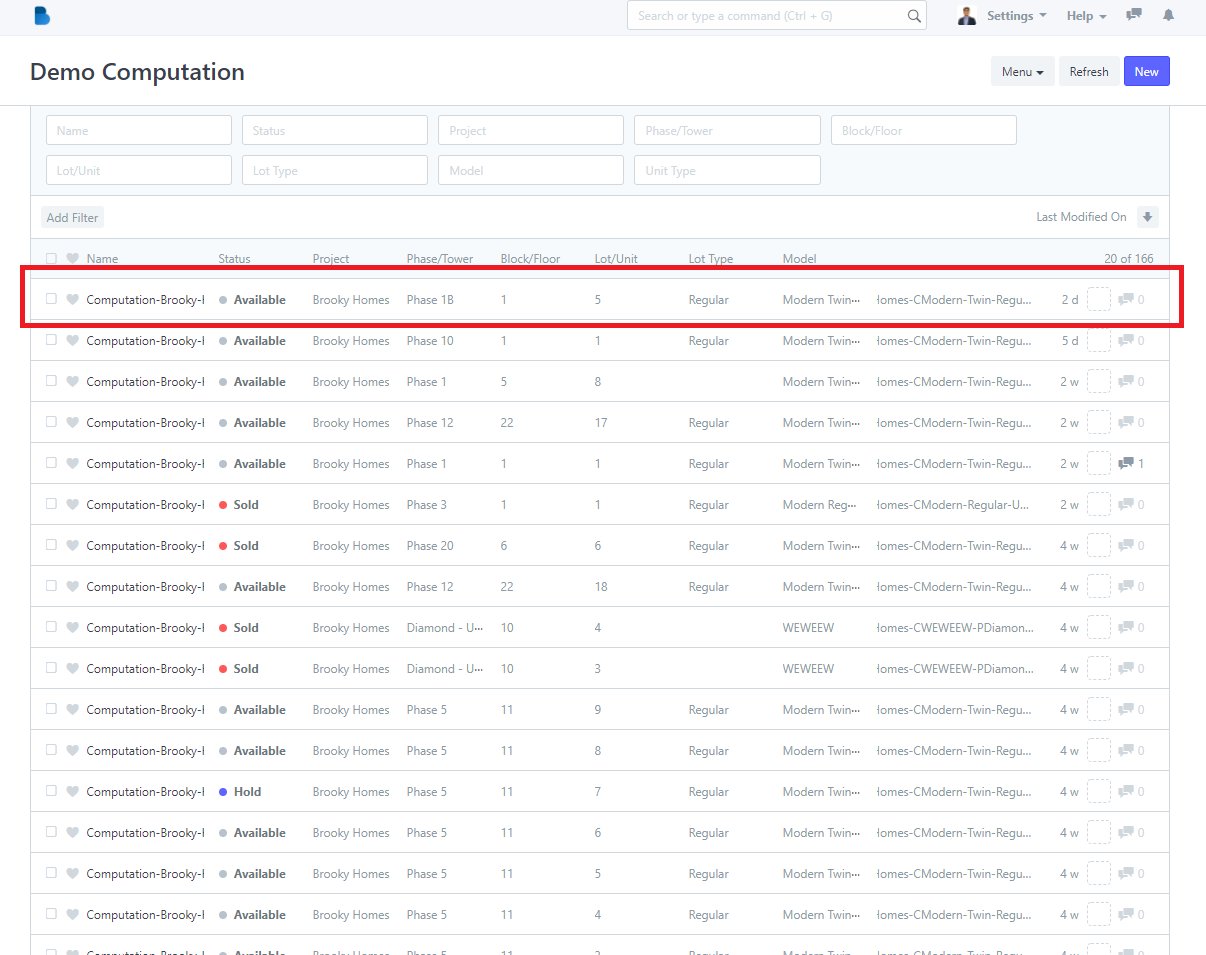
- On this page, you can filter your own choice of fields on the search boxes. (red circle)
- Next, click one of the projects to see the full details of the properties. (Red box).
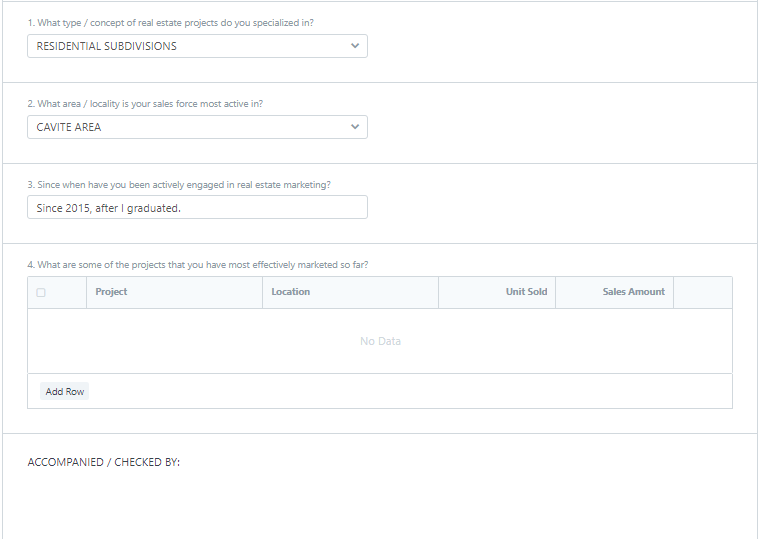
3. This is now the full details of the project, the agreement, payment, house information is shown in this area.

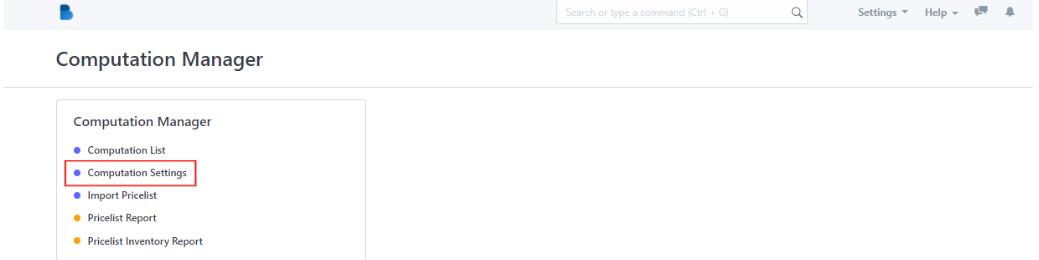
Set up your Computation Setting
In preparation for your payment system, you can now set up your schemes, parameters, discounts, and interest rate.
- Inside the computation manager, you see the COMPUTATION SETTINGS and then click it.
2. Select the project that you want to edit, update, review, and save.

3. Select the project you want to edit or update, and browse up and down to see all the fields you want to edit or update, then save.

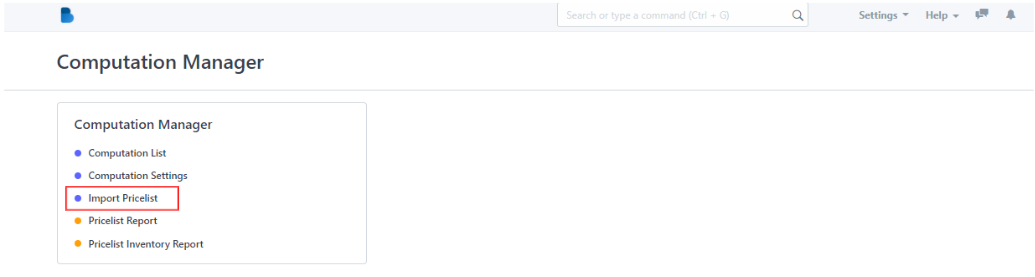
Download a copy of the pricelist template
- from Brooky web dashboard, click the COMPUTATION MANAGER, then IMPORT PRICELIST page to get a copy of the supplied pricelist template.
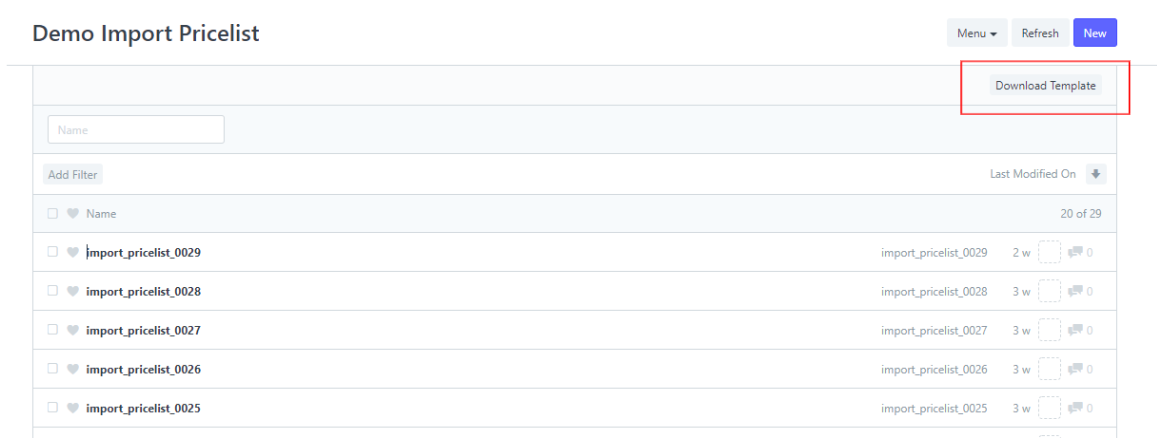
2. By clicking the associated template in the upper right corner of your page, you can download the template of the pricelist.
3. Update the .csv file for the new pricing, status and payment system.
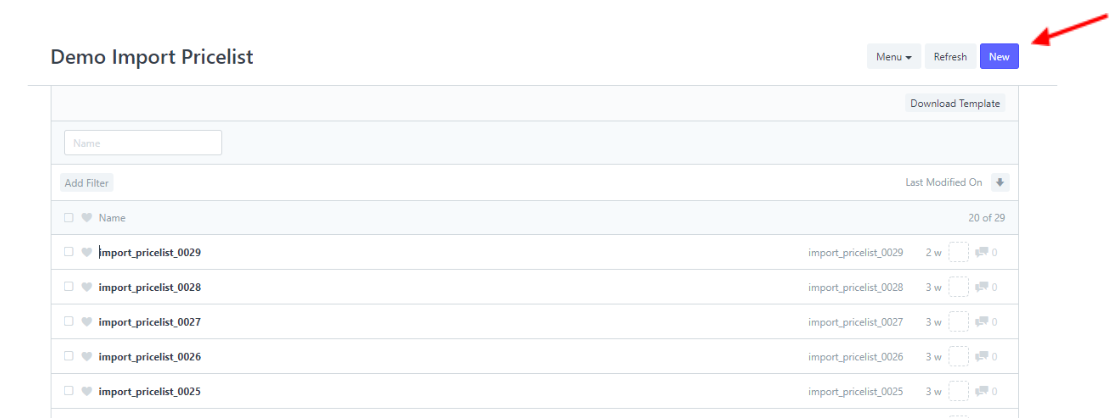
4. On the upper right corner of this page also, you will see NEW, to upload the updated .csv file.
5. In this page, don’t be confused because you will see another DOWNLOAD TEMPLATE, but that process is done because you have already updated the files. You will now proceed to STEP 2 which is to attach the file.
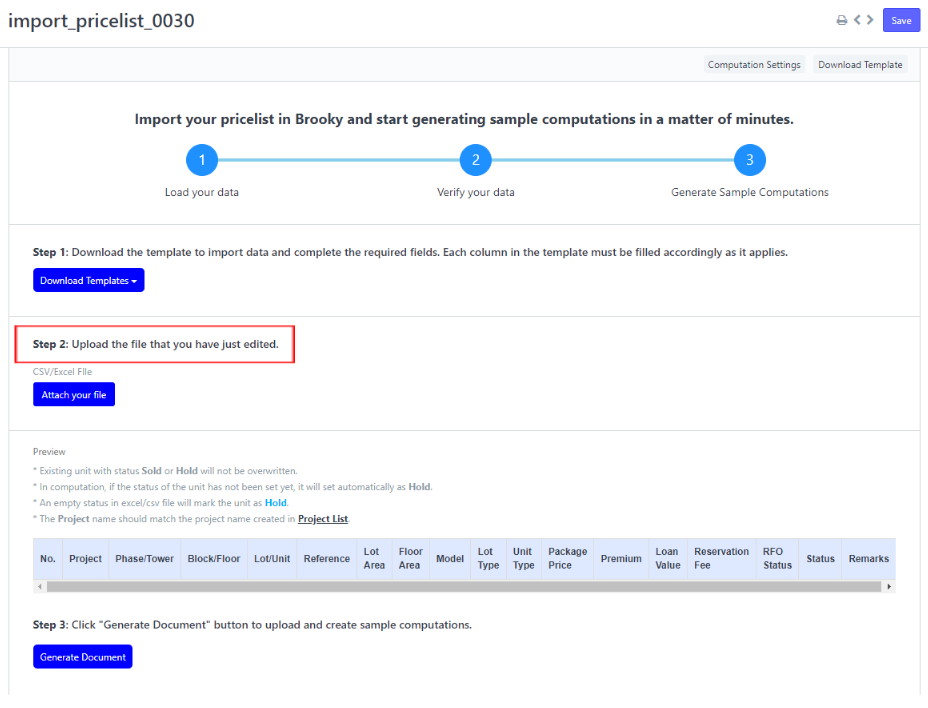
6. Next, click BROWSE to upload the new update file.
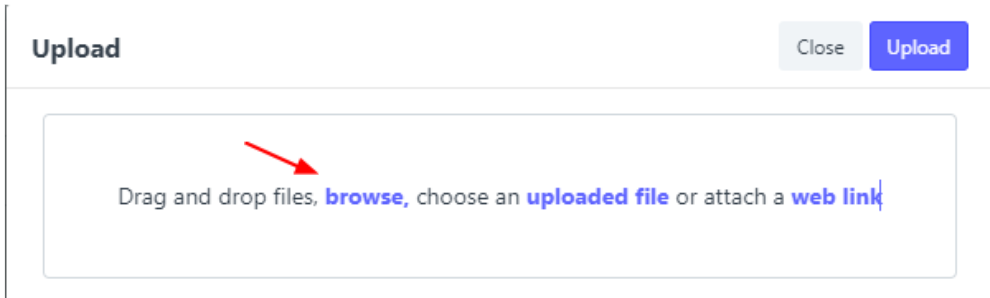
7. Here, you have the option to not make it a private attachment, then click UPLOAD.

8. After your template is attached, you see the summary of your pricelist so that you can review and check if there is an error that occurred upon updating the .csv files.

9. You can also see the REMARKS on the right side of the table which has written the different status;
Will Save - no existing file is detected and it will be uploaded to the system.
Will overwrite - An existing file is has been detected but the status is available. It will generate a new computation document for each payment system.
Will not save - an existing file is detected and the status is currently HOLD or SOLD. it will not be uploaded.
10. If you are done checking, click GENERATE DOCUMENT, then click YES.

11. If you see this prompt text, it means each of the documents inside the .csv file you have edited, will upload one by one.
Then, if you see DONE IMPORTING it means it is done, you can now close it.

12. The process is now done. You can see the new update on the COMPUTATION LIST.
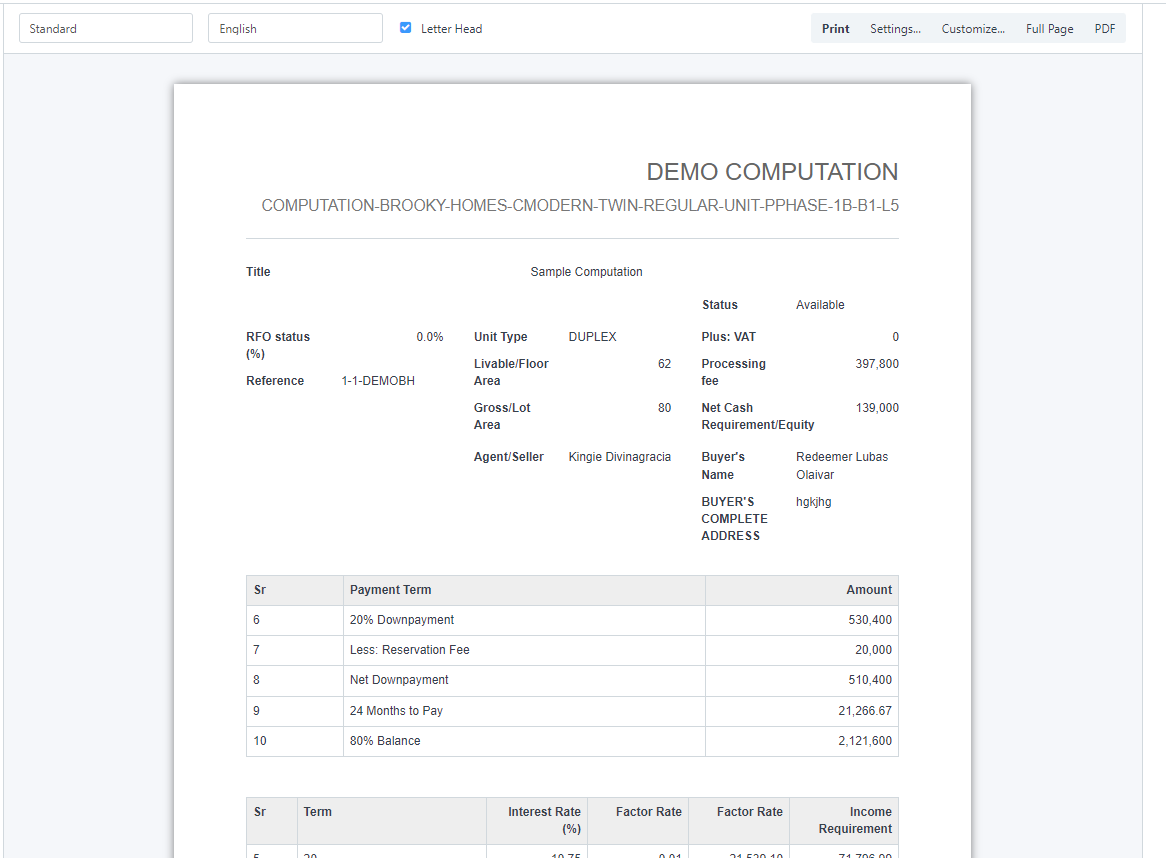
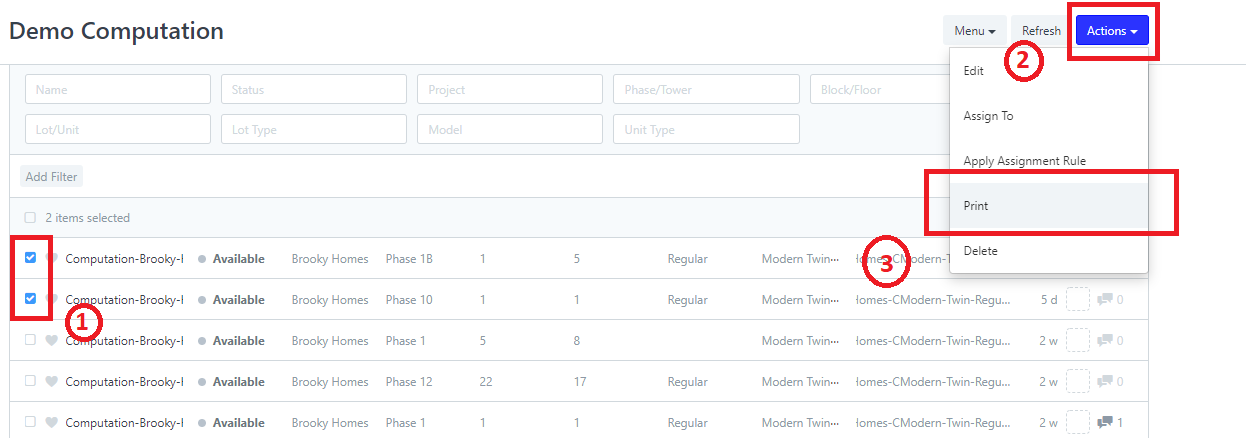
How to go to Print View and Print Computations?
1. Inside the Computation Manager Page click the Computation List to navigate to the Computations.
2. Select a Unit that you want to Print.
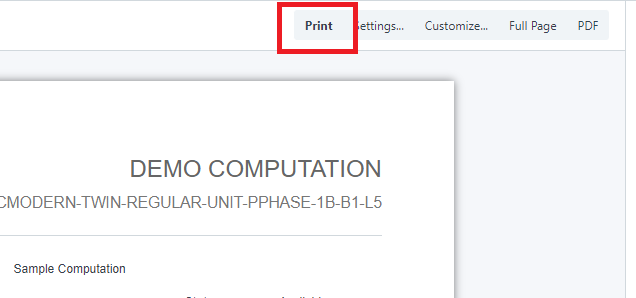
3. Click Print at the top.

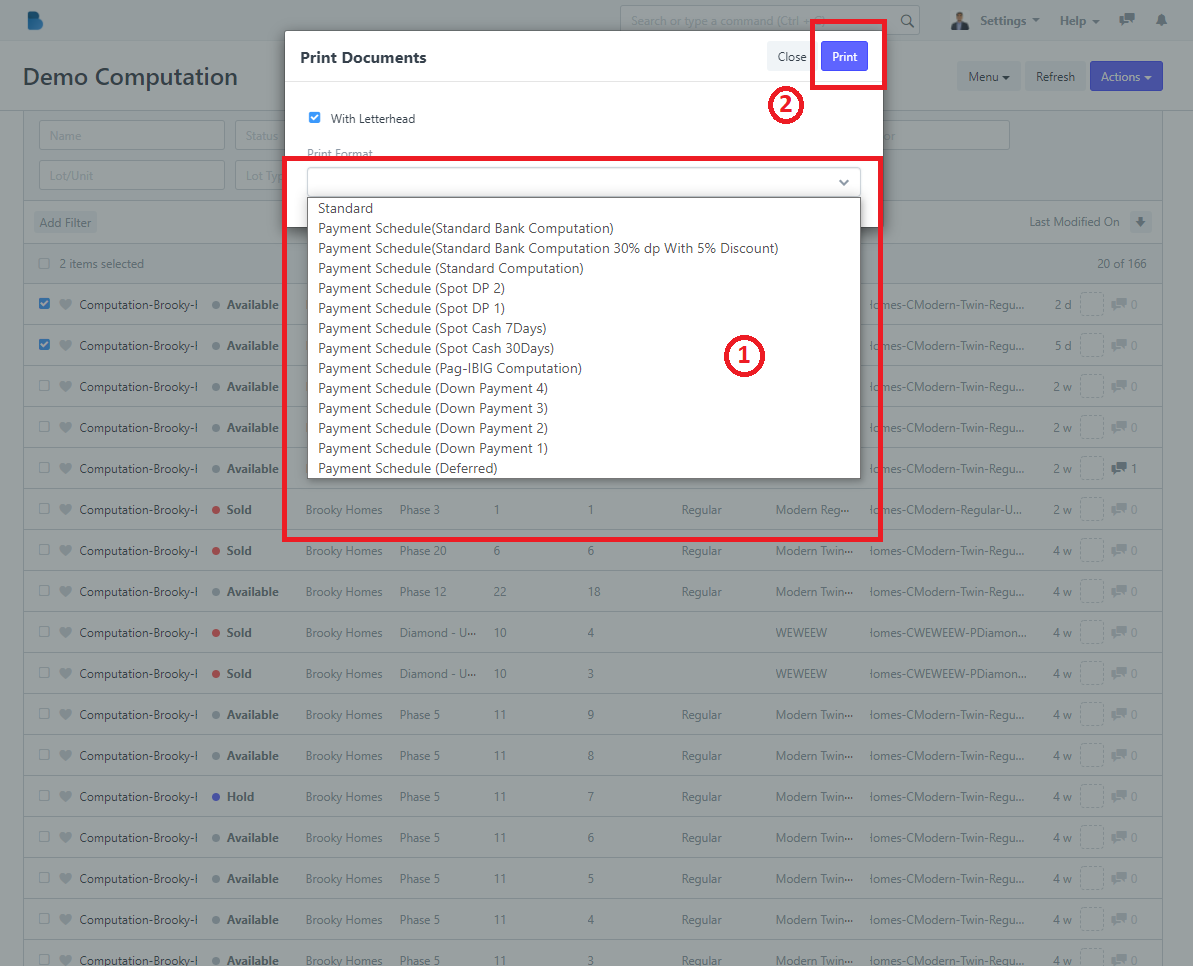
Print view looks like this...
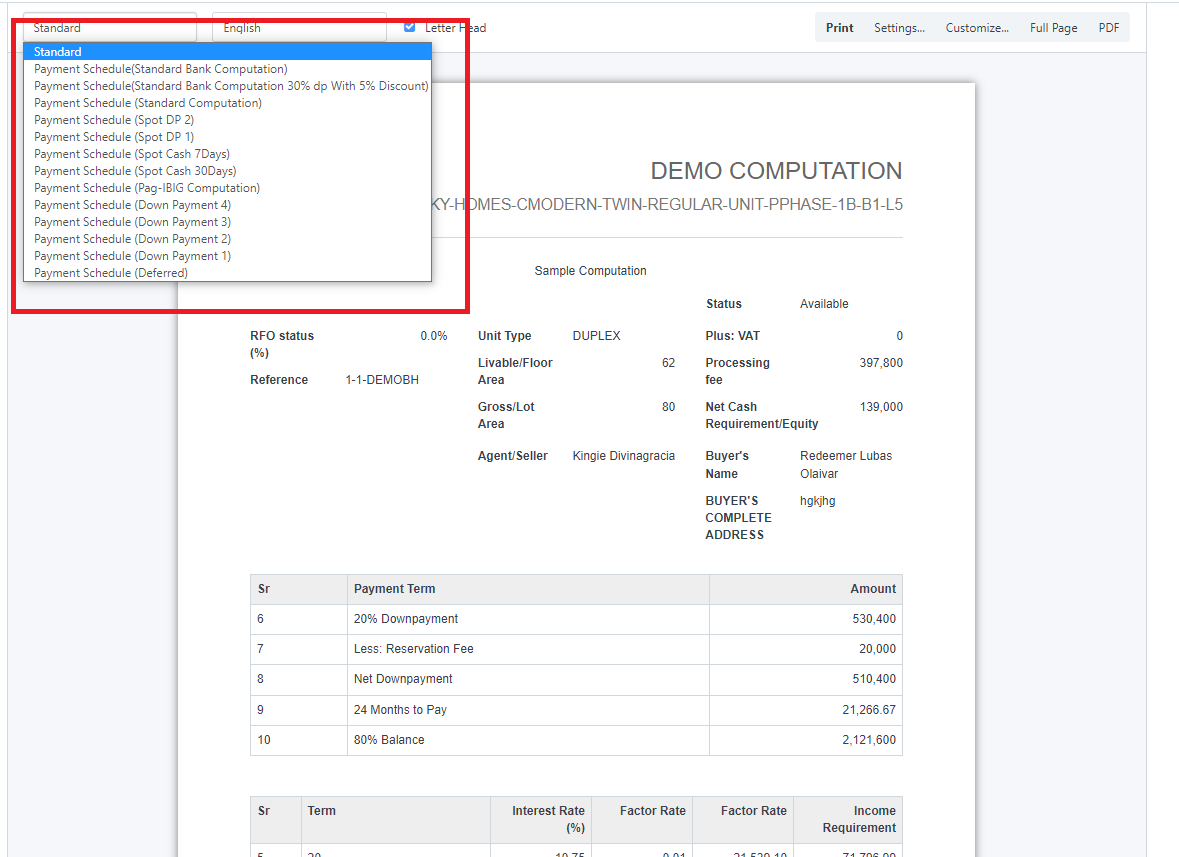
4. You can also change the format of what the to be look like when printed.
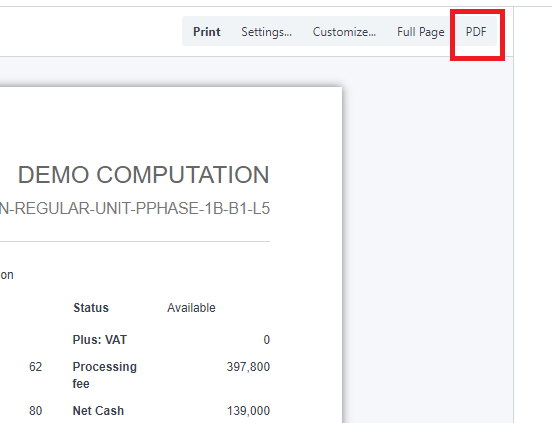
5. If you want to download a PDF copy, click the the PDF to the right.
6. To print the unit computation, click the Print button.
Another way of printing...
Select Print Format then click Print...
Payment Manager
How to Add a New Payment Manager
1. Open the Brooky Portal and login your credentials.
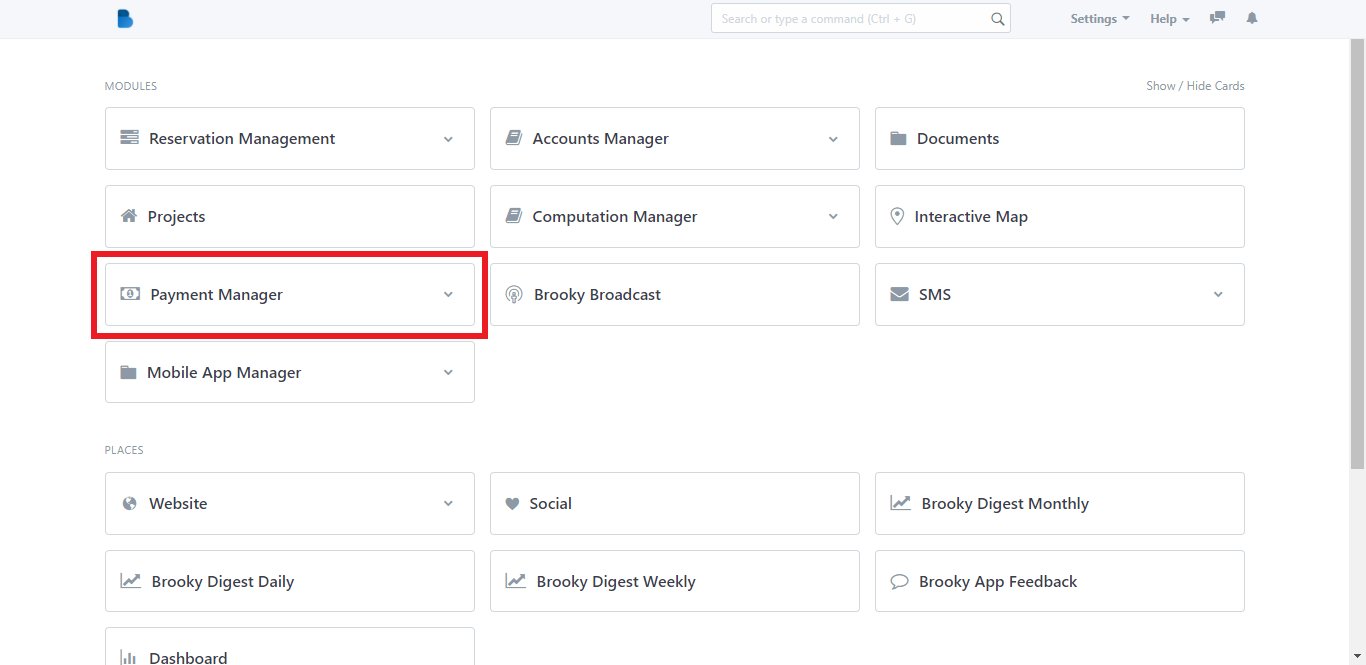
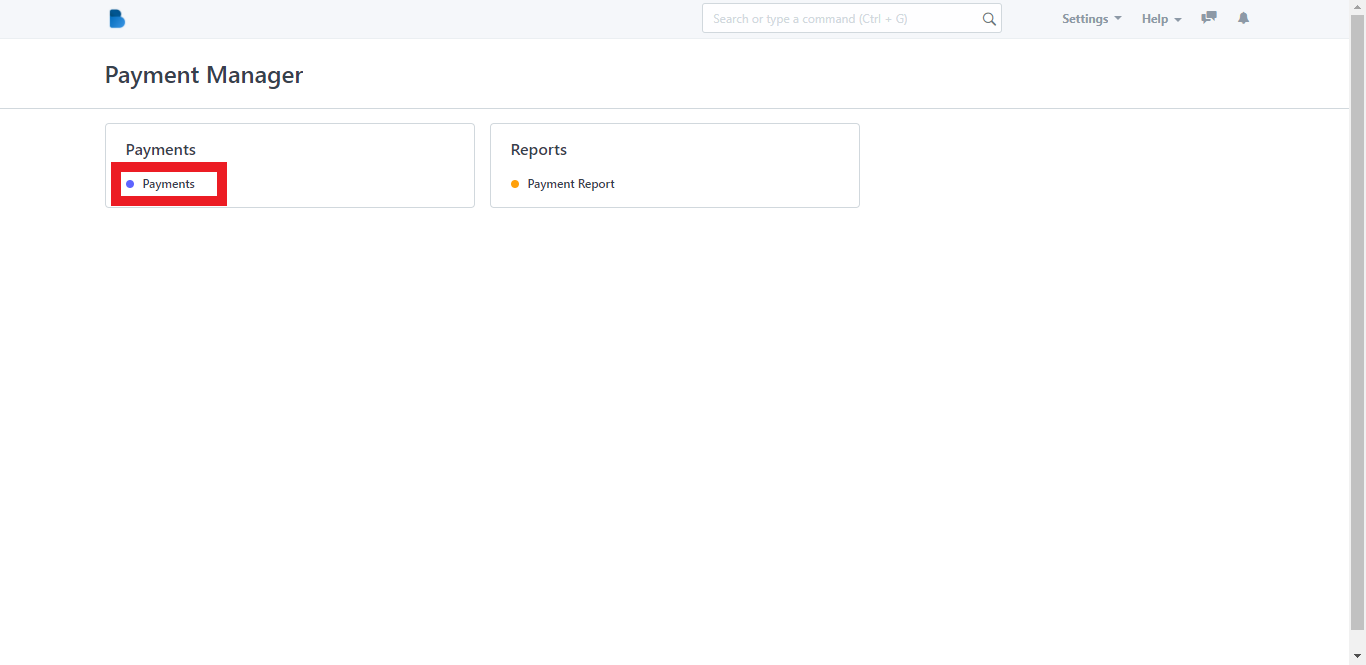
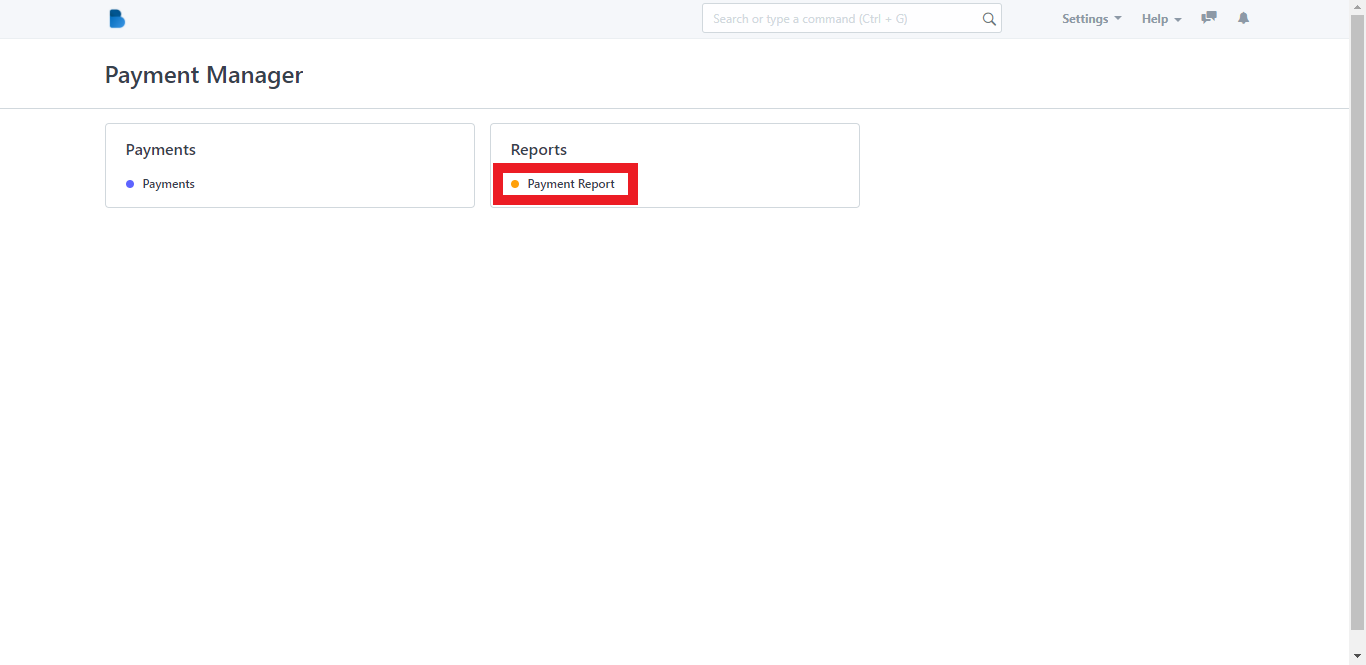
2. On the Brooky Admin Portal homepage, click on the Payment Manager and it will redirect you to its page which has two categories; Payments and Reports.
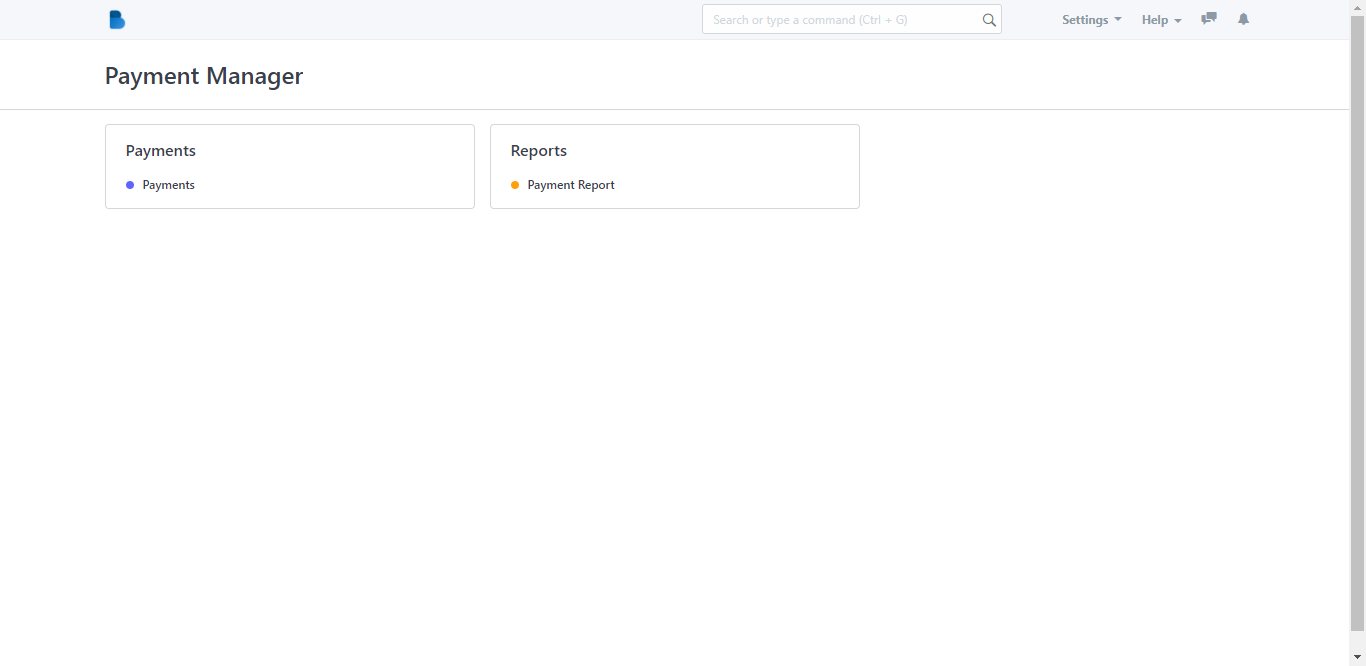
3. Click the Payments category and after that it will redirect you to this page where you will see different details about buyer’s payments.
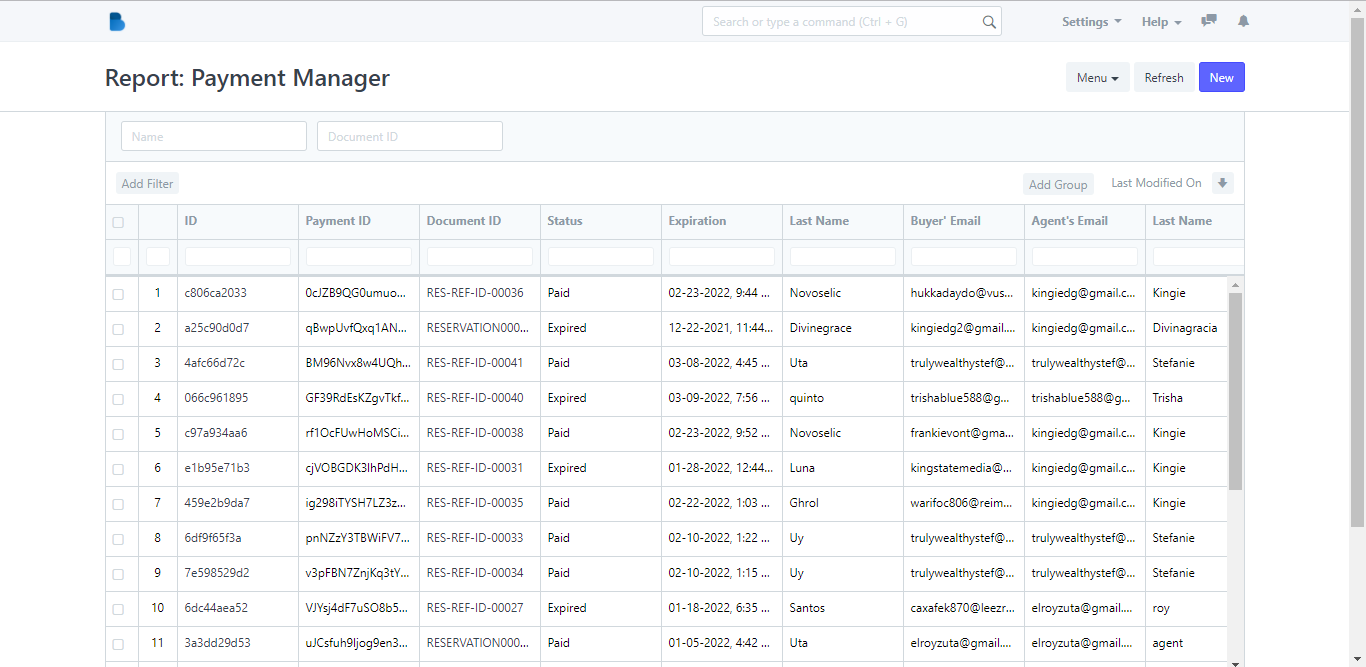
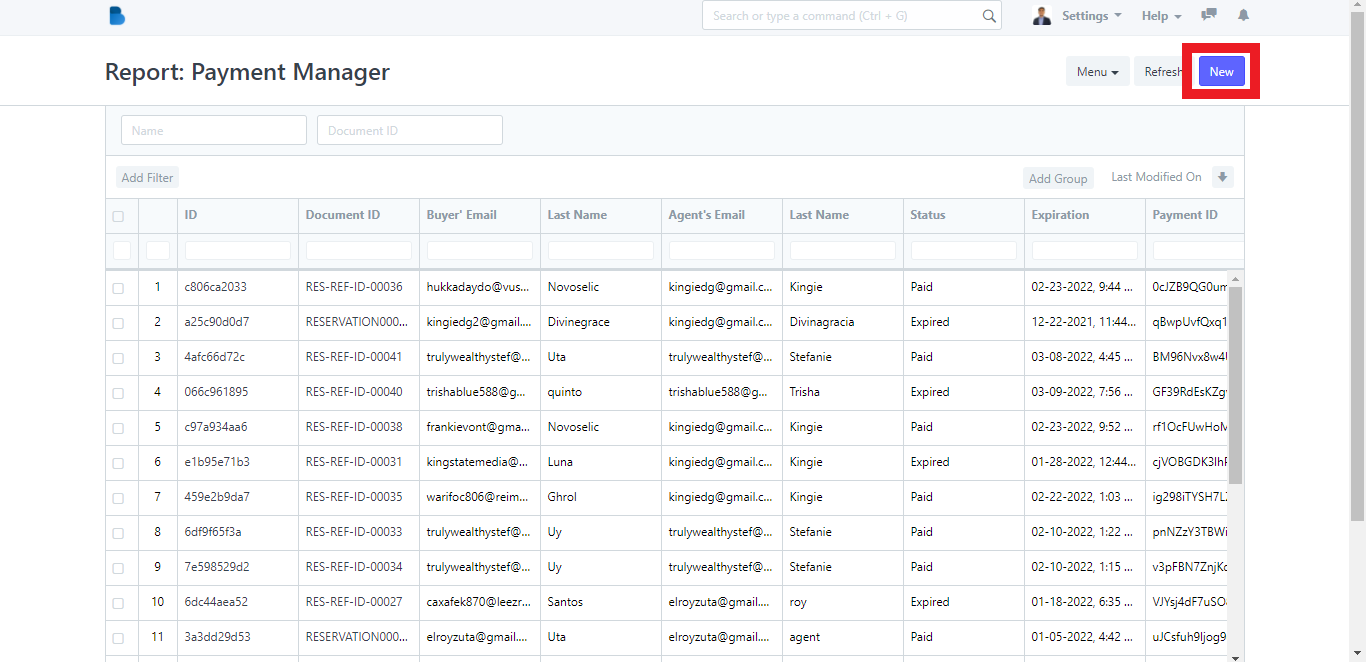
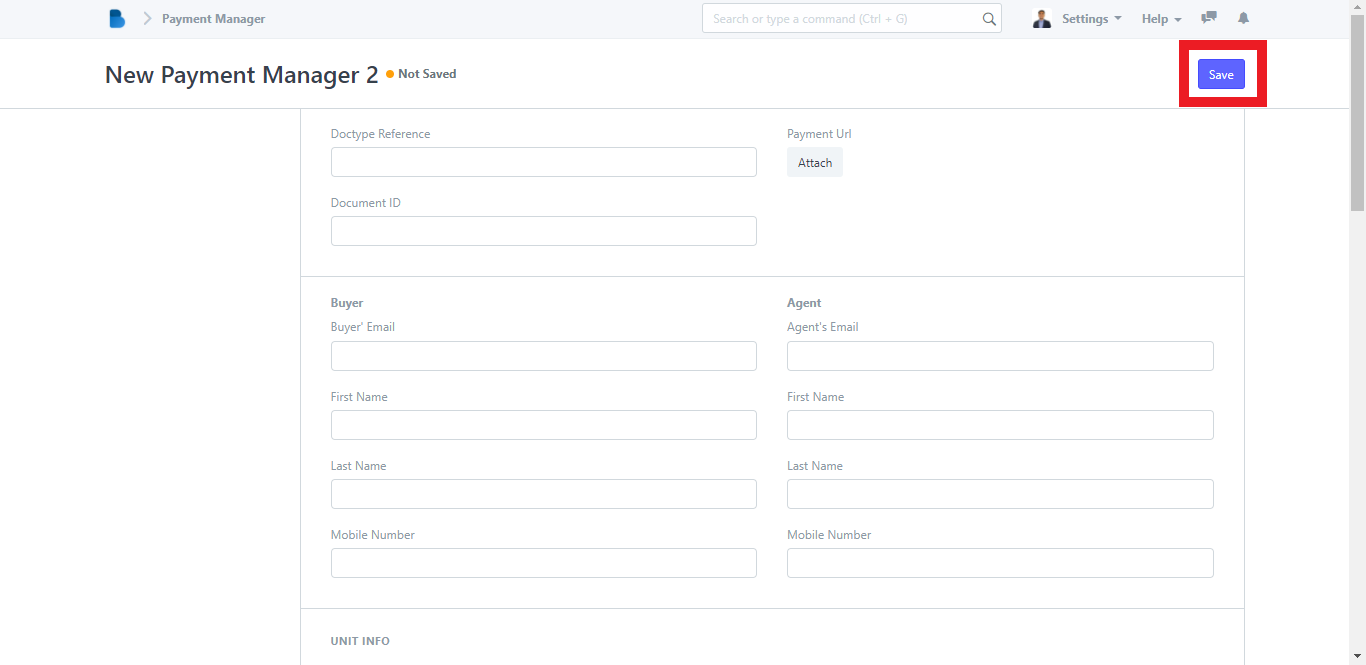
4. In the Report: Payment Manager page, click the New button and it will redirect you to its page.
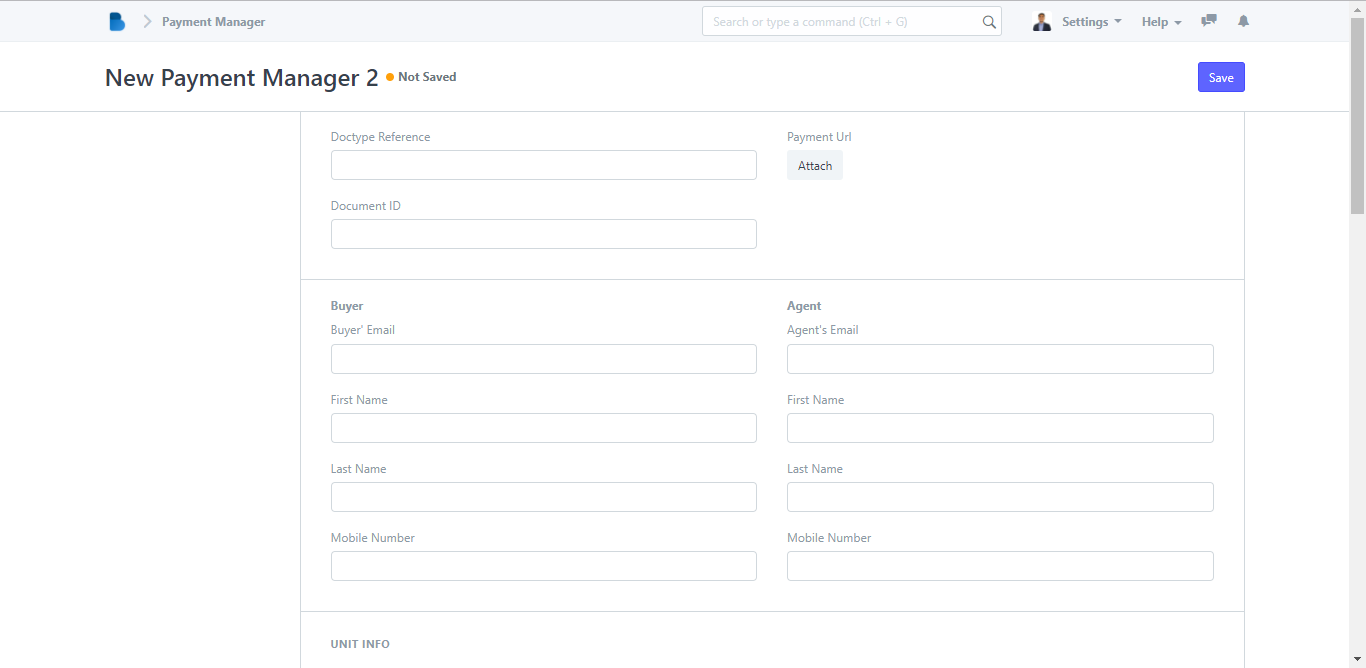
5. Fill out the necessary details in the field on the New Payment Manager page, then click the Save button.
How to use the Payments and Payment Report Menu
1. Open the Brooky Portal and login your credentials.
2. On the Brooky Admin Portal homepage, click on the Payment Manager and it will redirect you to its page which has two categories; Payments and Reports.
3. You can select Payments or Payment Report as both categories have the same Menu option. When you click a category, you will be taken to its page.
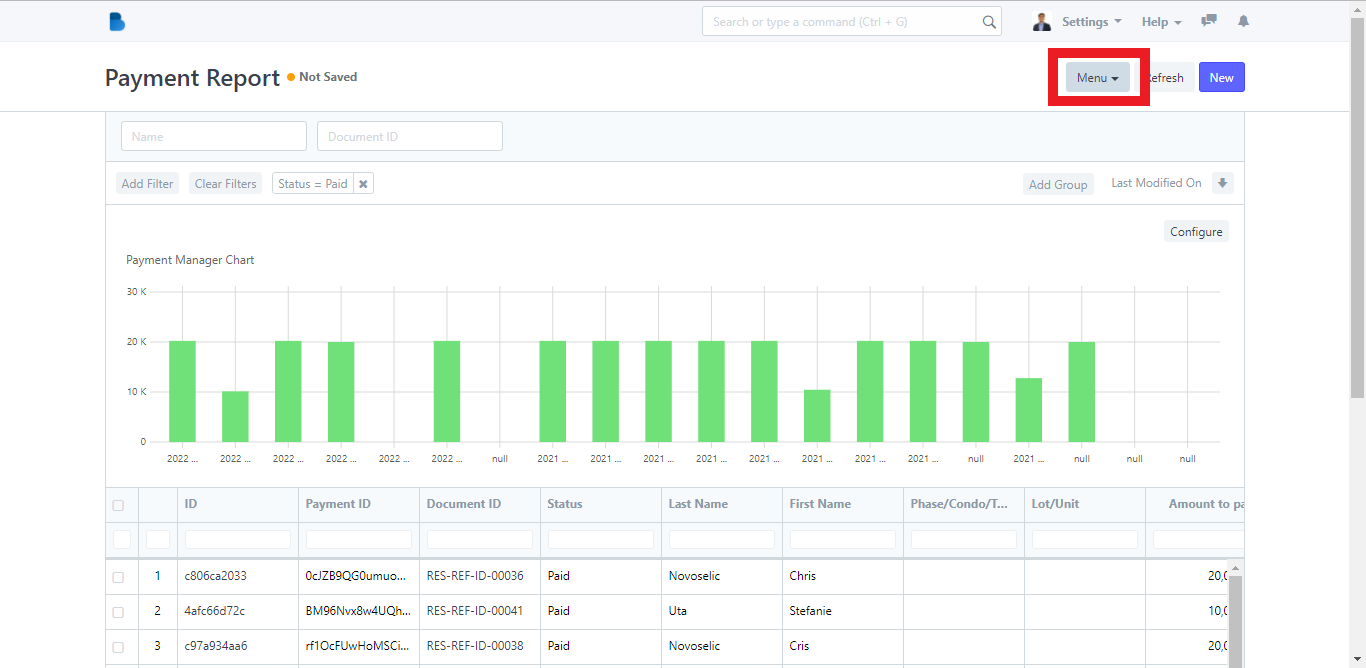
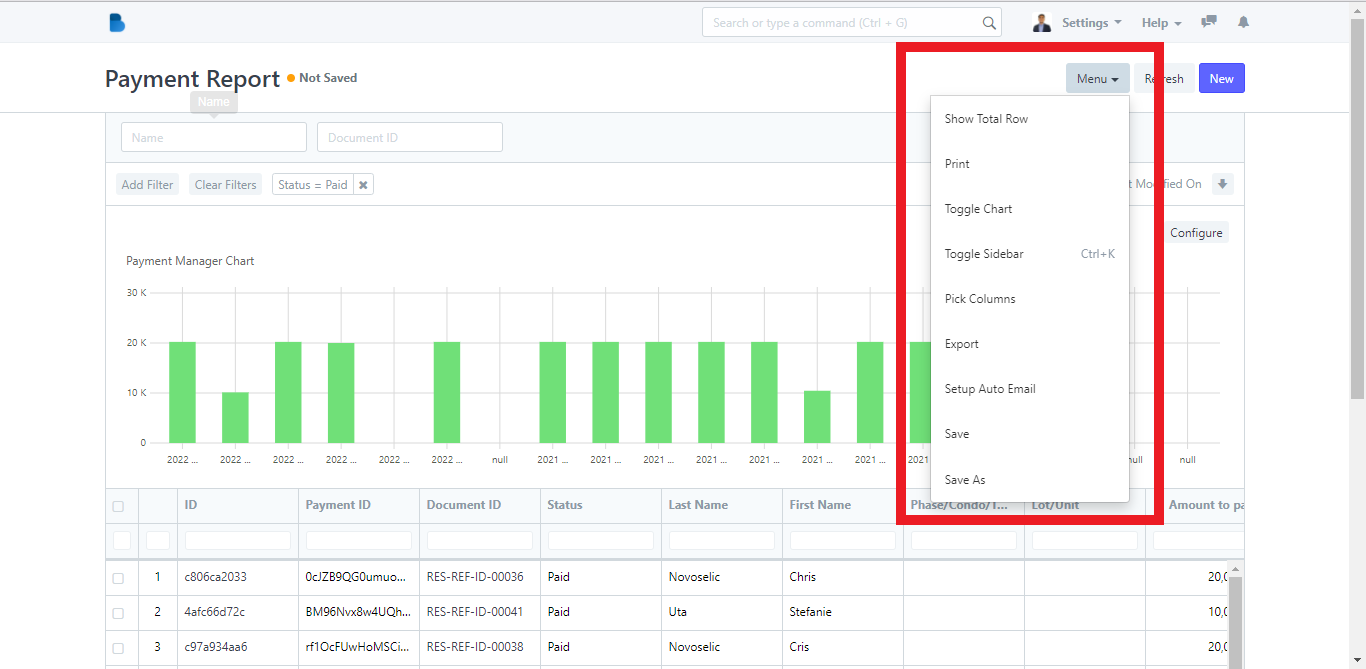
4. In the Payment Report page, there is a Menu dropdown button. Click it and it will show its options.
5. The Menu dropdown button displays several options like what you want to do with the documents or how you want the page to look like (Show Total Row of the payment details, Print payment report, Toggle Chart, Toggle Sidebar, Pick Columns on what information you want to display in the page, Export payment report in an Excel or CSV format, Setup Auto Email to send payment information through email, Save and Save As).
How to Configure Chart in The Payment Report
1. Open the Brooky Portal and login your credentials.
2. On the Brooky Admin Portal homepage, click on the Payment Manager and it will redirect you to its page which has two categories; Payments and Reports.
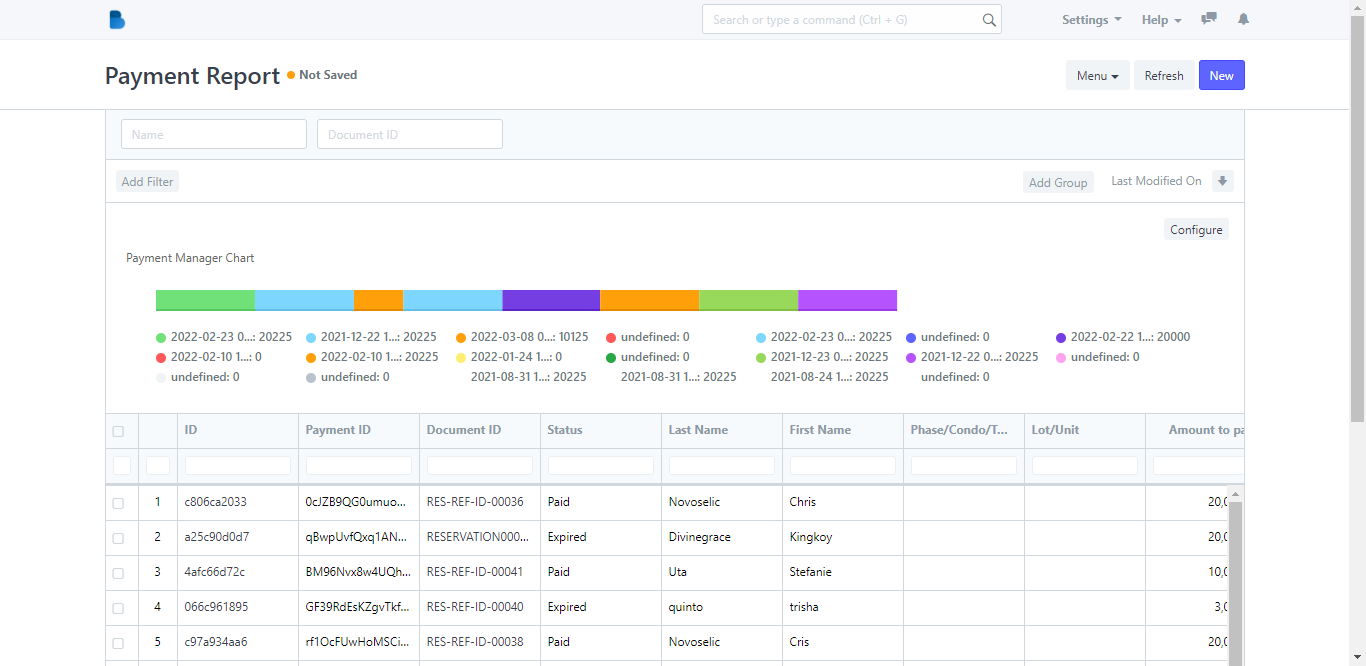
3. Click the Payment Report category and after that it will redirect you to this page where you will see more detailed information about the buyers’ payments.
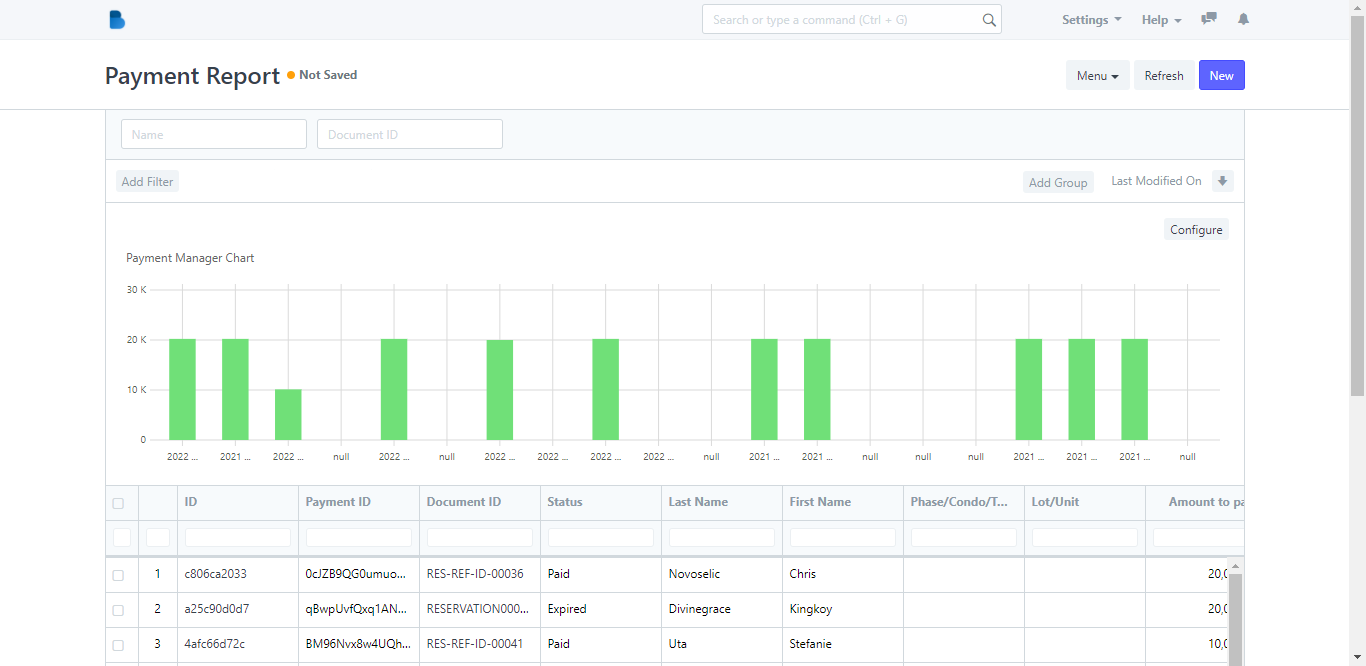
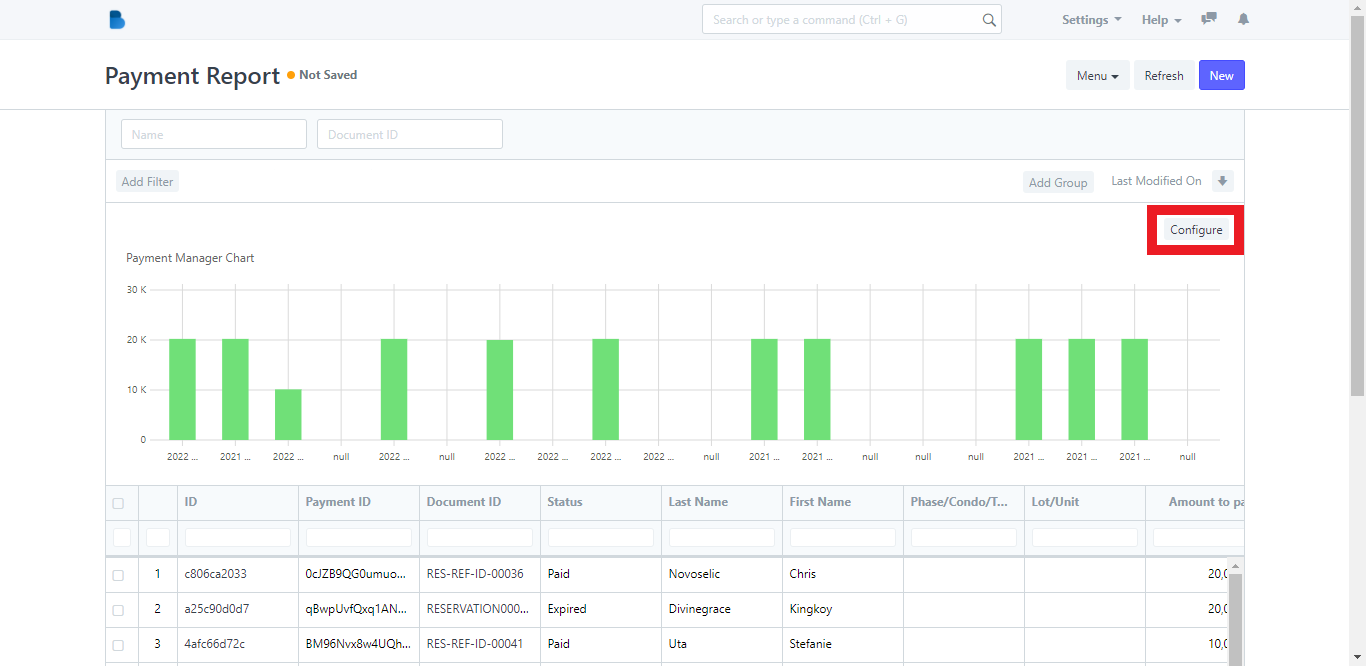
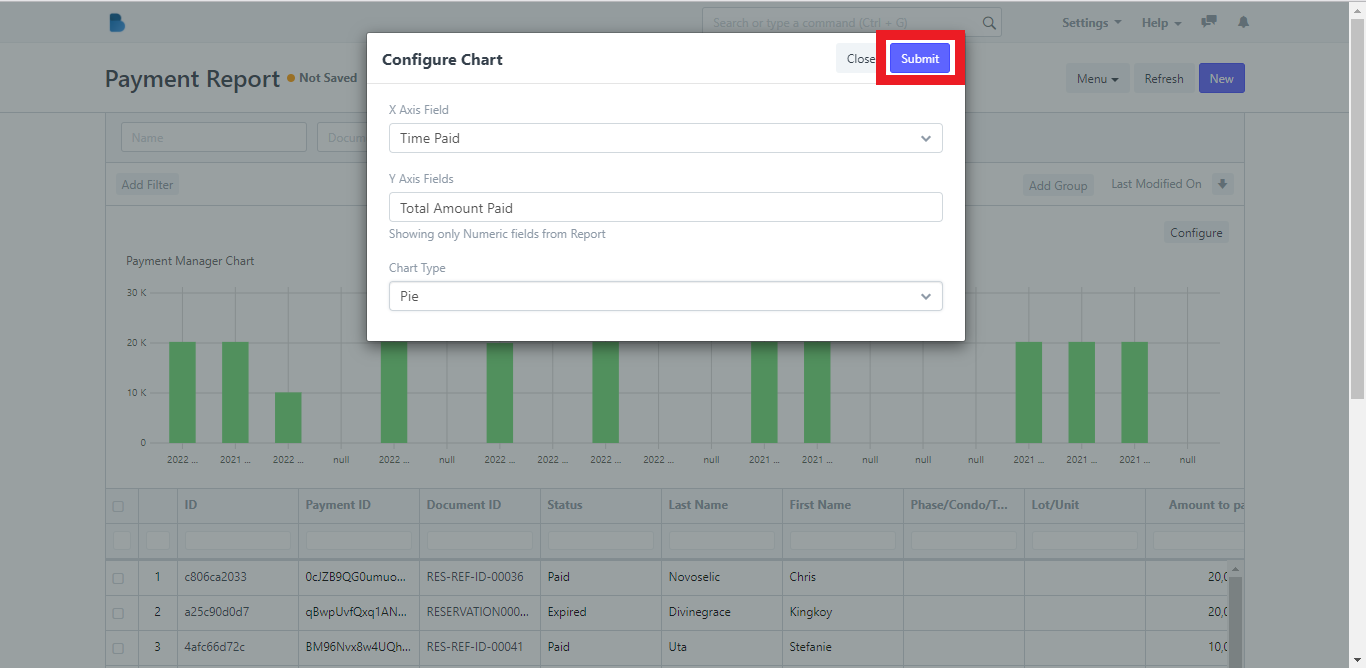
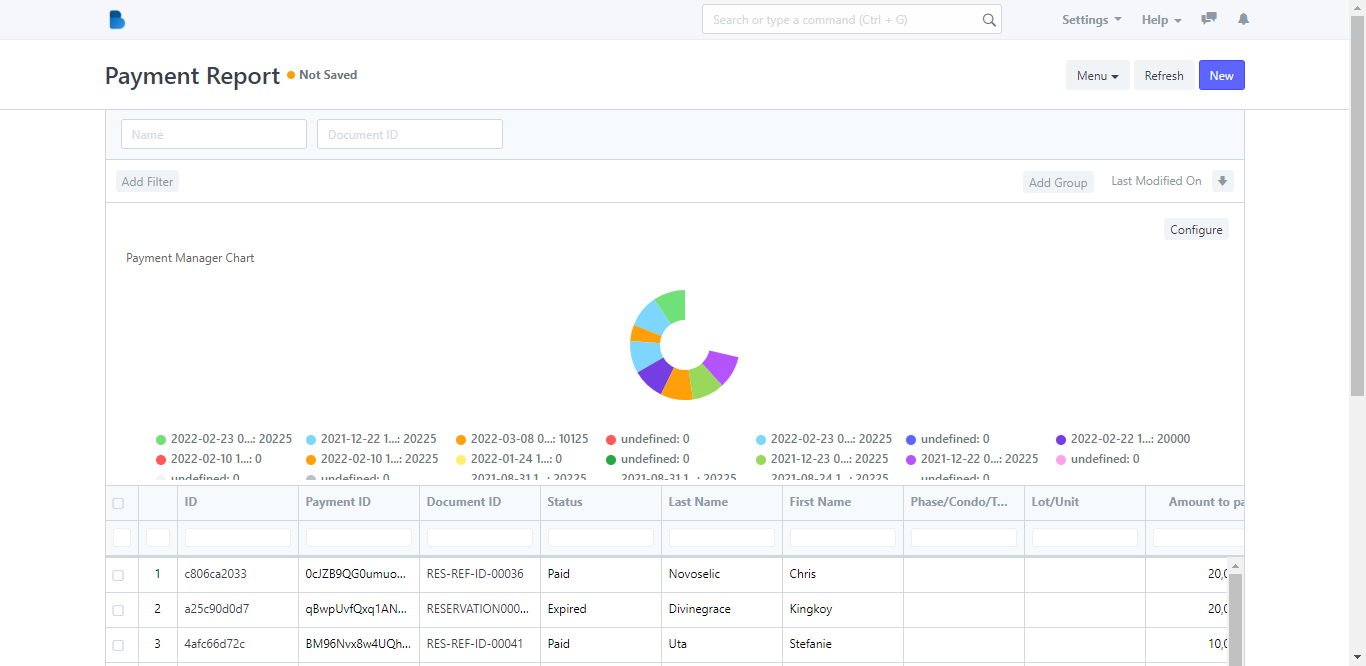
4. The chart can be configured based on the details of the buyer. Click the Configure button and it will show the configure field. After that, click the Submit button to generate the configured chart.
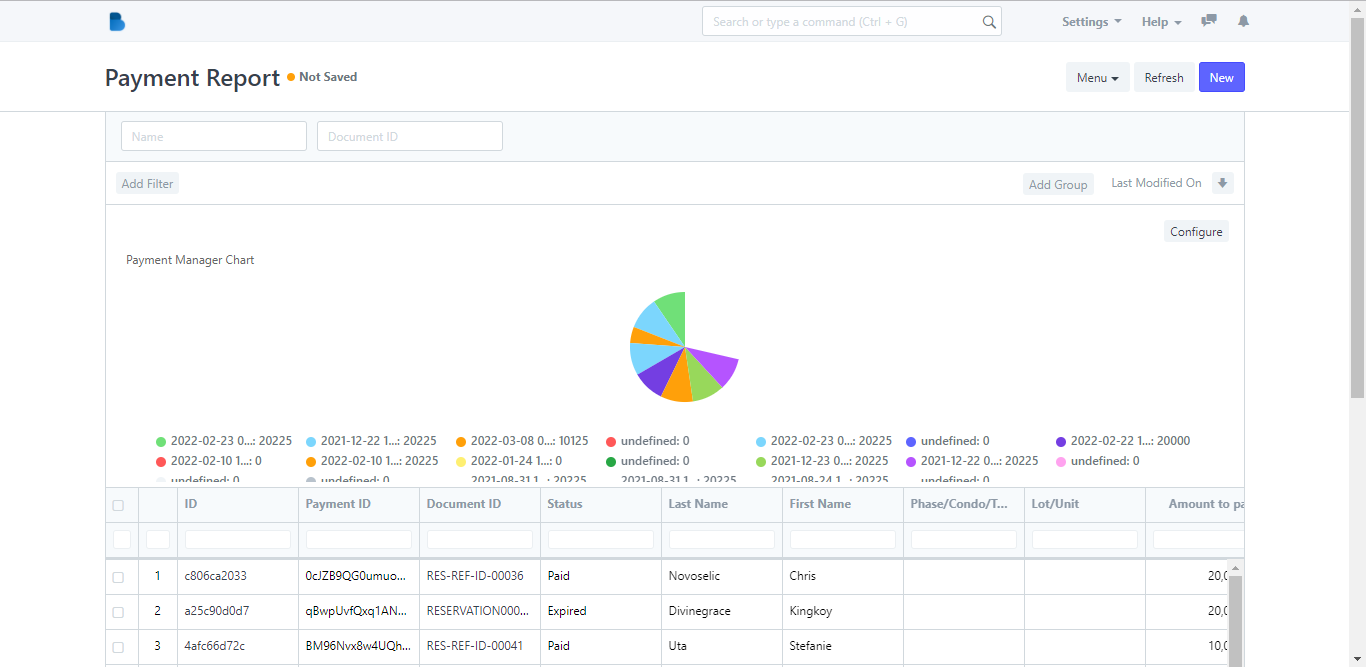
These are the examples of a customized configured chart.


How to grant access to Mobile app users
A guide on how to update user's app permission in Mobile App User Requests.
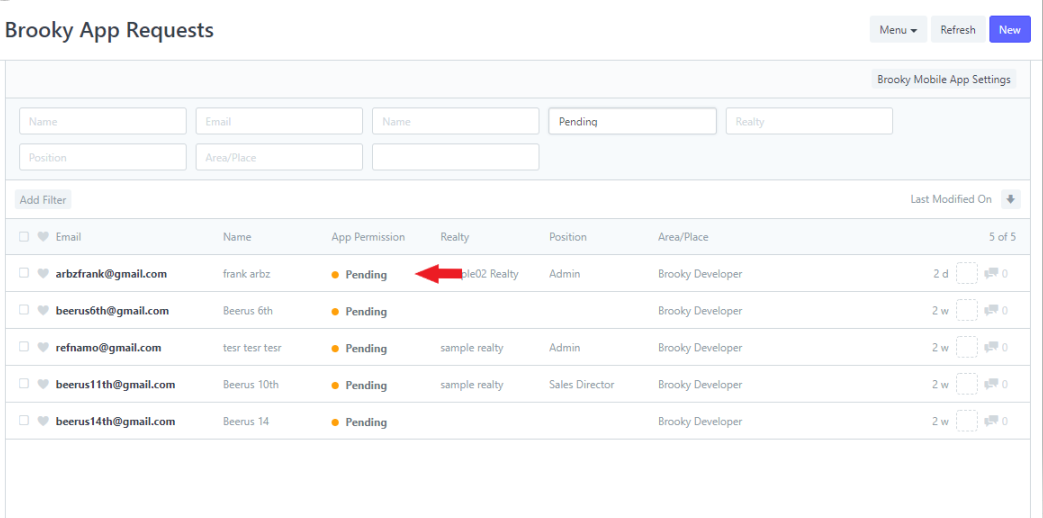
- Inside the Mobile App Manager Page click the Mobile App Request to navigate to the Mobile App Request Page.
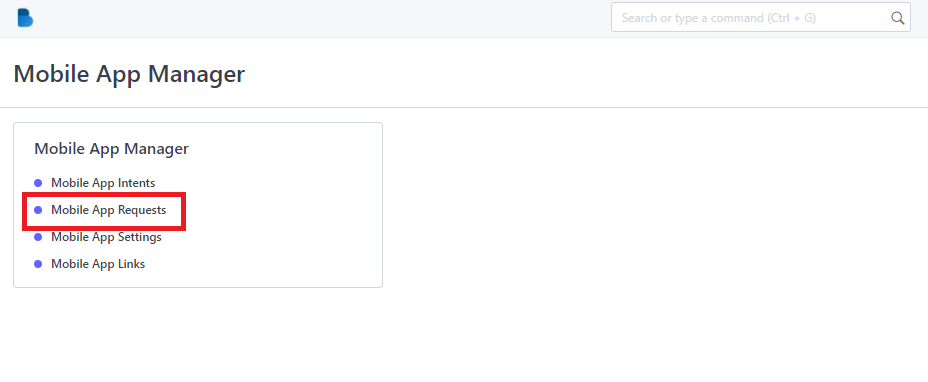
Mobile App Request Page…
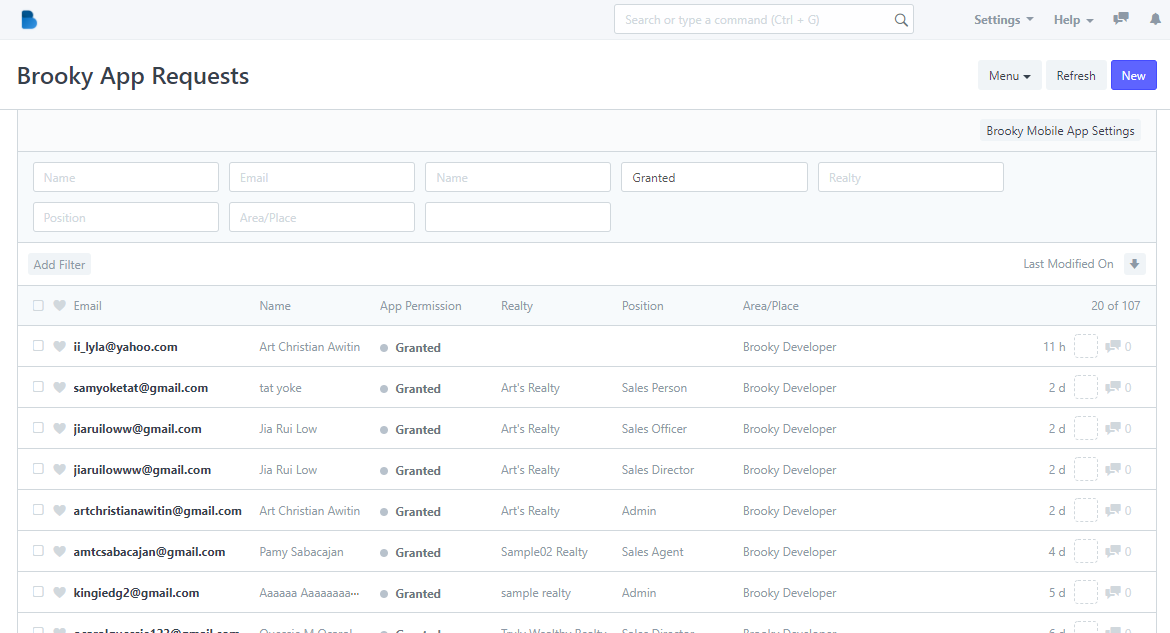
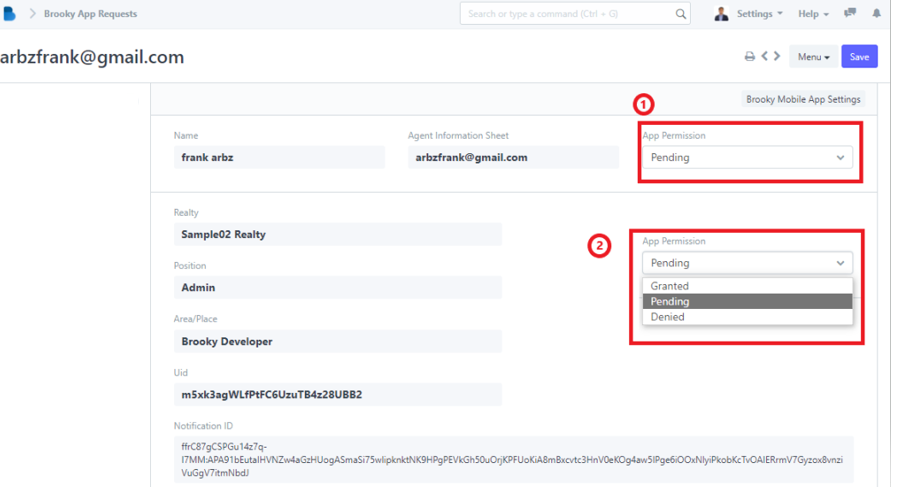
2. Select a user request that you want to view.
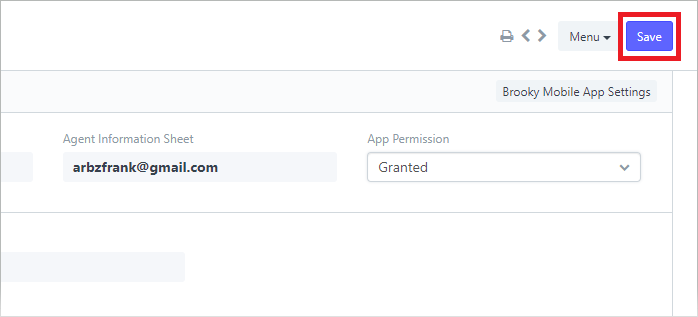
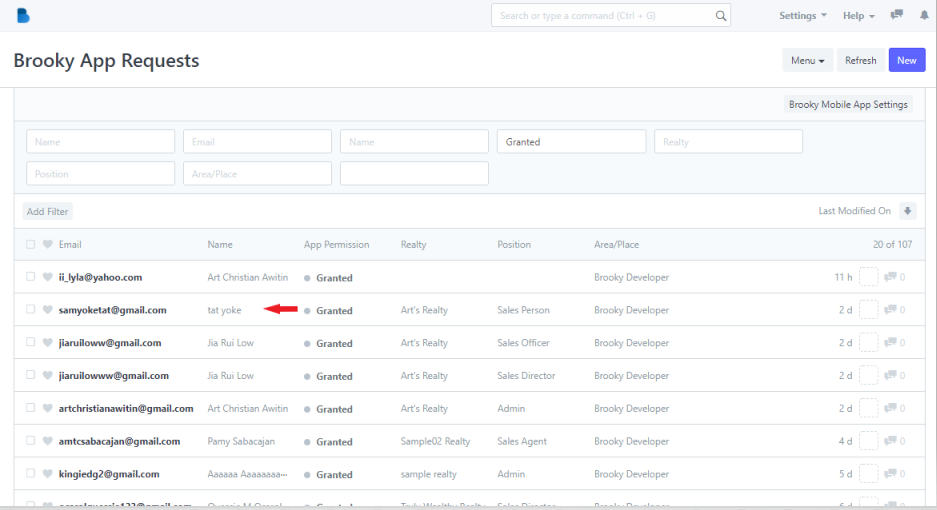
3. Click App Permission option and Select the permission you want for the user.
4. Click Save to update changes you made.
How to edit User's Email and Name in Mobile App Request
- Inside the Mobile App Manager Page click the Mobile App Request to navigate to the Mobile App Request Page.
Mobile App Request Page…
2. Select a specific user that you want to edit.
3. Click the user's email and Name at the left corner. Provide a new email and click Rename to save changes.

4. Click Save to update changes.
How to add new User in Mobile App Request
1. Inside the Mobile App Manager Page click the Mobile App Request to navigate to the Mobile App Request Page.
2. Click New to add new User.
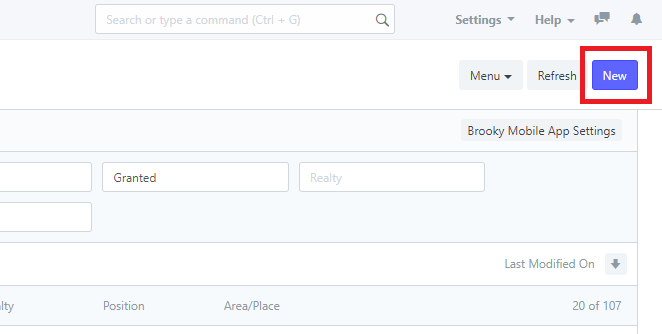
3. Enter the Email that you want to register and choose the status(Pending, Denied or Granted).

Note: You can also fill the form in a whole page site, just click the Edit in full page.
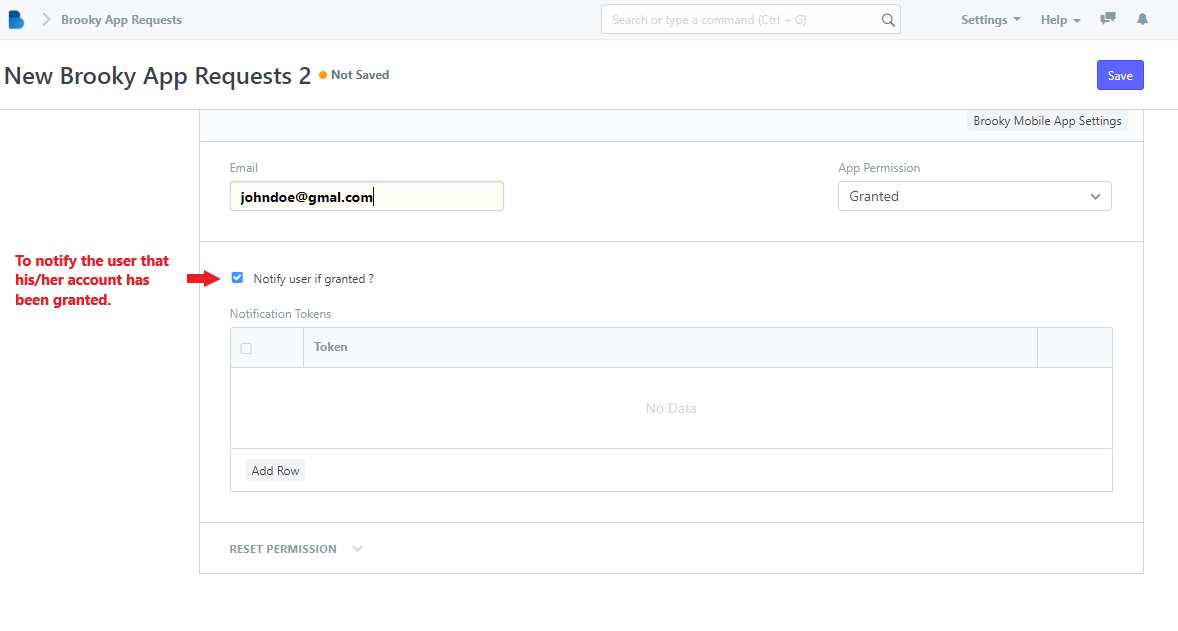
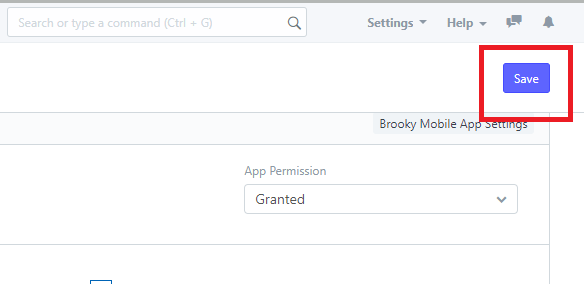
4. Then, click Save.
How to add New User Recipient in Mobile App Setting Page
1. Inside the Mobile App Manager Page click the Mobile App Settings to navigate to the Brooky Mobile App Settings page.

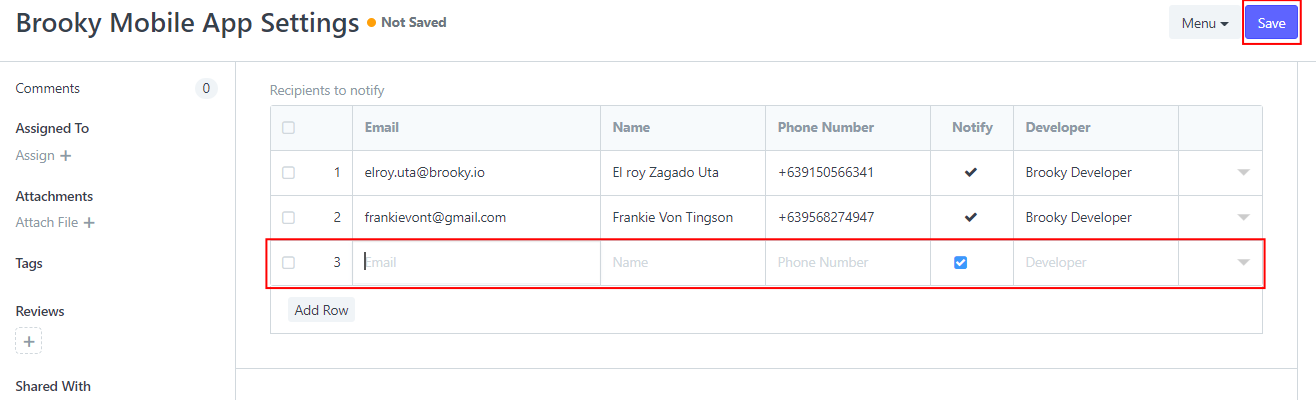
2. In the Brooky Mobile App Settings page click Add Row.
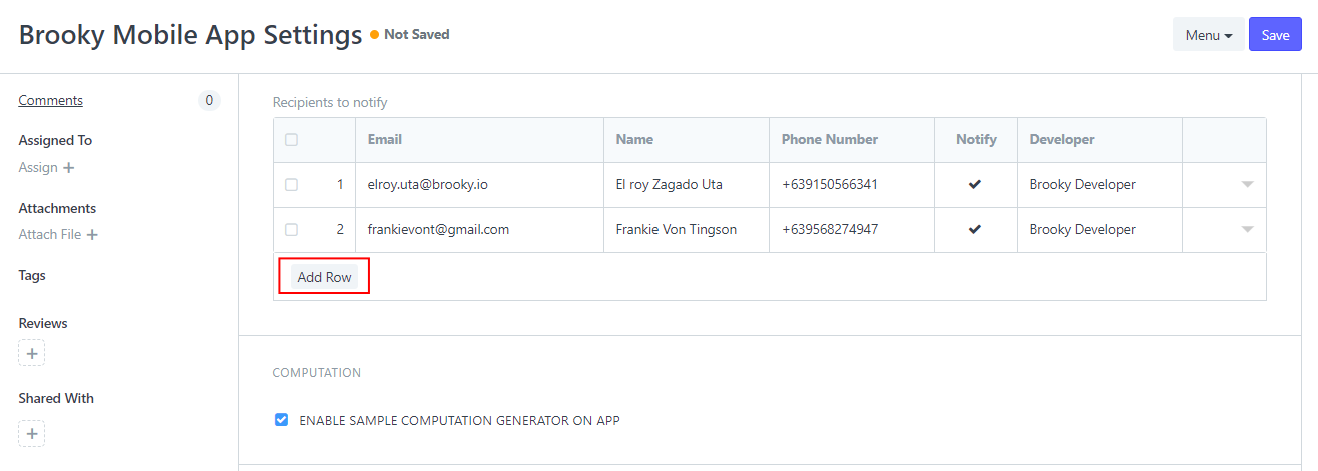
3. Add some information needed in the fields like user Email, Name, Phone Number and others. Then after filling up click Save.
How to edit User Recipient in Mobile App Setting Page
1. Inside the Mobile App Manager Page click the Mobile App Settings to navigate to the Brooky Mobile App Settings page.
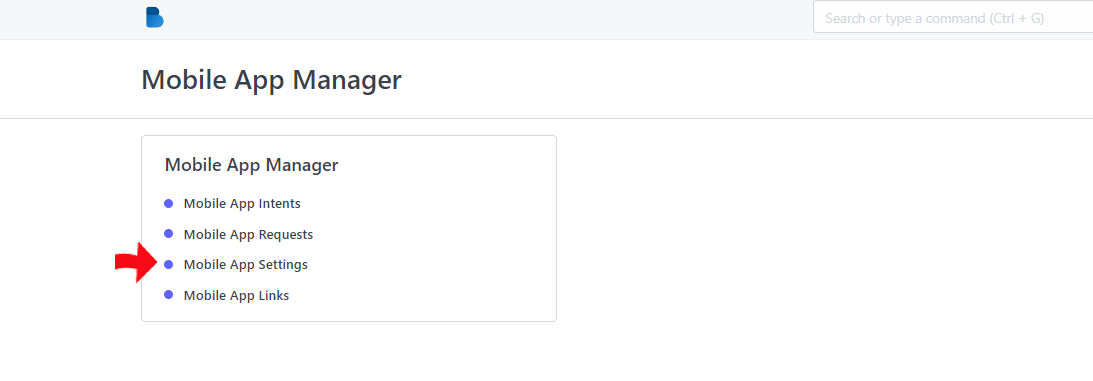
2. In the Brooky Mobile App Settings page select a specific user that you want to edit.
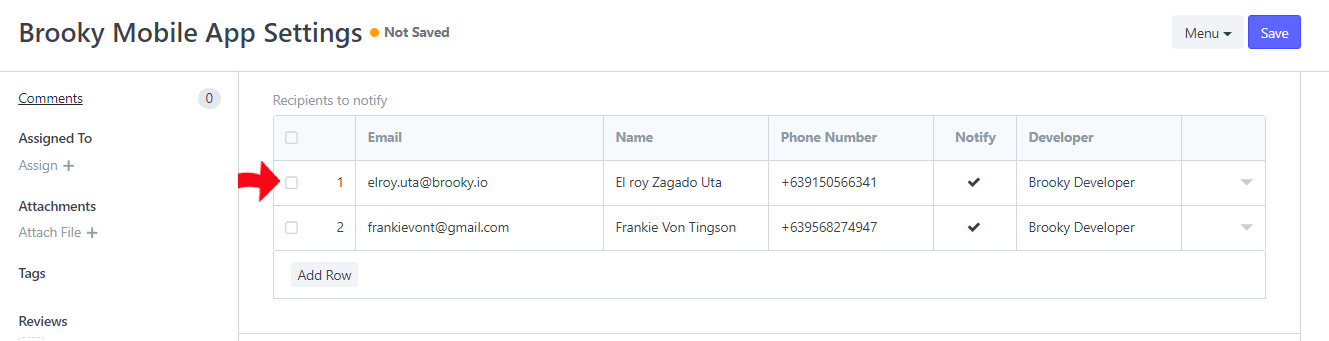
3. Provide the new information that you want change and then click Save.
How to add New Links in Mobile App Link Manager?
- Inside the Mobile App Page click the Mobile App to navigate to the Prospective Buyers Form Page.

Brooky Links Page…
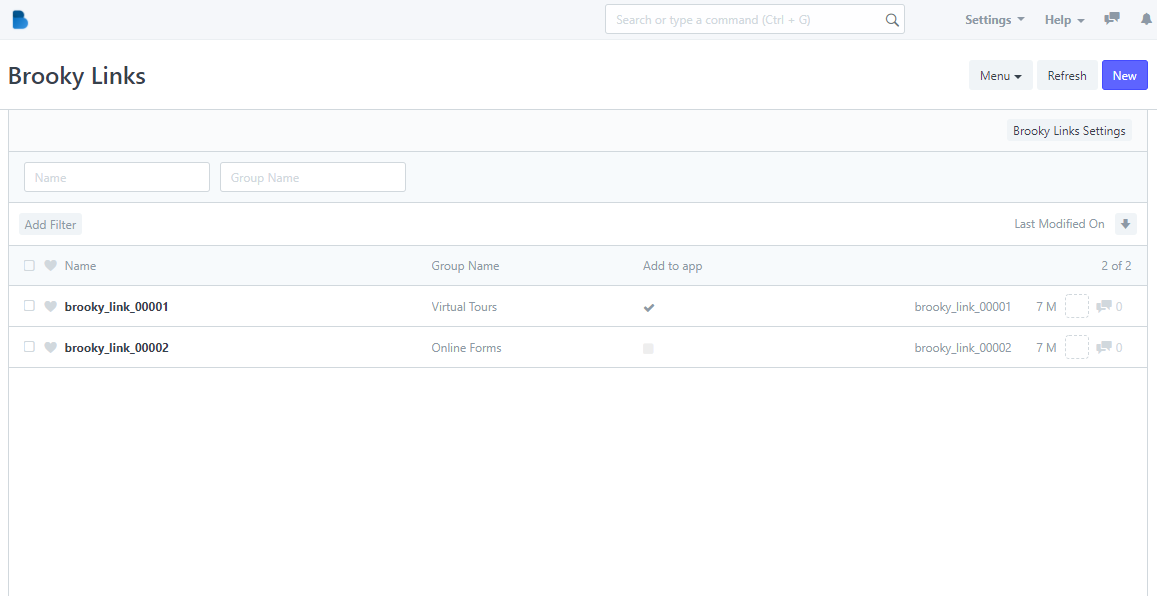
2. Click New.

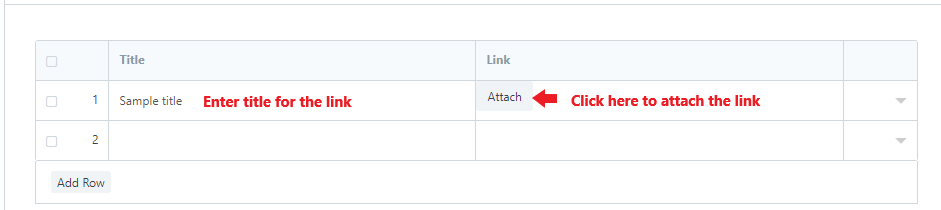
3. Enter the group name and click Add row.

4. Enter the Title for the link and then click Attach.
After clicking attach…
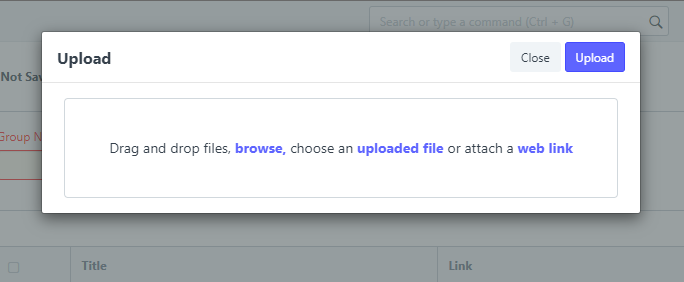
5. Click Save.

How to Update Links in Mobile App Manager?
- Choose a link that you want to edit or update.

- Edit the information that you want to change.
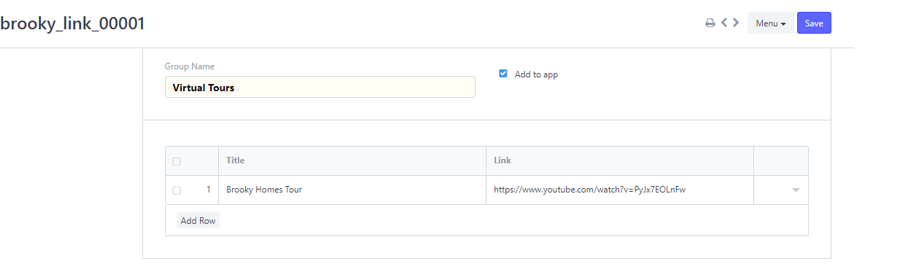
- Click Save.
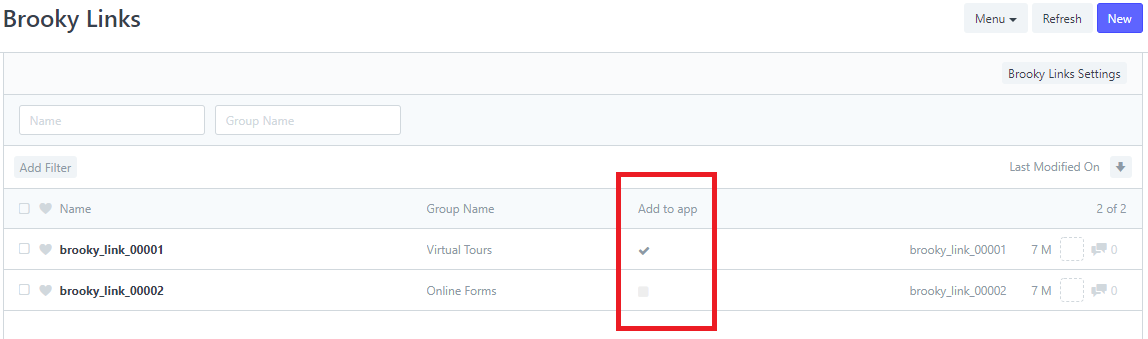
Note: if you want to change the “Add to app” only, you can just check or uncheck it in the table