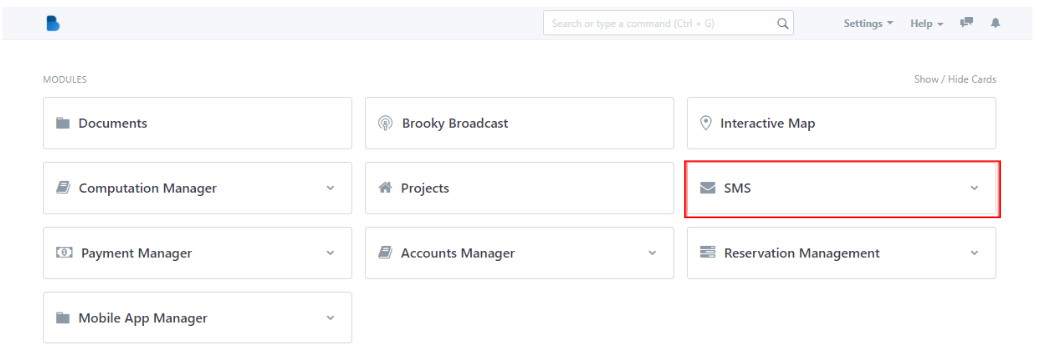
(MODULES) Brooky Broadcast & SMS
Brooky Broadcast
How to Add a New Announcement in Brooky Broadcast
- Click Brooky Broadcast.

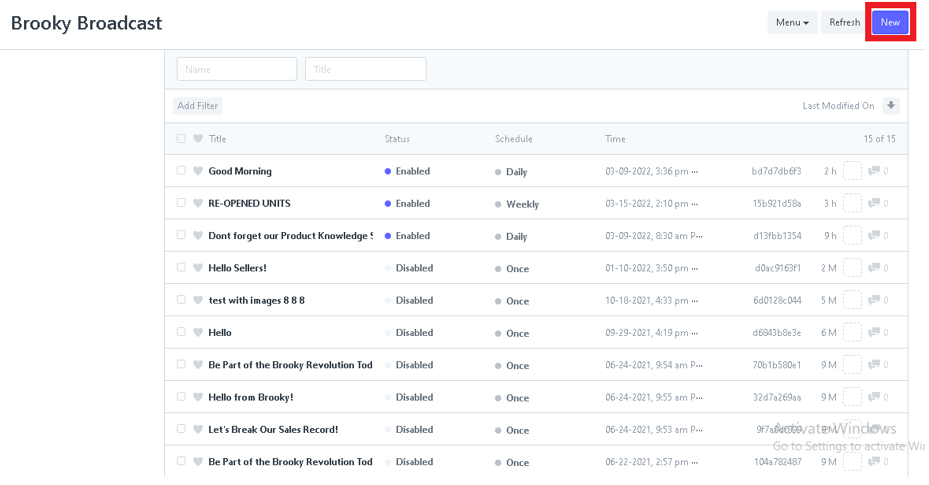
2. Once you click Brooky Broadcast it will navigate you to the Brooky Broadcast list page and you can see here all the announcements, meetings, seminars list and etc. that were created, and click New.
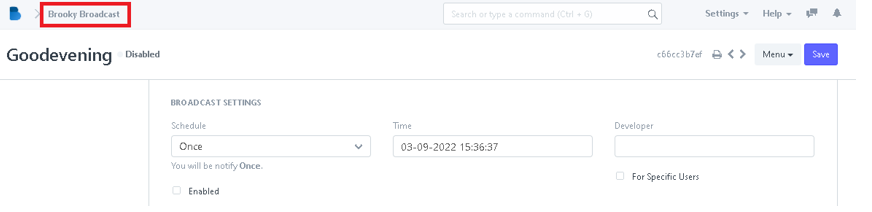
3. After clicking New, it will navigate you to the Creating Brooky Broadcast page to create a new announcement, meetings, seminars list and etc.


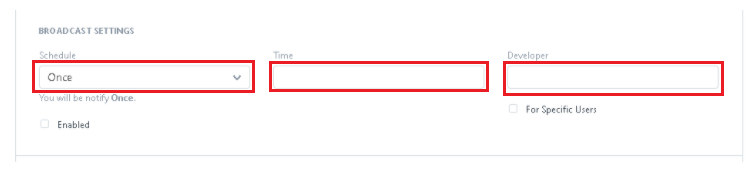
4. Once you are on the Creating a Brooky Broadcast page, Broadcast Settings are required to fill out; such as the schedule, time, and developer.
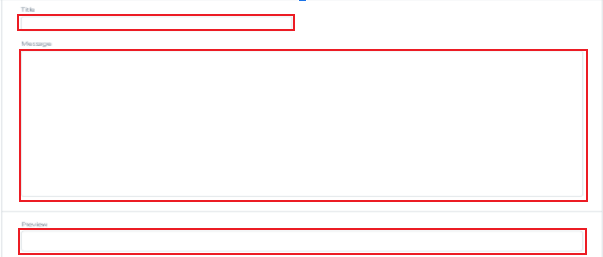
5. Enter the empty text field such as; Title, Message, and Preview.
6. Click Add Row to add Data and Insert the file.

7. After clicking the Add row, now click the drop-down arrow.

8. Click Attach to attach a file. Once you’re done, drop a file or attach a web link, upload it by clicking the Upload button.


9. After Uploading a file click the arrow up beside the “Move” button, to close.

10. And for deleting the row, just click the “trash” icon with red bg.

11. Once you are done filling up the new Brooky Broadcast or new Announcement, click Save.

12. After you save the Brooky Broadcast that you created, click Brooky Broadcast upper left to go to the Brooky Broadcast list page.
13. In the Brooky Broadcast list page, click Add filter or enter a Name or Title so you can find it easily.

14. Just click the Clear filter or Remove button to remove the filter you’ve added.

SMS
Send messages to your recipients
All of your announcements, promos, and notice, you may direct to this page.
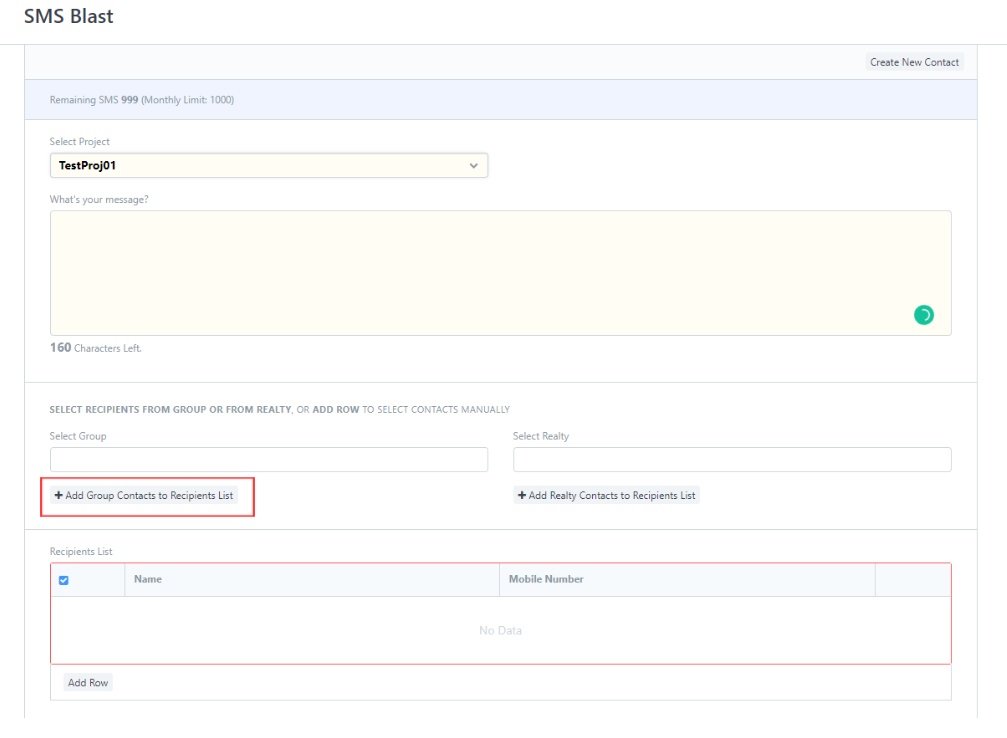
- On the right side of the Brooky Web App dashboard under the interactive Map, click the SMS.
2. Next, click SMS Blast.

3. Choose the project for which you wish to send a message or receive a notification.
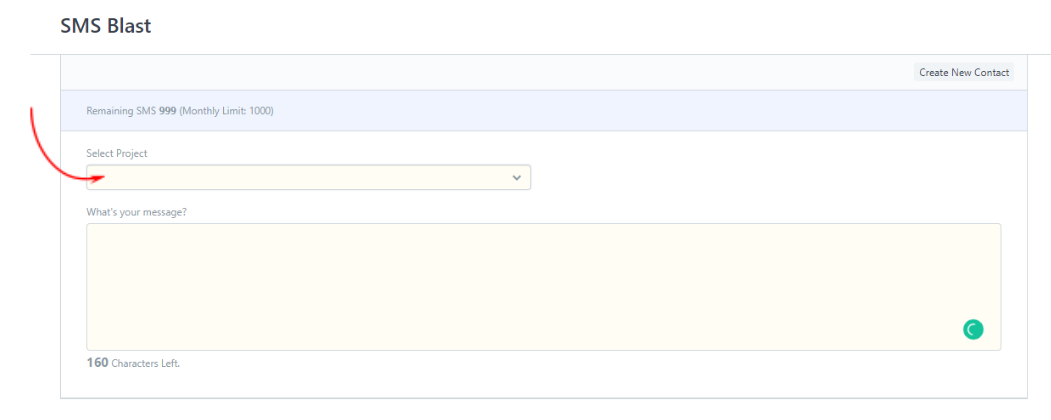
4. After you choose a project, there will be other additional requirements to fulfill the process of sending messages. Drag down to see the other options.

5. Here, you will type your message with a maximum of 160 characters. Brief as possible.
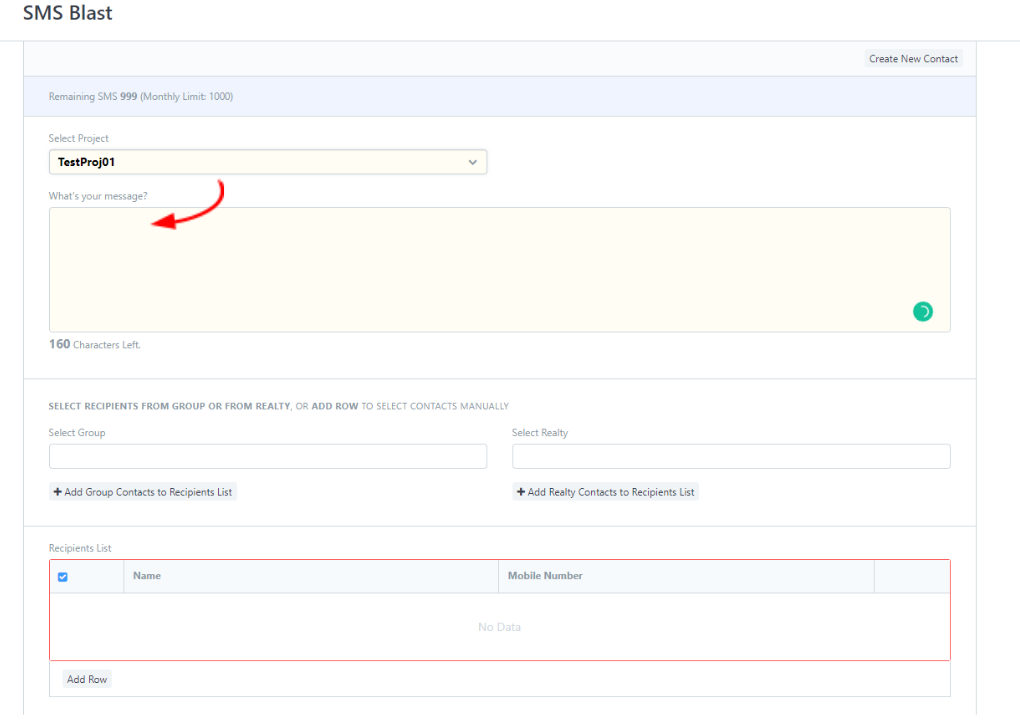
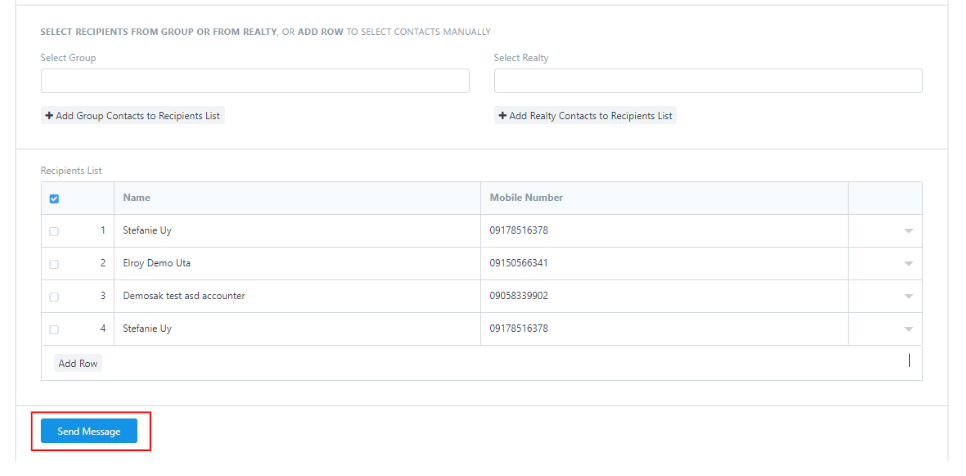
6. Select recipients from GROUP or from REALTY, or ADD ROW to select contacts manually.
If you want to directly message your created GROUP SMS, select GROUP, then click ADD GROUP TO RECIPIENTS.
If you want to add the main group of REALTY, select REALTY, then click ADD REALY CONTACTS TO RECIPIENTS LIST.
7. You can also edit the recipients' information and contact number, on the right side of the table click the DOWN ARROW SIGN, then edit your desired information you need to update then click INSERT BELOW.

8. If you are done editing and preparing the message, click SEND MESSAGE.
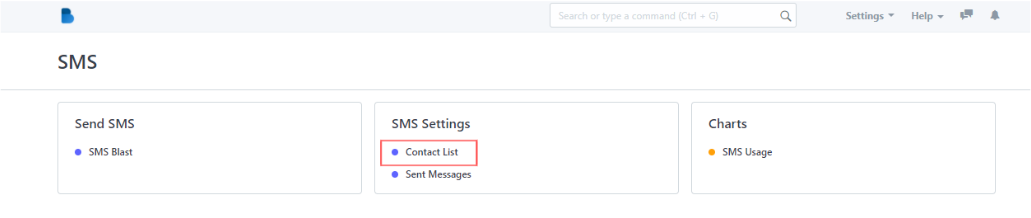
Set up your Contact List
For a flexible way of sending information, you can set up your contact list per group or per realty.
- Inside the SMS, in the middle under the SMS SETTINGS, click CONTACT LIST.
2. Here, you can add new contacts by clicking the NEW on the upper right corner of the page.
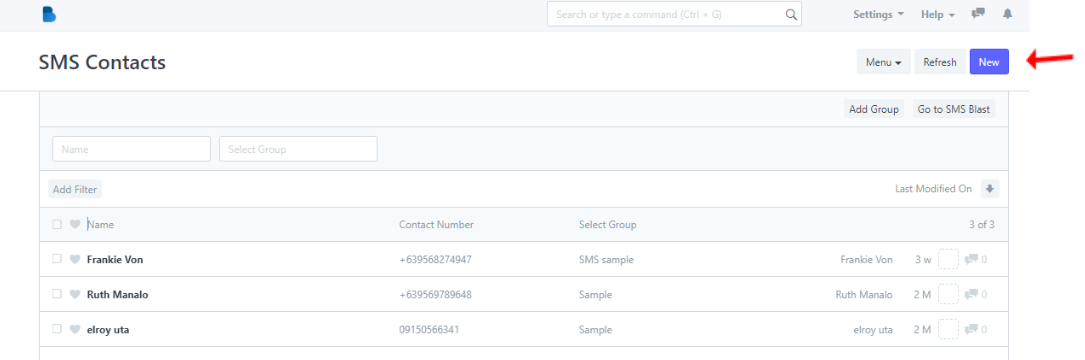
3. Fill in the information needed: CONTACT NAME and CONTACT NUMBER, add it to the group if needed then SAVE.

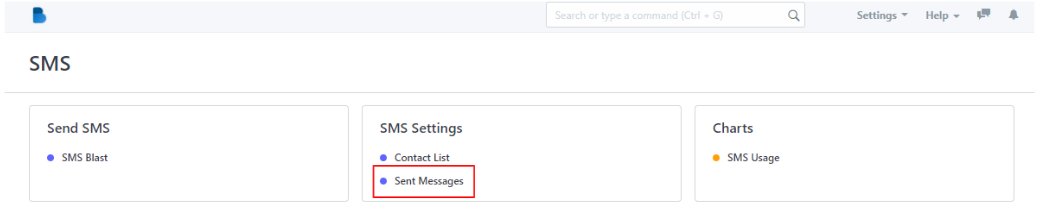
How to find your sent messages
It is good to know what was your recent information spread to the group or selected recipients.
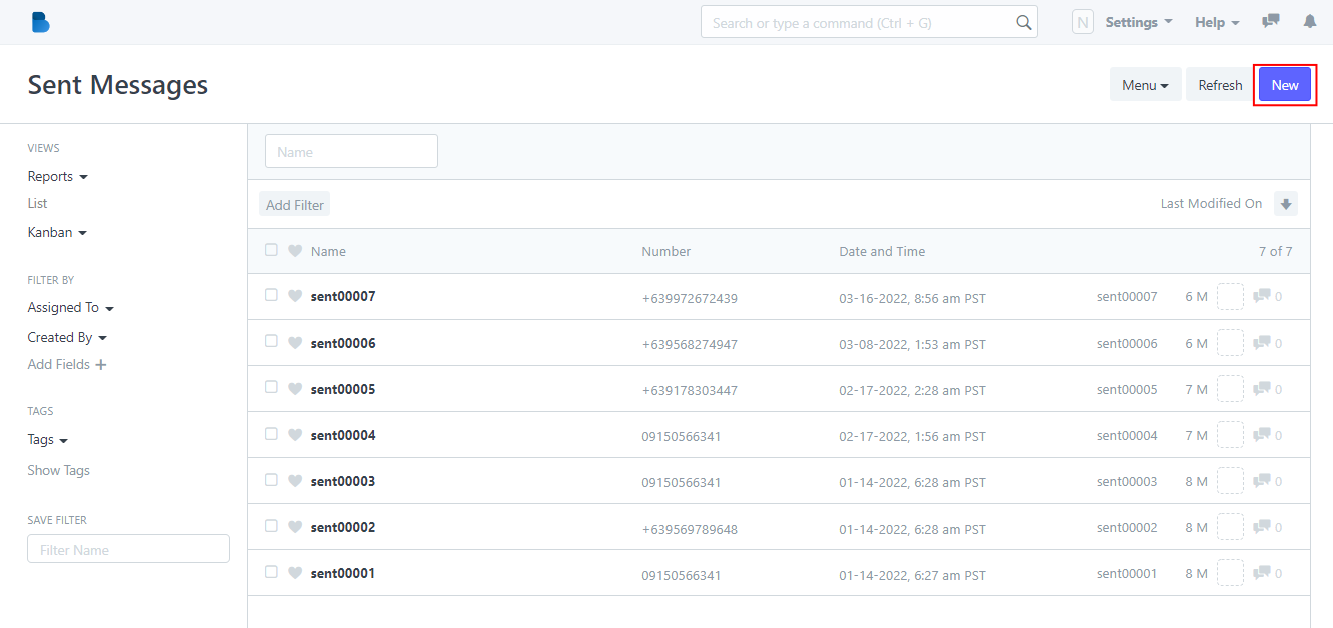
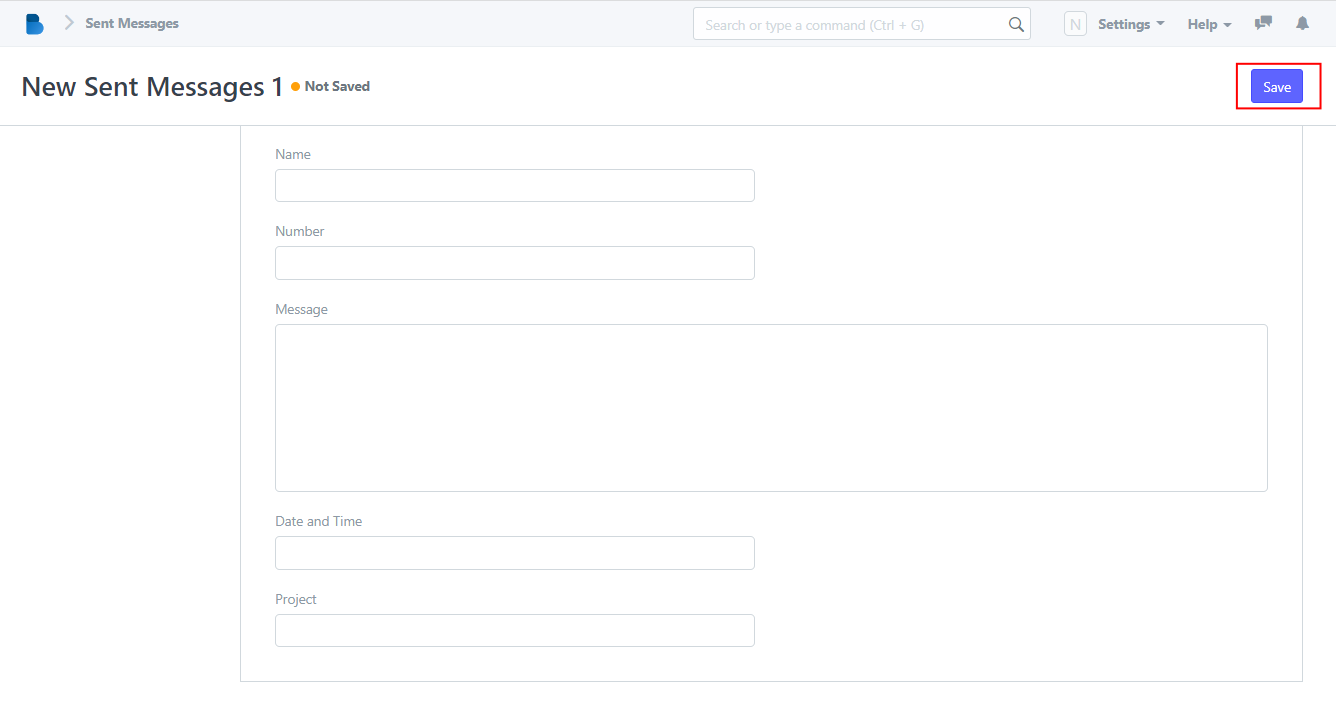
- Inside the SMS, find the SENT MESSAGES then click it.
2. Here, you can find all of the information, data, notification of the recipients, and also the date when you sent it.
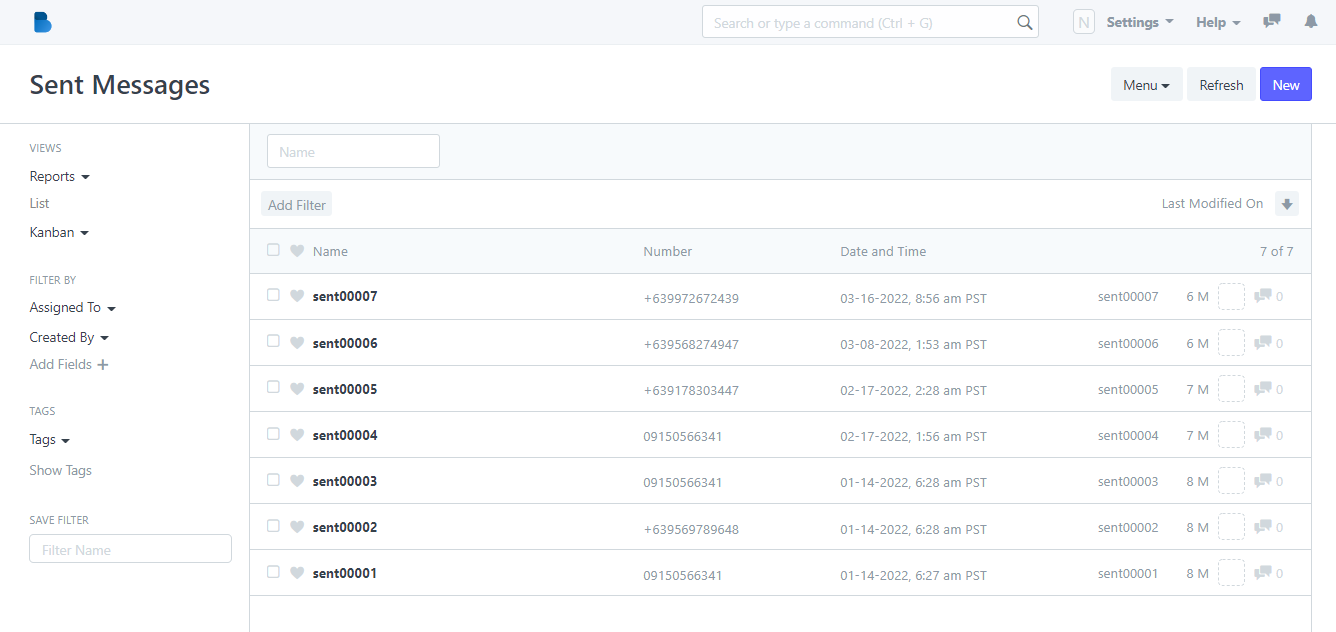
For further details click the desired sent message information.

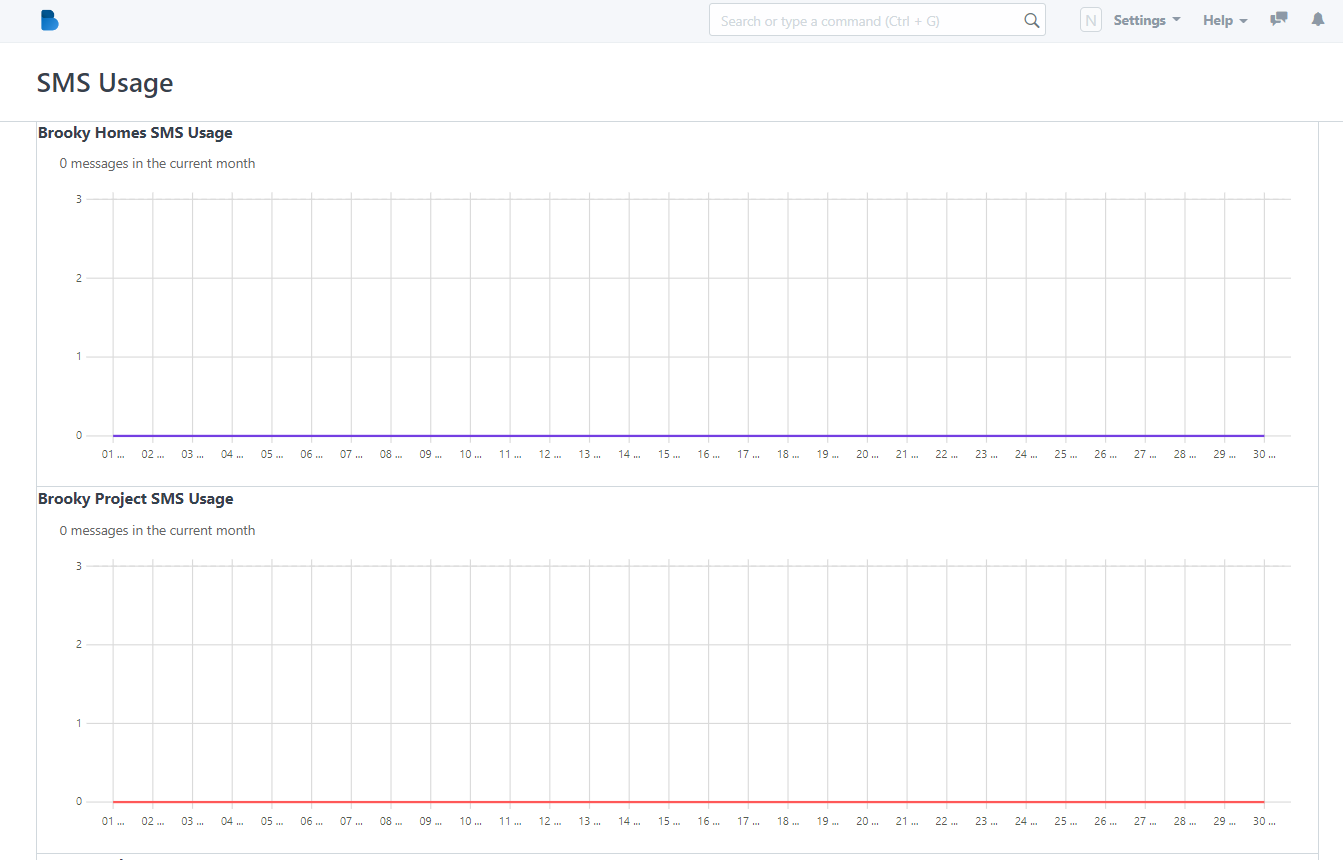
How to track SMS usage
It is way much better that you can track all sent messages being sent on a monthly bases.
- Inside the SMS, find the SMS USAGE then click it.
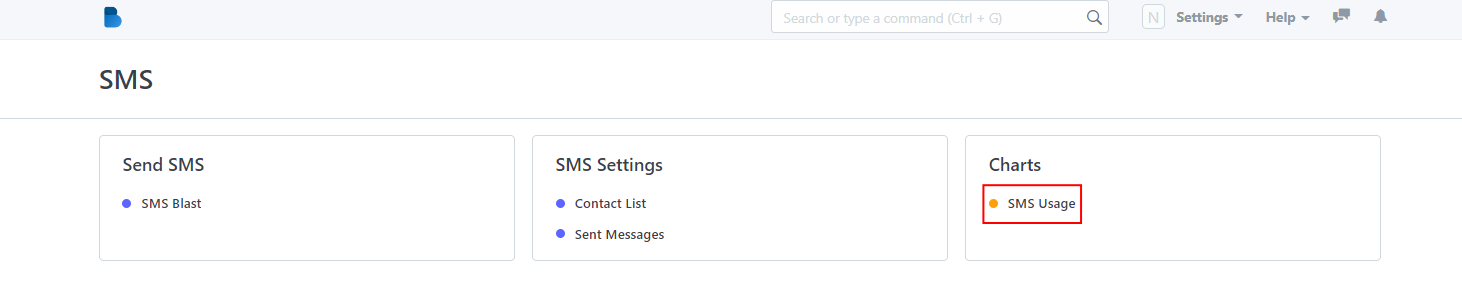
2. A SMS usage line graph will appear, this graph will show the status of your message usage within a month.