(Customization) Dashboards
How to View and Create new Dashboard
- Open the Brooky Portal and login to your account.
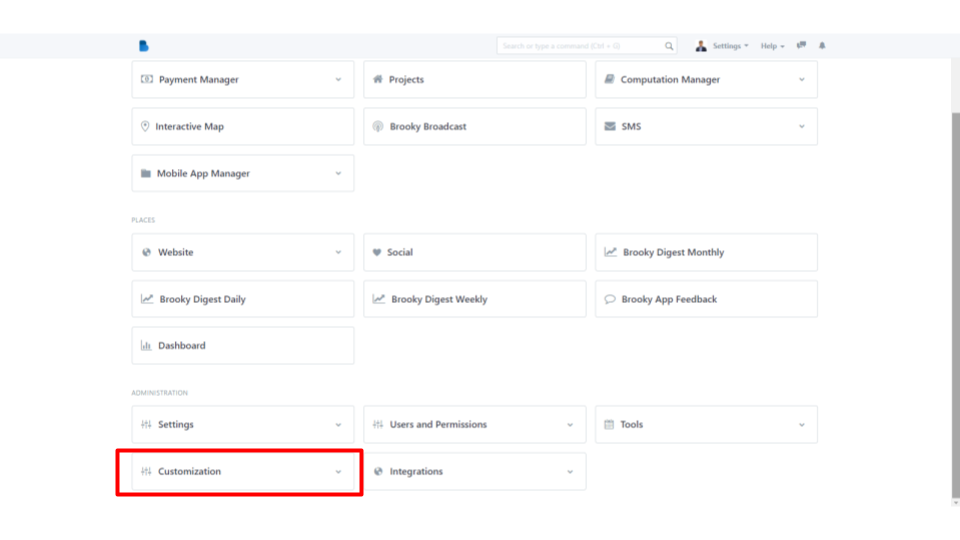
- Once you’ve logged in, you are directed to the Admin Homepage. Scroll to the bottom of the screen to locate the ADMINISTRATION section.
3. Select the Customization module.
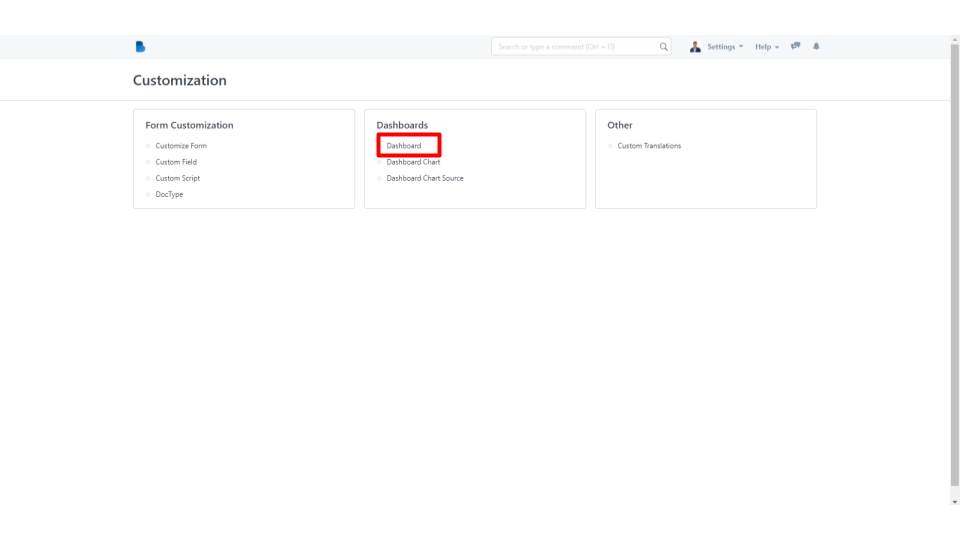
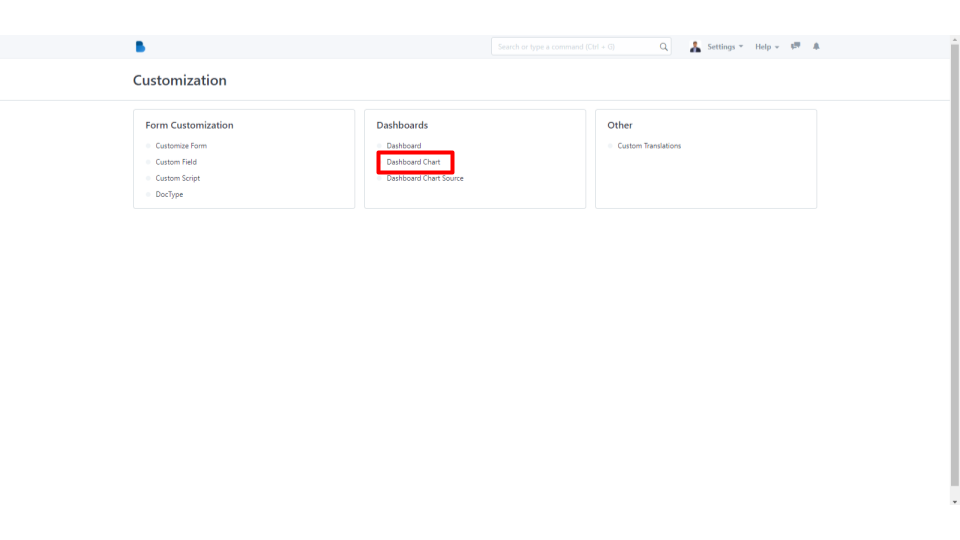
4. After selecting the module, click Dashboard under Dashboards.
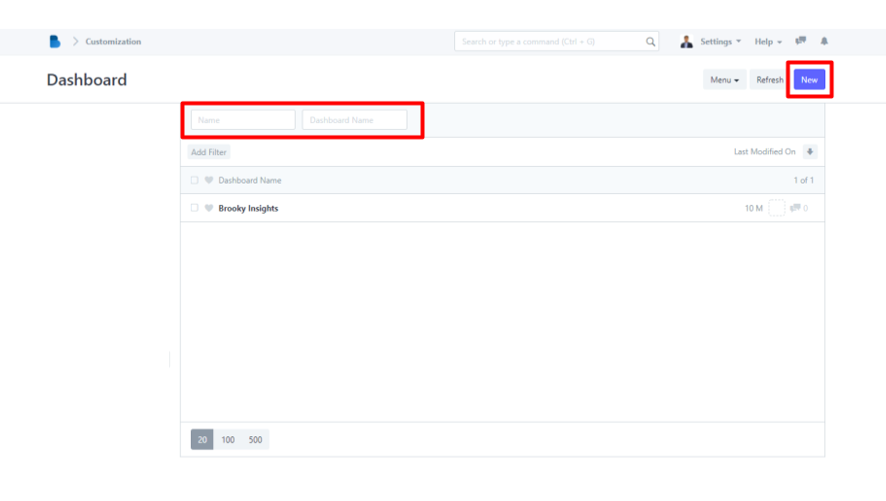
5. On the top left side of your screen, you can search the Dashboard by entering the Name, and Dashboard Name to filter. If you want to create a new Dashboard, click the New button on the top right corner of your screen.
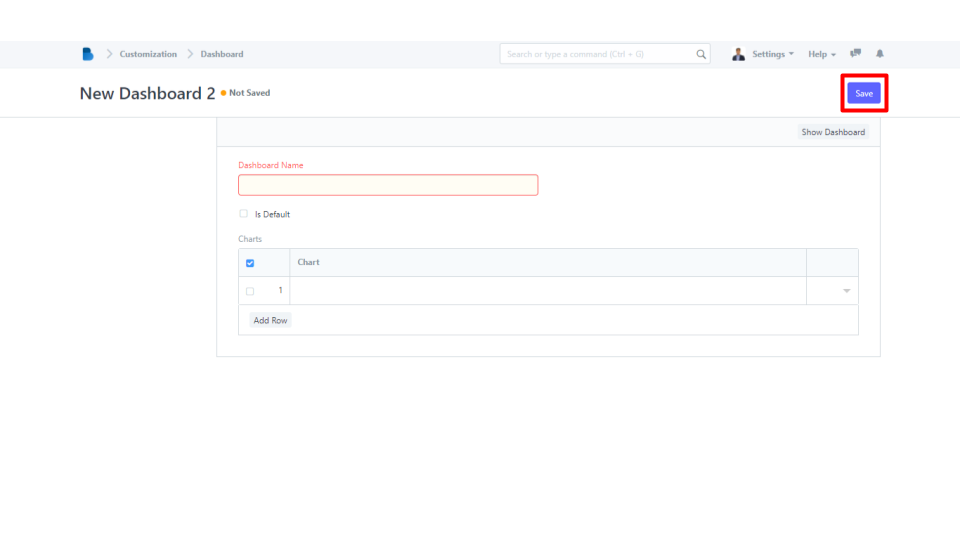
6. You will direct to a new page, enter the necessary details in creating a new Dashboard, and click the Save button on your top right screen. It will automatically. (On the chart area, you can create a new chart in the next step below).
How to View and Create Dashboard Chart
- Open the Brooky Portal and login to your account.
- Once you’ve logged in, you are directed to the Admin Homepage. Scroll to the bottom of the screen to locate the ADMINISTRATION section.
3. Select the Customization module.
4. After selecting the module, click Dashboard Chart under Dashboards.
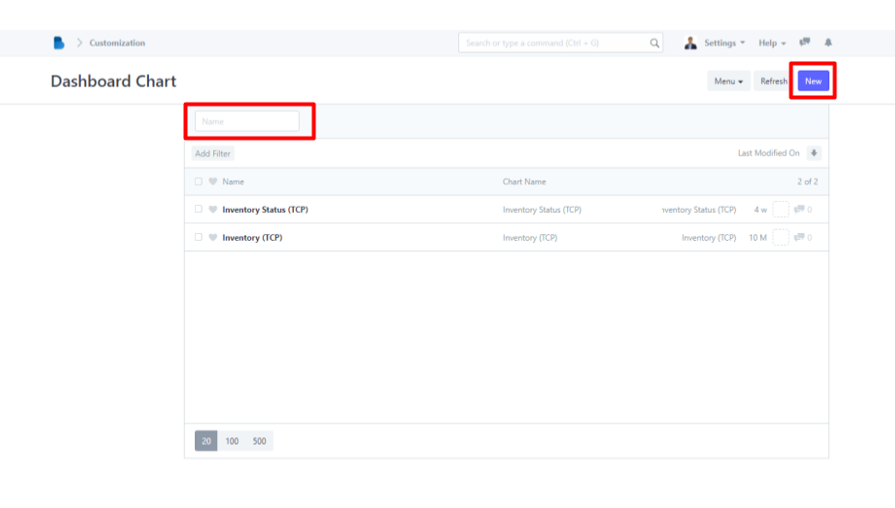
5. On the top left side of your screen, you can search the Dashboard Chart by entering the Name to filter. If you want to create a new Dashboard Chart, click the New button on the top right corner of your screen.
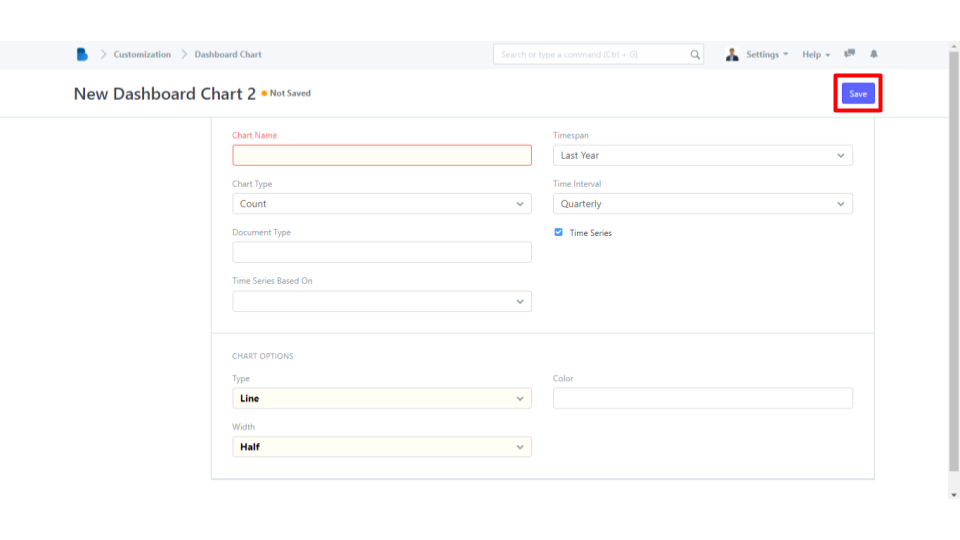
6. You will direct to a new page, enter the necessary details in creating a new Dashboard, and click the Save button on your top right screen. It will automatically. (As mentioned above, you can use this on creating a new Dashboard).
How to View and Create a New Dashboard Chart Source
- Open the Brooky Portal and login to your account.
- Once you’ve logged in, you are directed to the Admin Homepage. Scroll to the bottom of the screen to locate the ADMINISTRATION section.
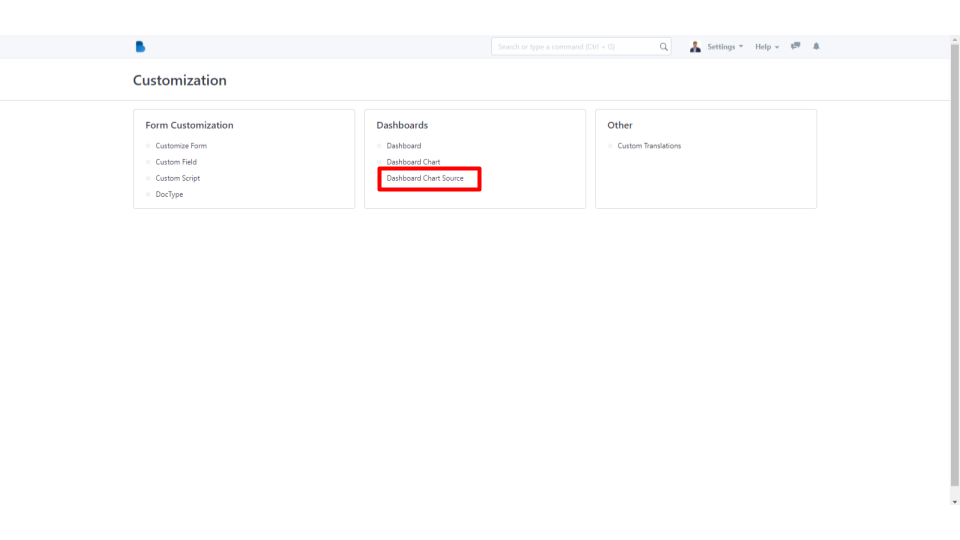
3. Select the Customization module.
4. After selecting the module, click Dashboard Chart Source under Dashboards.
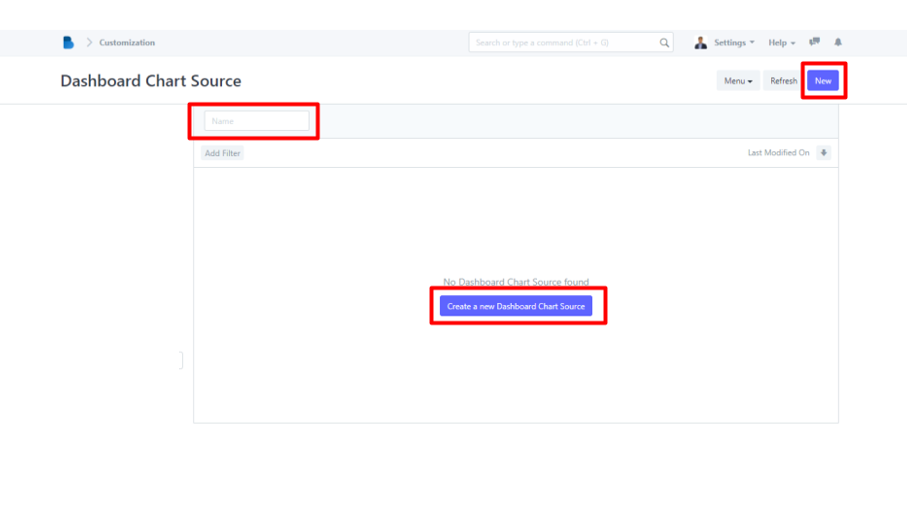
5. On the top left side of your screen, you can search the Dashboard Chart Source by entering the Name to filter. Since there are no existing Dashboard Chart Source, you can create a new by clicking the New button on the top right corner of your screen or the Create a new Dashboard Chart Source button on the middle of your screen.
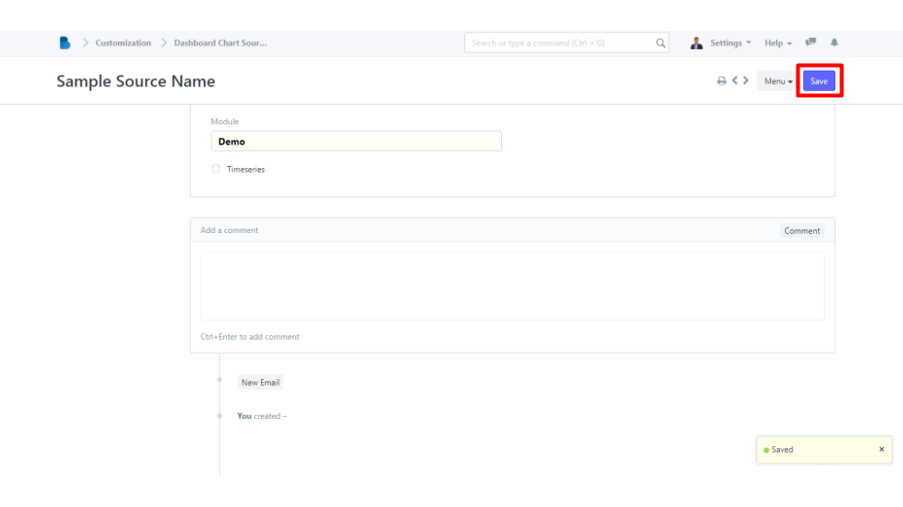
6. You will direct to a new page, enter the necessary details in creating a new Dashboard, and click the Save button on your top right screen.
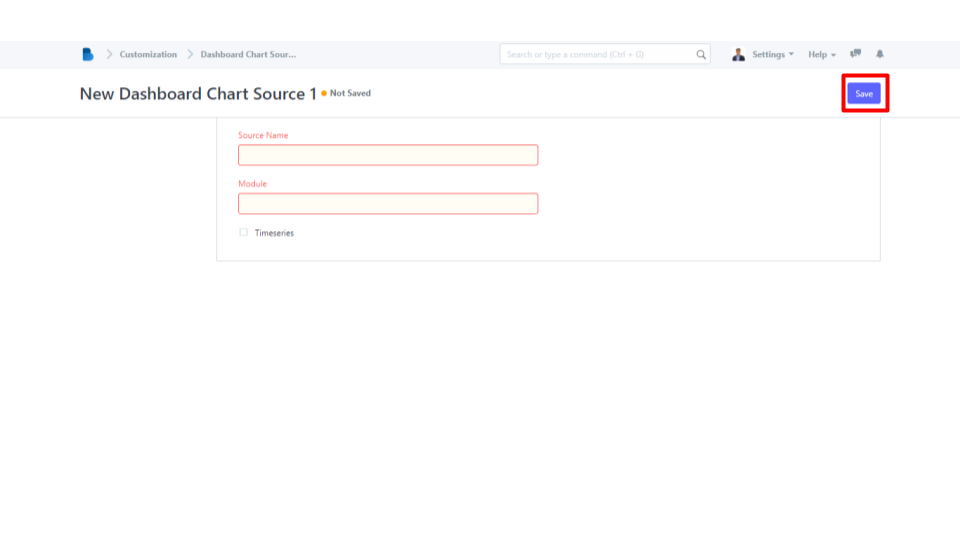
7. Once you're done you will be directed to this page, if there are additional details needed you may enter the, and click the Save button.