Project Information (Project Info.)
Guide on how to setup Project Information for Agents Portal viewing.
➠ In Agents portal you can see the Preview of your setup Project Information documents. (Setup using Admins Portal)

Step 1: How to Setup Project Information
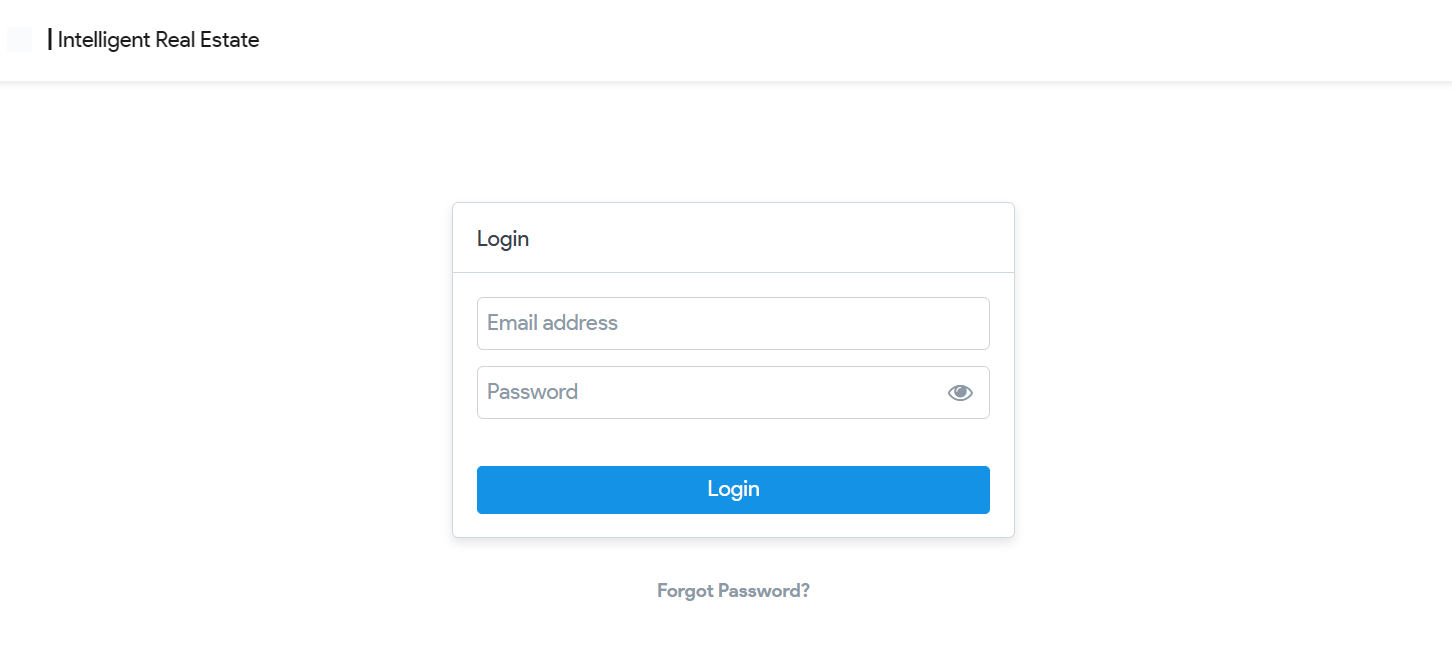
- Log in to your Real Estate Admins Portal account using your admin credentials.
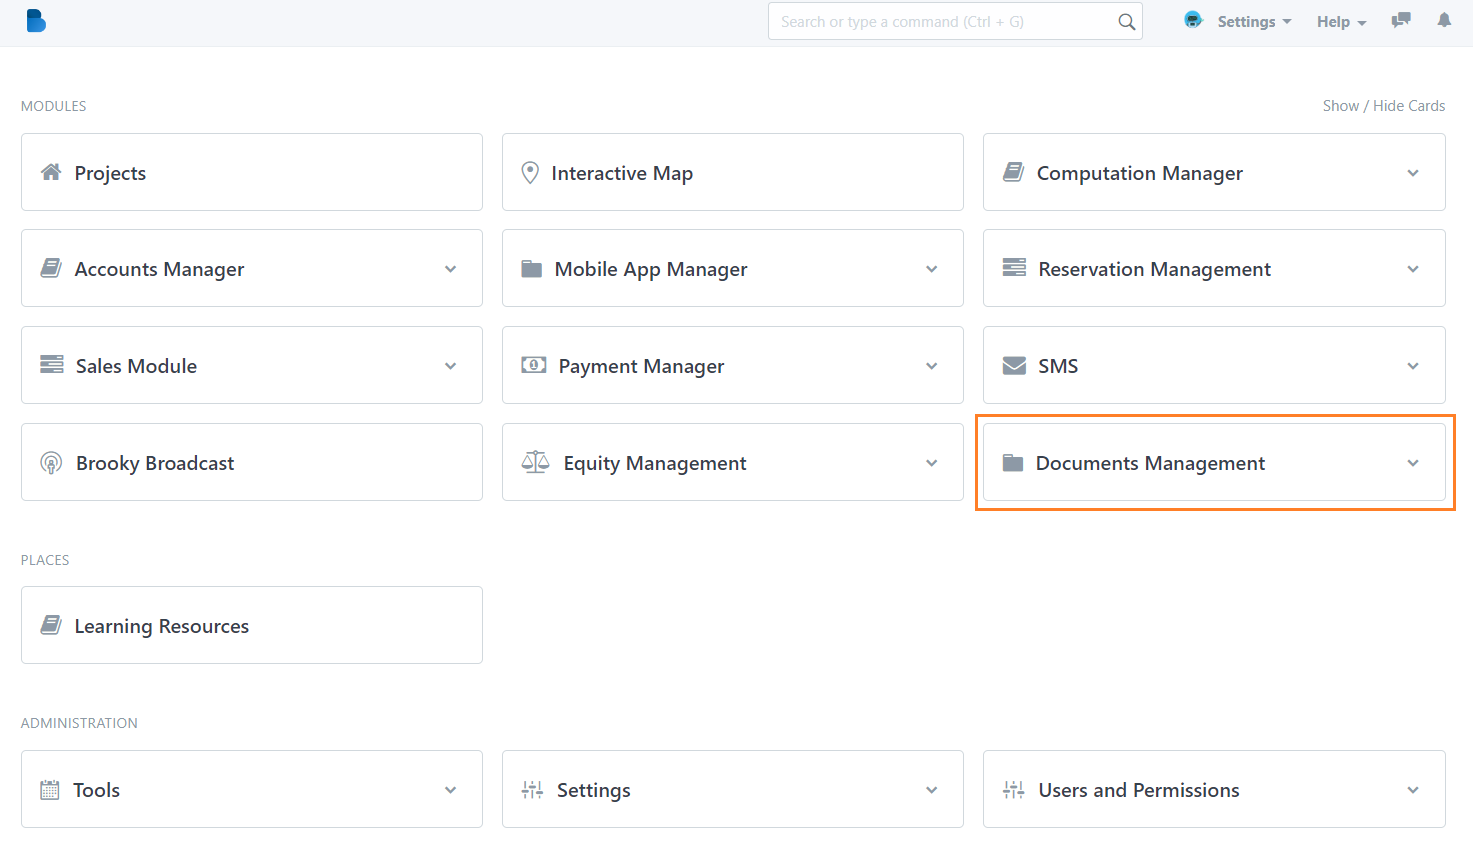
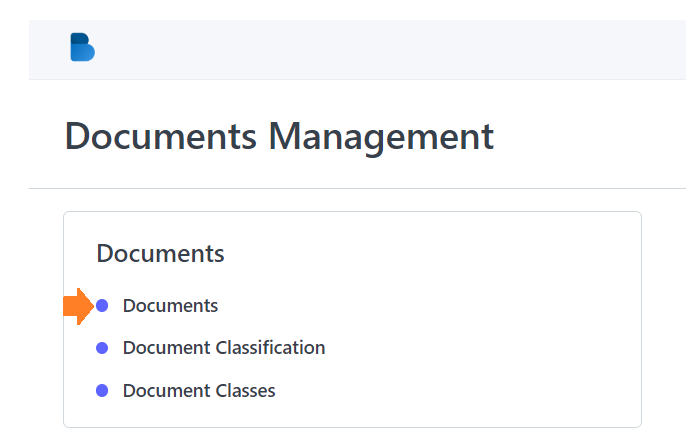
- After logging in, under Modules select Documents Management.
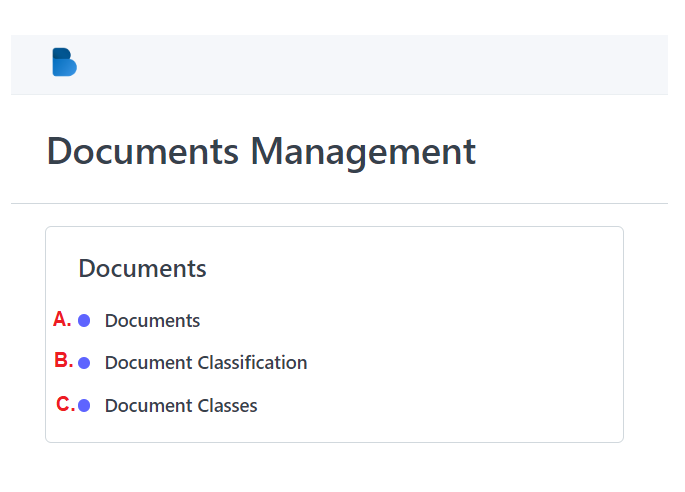
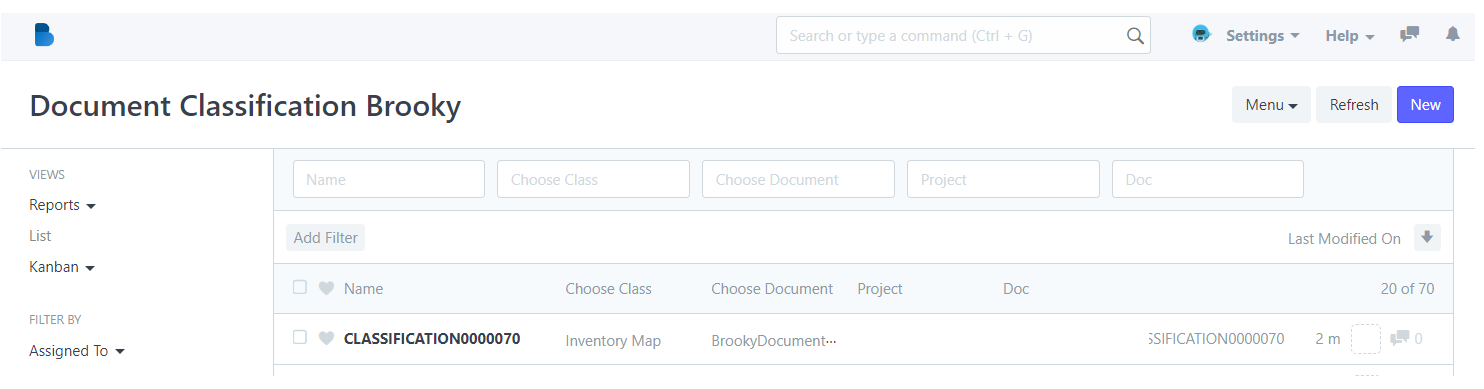
➠ Documents Management consist of 3 list namely Documents, Document Classification and Document Classes.
What are the differences of the 3?
A. Documents - contains all the documents per project or the initial uploading of documents. (can be recognized via Intents)
B. Document Classification - assigning documents on what specific classification/category or grouped the document is. (mainly composed of the chosen document Class, Project, and Document itself)
C. Document Classes - assigning the specific groupings of individual document. (Group naming of the document per Intent and specific Project)
Step 2: Uploading of Documents
- Select Documents then click on "New" button.
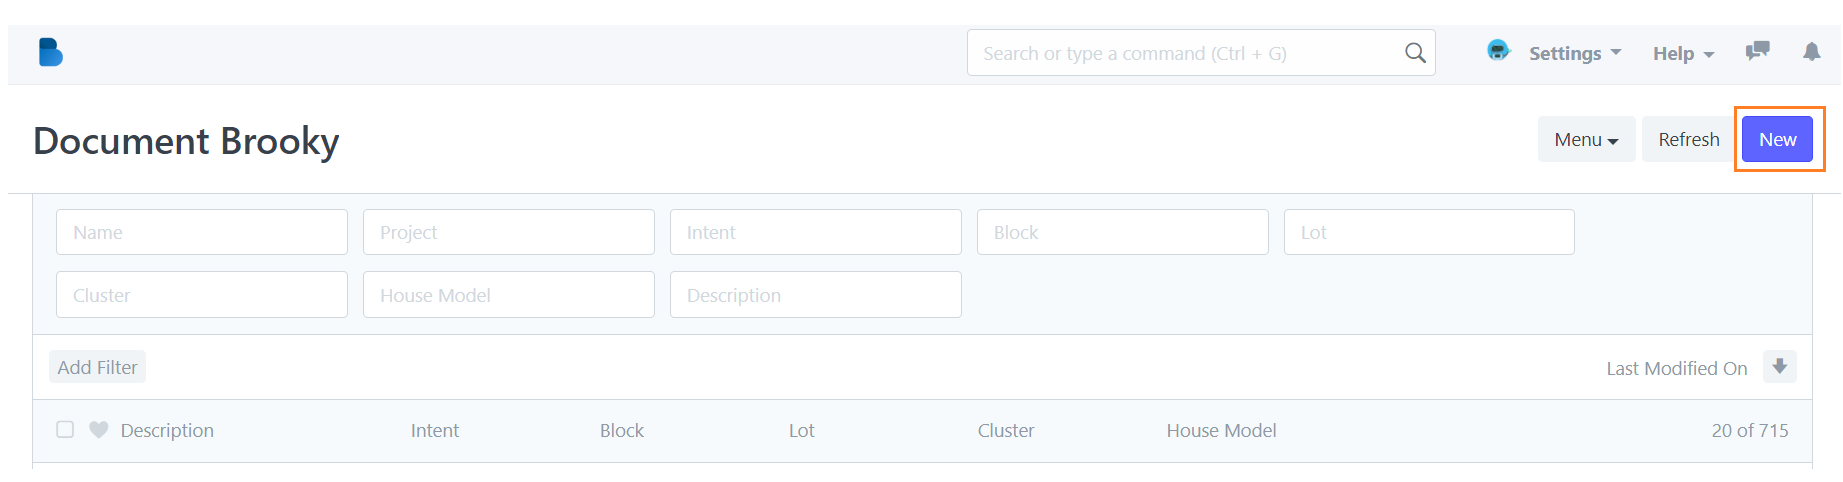
- Supply the necessary information needed.
• Project - add the name of the Project of which the document is under (given dropdown list of project).
• Intent - select the intent name of the document or add a new intent if its not in the list (given dropdown list of intent). - Then attached the document by clicking on "Attach" button and after finalizing you can then click "Save".

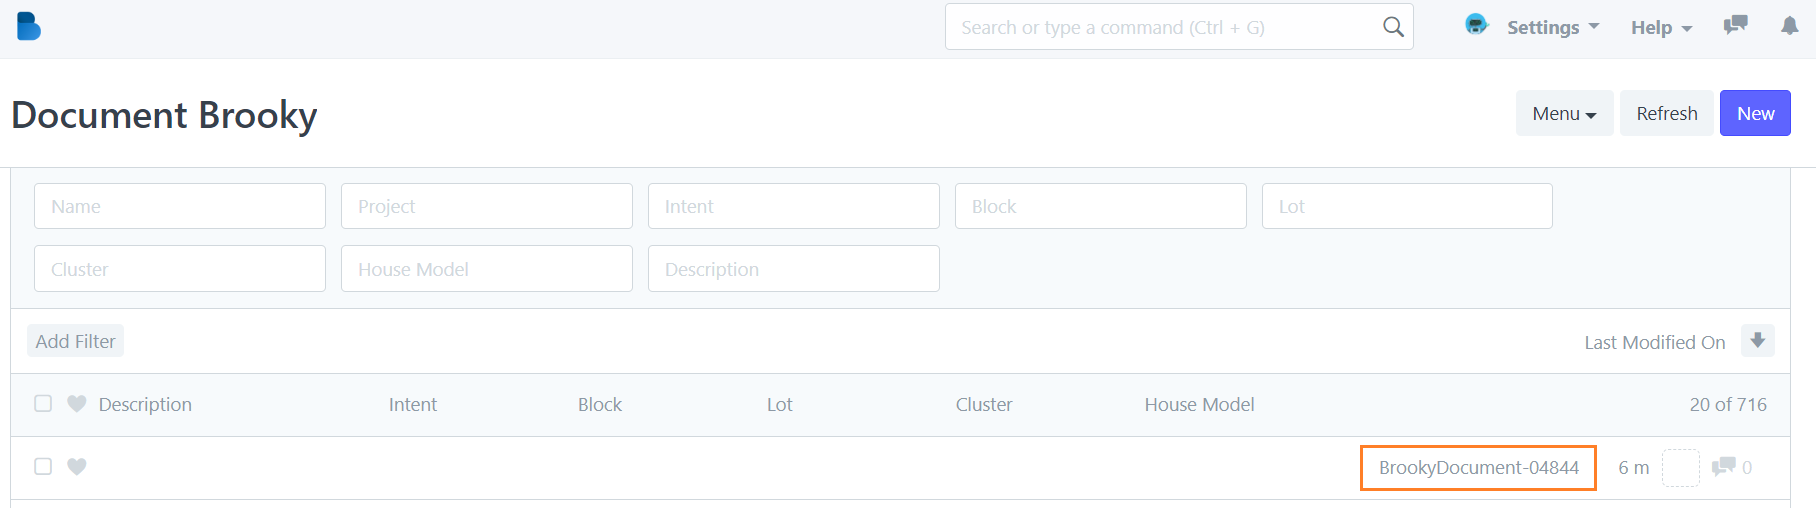
- Then please make sure to take note of the Reference no. given after saving the document.

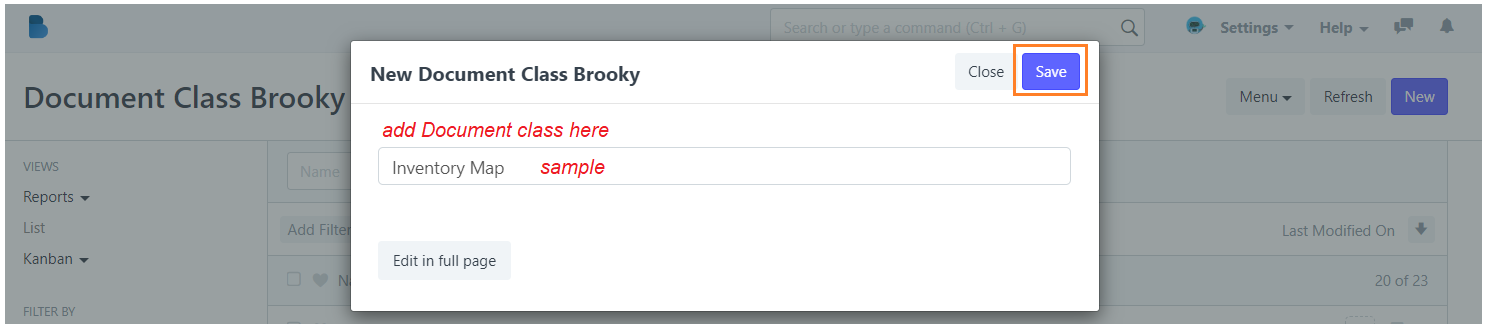
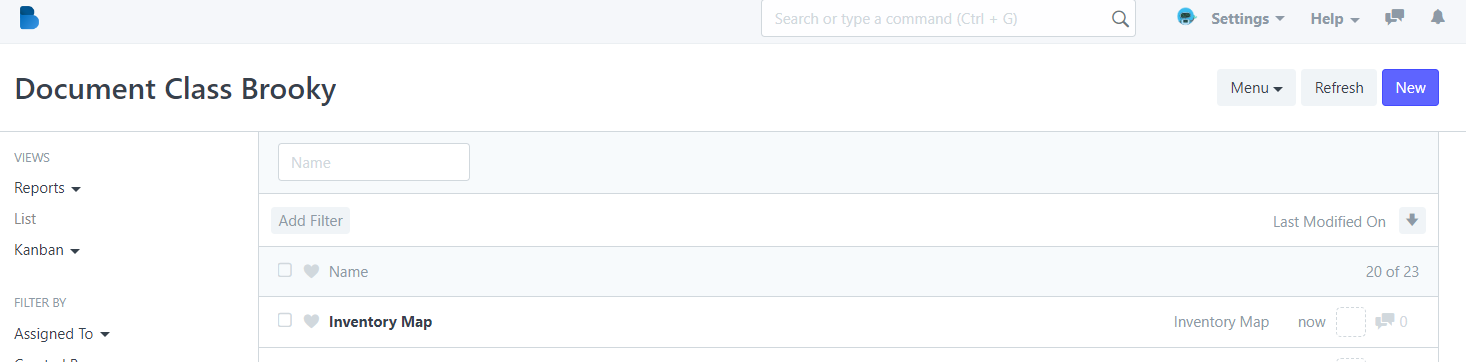
Step 3: Adding Document Class
- After successfully uploaded the document in the Documents module proceed the setup by selecting Document Class then click on "New" button.
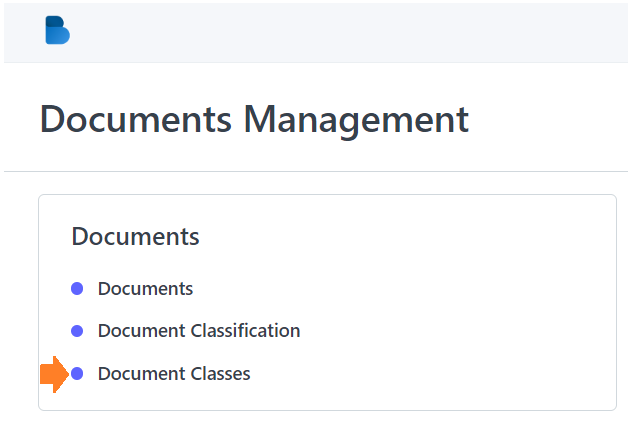
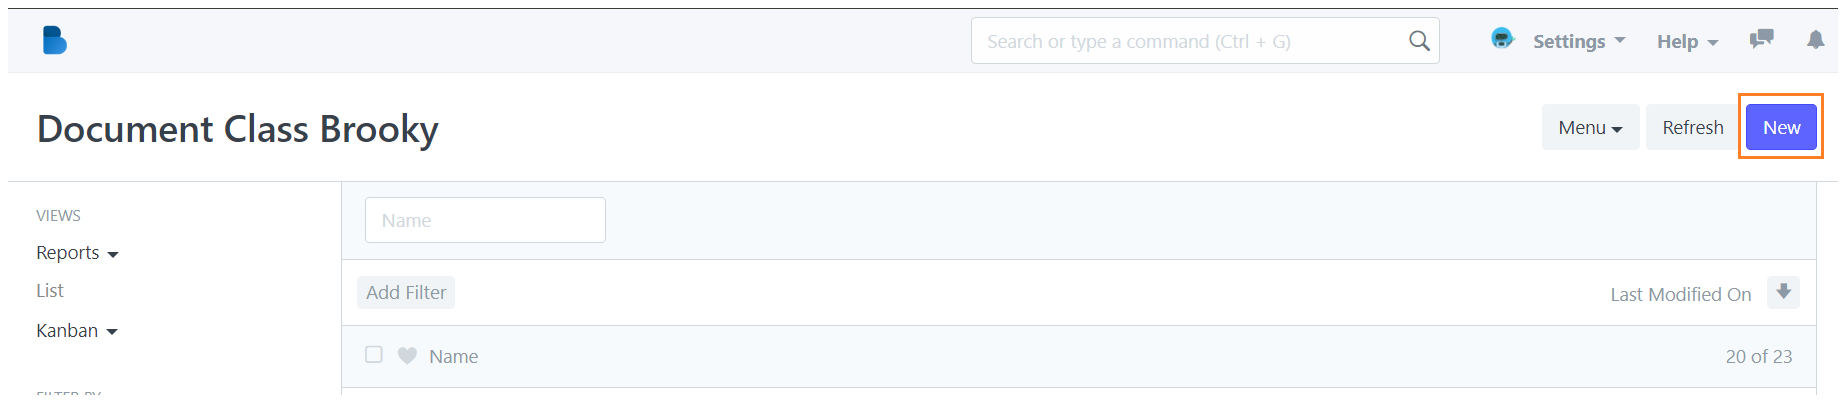
- Fill-up or add desired Document Class name then click "Save".
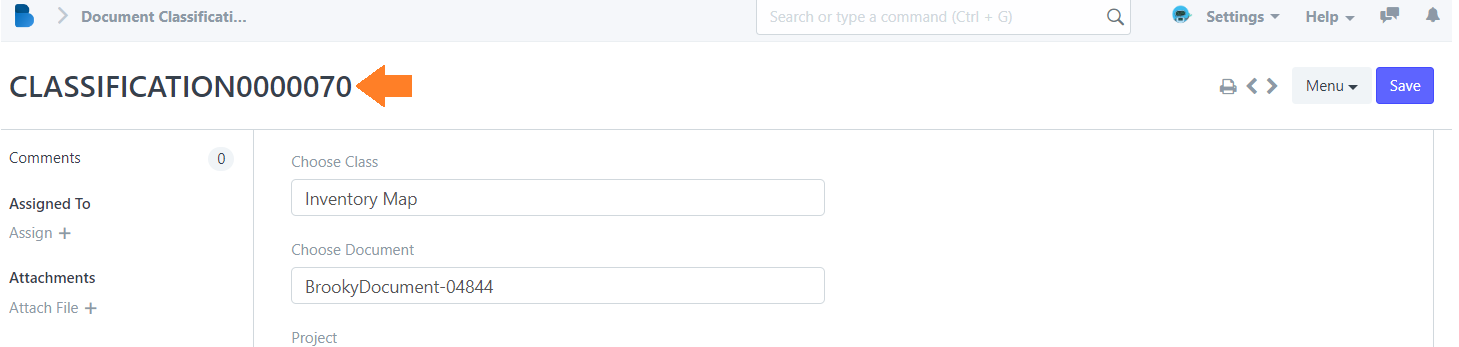
Step 4: Setup Document Classification
- Once document class added successfully proceed to Document Classification then click on "New" button.

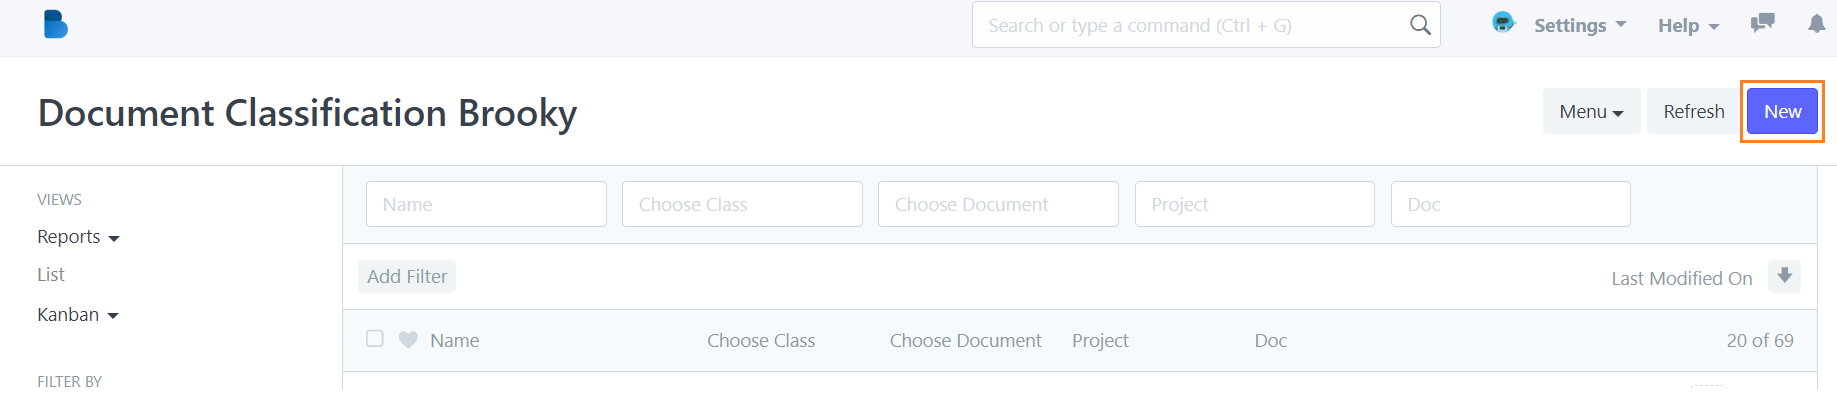
- Supply the necessary information needed.
• Choose Class - add the Document Class name (dropdown list of document classes).
• Choose Document - select the intent name of the document or add a new intent if its not in the list (dropdown list of documents reference no.).
• Project and Doc - not editable field (autofill field after adding Choose Class and Choose Document) - Then "Save" changes.
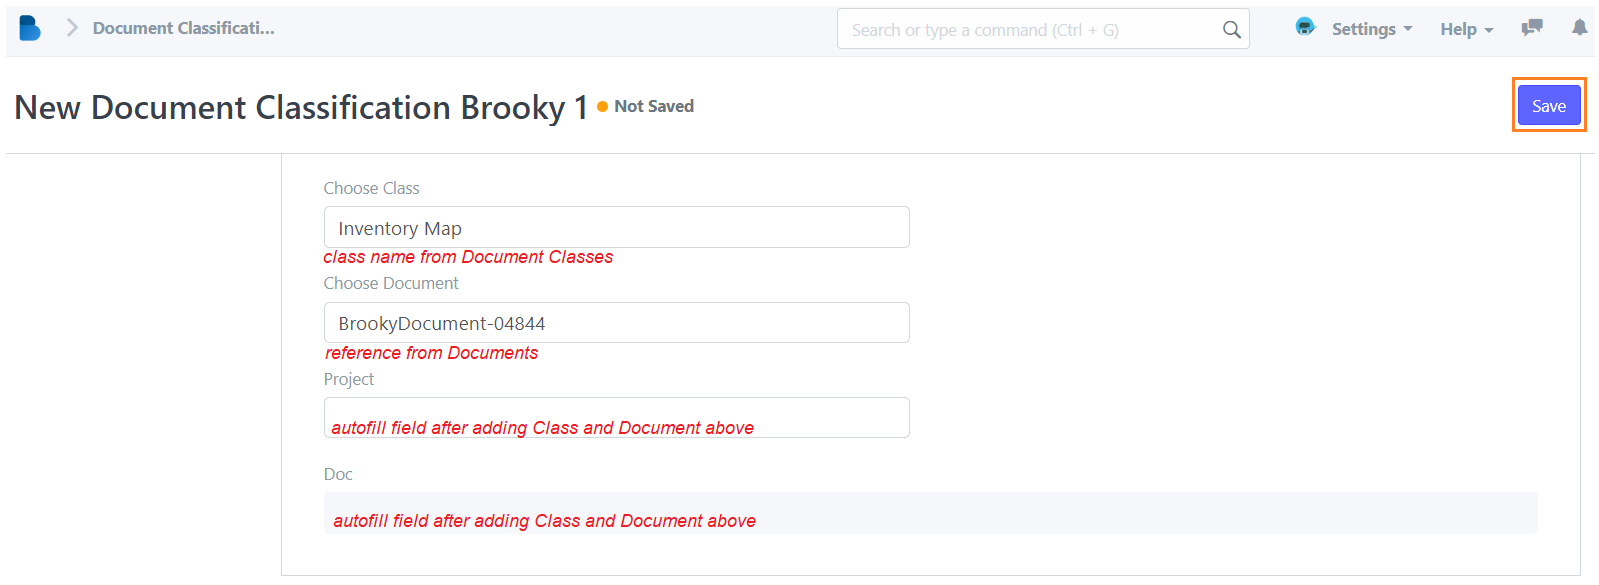
- And after saving a Classification reference no. will appear indicating of a complete Project Info. setup.
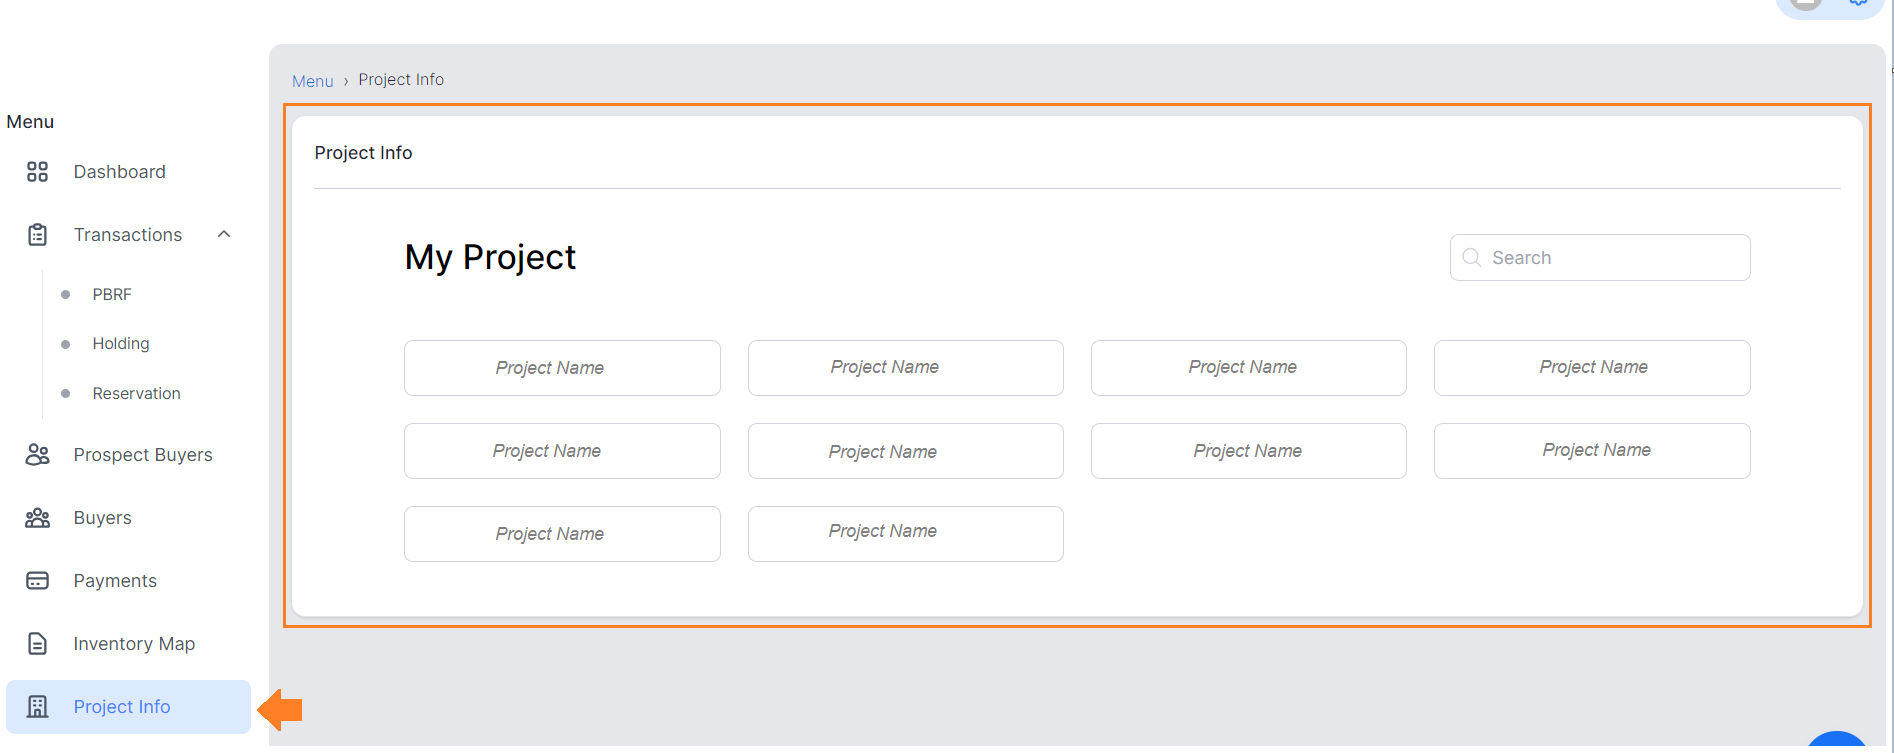
Step 5: Checked Project Info. Setup via Agents Portal
➠ Make sure to double checked your setup via Agents Portal to assure that uploaded Documents are viewable and are group properly.
Step 1: Navigate Project Information
- Log in to your Real Estate Agents Portal account using your agent credentials.

- In Menu select Project Info. and double check all the documents you uploaded if it is viewable and are grouped properly.