(Integrations) Payments
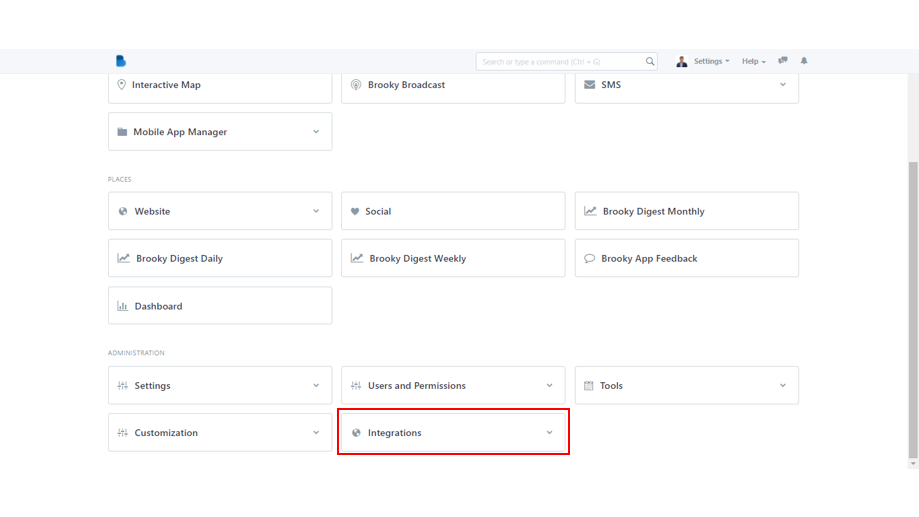
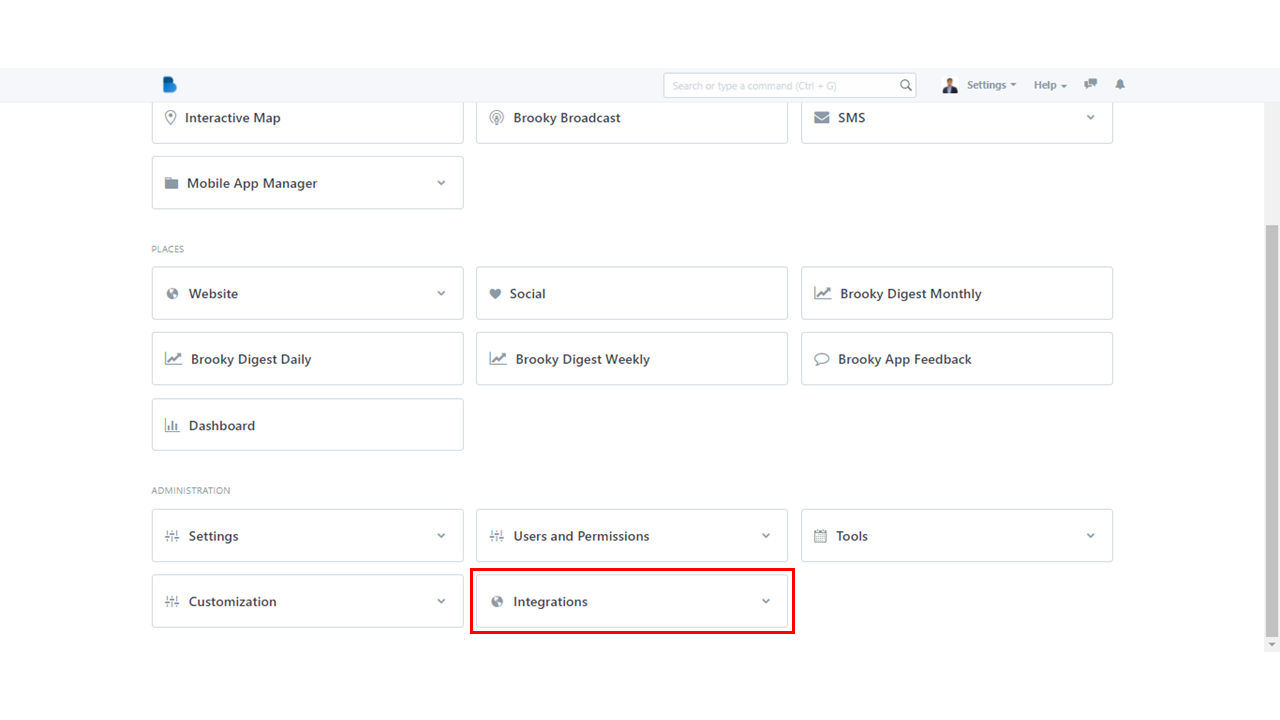
- In the Admin Dashboard, scroll down to get into the ADMINISTRATION section. You will find an Integrations module there. Click on the module to proceed.
2. In the Integrations module, notice there's a category named Payments. Click on Braintree Settings under Payments.

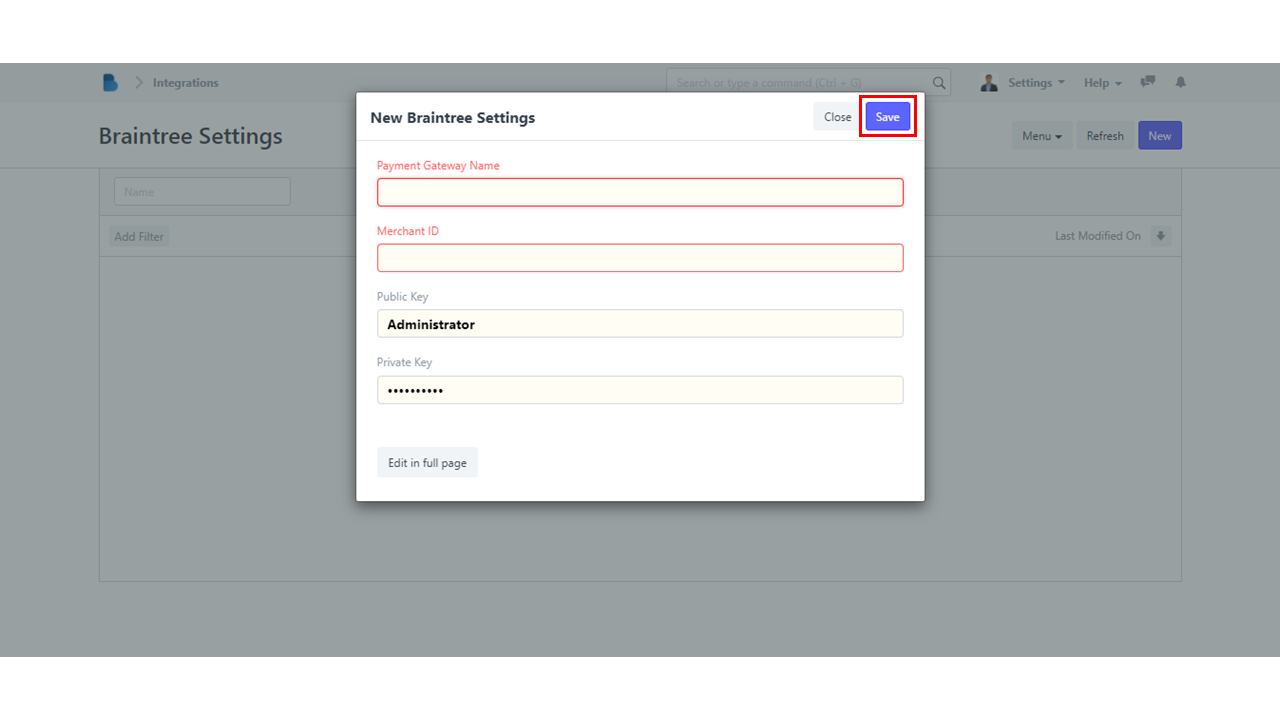
3. You will be navigated to Braintree Settings page. Click New or Create a new Braintree Settings to create a new braintree.
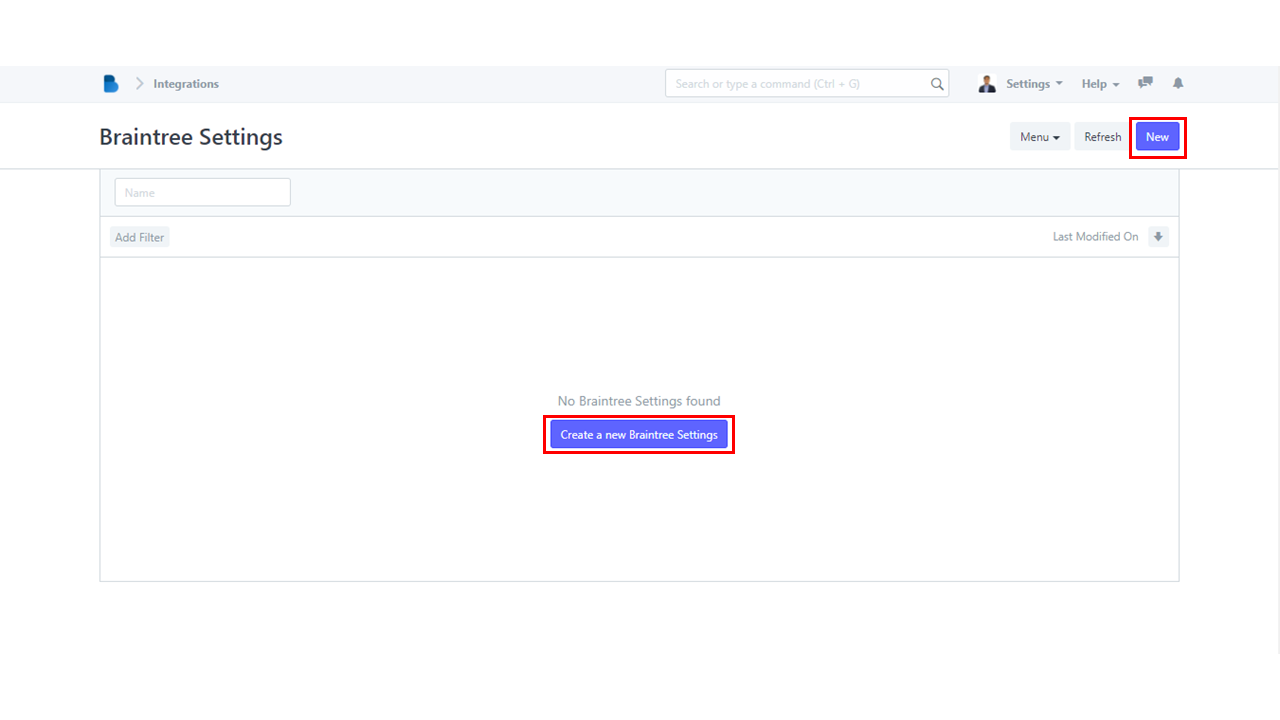
4. You must enter a Payment Gateway Name and Merchant ID; the system will generate the Public and Private Key for you. However, if you want to change it, simply click the field and edit the existing data. Click Save to create a new Braintree.
- In the ADMINISTRATION section, look for Integration module.
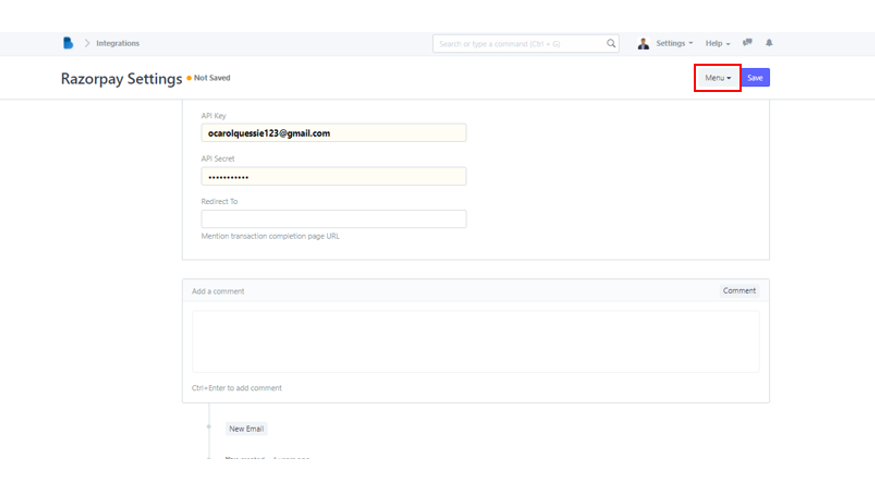
2. Under Payments category, select Razorpay Settings. Once clicked, it will redirect you to Razorpay Settings.

3.The fields you need to be filled in are displayed. You have the authority to change each field if desired. Once you've finished modifying, simply click Save.

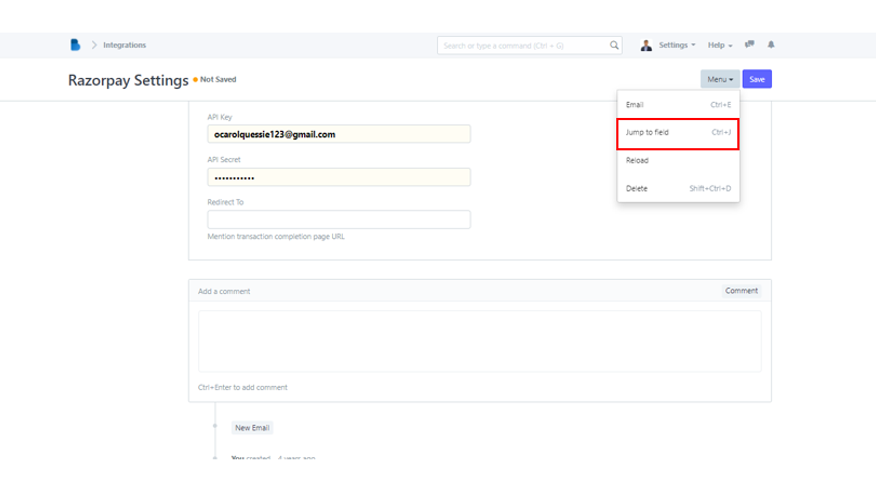
4. Razorpay Settings also has a Menu dropdown button. In that button, you will see Email, Jump to Field, Reload, and Delete.
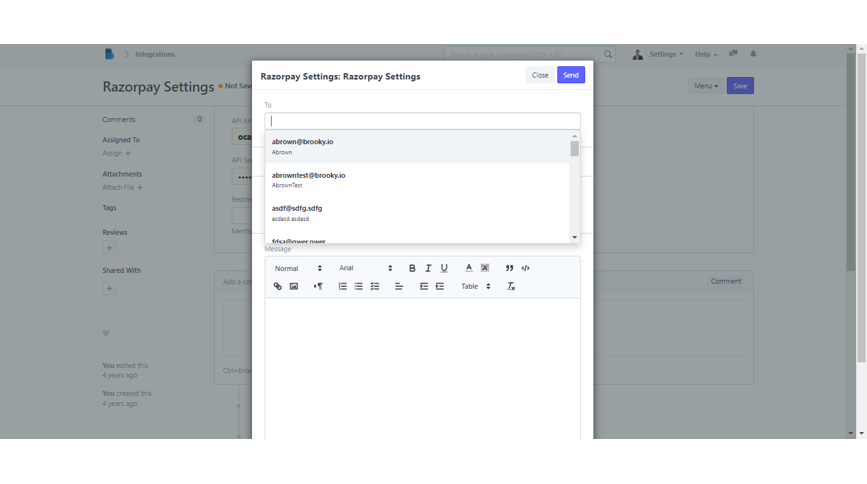
5. The Email function is to allow you to send updates regarding Razorpay Settings to your team via email. When you click it, a pop-up box will open, prompting you to enter the email addresses of the people you wish to send emails to. You can leave a note in the message box.
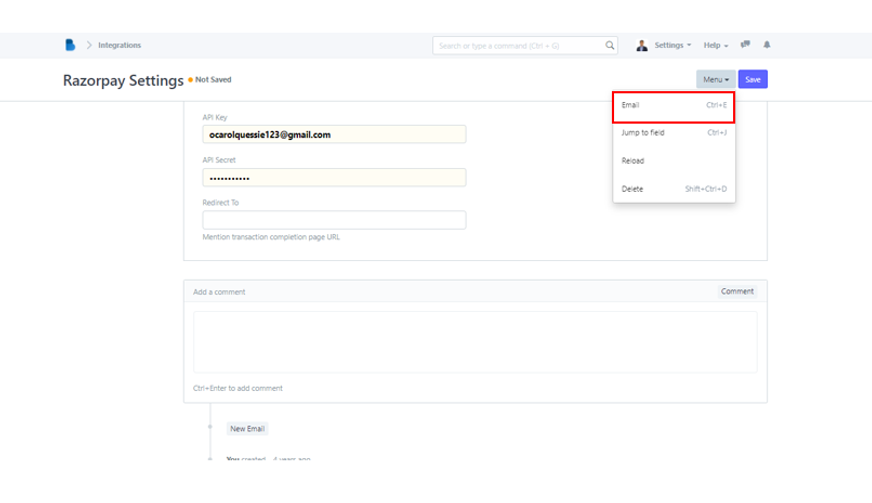
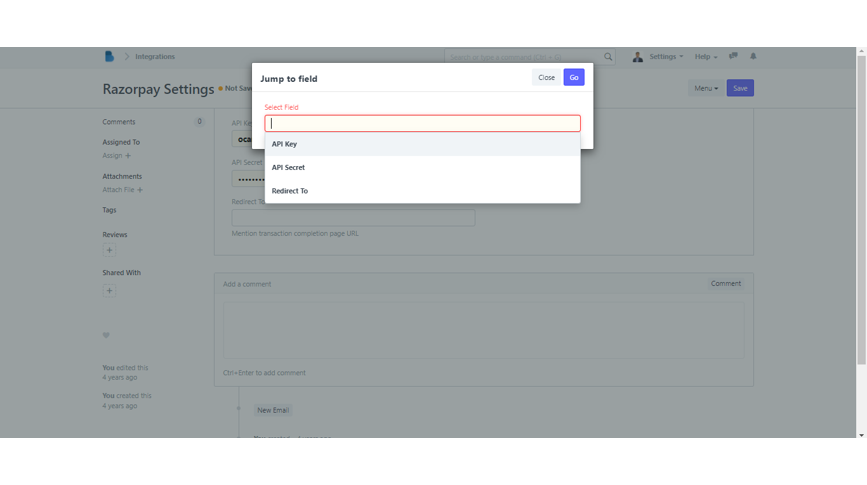
6. Jump to field is a shortcut key you can use to find fields you wish to search without scrolling up and down. You can type in what you are looking for, and the system will be the one to find that particular field for you.
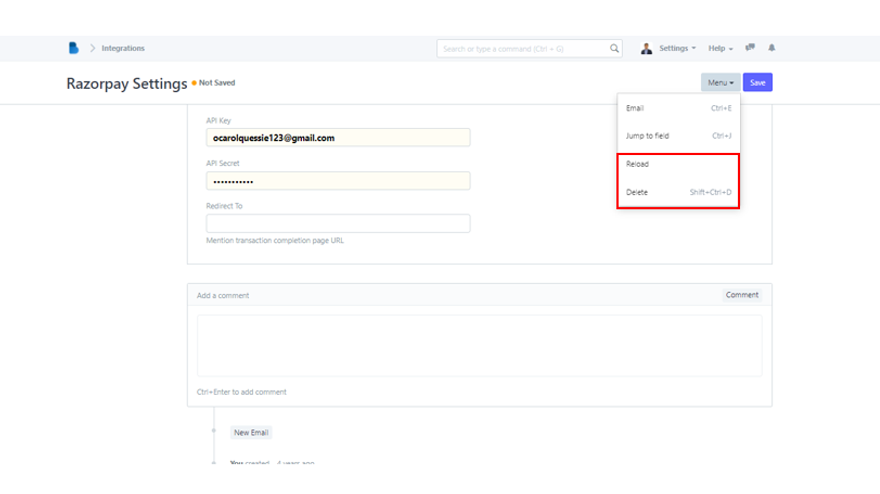
7. The Reload button refreshes the page, whereas the Delete button deletes the Razorpay Setting permanently.
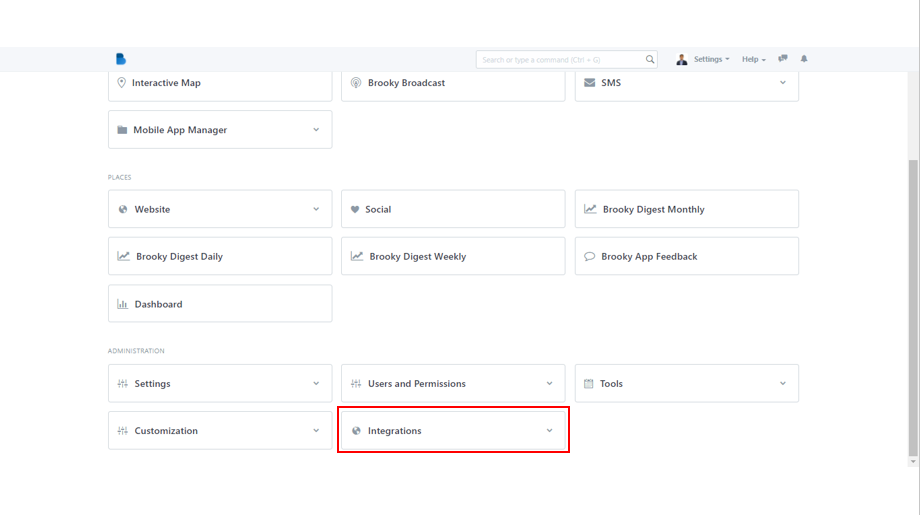
- Find Integrations module in the ADMINISTRATION section in the lower part of Admin Dashboard.

2. Don't be overwhelmed by the sheer number of categories. Simply navigate to the Payments section and look for Stripe Settings.

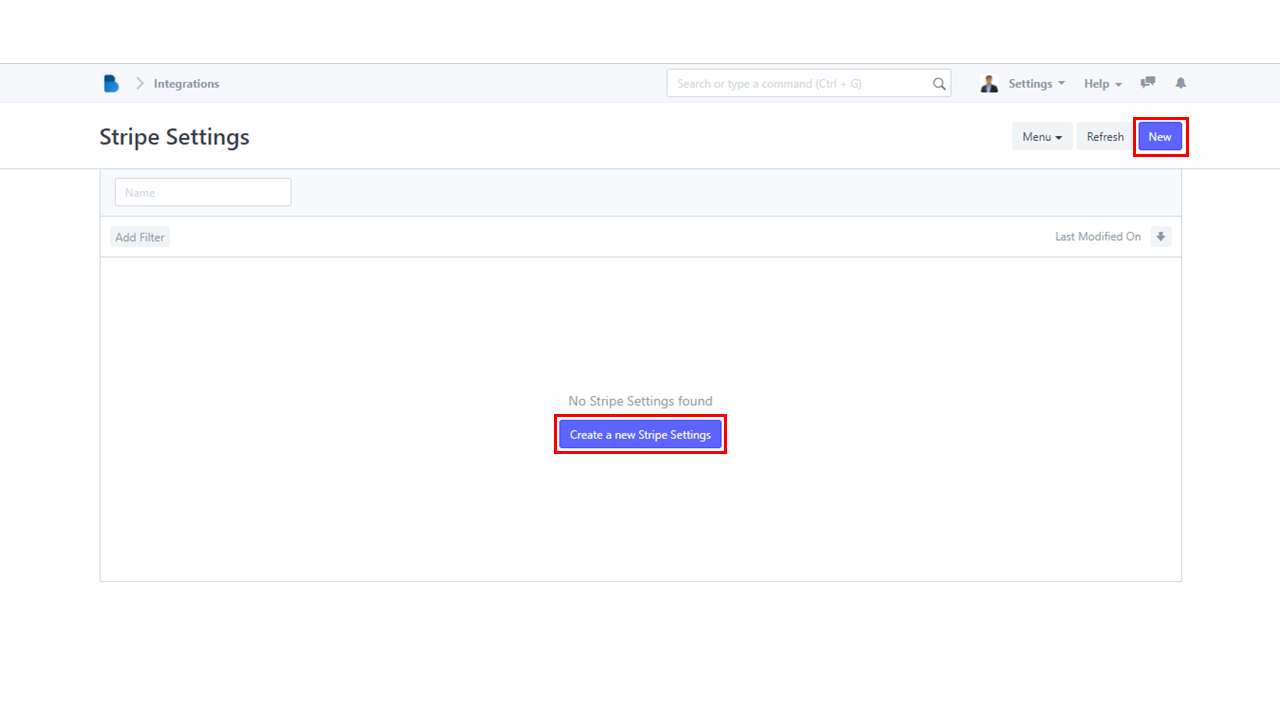
3. The steps are nearly complete. To create your own Stripe, simply click either Create a new Stripe Settings or New.
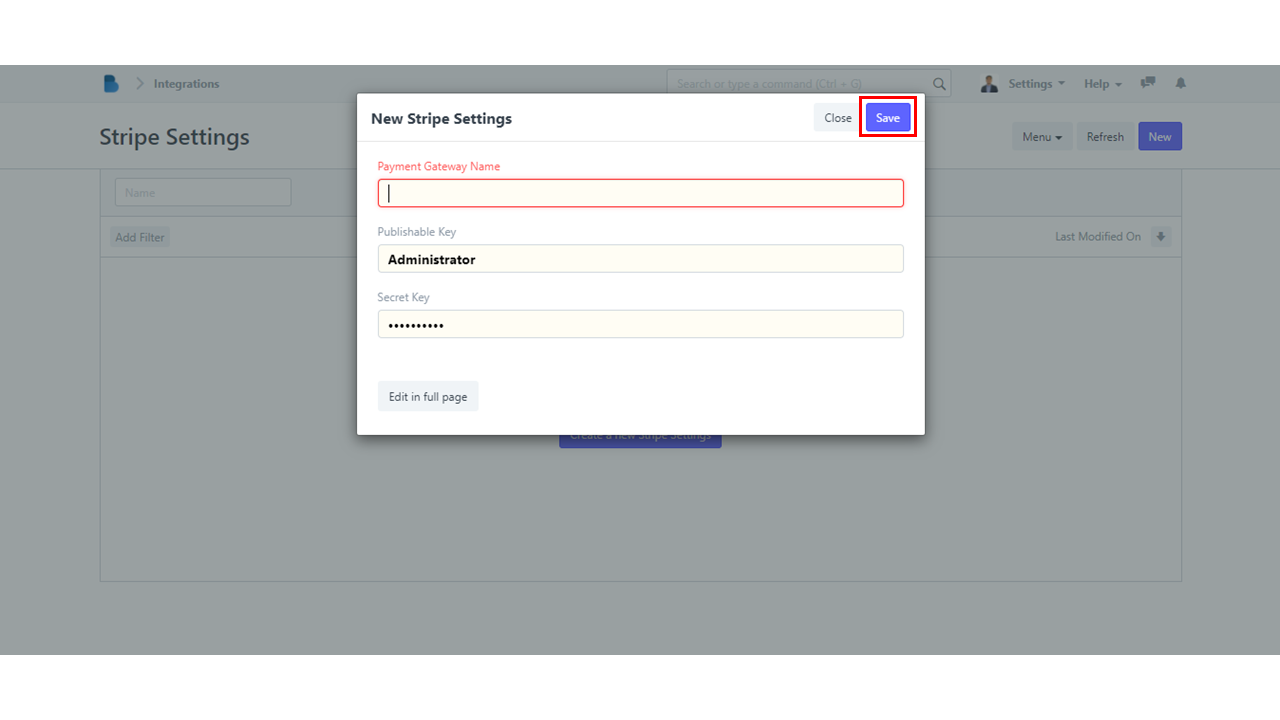
4. To proceed, enter the Payment Gateway Name, Publishable Key, and Secret Key. After filling in the necessary fields, click Save and you're done.
- Look for Integrations module in ADMINISTRATION section.
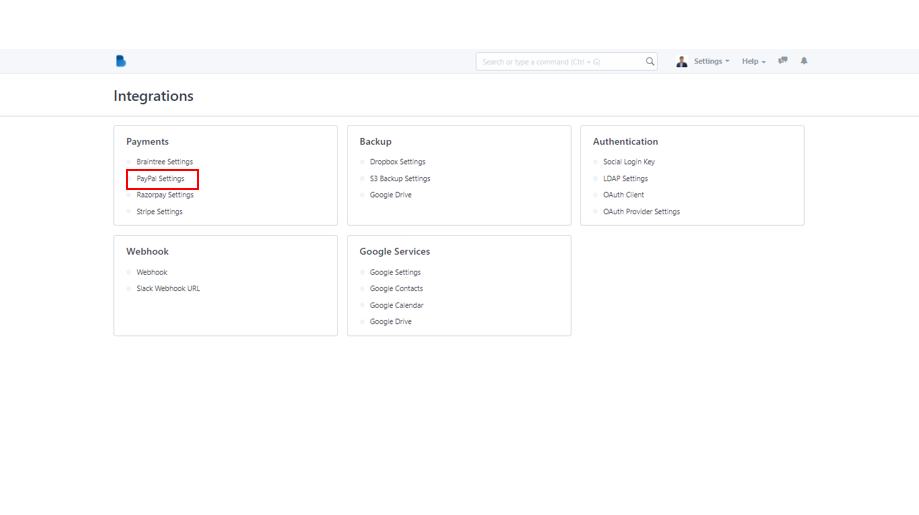
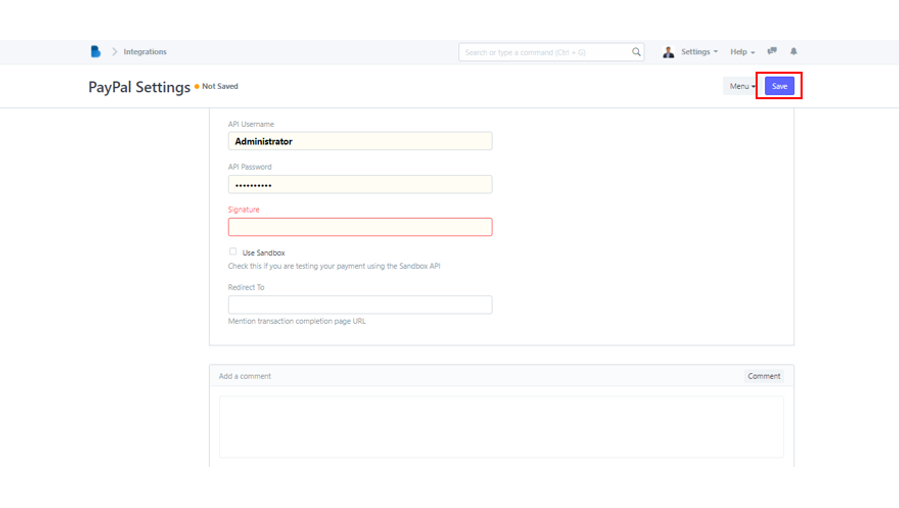
2. Under Payments category, you will see Paypal Settings. Click it to navigate to Paypal Settings page.
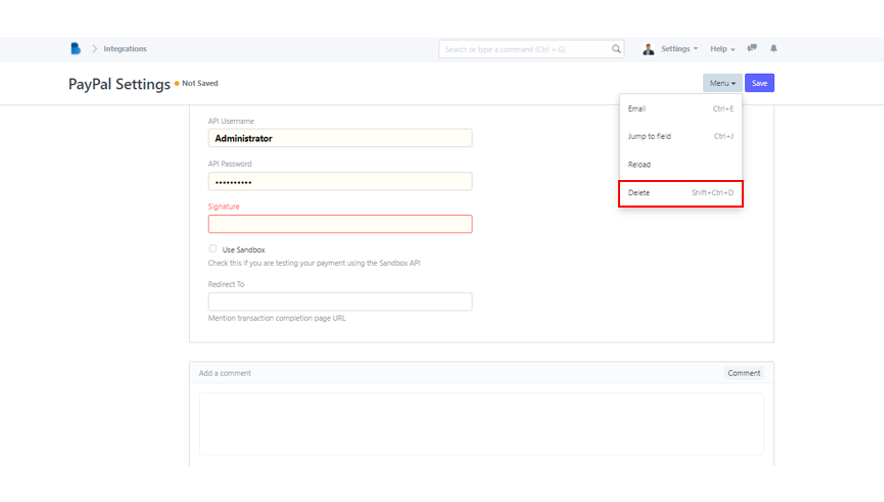
3. You can change the API Username, API Password, and can input Signature. The system will allow you to change all the fields you wanted to update. After you've finished, simply click Save to save your newly changed data.
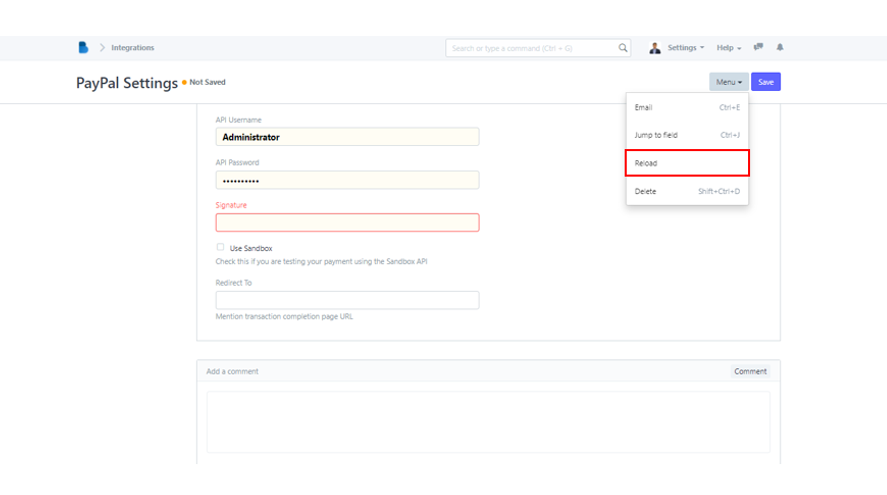
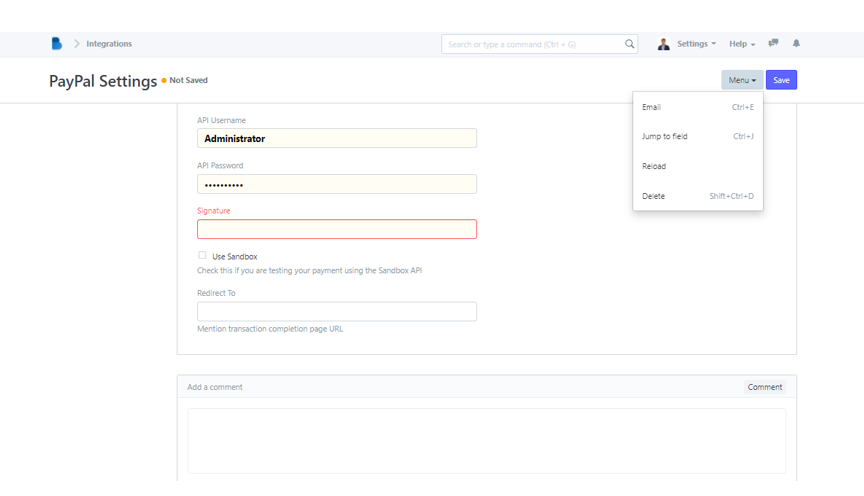
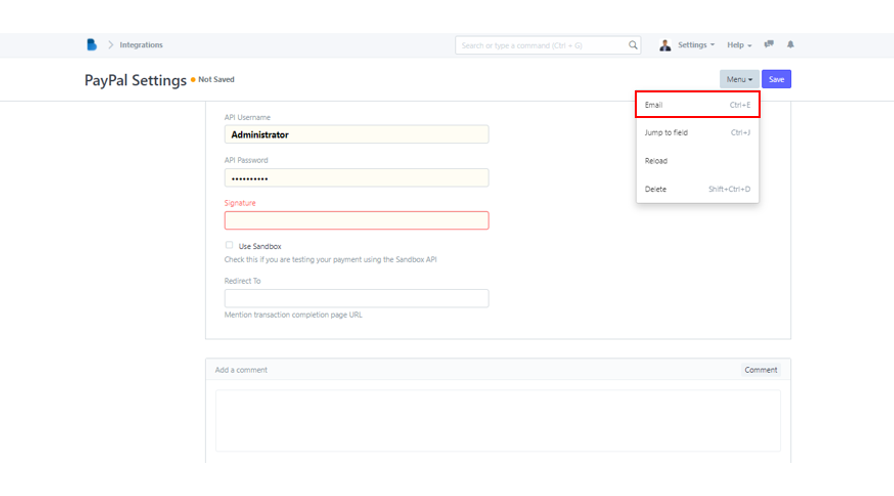
4. A Menu button can be found in the upper right corner of the Paypal Settings page. That button consist of 4 functionalities, which are Email, Jump to Field, Reload, and Delete.

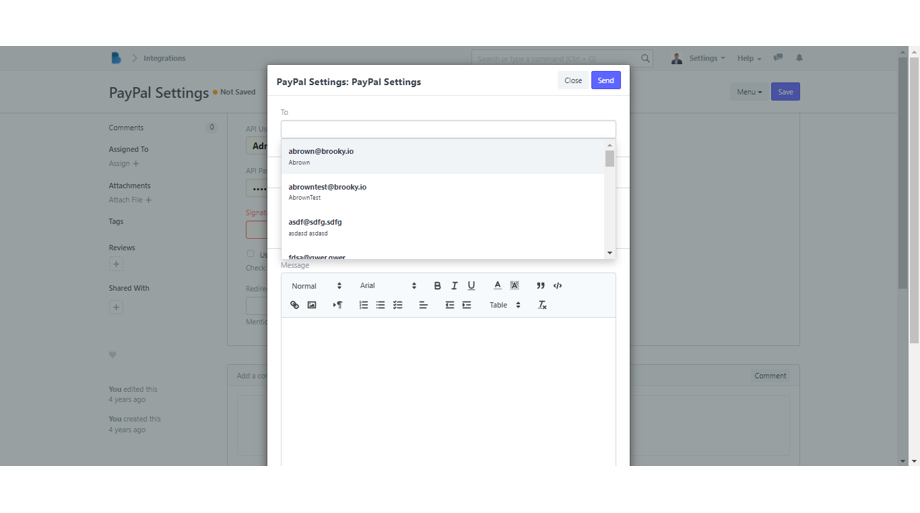
5. The Email function is to allow you to send updates regarding Paypal Settings to your team via email. When you click it, a pop-up box will open, prompting you to enter the email addresses of the people you wish to send emails to. You can leave a note in the message box.
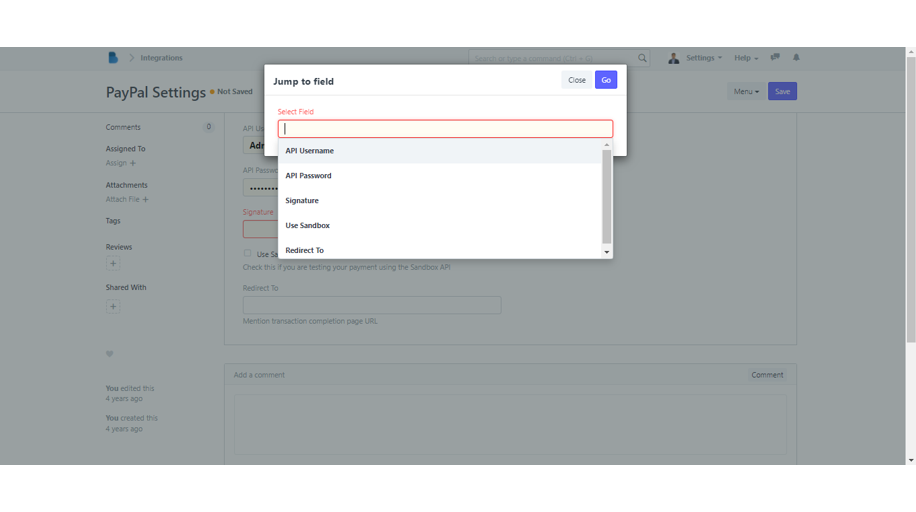
6. Jump to field is a shortcut key you can use to find fields you wish to search without scrolling up and down. You can type in what you are looking for, and the system will be the one to find that particular field for you.
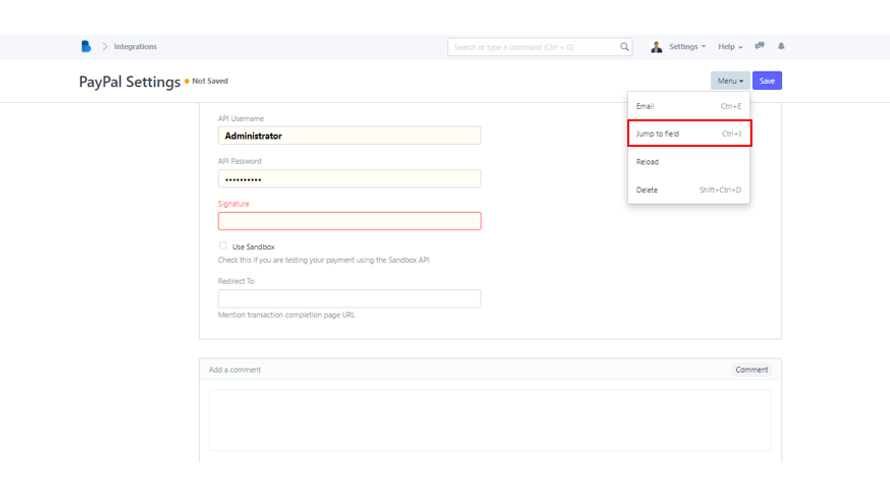
7. The Reload button refreshes the page, while the Delete button will permanently delete the Paypal Setting.