(Integrations) Authentication
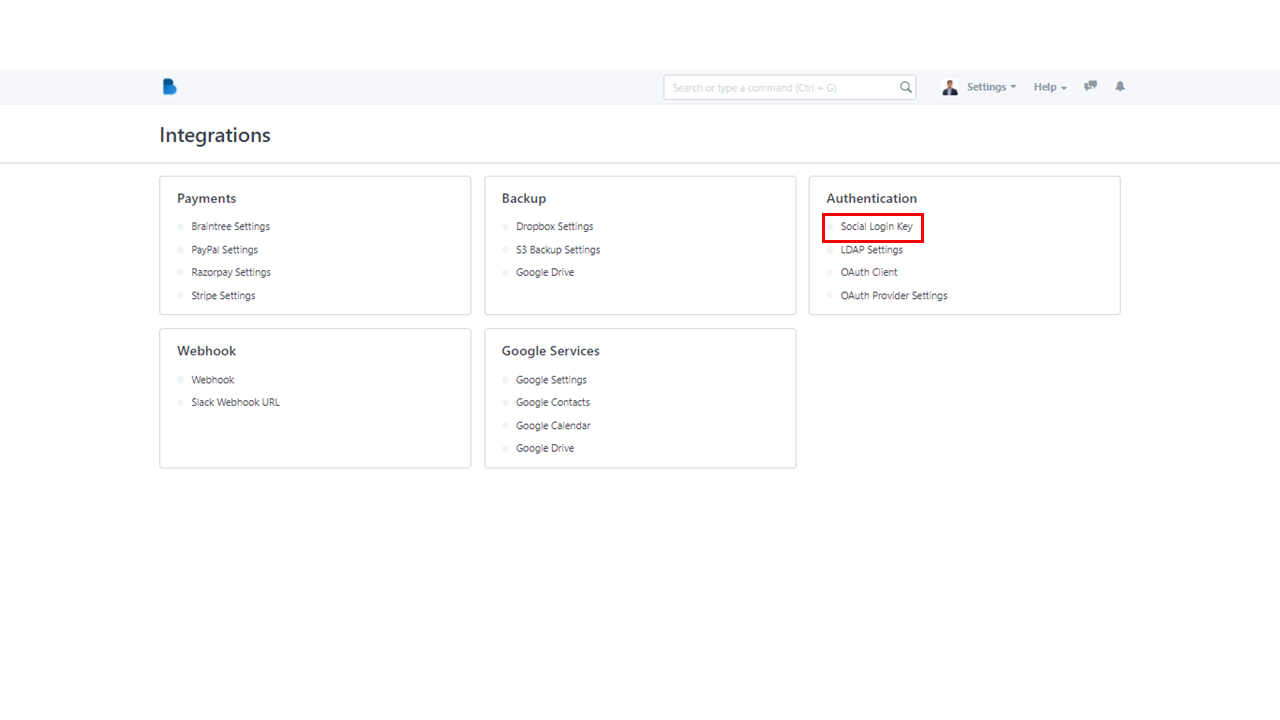
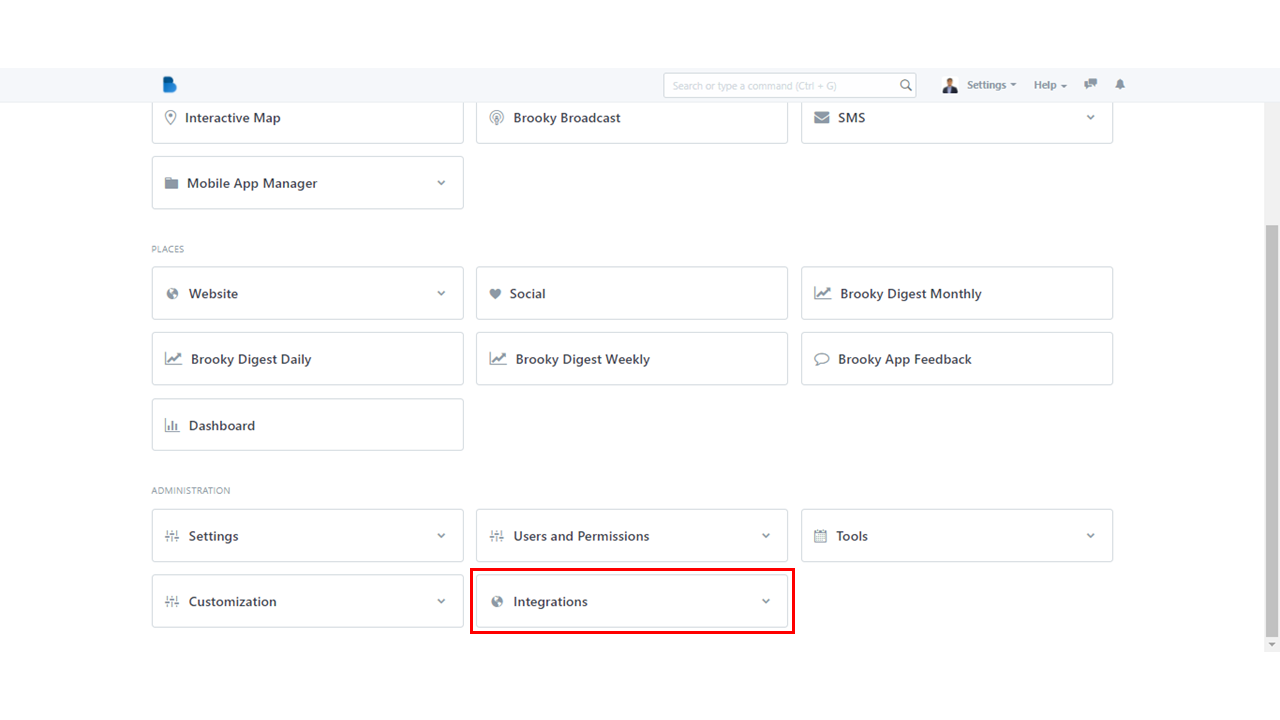
- Go to Integrations module under ADMINISTRATION section.

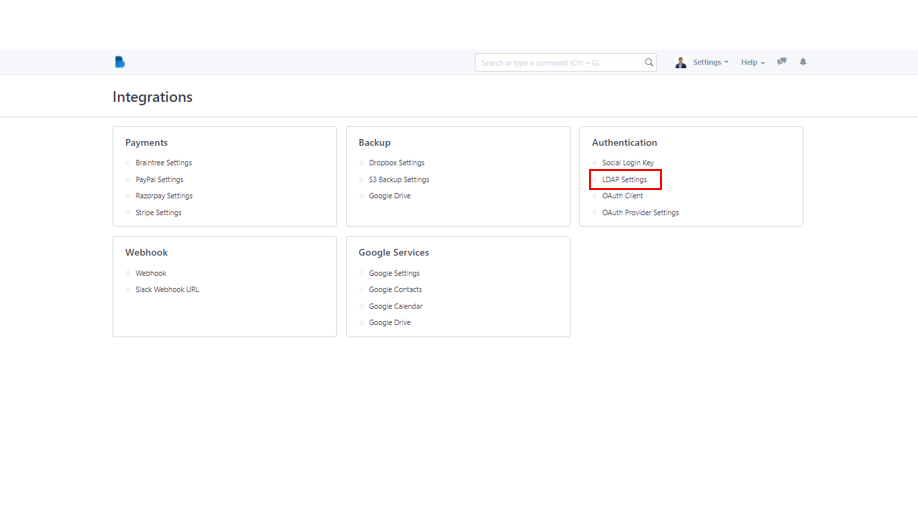
2. In the third category which is Authentication, select Social Login Key.
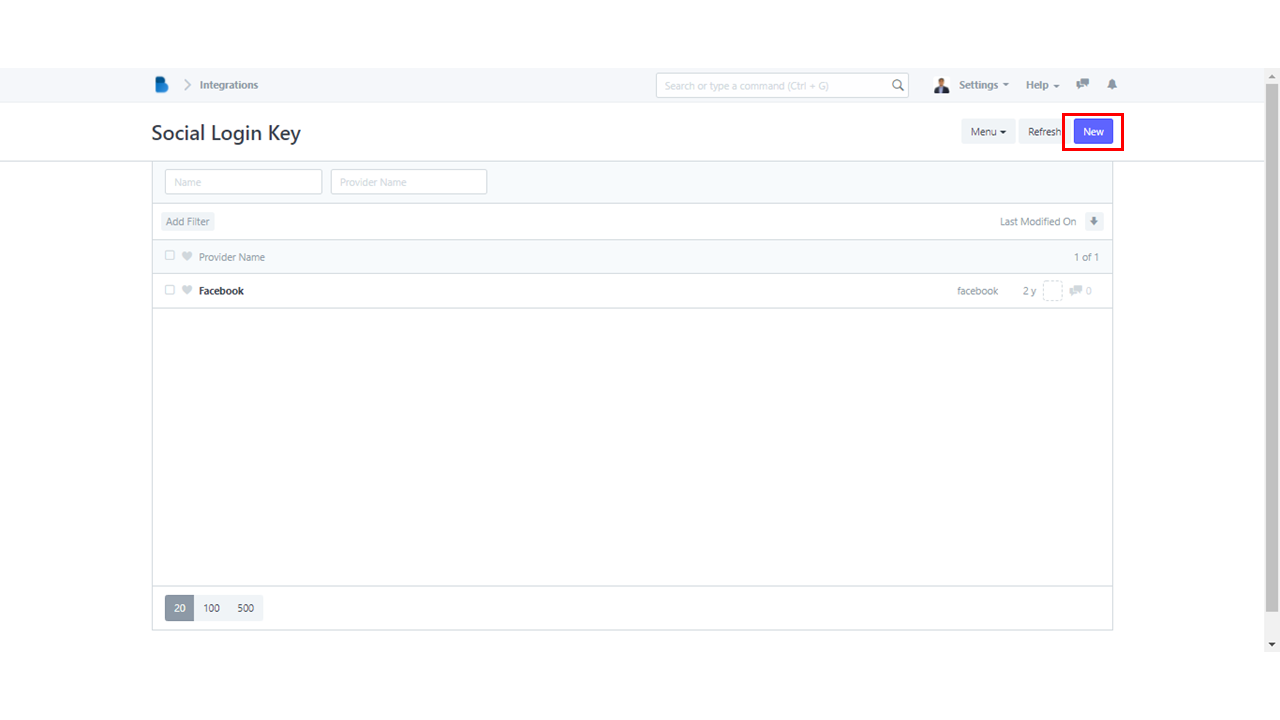
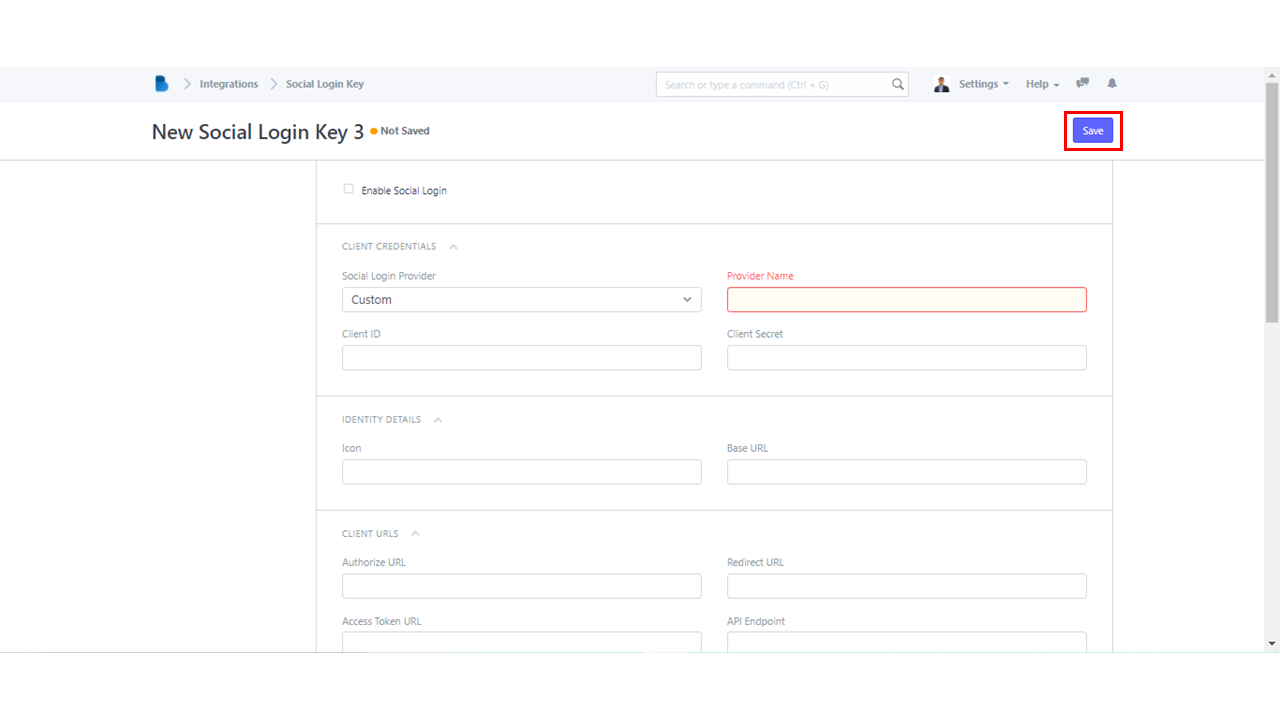
3. You will be taken to the Social Login Key page. You'll find a list of all of your social login keys there. Click the New button in the upper right corner of the screen to create a new social login key.
4. Before filling out the fields, you must first enable the Social Login. Make sure to fill out all of the boxes, especially those that are required in the Client Credentials.
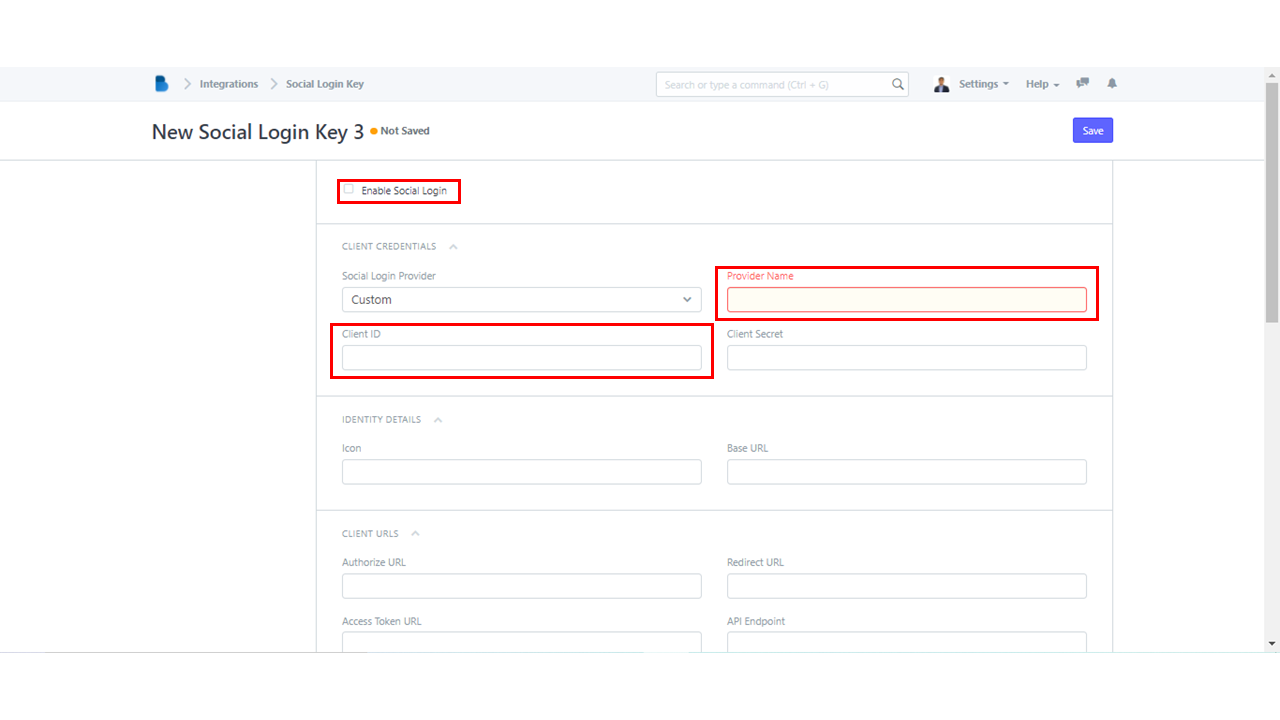
5. After you are satisfied with what you have filled in, the only thing left to do is to click the Save button.
- Scroll down to the ADMINISTRATION section on the Admin Dashboard. Look for Integrations module. To proceed, click on the module.
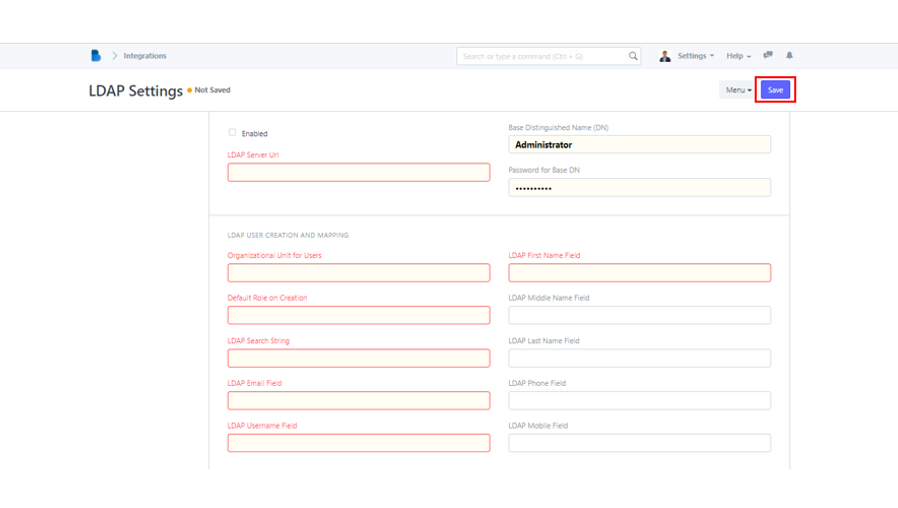
2. You will be redirected to the Integrations page which contains five categories. In the Authentication category, select LDAP Settings.
3. Enable LDAP and fill out the required fields, particularly the red ones. There are still more at the bottom of the page, simply scroll down and provide the information required.
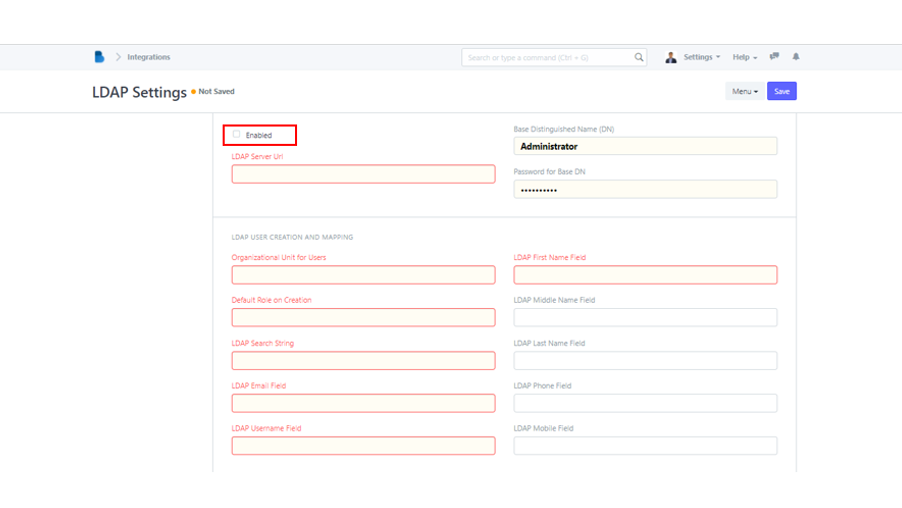
4. When finished, click Save to enable LDAP completely.
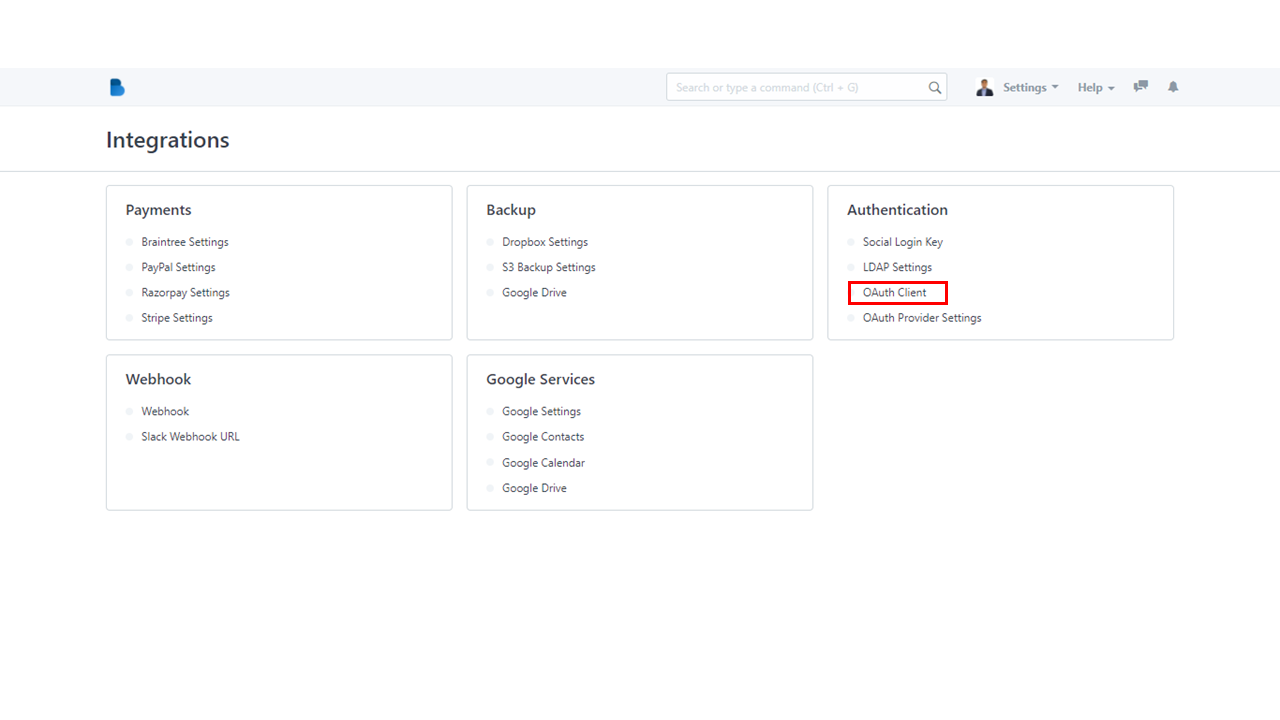
- Scroll down and select Integrations under the ADMINISTRATION section.

2. OAuth Client can be found in the Authentication category. To proceed, select OAuth Client.
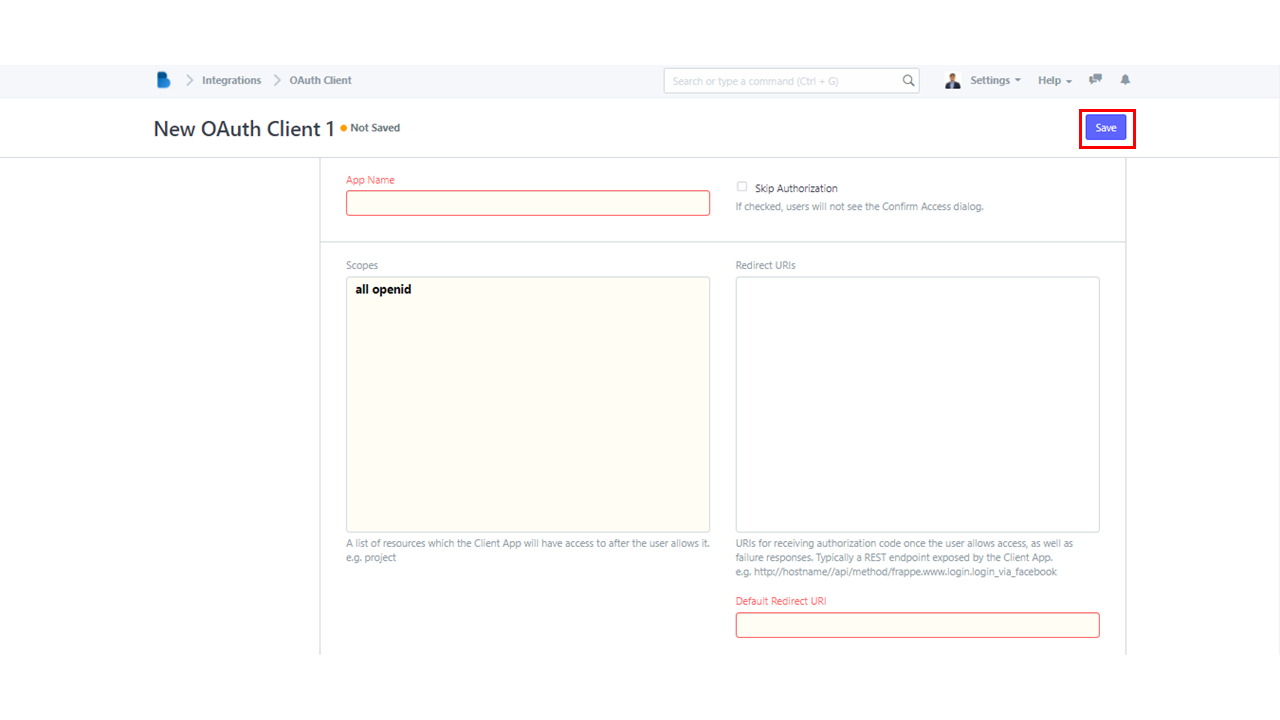
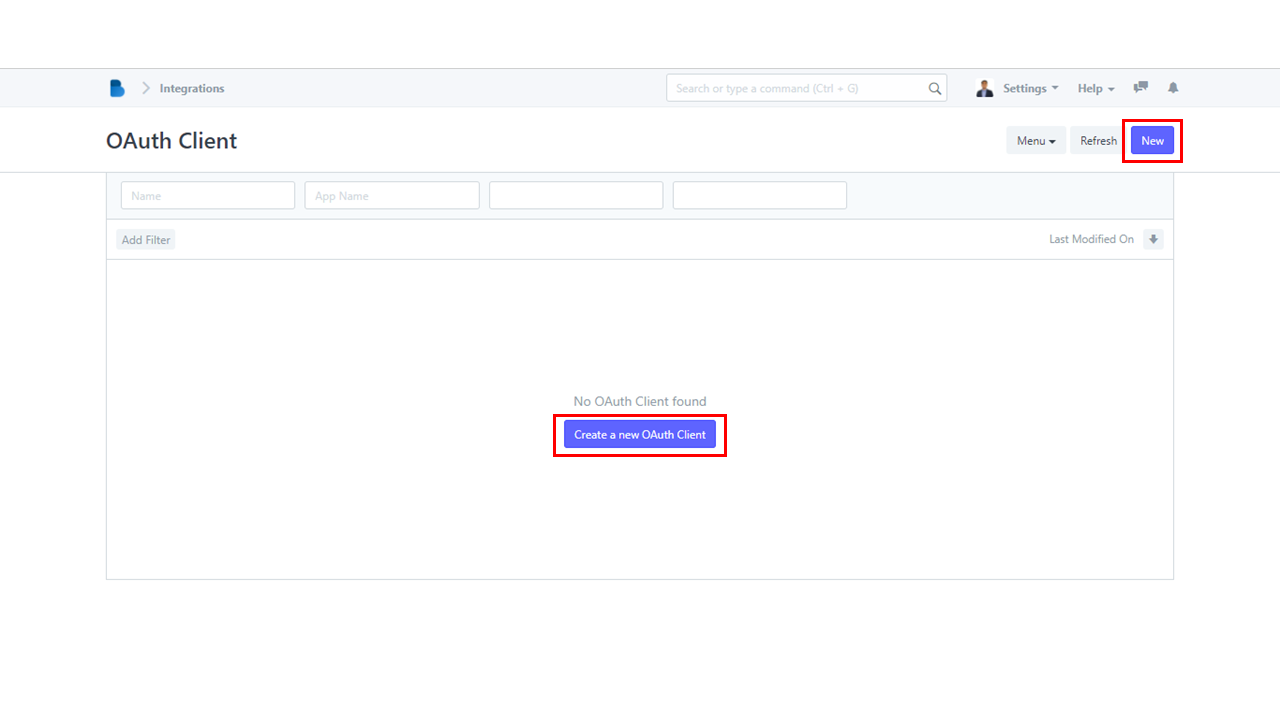
2. To create a new OAuth Client, click New or Create a new OAuth Client.
4. There are few fields that are needed to be filled out. Concentrate on the red-colored boxes and provide relevant details. After you've entered all of the necessary information, click Save.