(Payment Manager) Reports
1. Open the Brooky Portal and login your credentials.
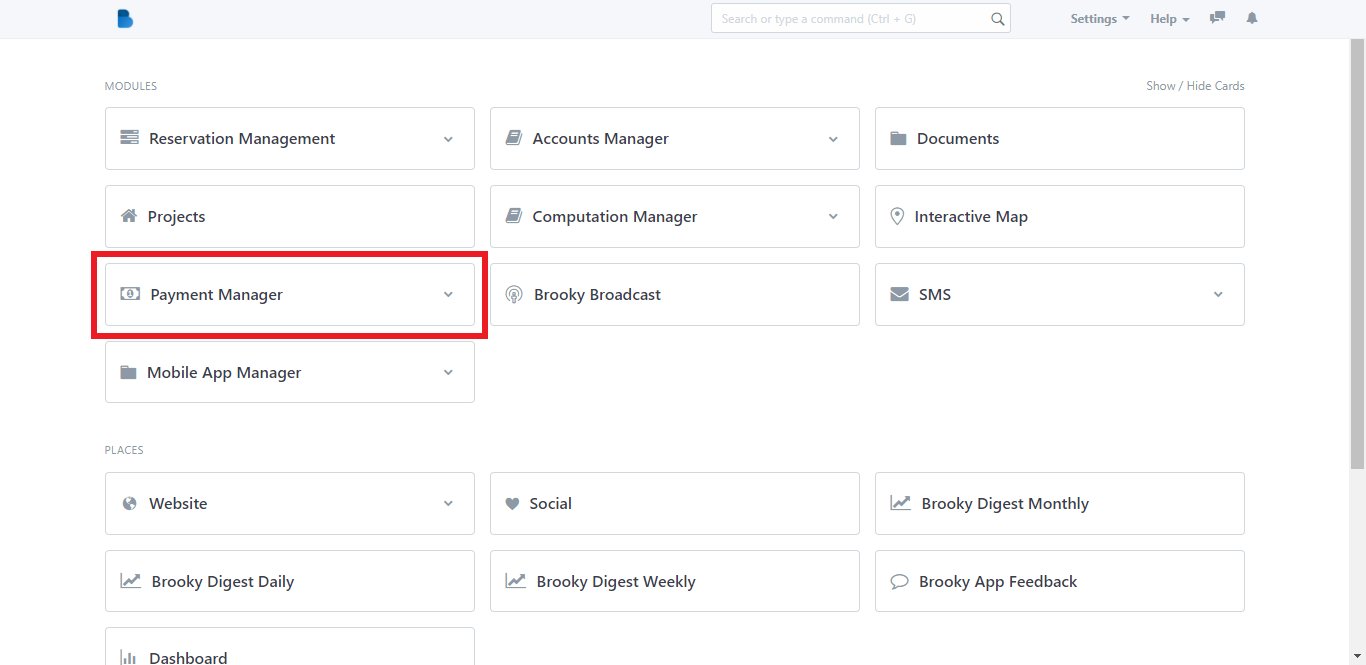
2. On the Brooky Admin Portal homepage, click on the Payment Manager and it will redirect you to its page which has two categories; Payments and Reports.
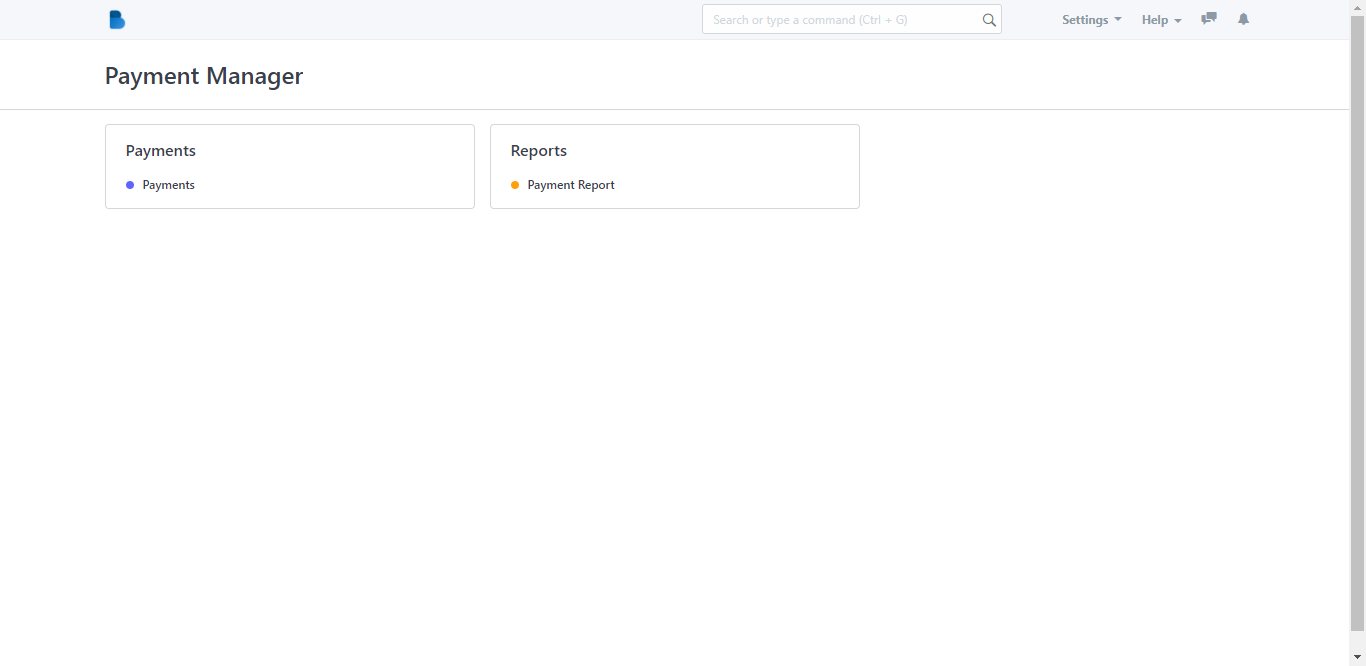
3. You can select Payments or Payment Report as both categories have the same Menu option. When you click a category, you will be taken to its page.
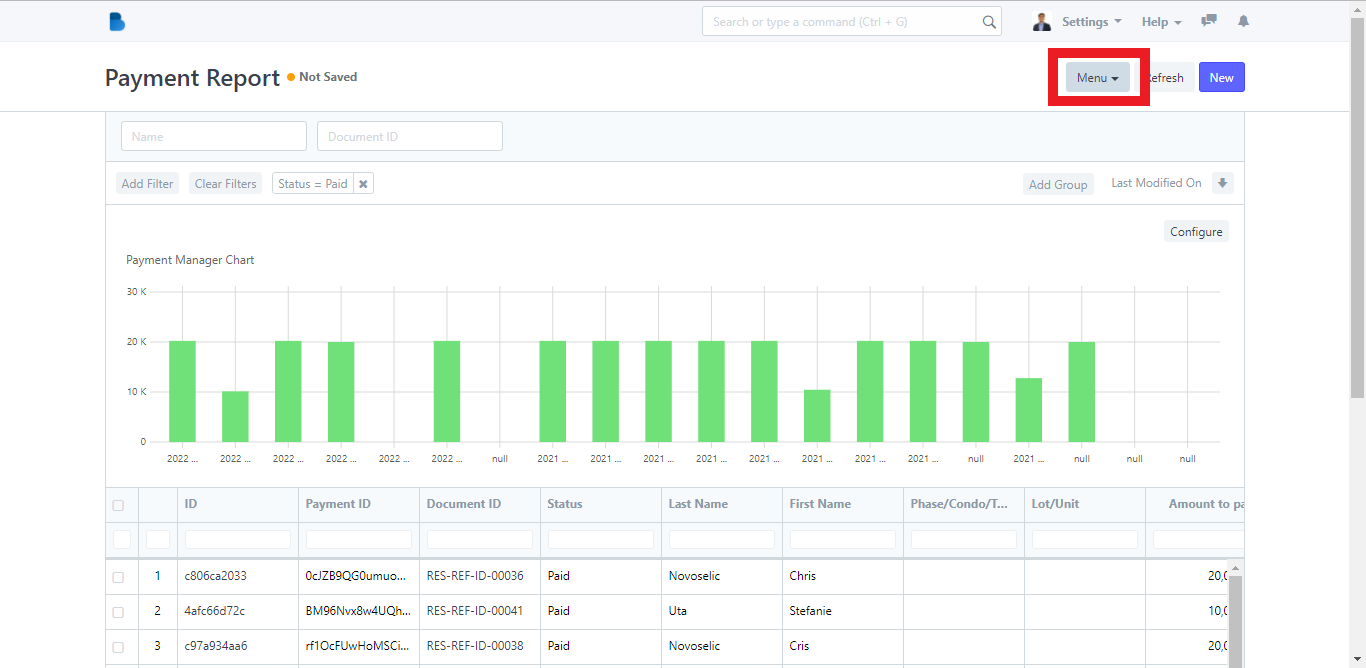
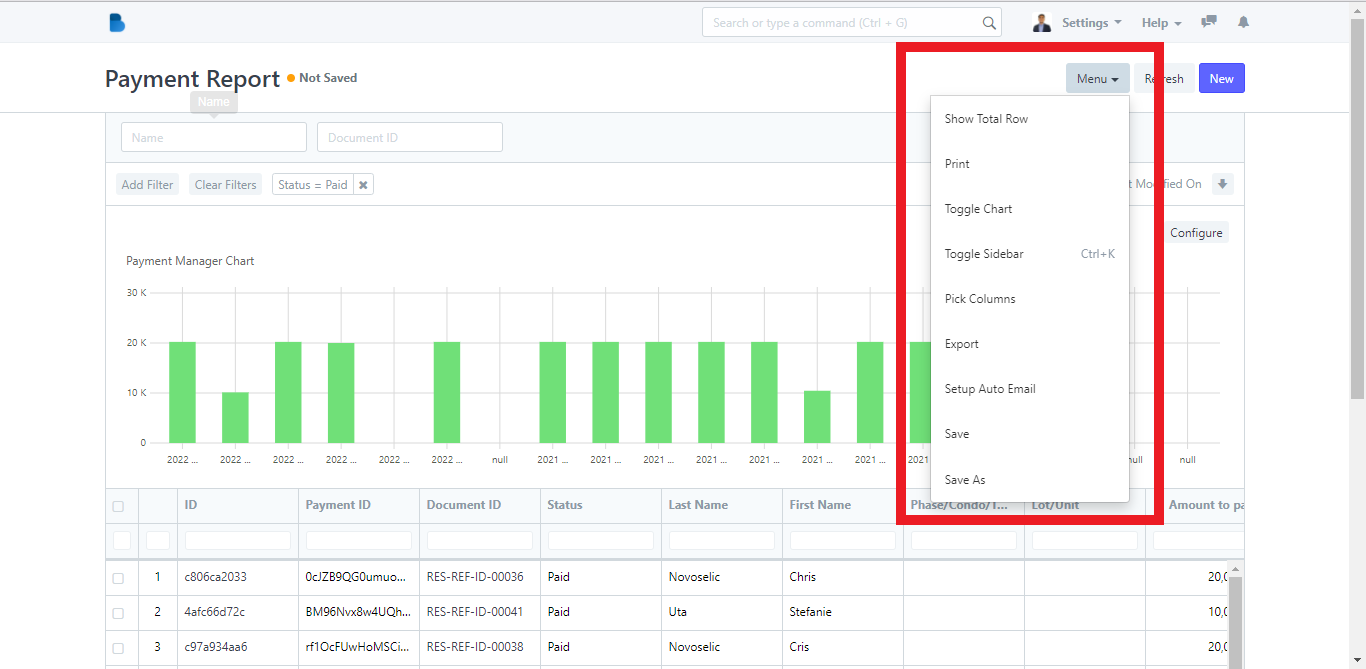
4. In the Payment Report page, there is a Menu dropdown button. Click it and it will show its options.
5. The Menu dropdown button displays several options like what you want to do with the documents or how you want the page to look like (Show Total Row of the payment details, Print payment report, Toggle Chart, Toggle Sidebar, Pick Columns on what information you want to display in the page, Export payment report in an Excel or CSV format, Setup Auto Email to send payment information through email, Save and Save As).
1. Open the Brooky Portal and login your credentials.
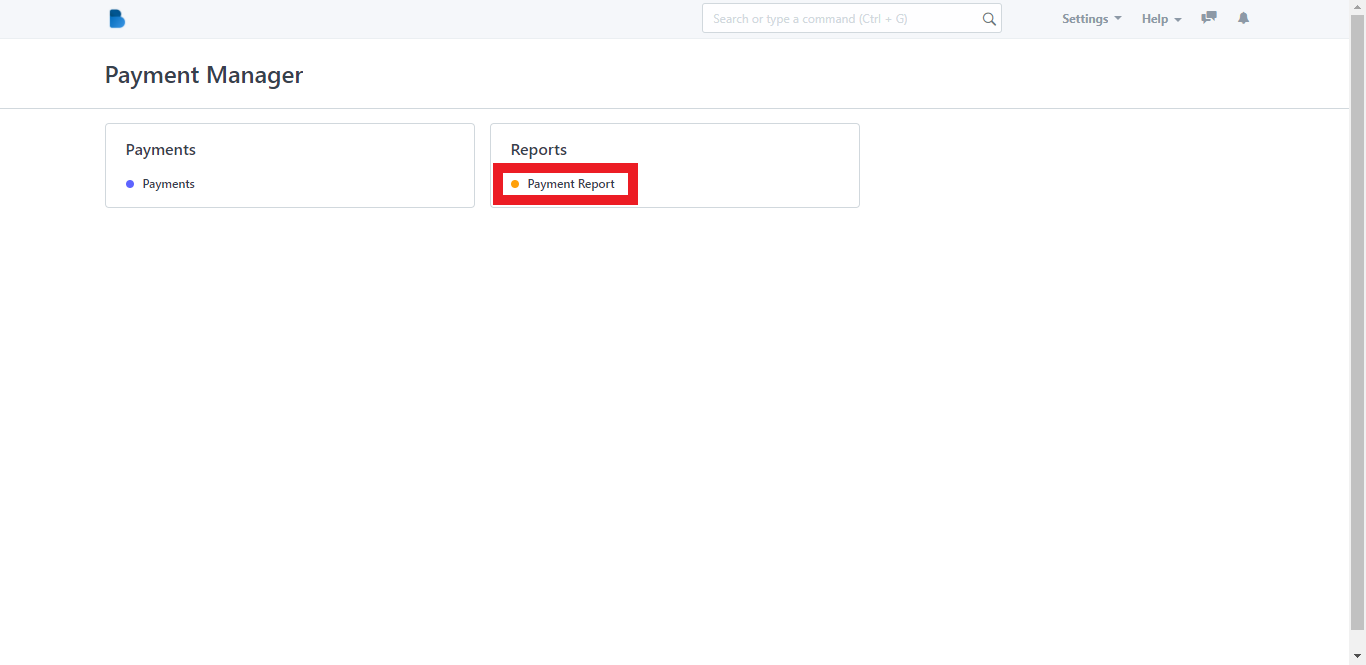
2. On the Brooky Admin Portal homepage, click on the Payment Manager and it will redirect you to its page which has two categories; Payments and Reports.
3. Click the Payment Report category and after that it will redirect you to this page where you will see more detailed information about the buyers’ payments.
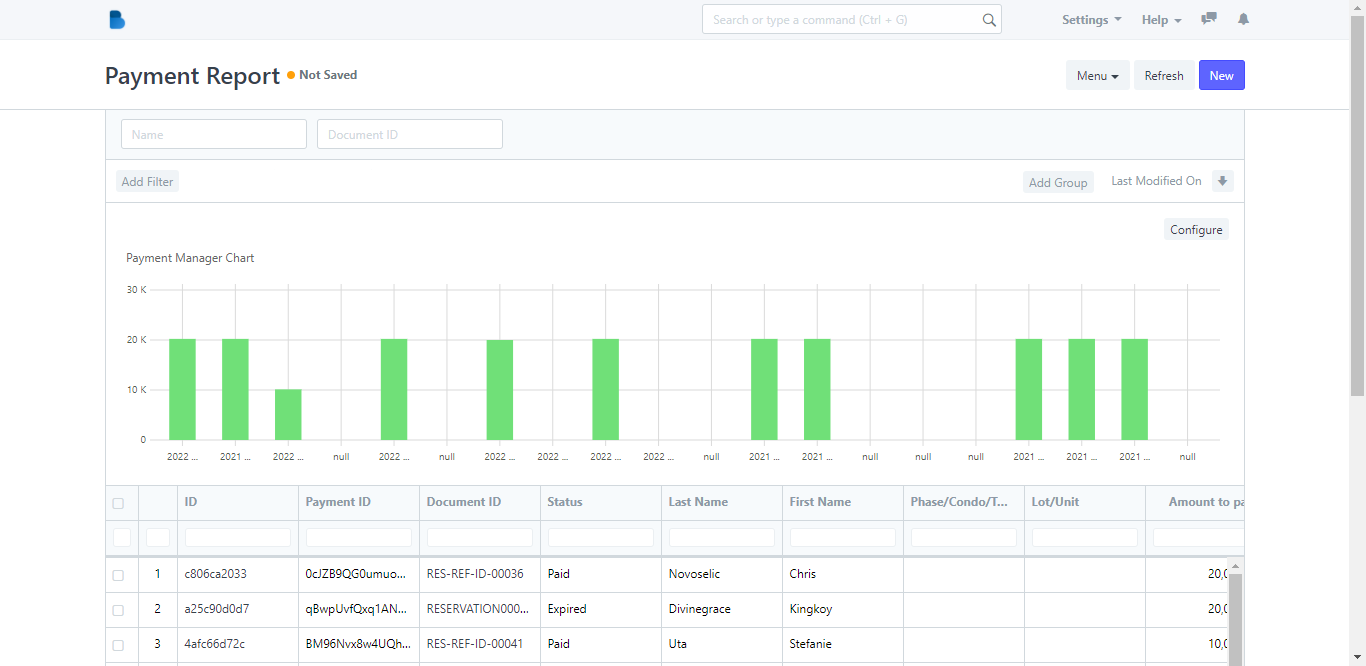
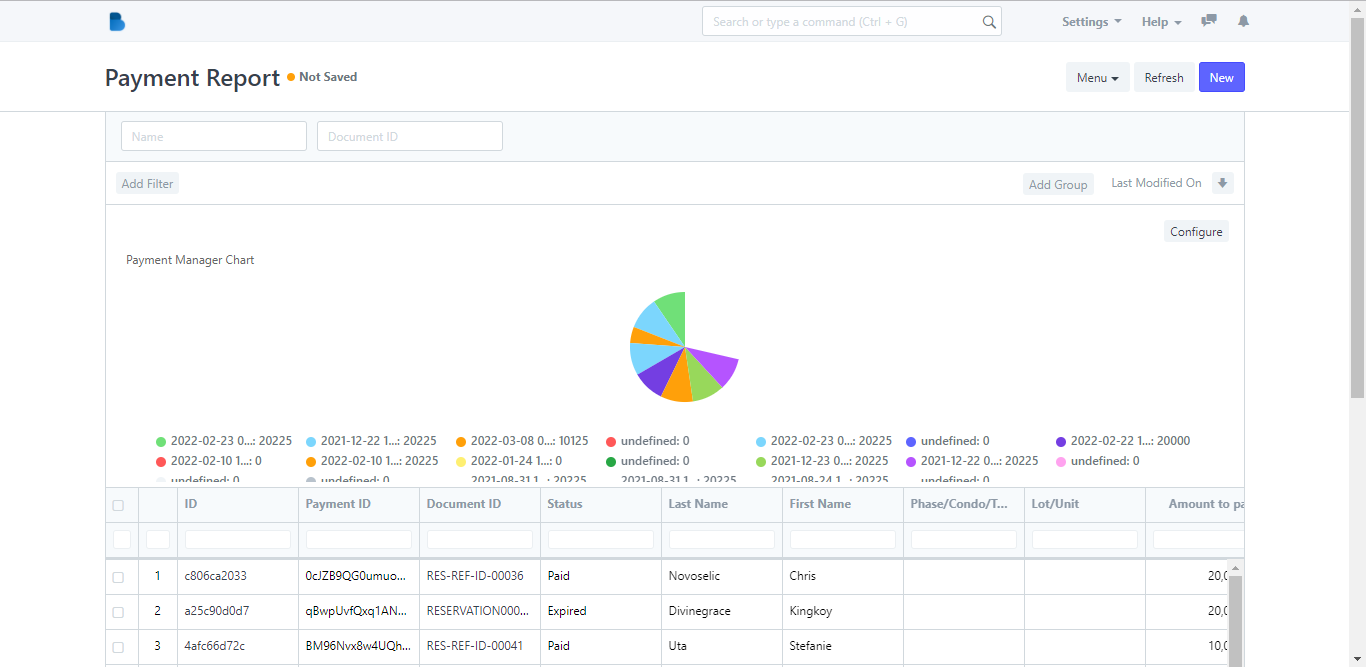
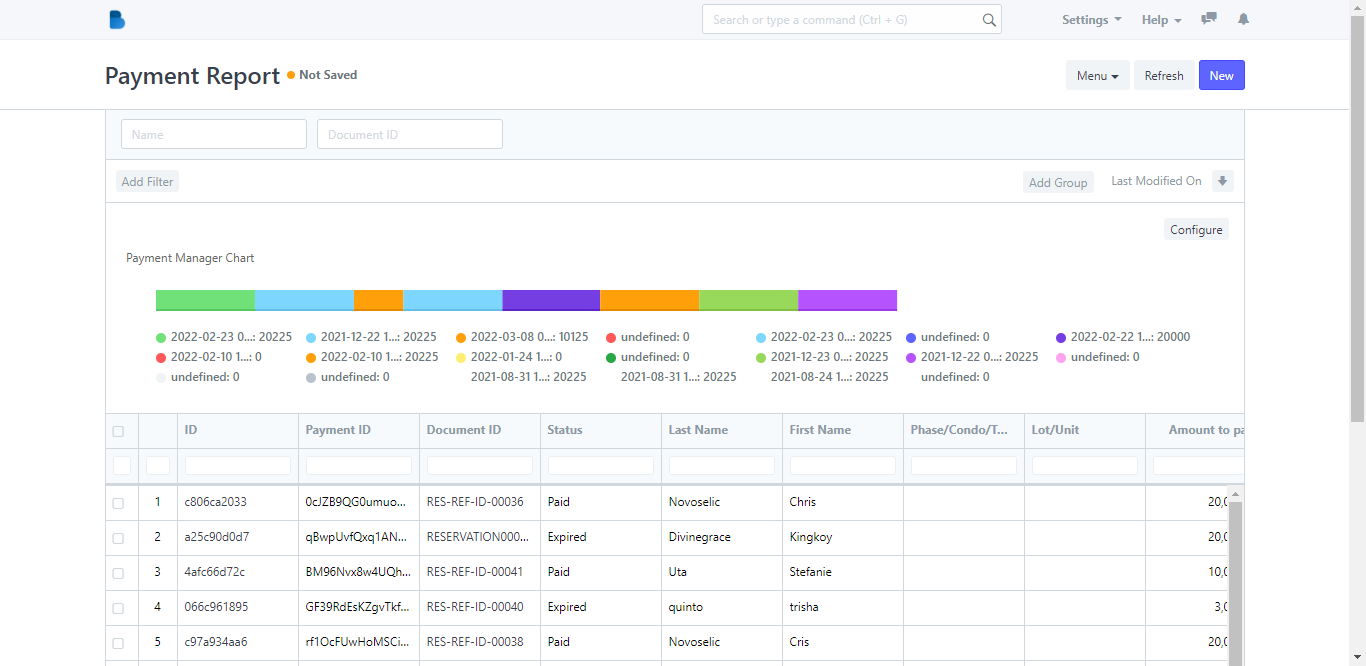
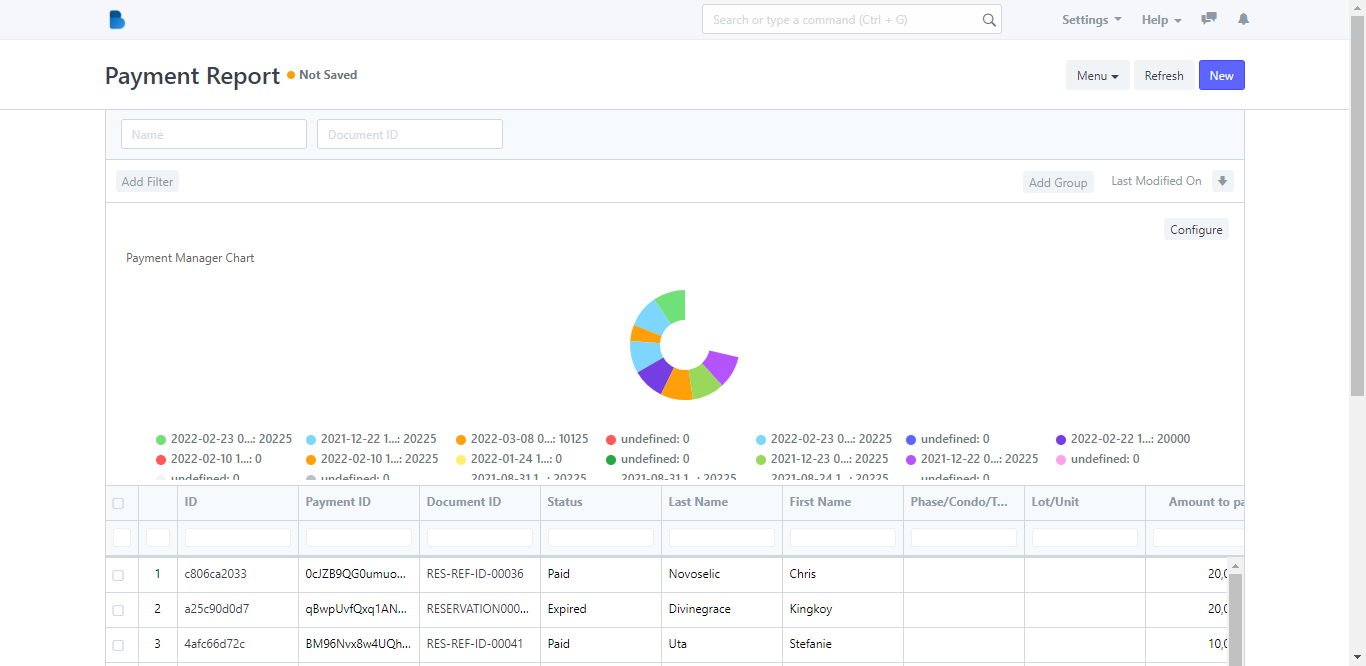
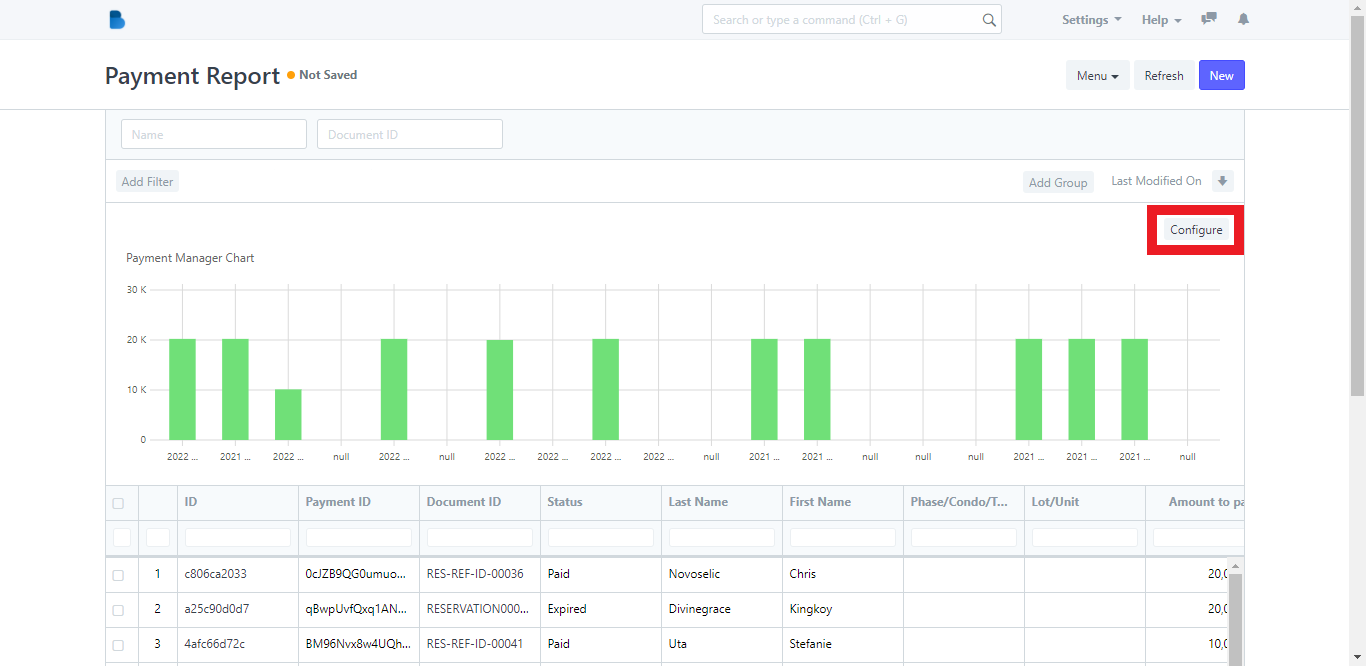
4. The chart can be configured based on the details of the buyer. Click the Configure button and it will show the configure field. After that, click the Submit button to generate the configured chart.
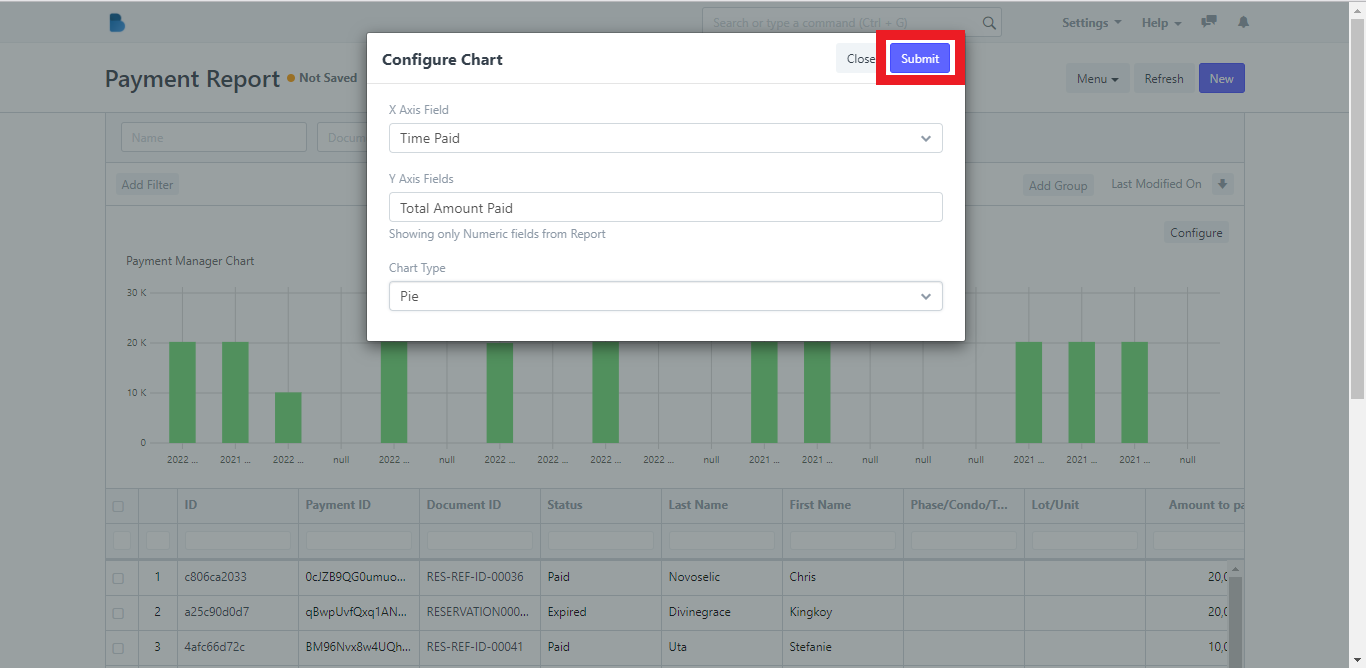
These are the examples of a customized configured chart.