Reservation User Manual
Developers Portal
How to create a reservation
- On Brooky Administrator View click "Reservation Managements".
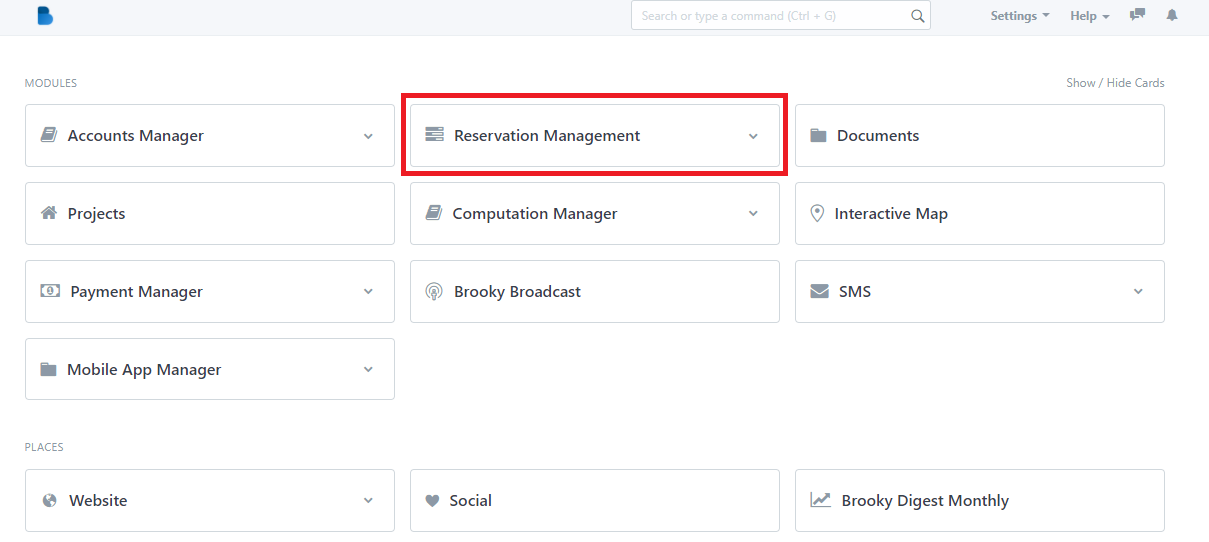
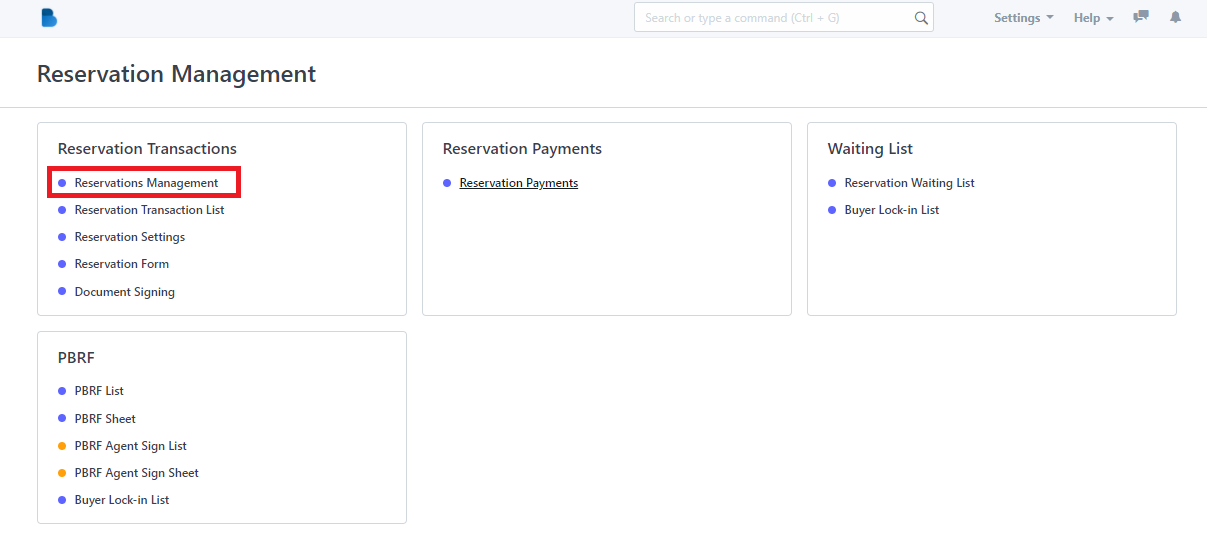
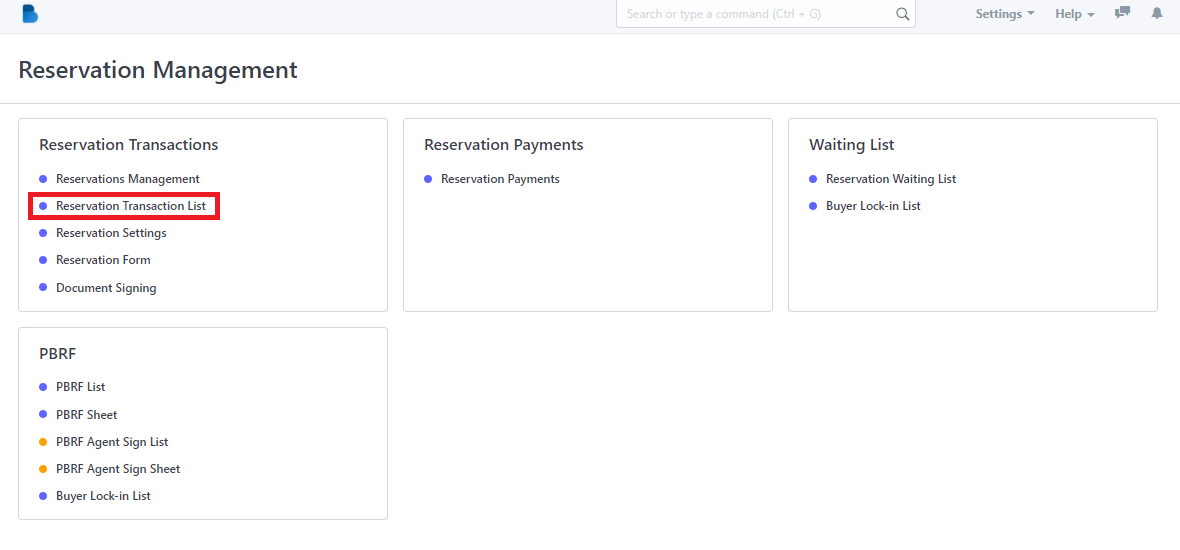
2. You will see the reservation management features. We will first focus on reservation transactions. "Click reservations management."

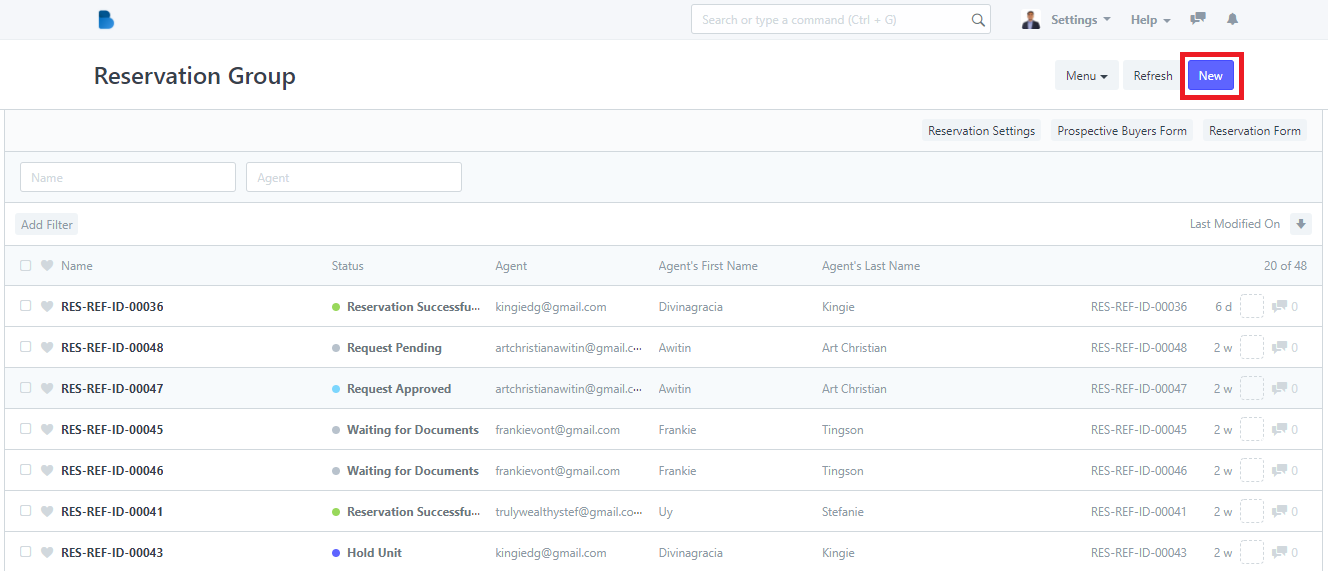
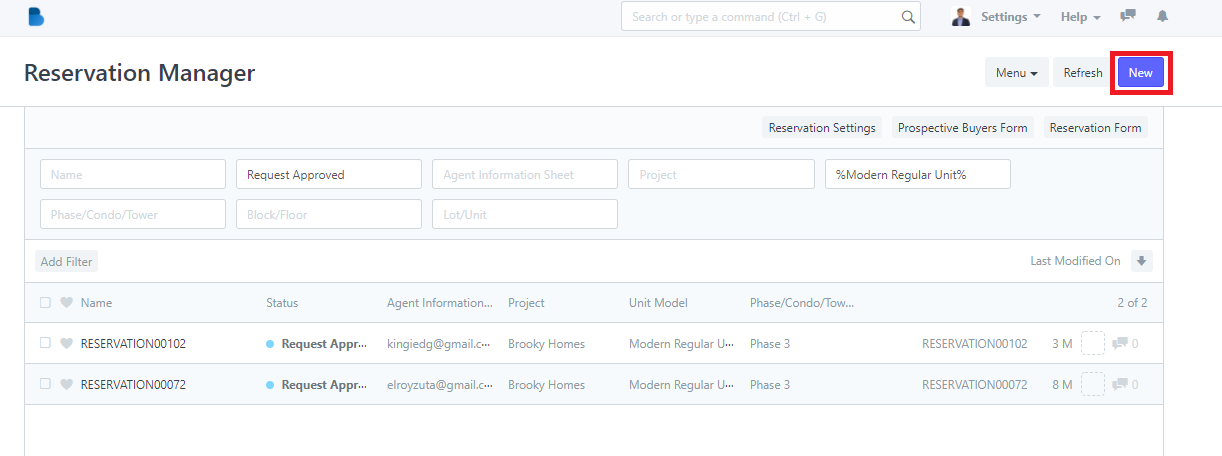
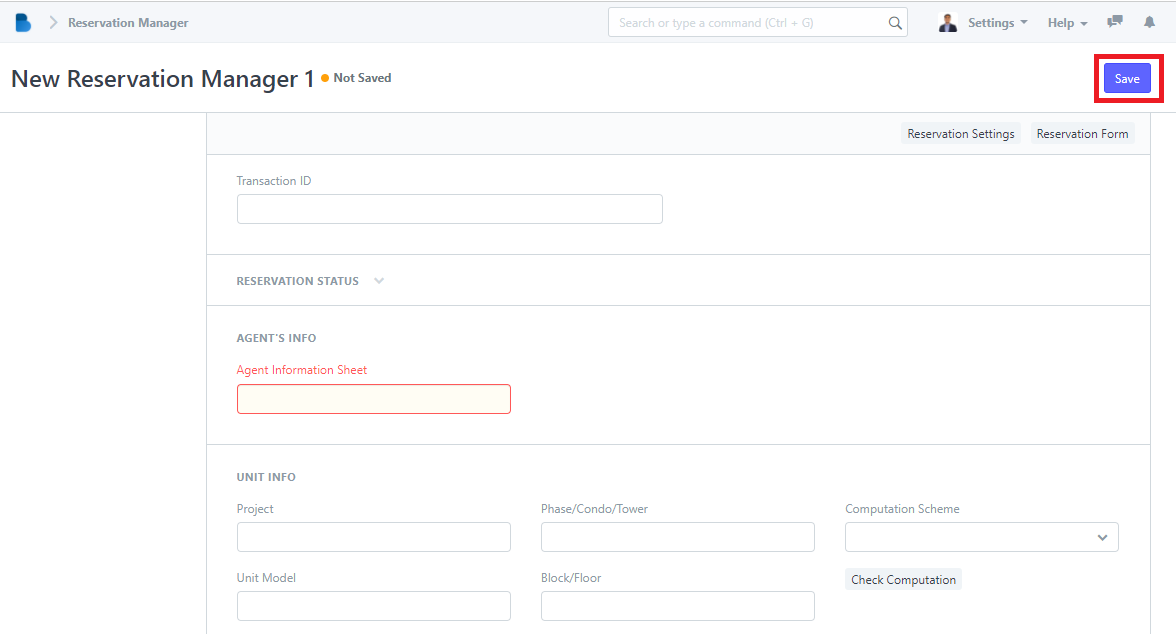
3. Click the "New" button to create a new reservation.
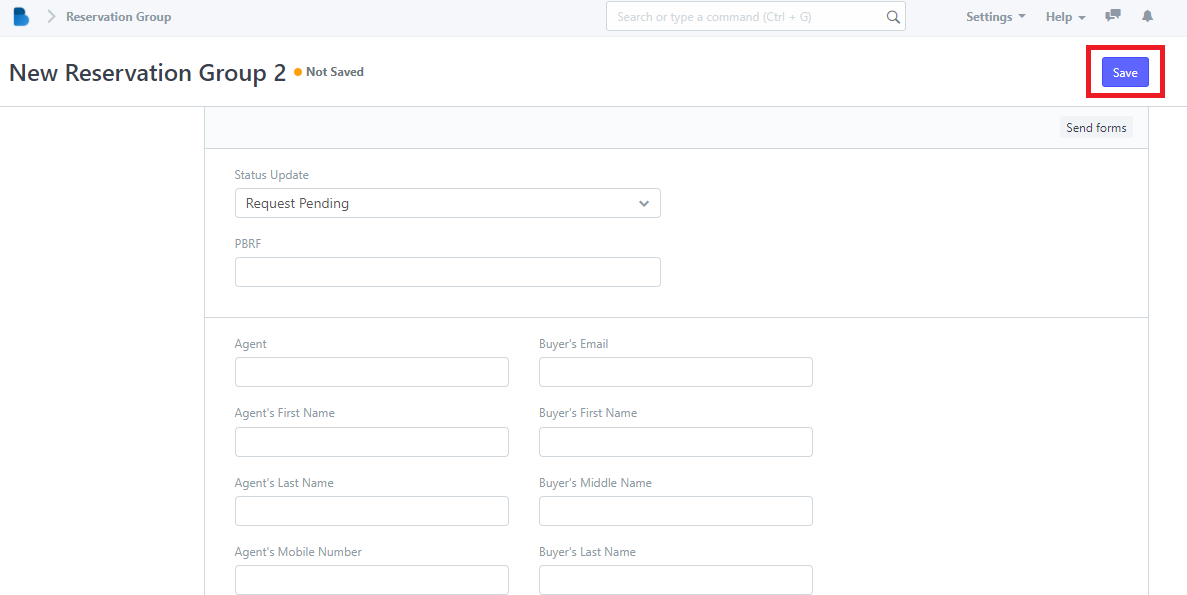
4. To create a reservation fill up necessary information and click 'Save'.
How to View and Edit Reservations Management
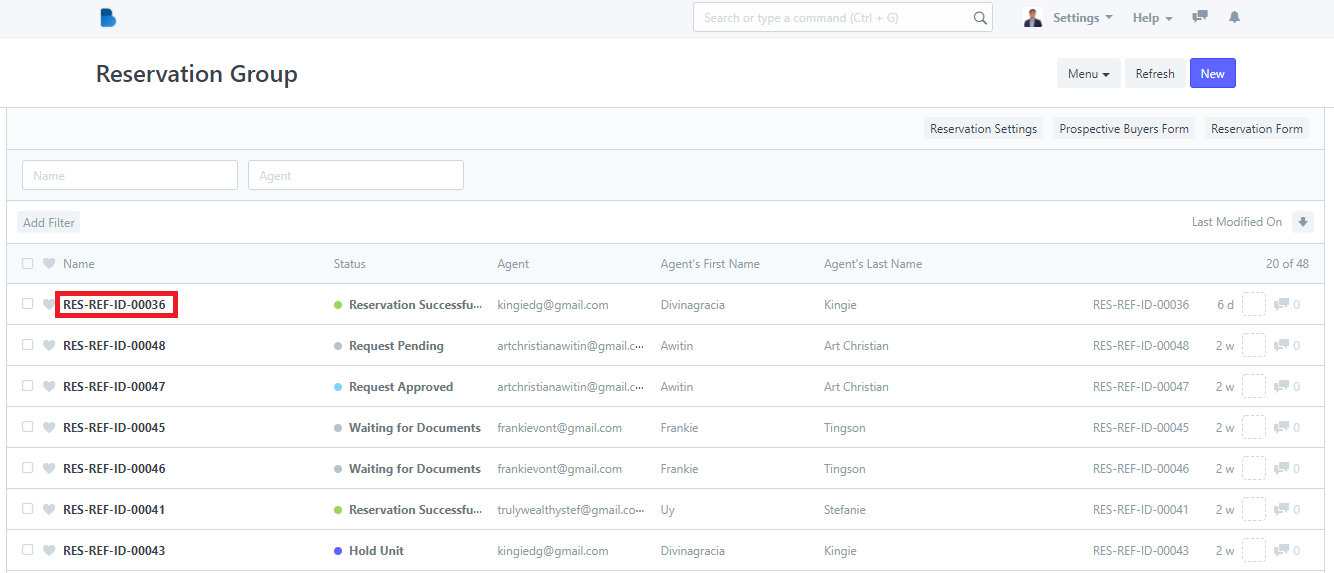
1. You will see Reservation Management features, We will first focus on Reservation Transactions ‘Click Reservations Management’.
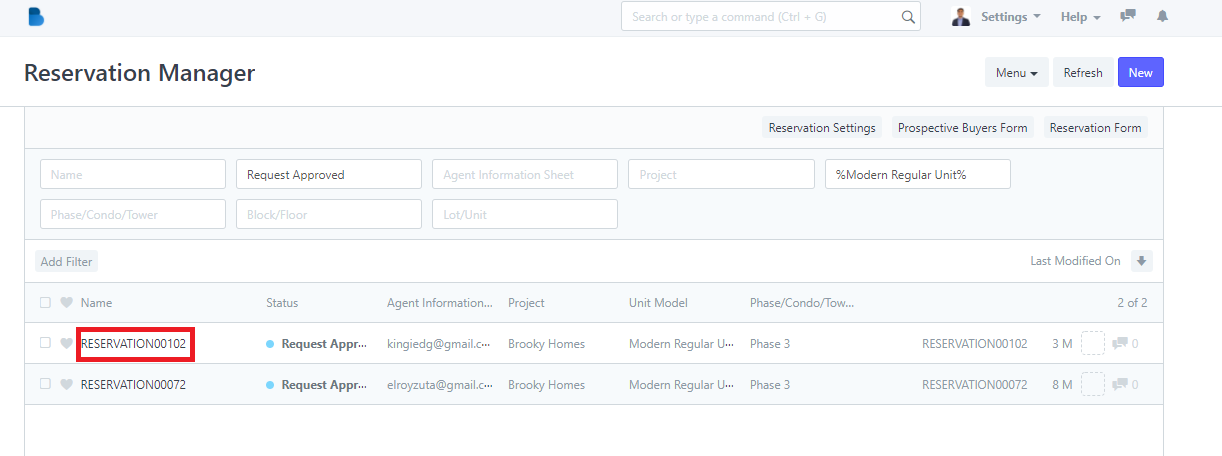
2. Click the ‘Name' that you want to view/edit and it will redirect you to view/edit page of that specific data.
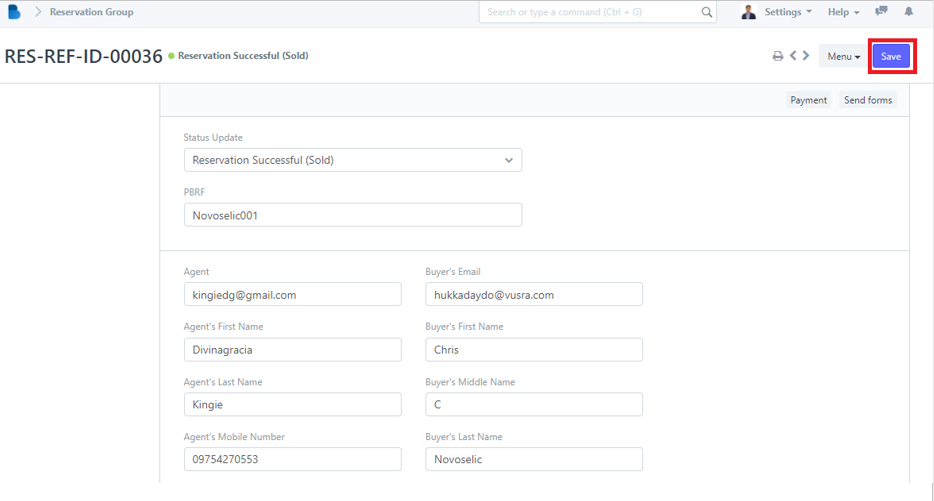
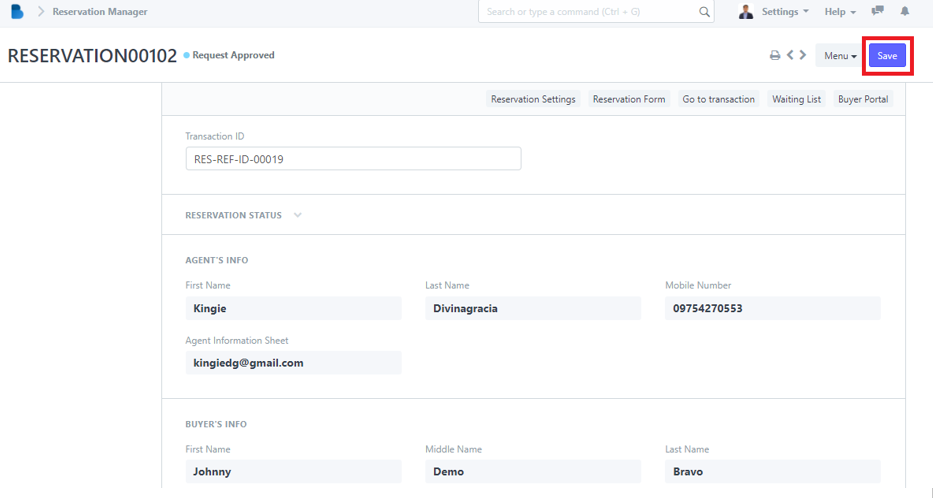
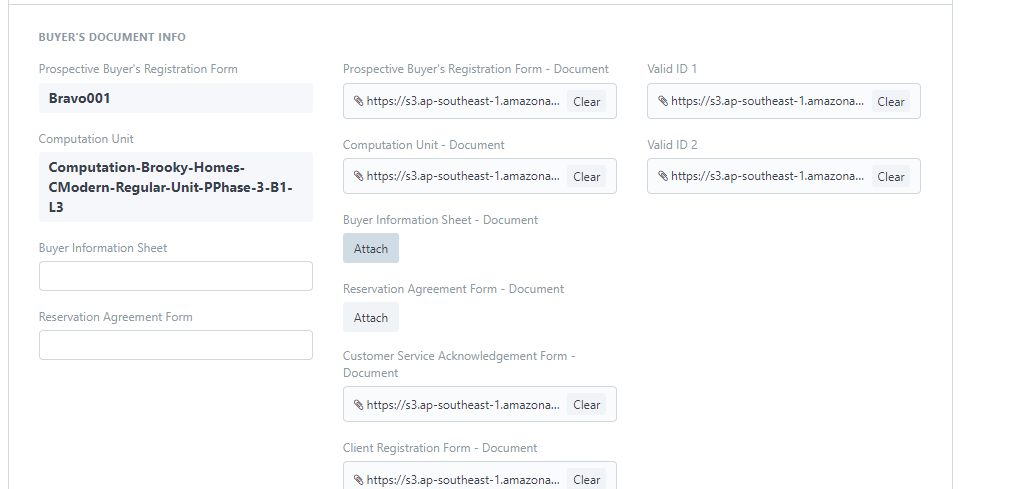
3. You can check, edit data, and edit status of the person who had a reservation. If you had any changes/updates click 'Save'.
How to Create a Transaction List
- In the Reservation Management Module under Reservation Transactions Click 'Reservation Transaction List'.
2. Click the ‘New' button to create a Reservation Transaction List’.
3. To create a reservation transaction fill up necessary information and click 'Save'.
How to View and Edit Transaction List
- In the Reservation Management Module under Reservation Transactions Click 'Reservation Transaction List'.

2. Click the ‘Name' that you want to view/edit and it will redirect you to view/edit page of that specific data.
3. You can check, attach, edit data, and edit status of the person who had a reservation. If you had any changes/updates click 'Save'.
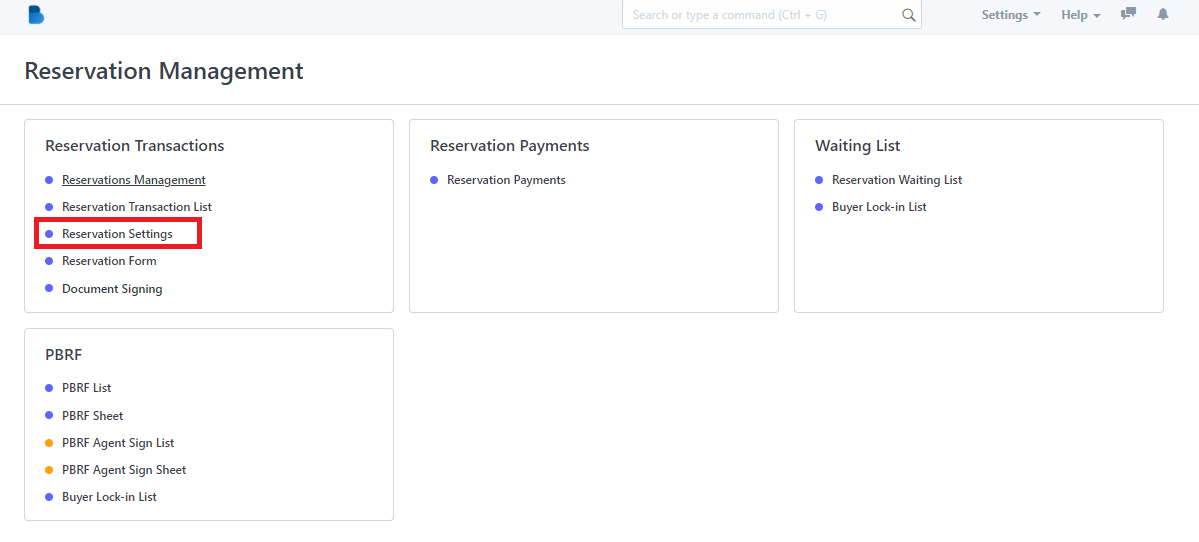
How to Use Reservation Settings
- In the Reservation Management Module under Reservation Transactions Click 'Reservation Settings'.
2. You can adjust the settings for reservation such as this highlighted ones.
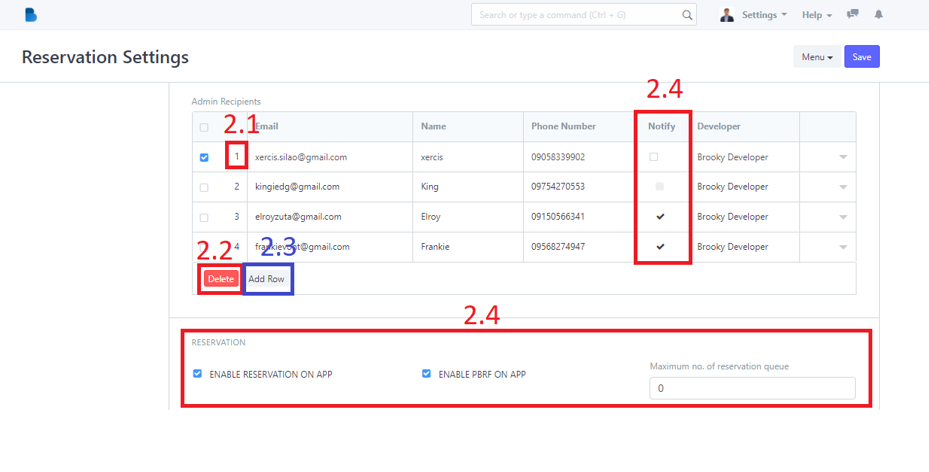
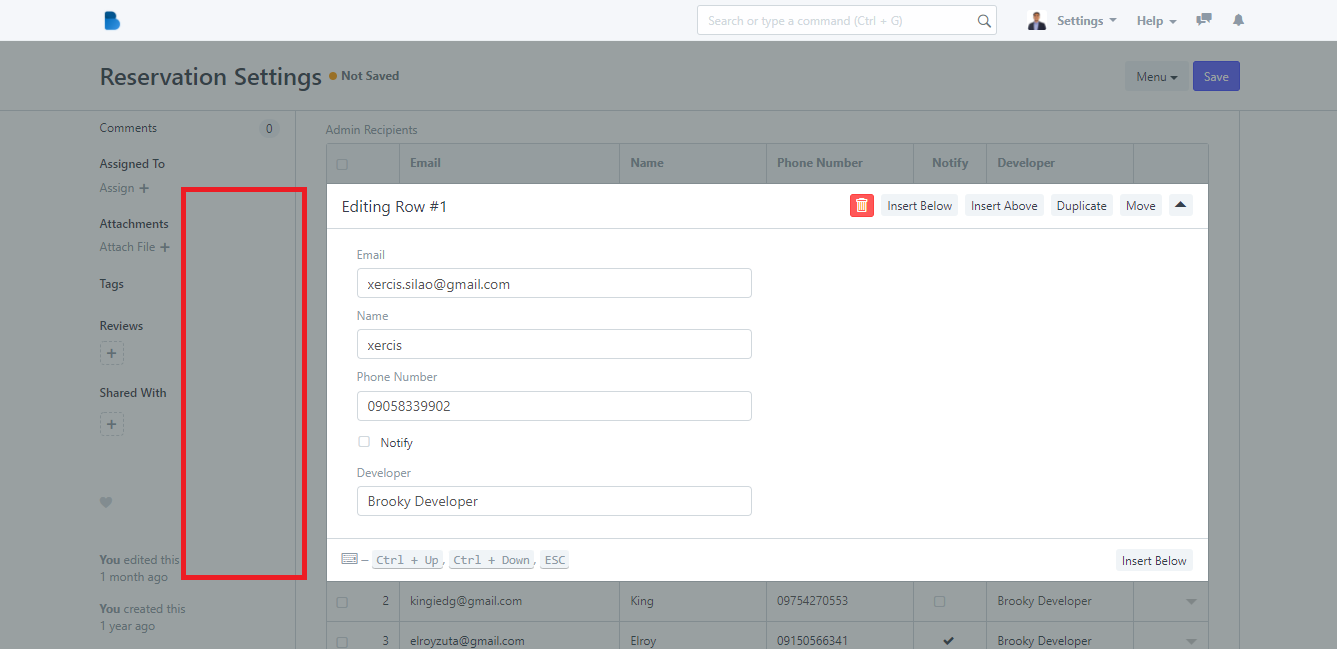
2.1 When you clicked the 2.1 highlight your redirected to Editing row in which you can edit the information of the rows and once your done. Click outside box just like the highlighted part. It will automatically save.
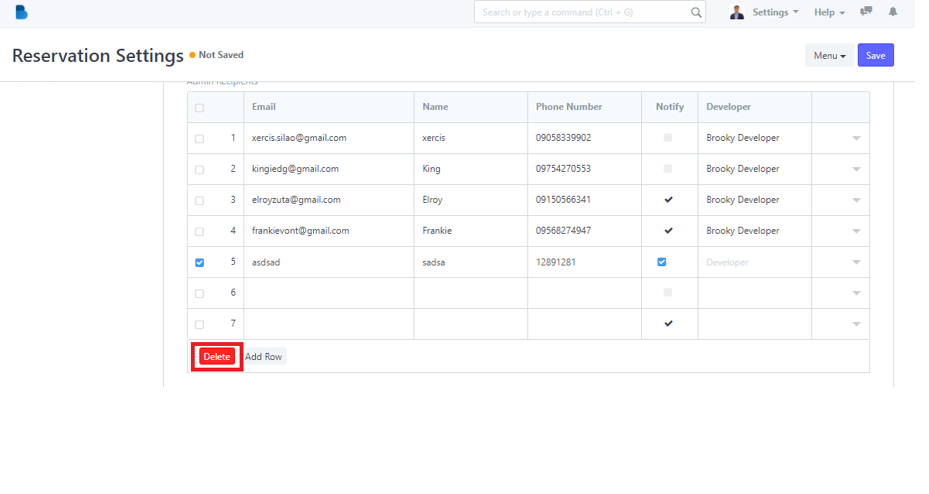
2.2 When you clicked the 2.2 highlight you will be able to delete the row or multiple rows depending on how much row you select. Remember to select a row first by tapping the 'checkbox' so the delete button will appear
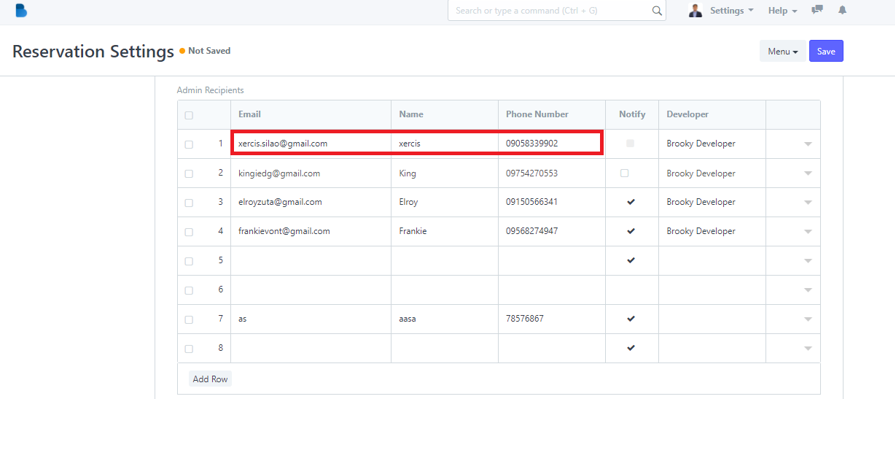
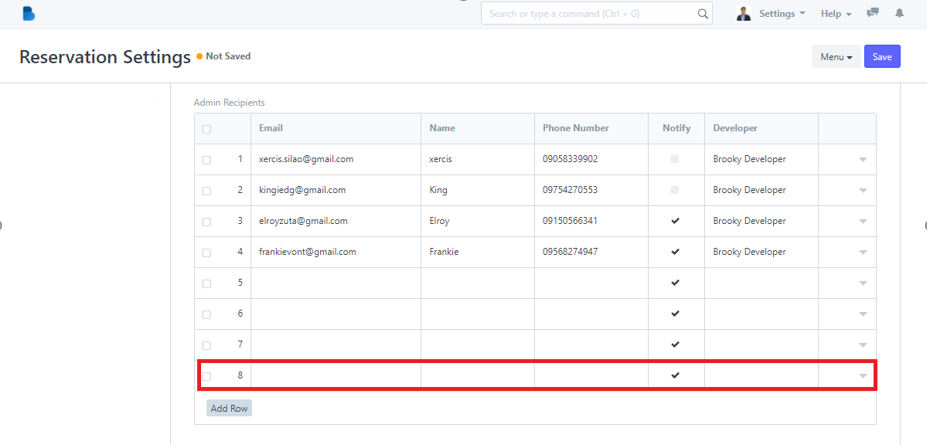
2.3 When you clicked the 2.3 highlight you you will be able to add a new row or multiple rows depending on how many times you click the 'Add Row'. As you can the picture in 2. only has 7 row now its 8 after I pressed the 'Add Row' button.
2.4 When you clicked the 2.4 highlight you you will be able to change the settings of the person whether you want him to get notified or you want to enable reservation or PBRF on the app.

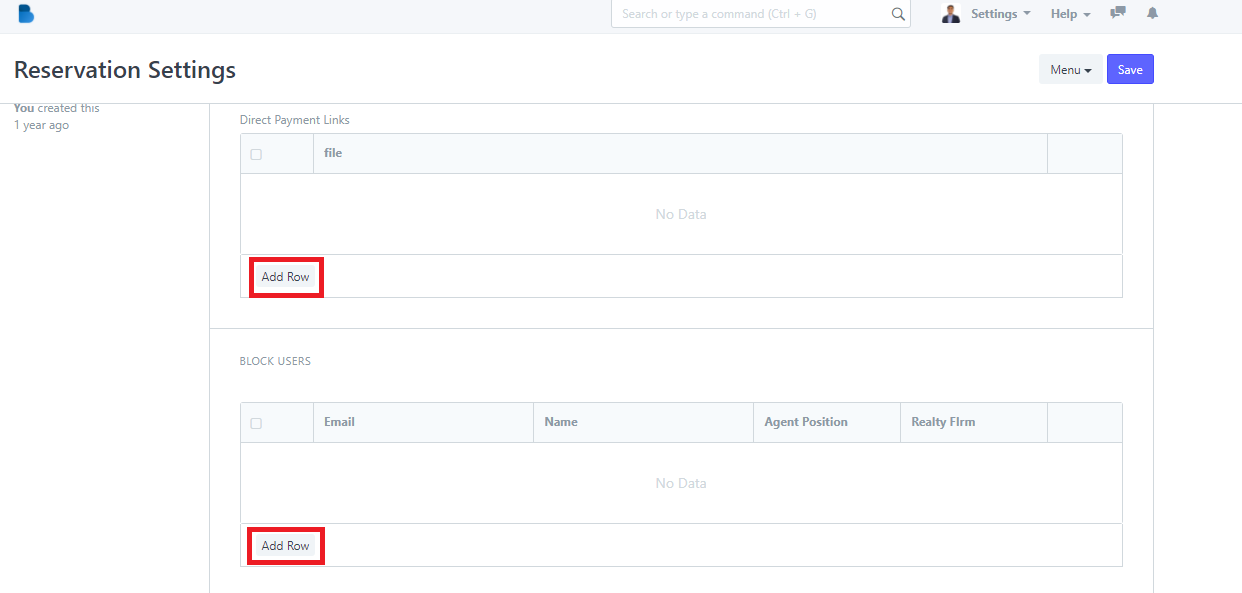
3. You can also add rows below for Direct Payment Links and Block Users if you want to block a certain in email from creating a reservation.
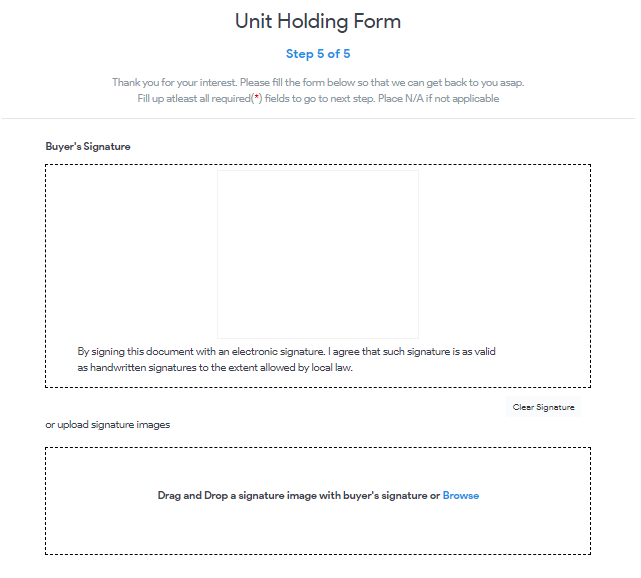
How to Create a Reservation/Unit Holding Forms
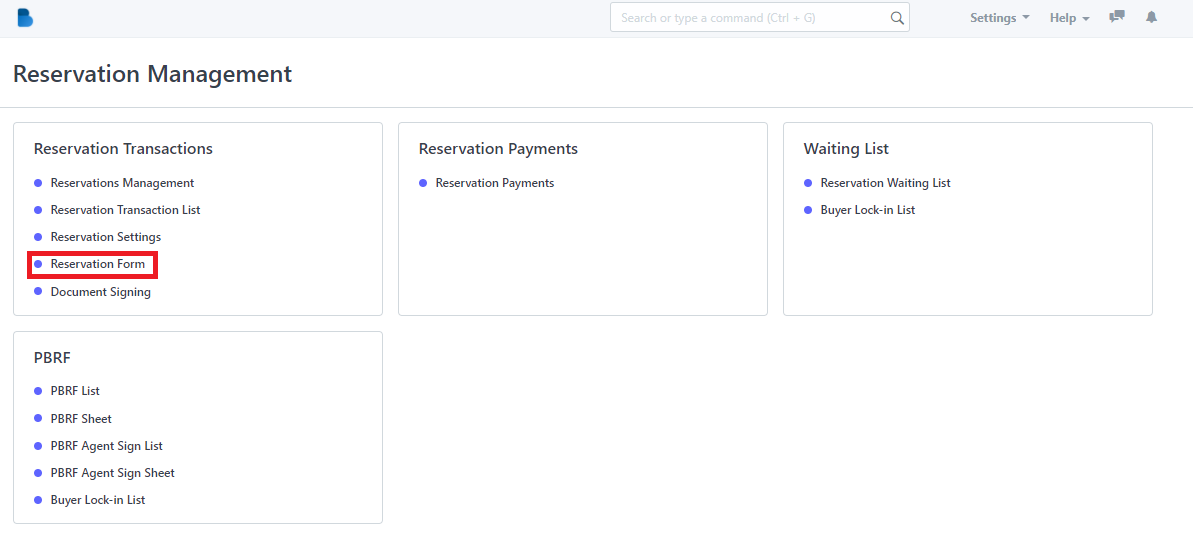
- In the Reservation Management Module under Reservation Transactions Click 'Reservation Form'.
2. You can create a Reservation Form by clicking this highlight 'See on Website'.
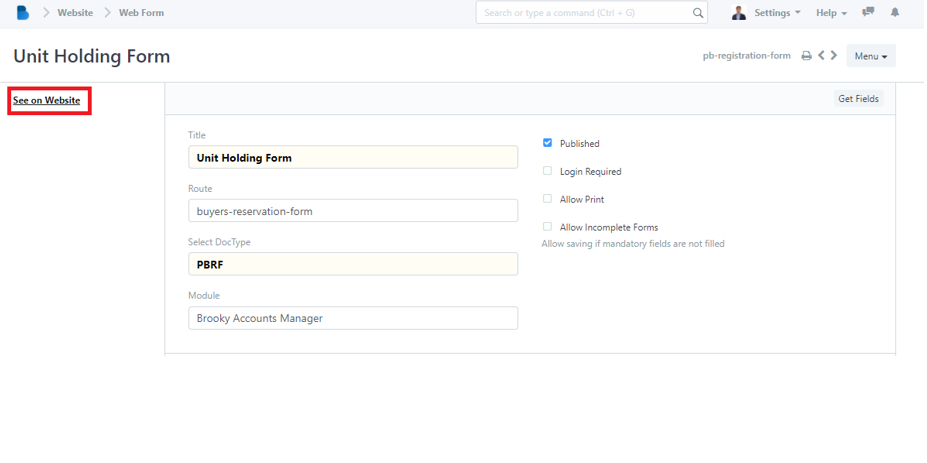
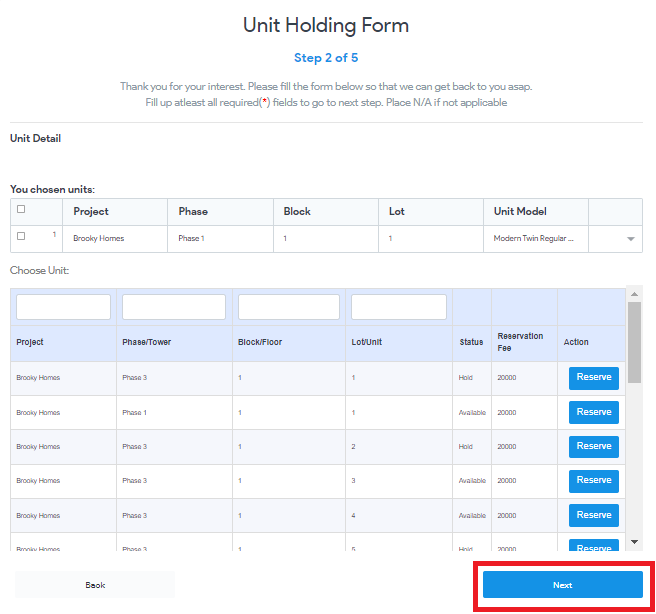
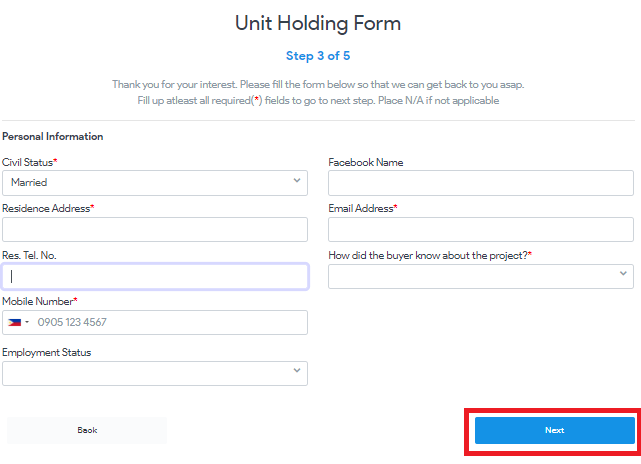
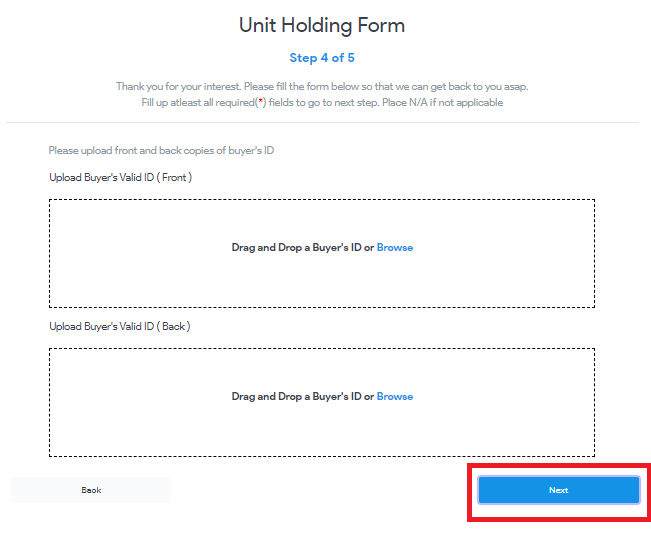
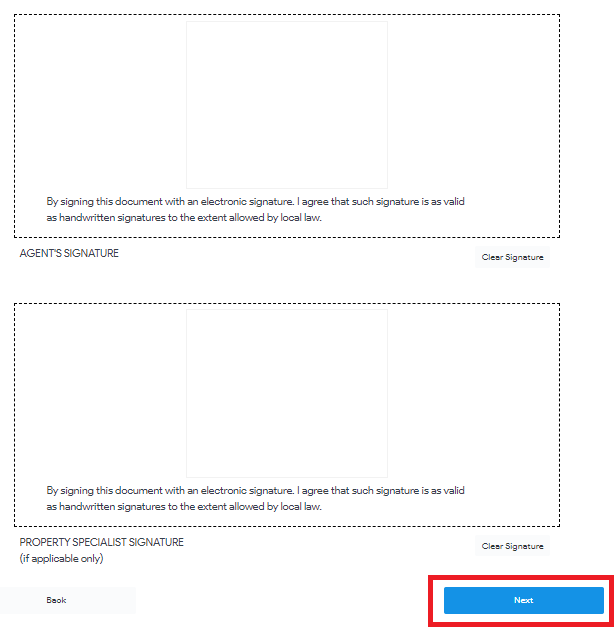
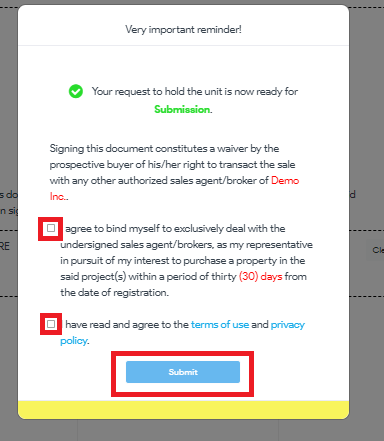
3. Fill up the information and attached necessary data and click 'Next' until you reached step 5 out of 5 and press 'Submit'.

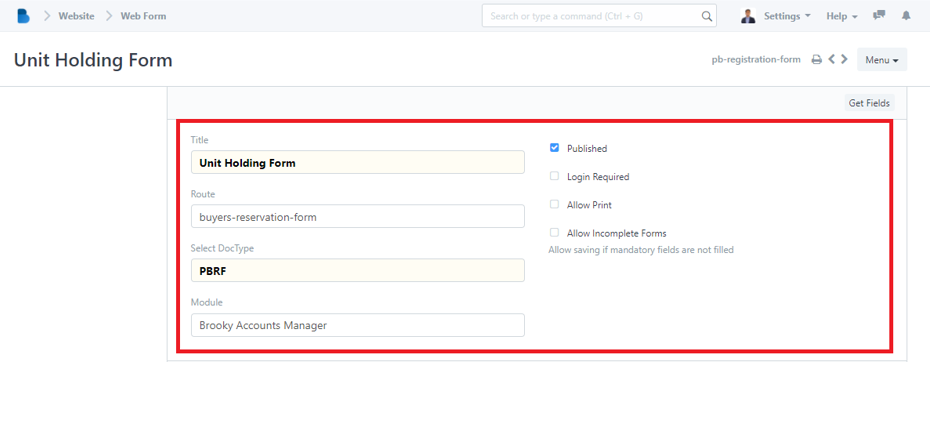
How to View, Edit, and change permission to Reservation Form Settings
- In the Reservation Management Module under Reservation Transactions Click 'Reservation Form'.

2. You can edit the Route and the Module of Reservation/Unit Holding Form. Also it allows the admin to enable/disable permission to published, login required, allow print, and allow incomplete forms.
How to Create a New Document Signing
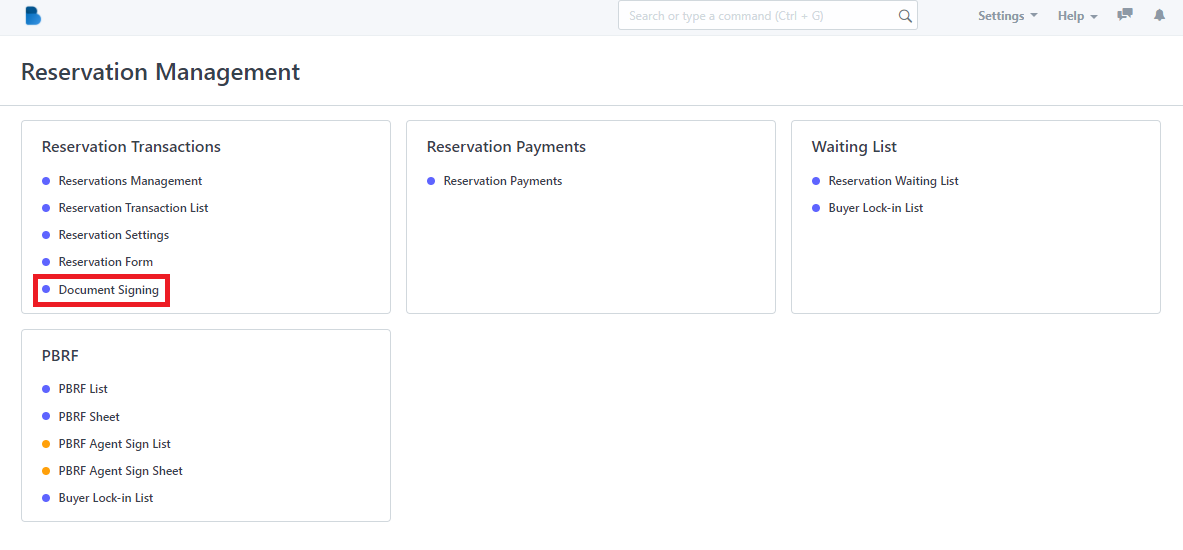
- In the Reservation Management Module under Reservation Transactions Click 'Document Signing'.
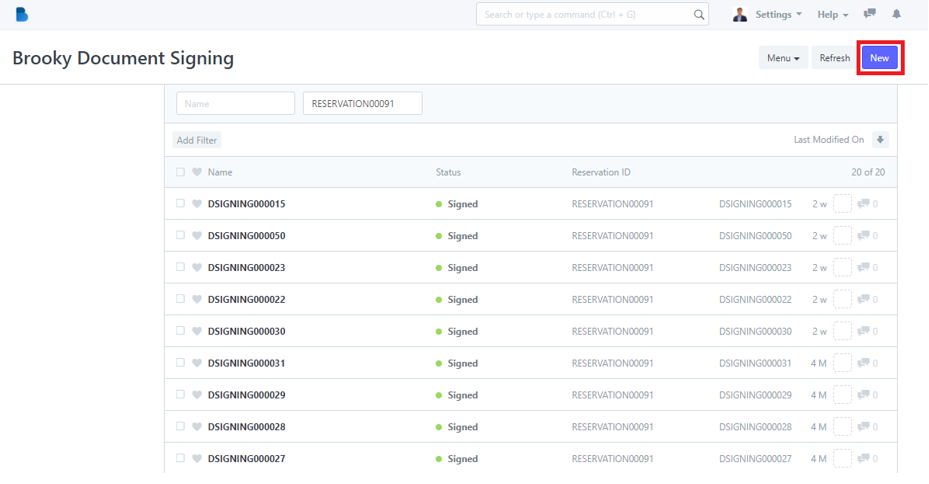
2. Click the ‘New' button to create a new 'Document Signing'.
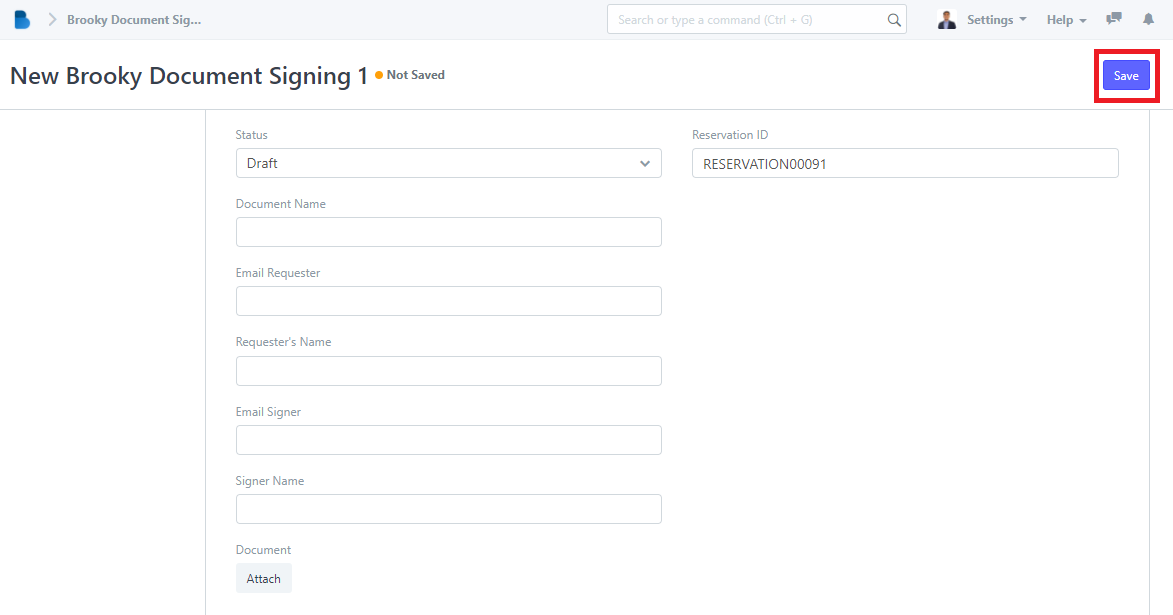
3. To create a document signing fill up necessary information and click 'Save'.
How to View and Edit Document Signing
- In the Reservation Management Module under Reservation Transactions Click 'Document Signing'.

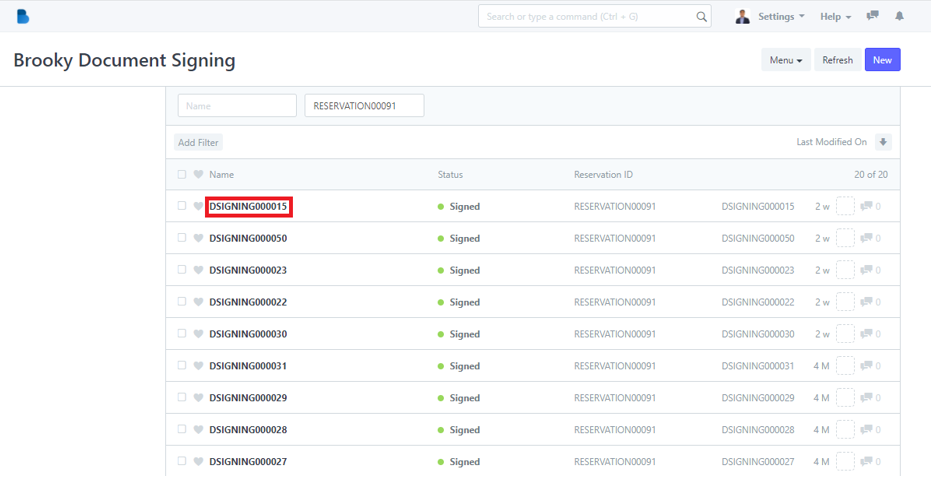
2. Click the ‘Name' that you want to view/edit and it will redirect you to view/edit page of that specific data.
3. You can check, edit data, and edit status of the person. If you had any changes/updates click 'Save'.
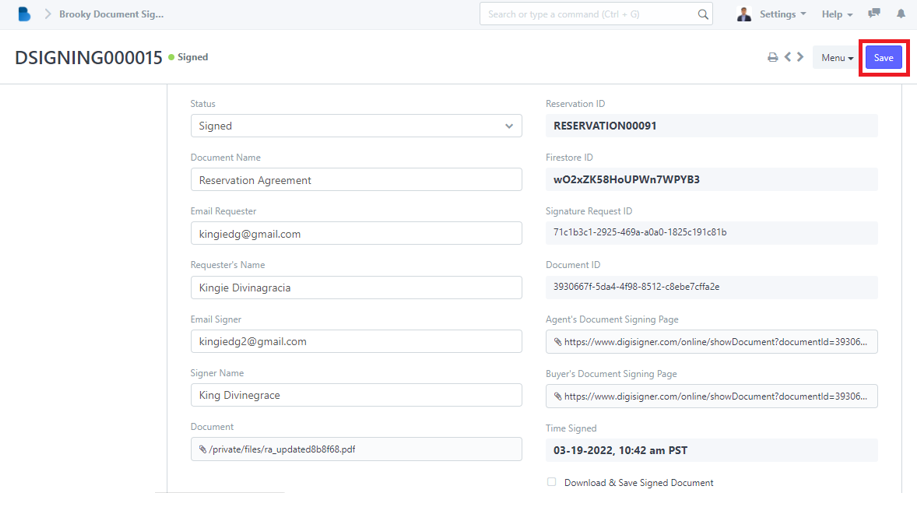
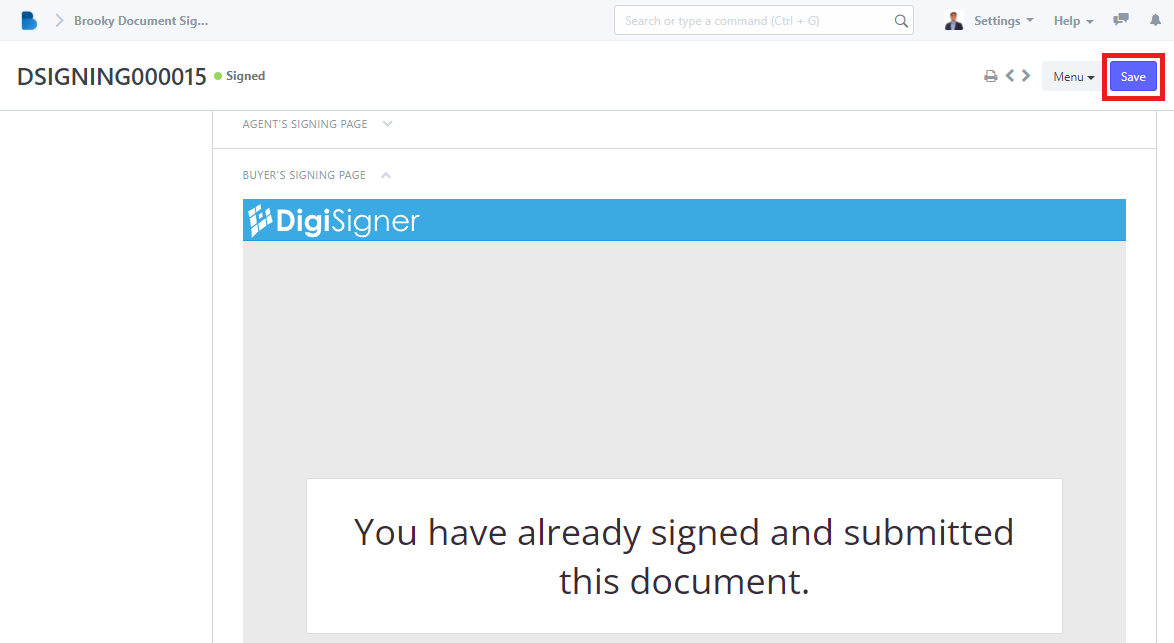
4. At the bottom when selecting and viewing a document signed. You'll be able to see if the buyers and agent signed already their documents and if any changes occurs you can change their status to either 'Signed', 'Waiting to Sign', or 'Draft'.
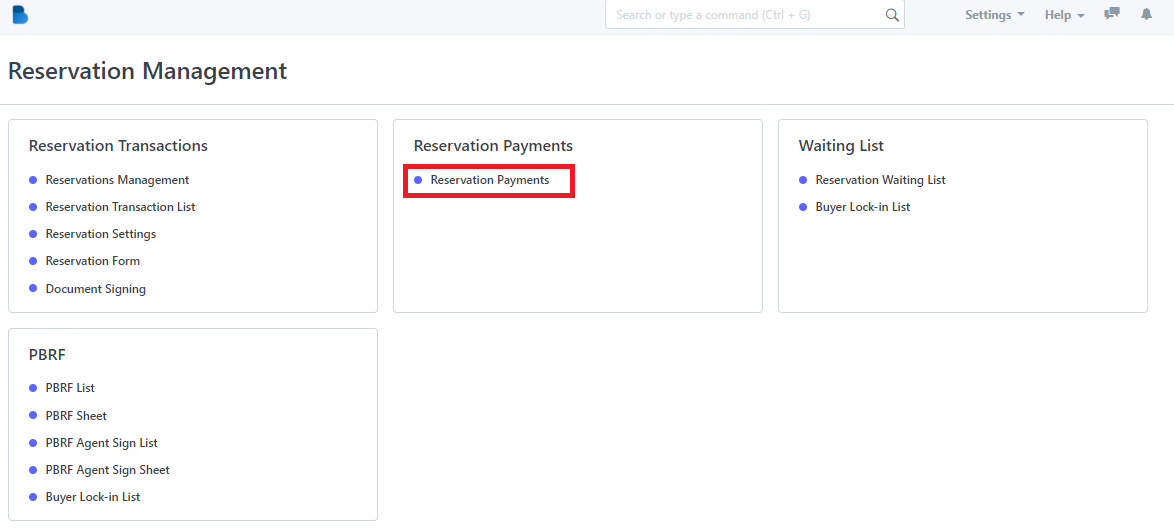
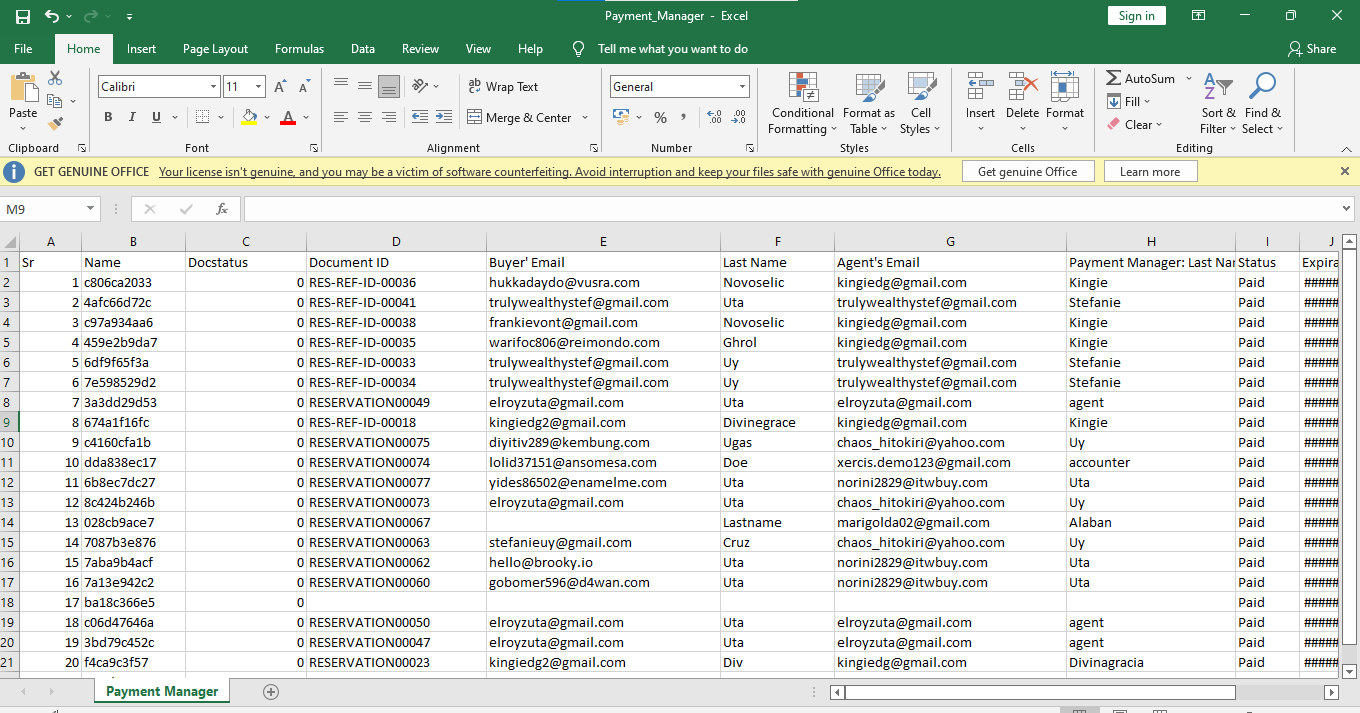
How to Create a Reservation Payments
- You will see Reservation Management features, We will first focus on Reservation Payments Click 'Reservations Payments’.
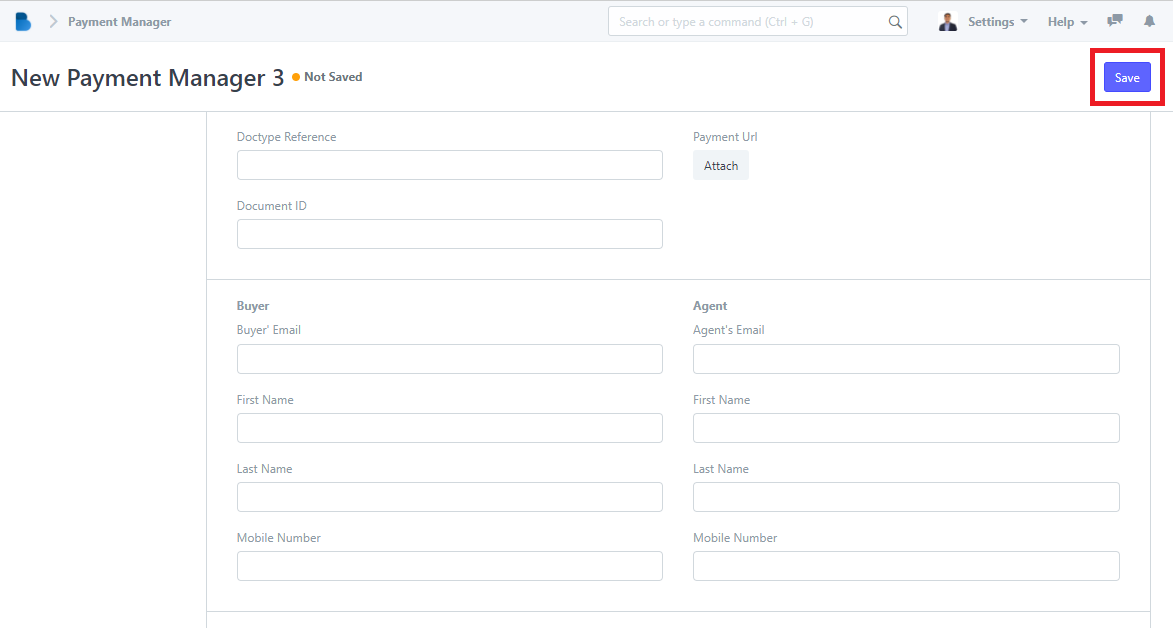
2. Click the ‘New' button to create a payment manager/transaction’.
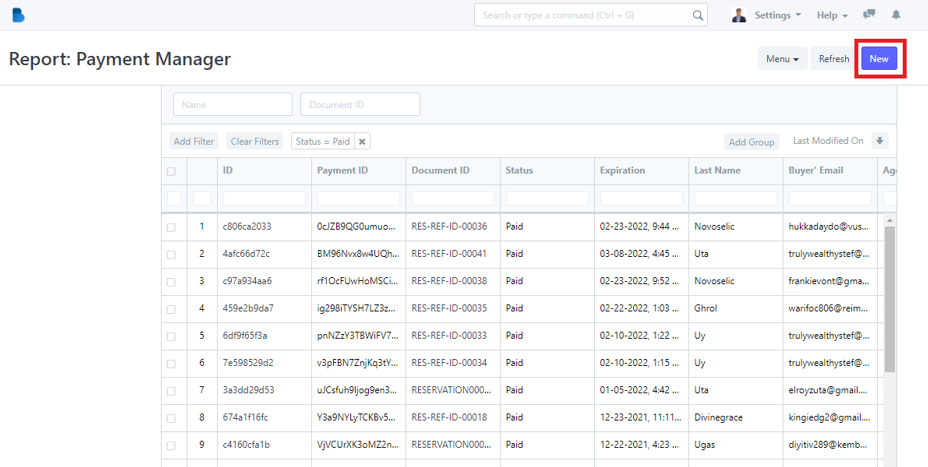
3. To create a payment manager/transaction fill up necessary information and click 'Save'.
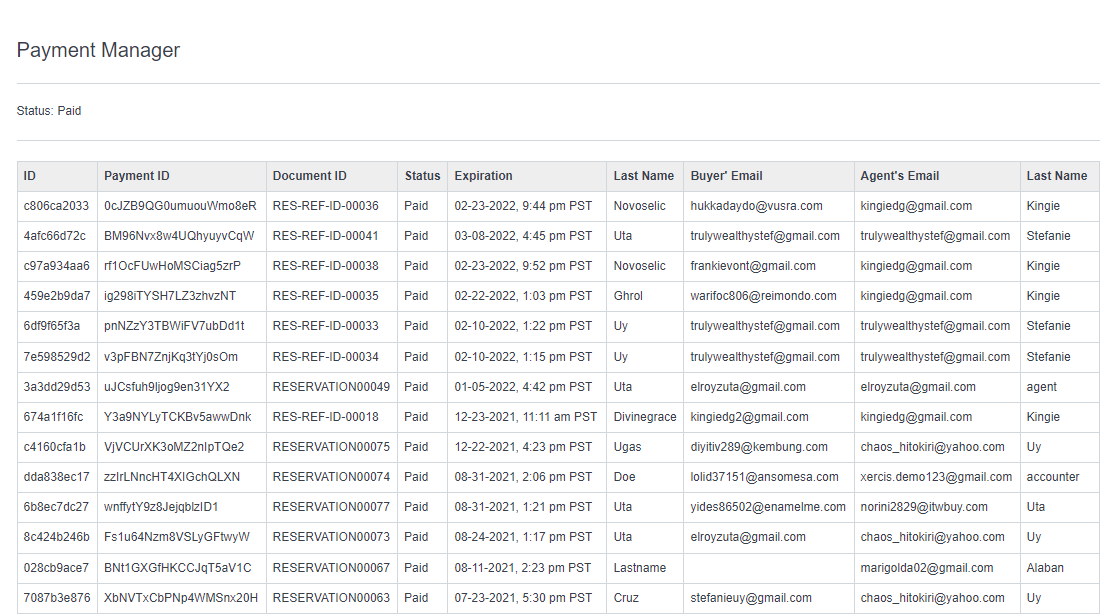
How to Use Reservation Payments Menu
- You will see Reservation Management features, We will first focus on Reservation Payments Click 'Reservation Payments’.

2. This is the menu you can do a lot of things in here. It will be explained one by one below.
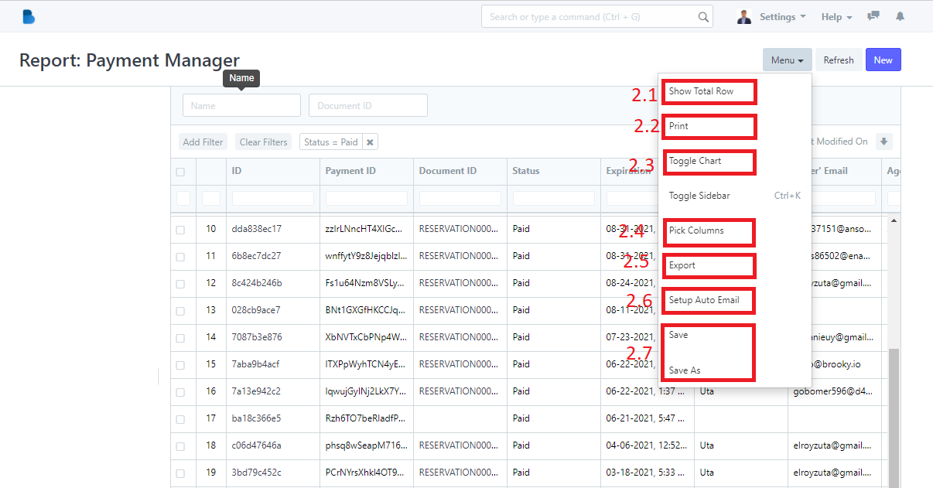
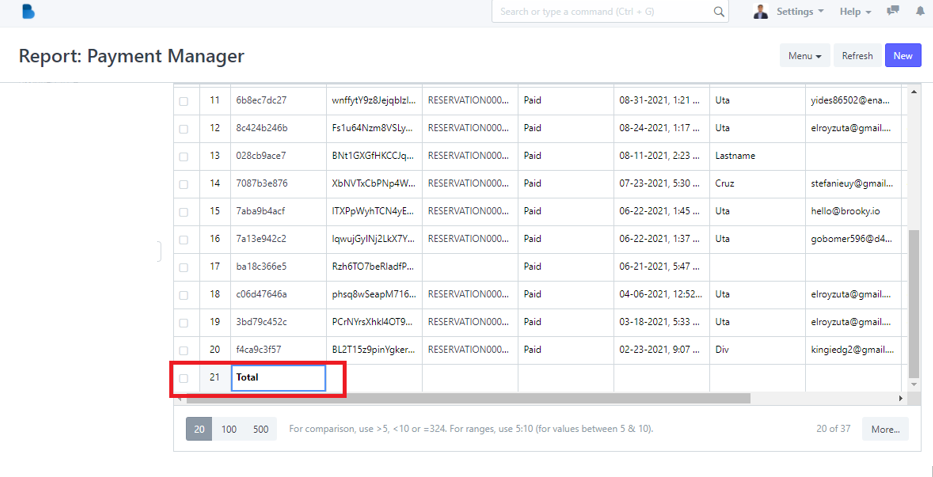
2.1 When you clicked the 2.1 highlight you will be able to see the 'total row'. In this case the total row is 21
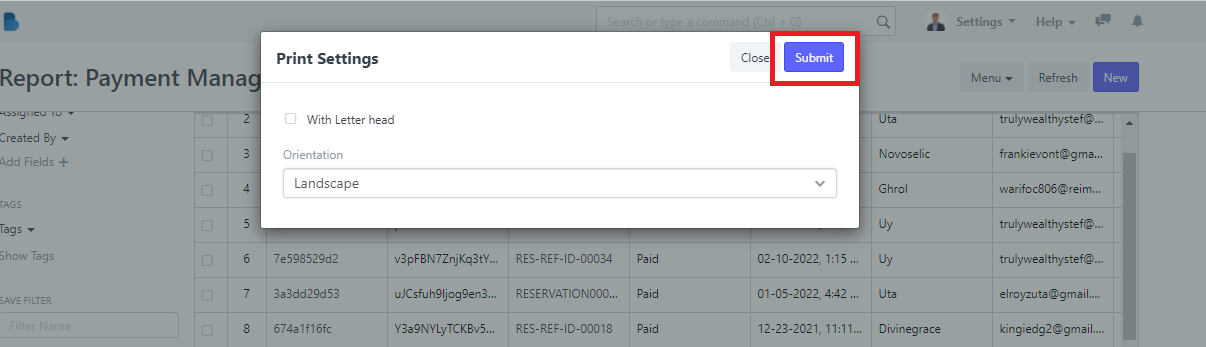
2.2 When you clicked the 2.2 highlight you will be able to able to print the data into pdf. You can also choose whether you wanna add a letter head or print it as landscape or portrait mode.
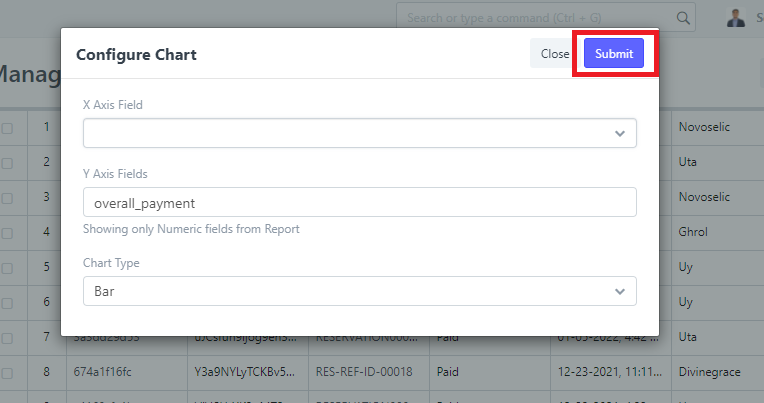
2.3 When you clicked the 2.3 highlight you will be able to turn the data into a chart. Once you fill up the x and y field and press the 'Submit' button.
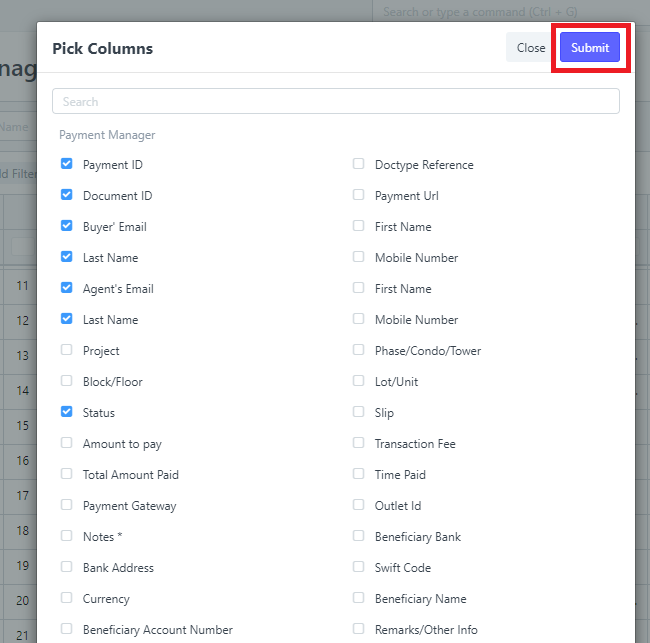
2.4 When you clicked the 2.4 highlight you will be able to choose which column you only want to appear in the data.
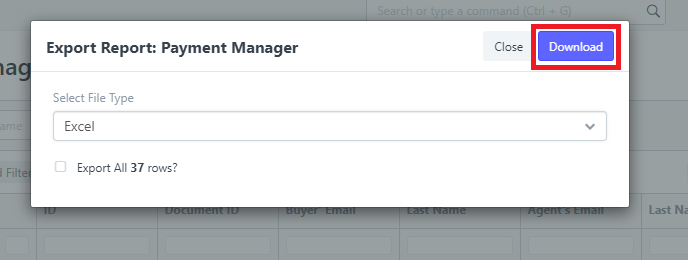
2.5 When you clicked the 2.5 highlight you will be able to export the data to either excel or csv.
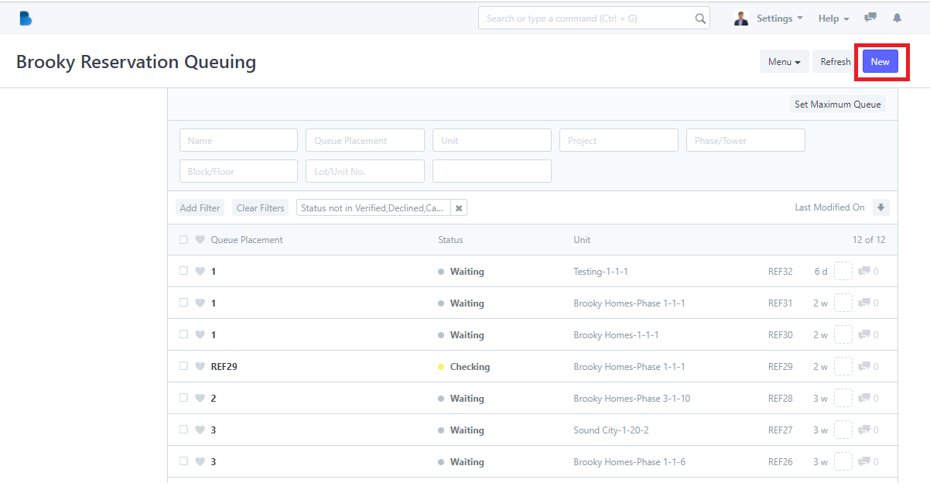
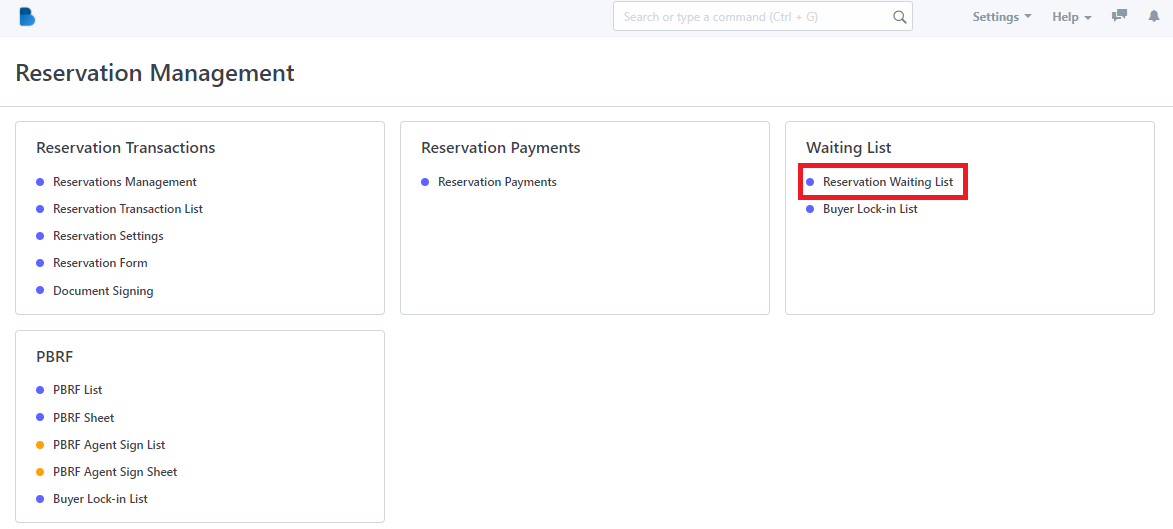
How to Create a Reservation Waiting List/Reservation Queuing
- You will see Reservation Management features, We will first focus on Waiting List Click 'Reservation Waiting List’.

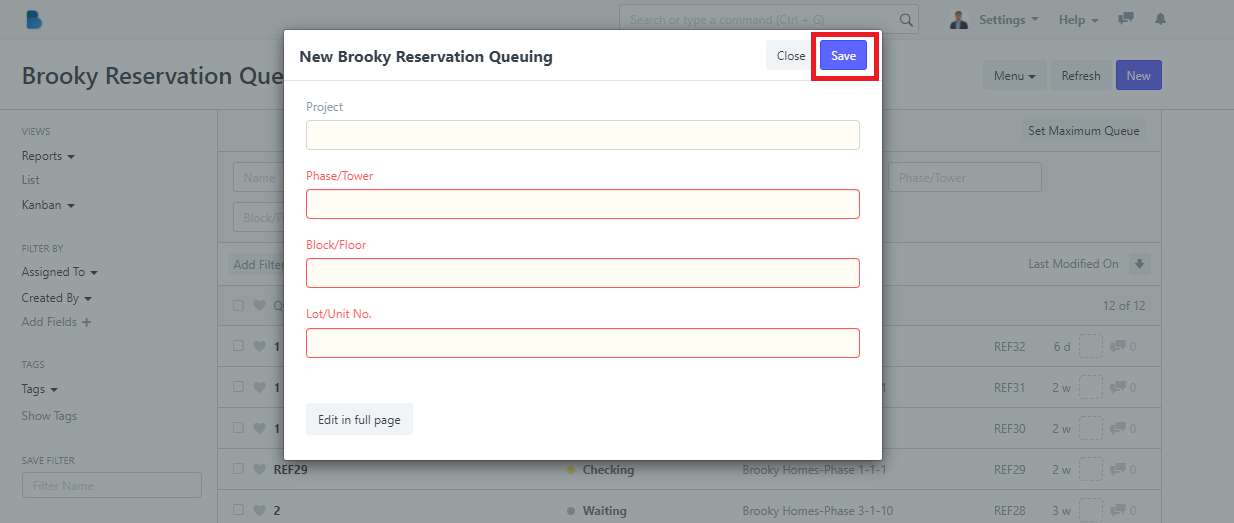
2. Click the ‘New' button to create a reservation waiting list/queuing.
3. To create reservation waiting list/queuing fill up necessary information and click 'Save'.
How to View and Edit Reservation Waiting List/Reservation Queuing
- You will see Reservation Management features, We will first focus on Waiting List Click 'Reservation Waiting List’.
2. Click the ‘Queue Placement' that you want to view/edit and it will redirect you to view/edit page of that specific data.
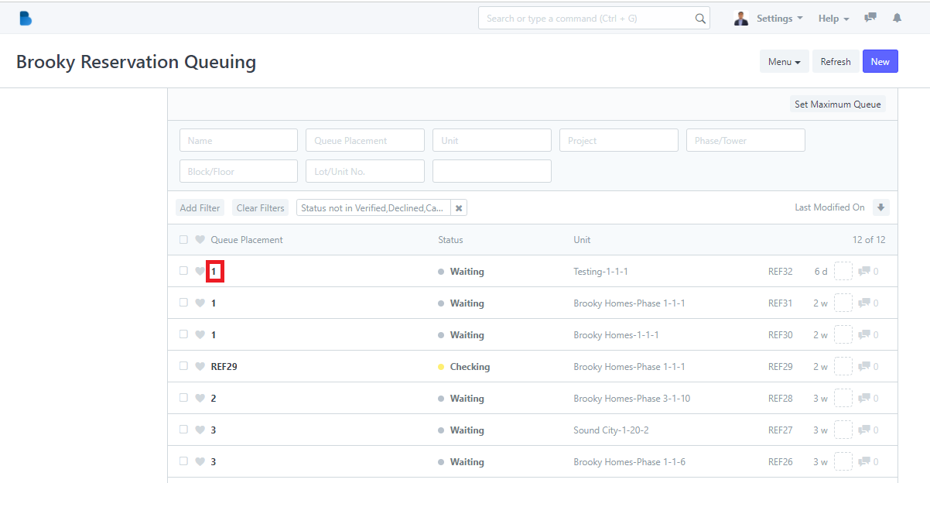
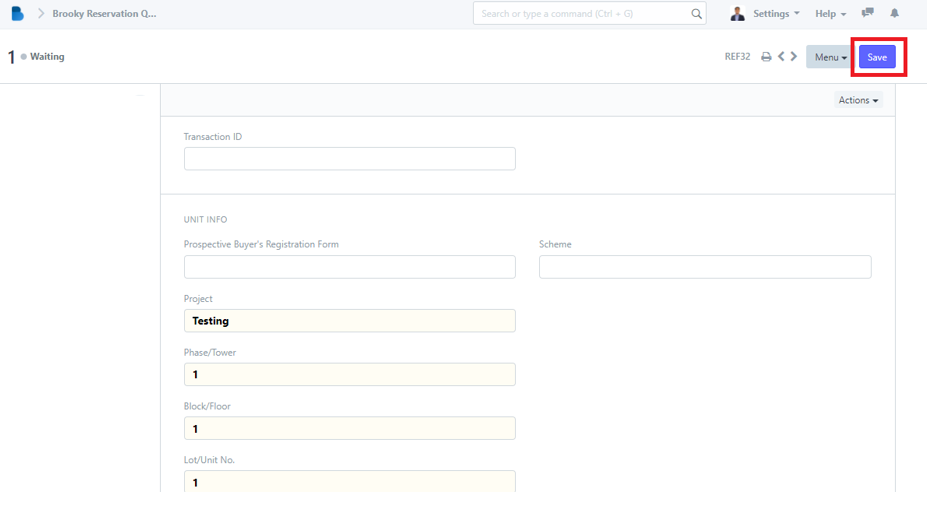
3. You can check, and edit data of the person who had a reservation waiting list/queuing. If you had any changes/updates click 'Save'.
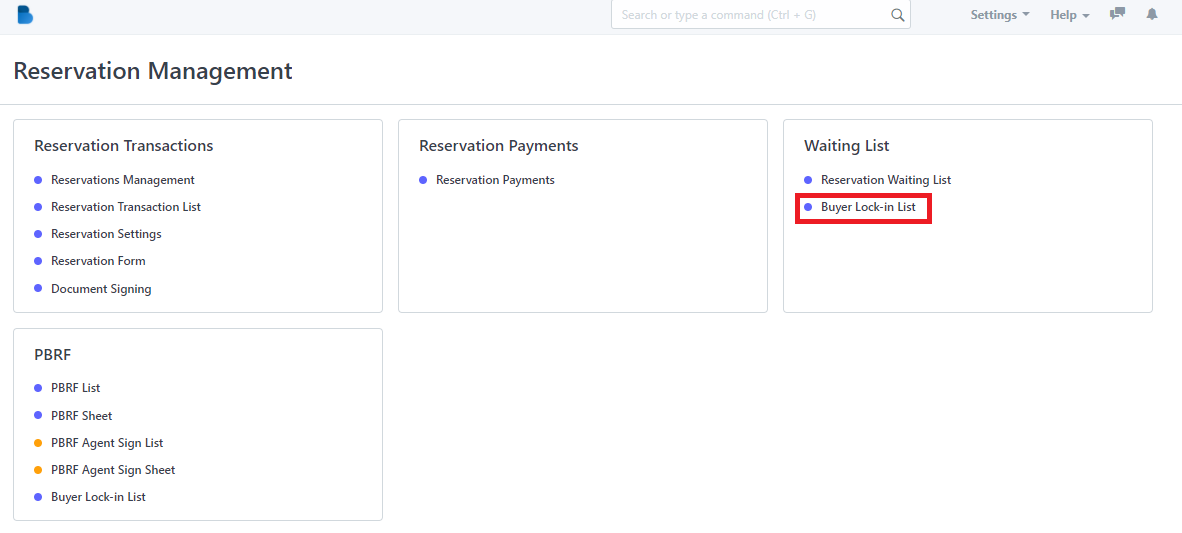
How to Use Buyer Lock-in List
- In the Reservation Module under Waiting List Click 'Buyer Locked-in List'.
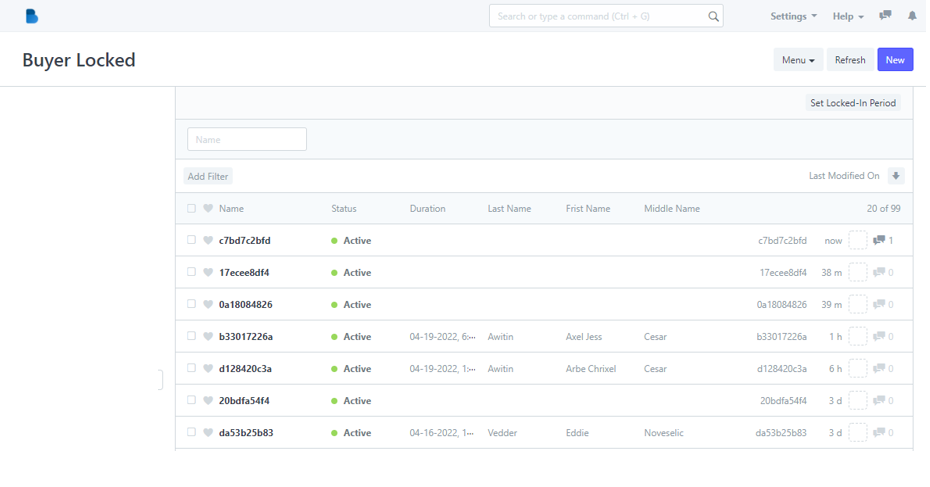
2. Admin can only check the details of the user's who made a reservation. Each user who has reservation is given 30days to complete the process if not. It will automatically cancel the reservation.
How to Create a PBRF List/Form
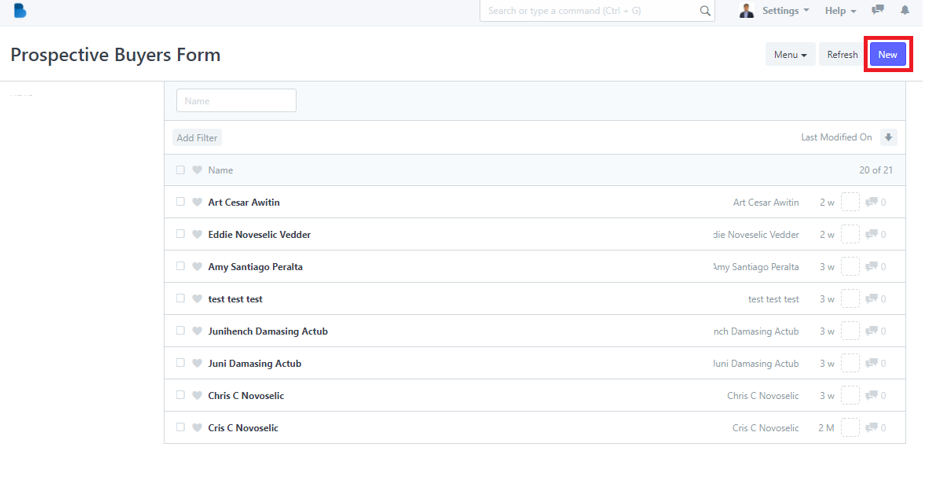
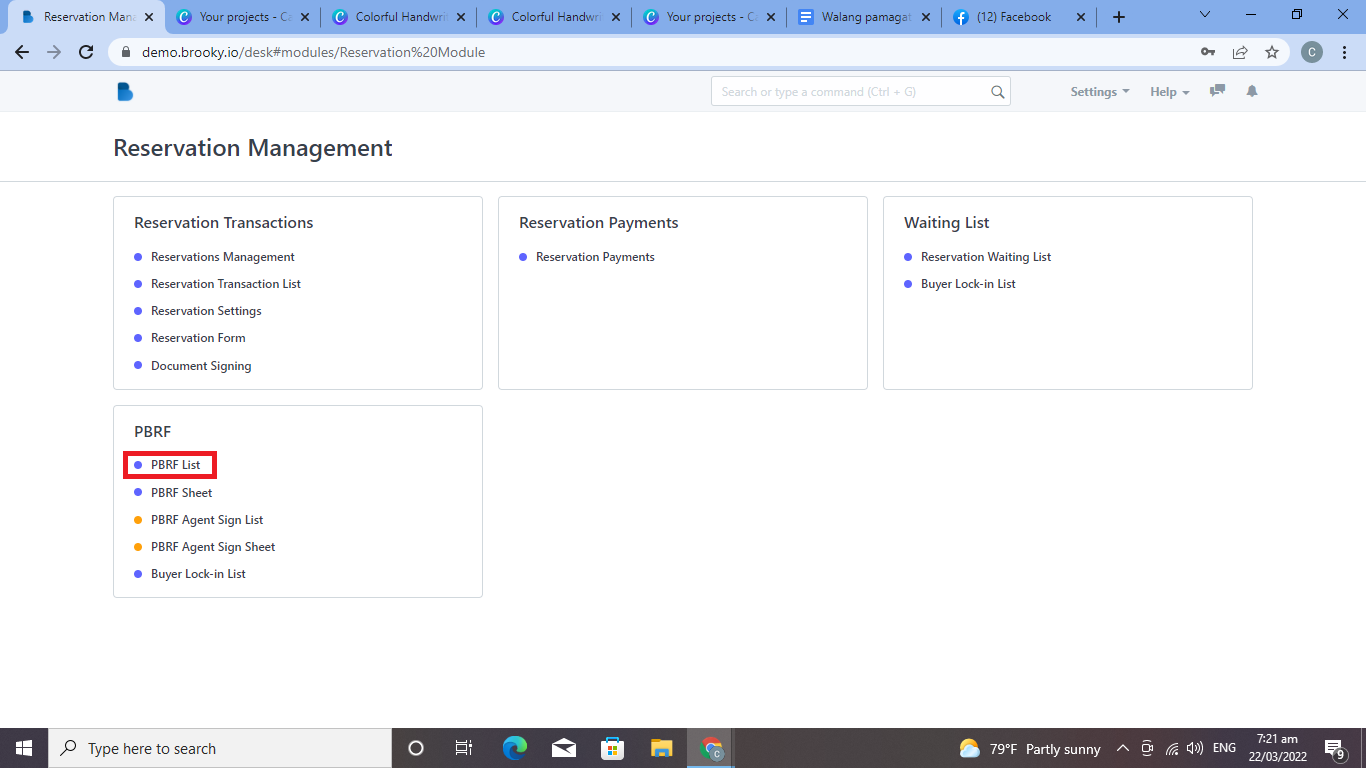
- You will see Reservation Management features, We will first focus on PBRF Click 'PBRF List’.

2. Click the ‘New' button to create a PBRF(Prospective Buyers Reservation List/Form).
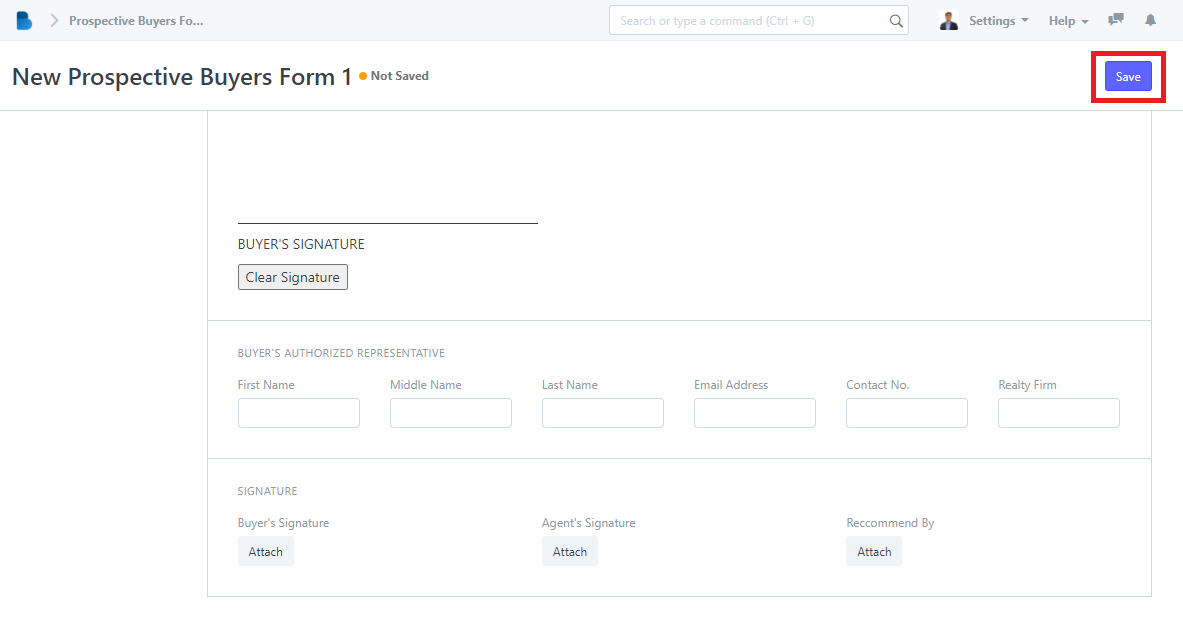
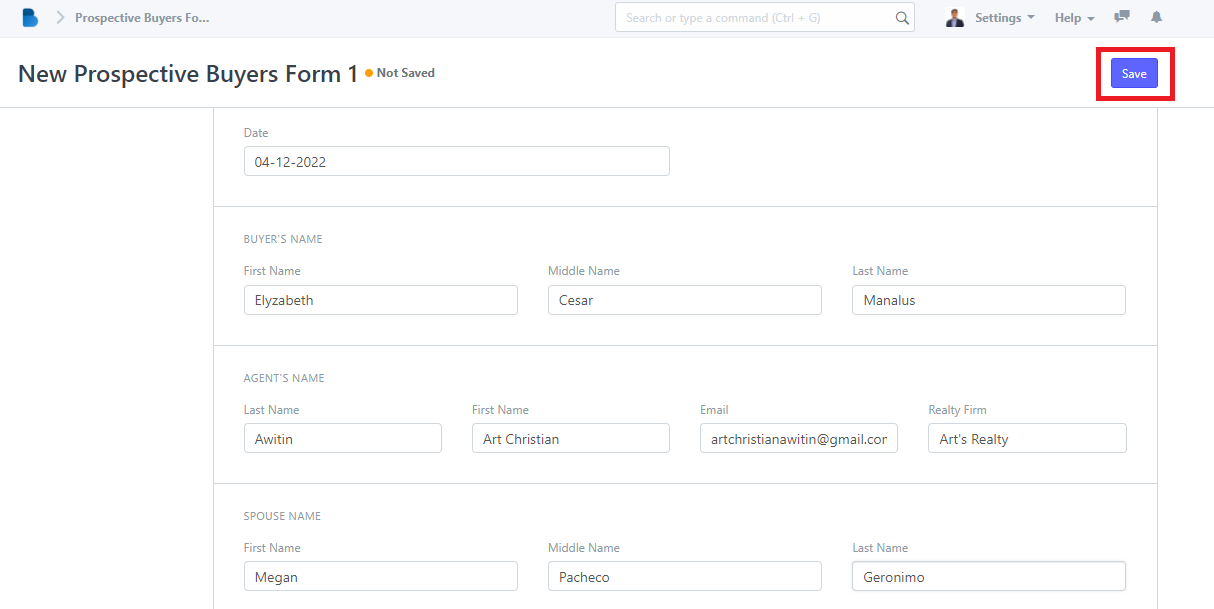
3. To create a PBRF(Prospective Buyers Reservation List/Form) fill up necessary information and click 'Save'.

How to View and Edit PBRF List/Form
- You will see Reservation Management features, We will first focus on PBRF Click 'PBRF List’.
2. You can check, attached, and edit data of the person who had a PBRF(Prospective Buyers Reservation List/Form). If you had any changes/updates click 'Save'.
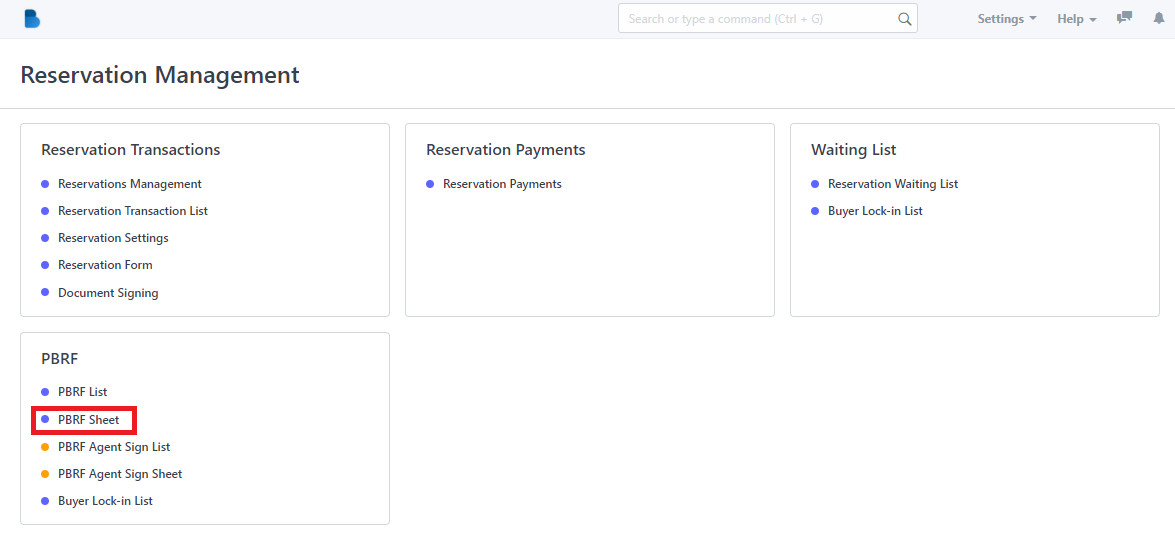
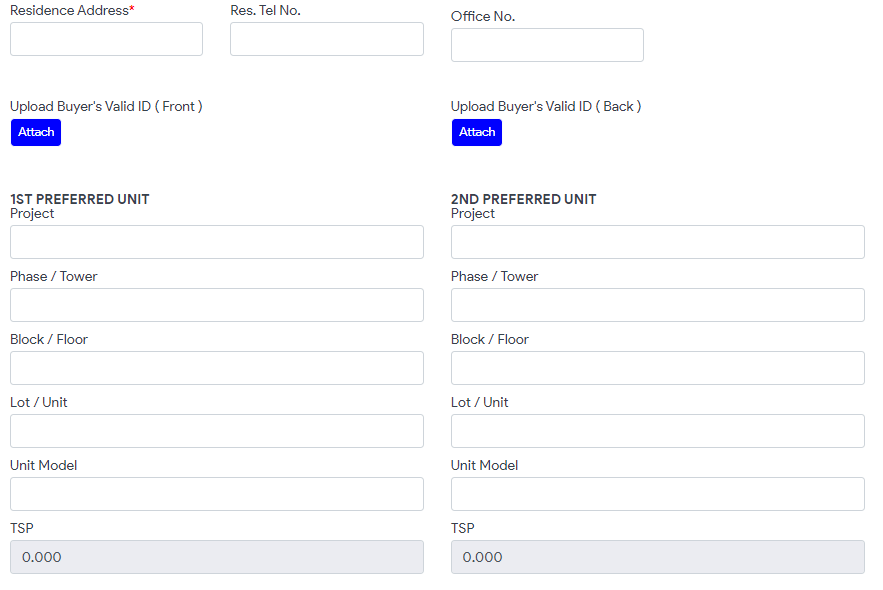
How to Create a PBRF Sheet/Form
- In Reservation Management features, We will first focus on PBRF Click 'PBRF Sheet’.
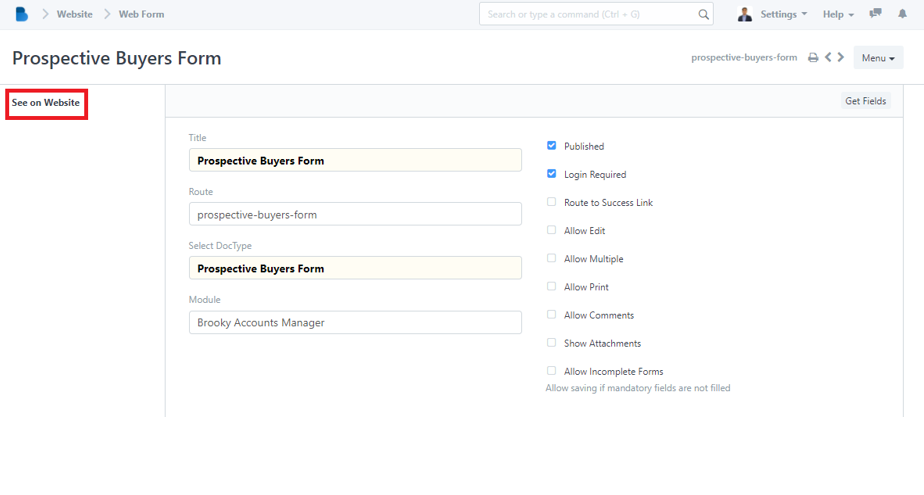
2. You can create a Reservation Form by clicking this highlight 'See on Website'.
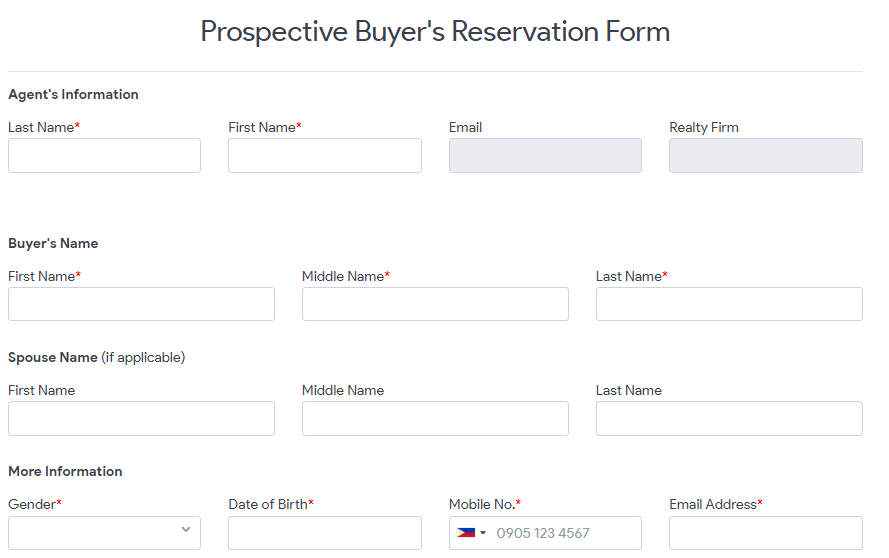
3. Fill up the information and attached necessary data and click 'Submit' to successfully create a PBRF sheet/form.

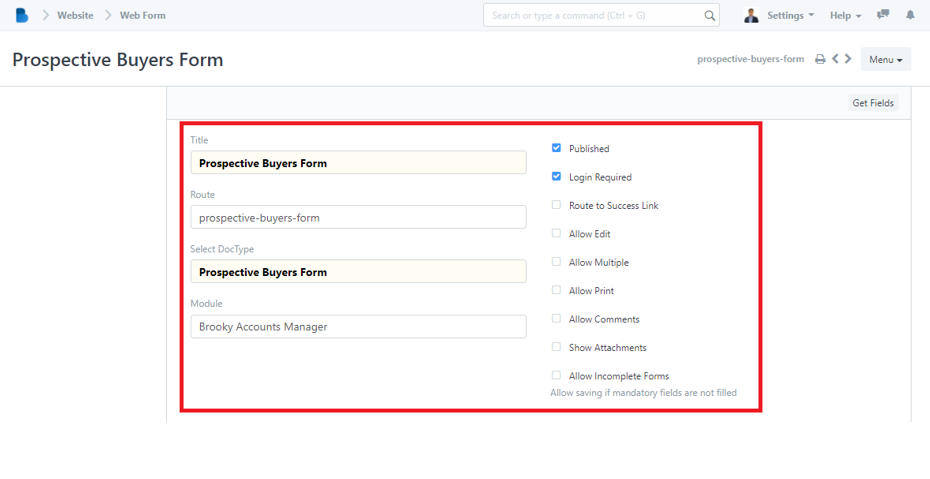
How to View, Edit, and change permission to PBRF Sheet/Form
- In Reservation Management features, We will first focus on PBRF Click 'PBRF Sheet’.

2. You can edit the Route and the Module of Prospective Buyer's Form/Sheet. Also it allows the admin to enable/disable permission to published, login required, allow print, and allow incomplete forms.
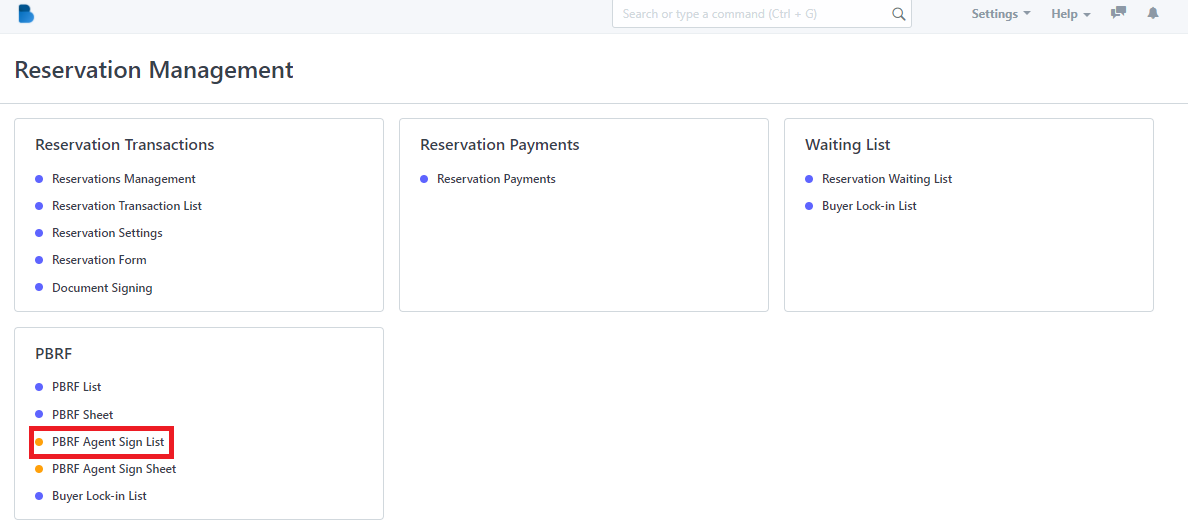
How to Create a PBRF Agent Sign List/PBRF Buyer
- In the Reservation Management Module under PBRF Click 'PBRF Agent Sign List'.
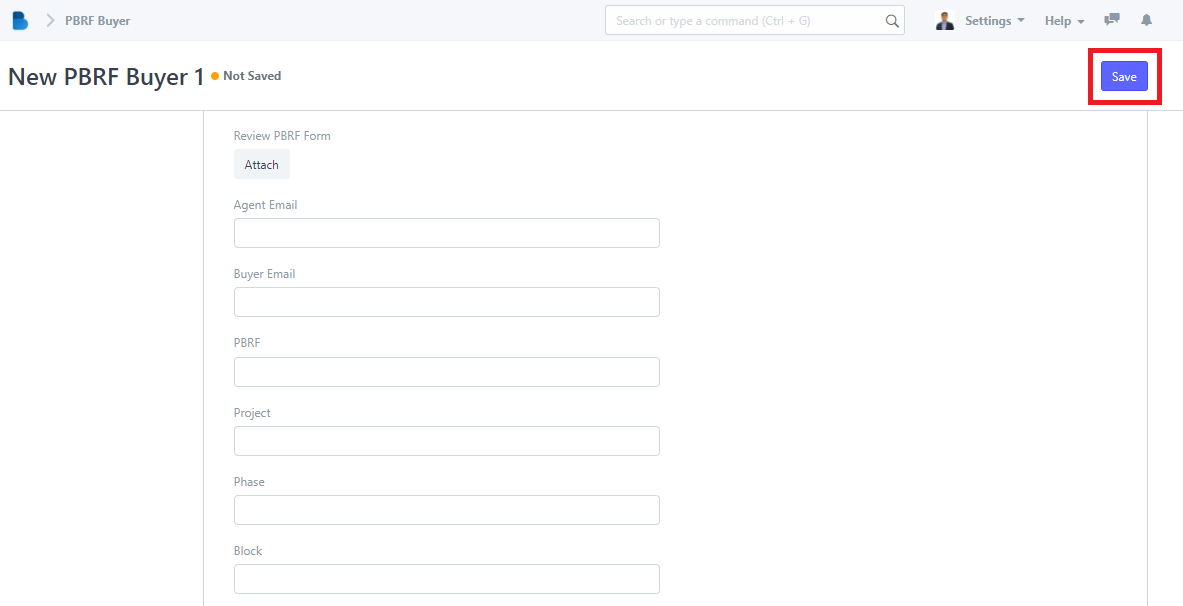
2. Click the ‘New' button to create a new PBRF buyer/agent List.
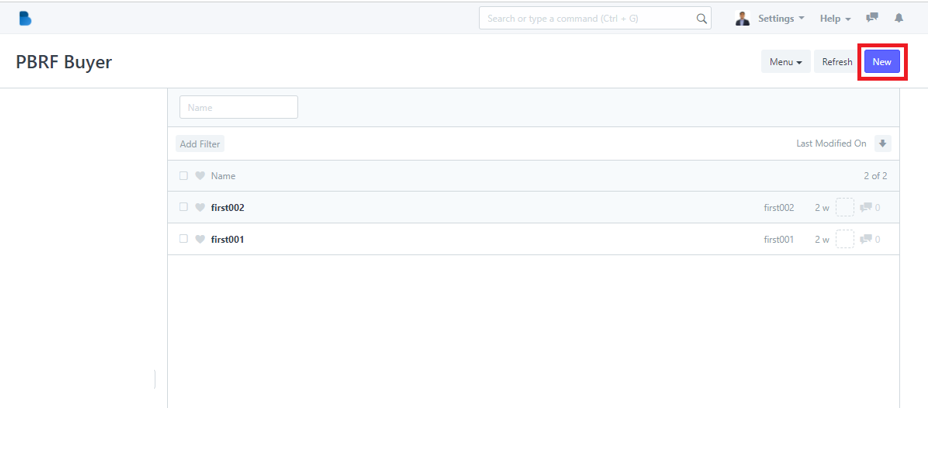
3. To create a new PBRF buyer/agent fill up, and attached necessary information and click 'Save'.
How to View and Edit PBRF Agent Sign List/PBRF Buyer
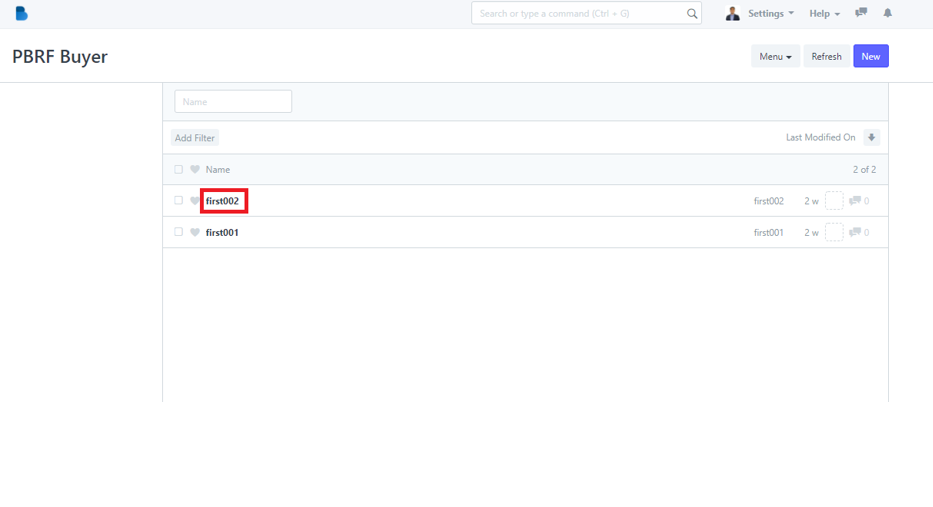
- In the Reservation Management Module under PBRF Click 'PBRF Agent Sign List'.

2. Click the ‘Name' that you want to view/edit and it will redirect you to view/edit page of that specific data.
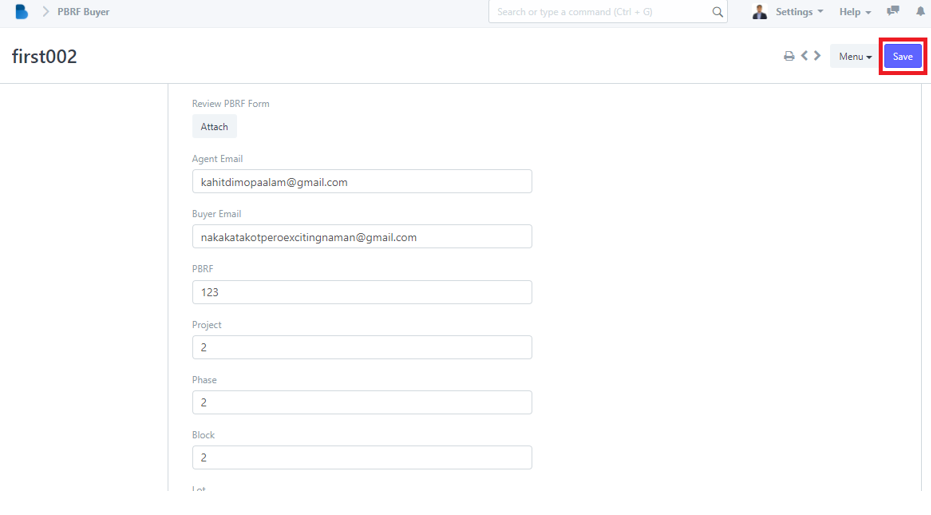
3. You can check, and edit data of the person you selected. If you had any changes/updates click 'Save'.
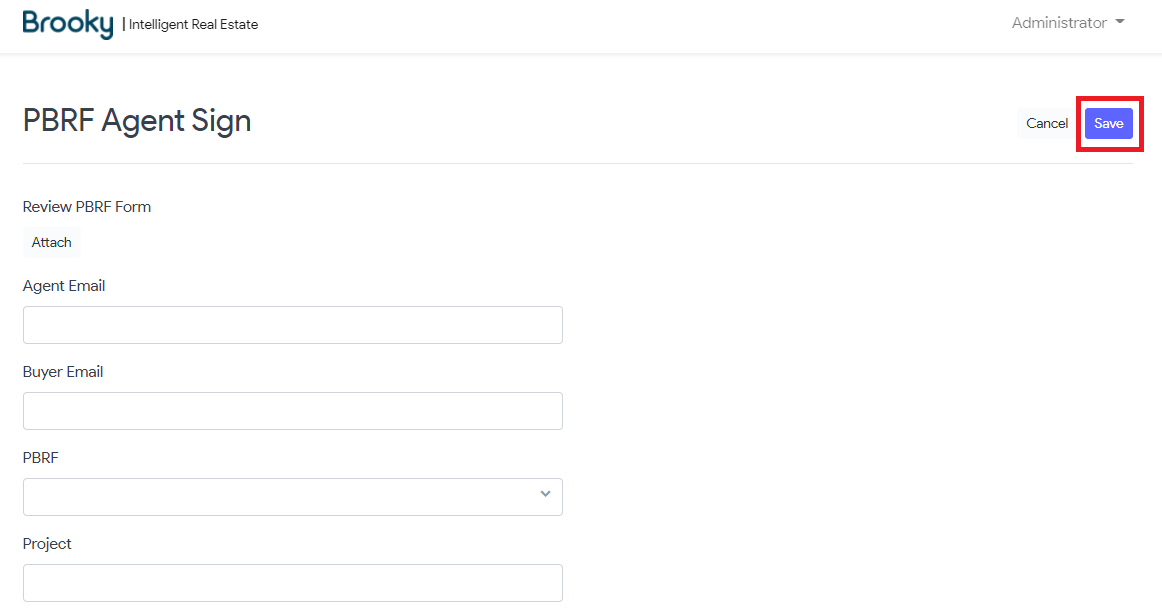
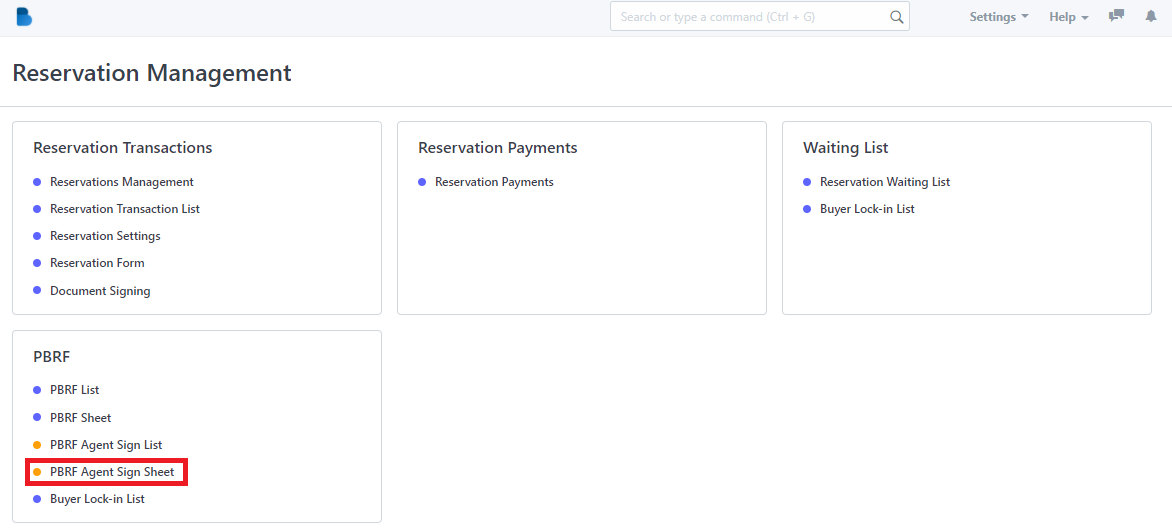
How to Create a PBRF Agent Sign Sheet
- In the Reservation Management Module under PBRF Click 'PBRF Agent Sign Sheet'.

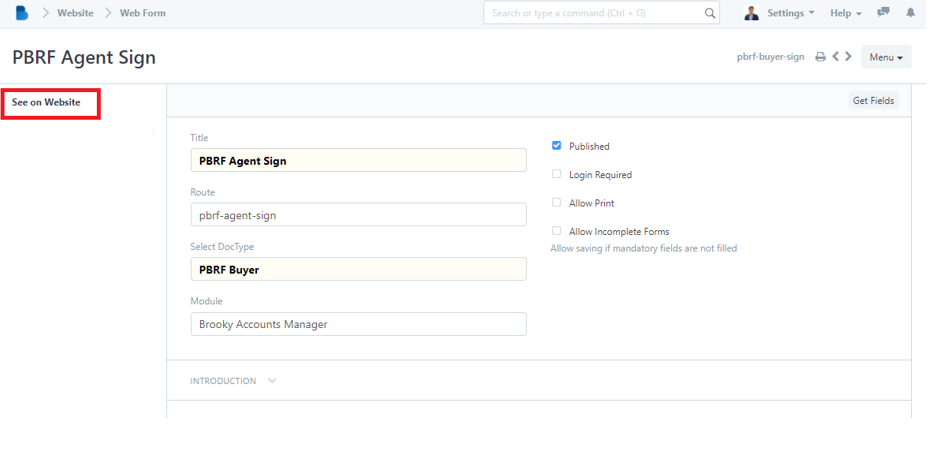
2. You can create a PBRF Agent Sign Sheet by clicking this highlight 'See on Website'.
3. Fill up the information and attached necessary data and click 'Save'.
How to View, Edit, and change permission to PBRF Agent Sign Sheet
- In the Reservation Management Module under PBRF Click 'PBRF Agent Sign Sheet'.
2. You can edit the Route and the Module of PBRF Agent Sign Sheet. Also it allows the admin to enable/disable permission to published, login required, allow print, and allow incomplete forms.

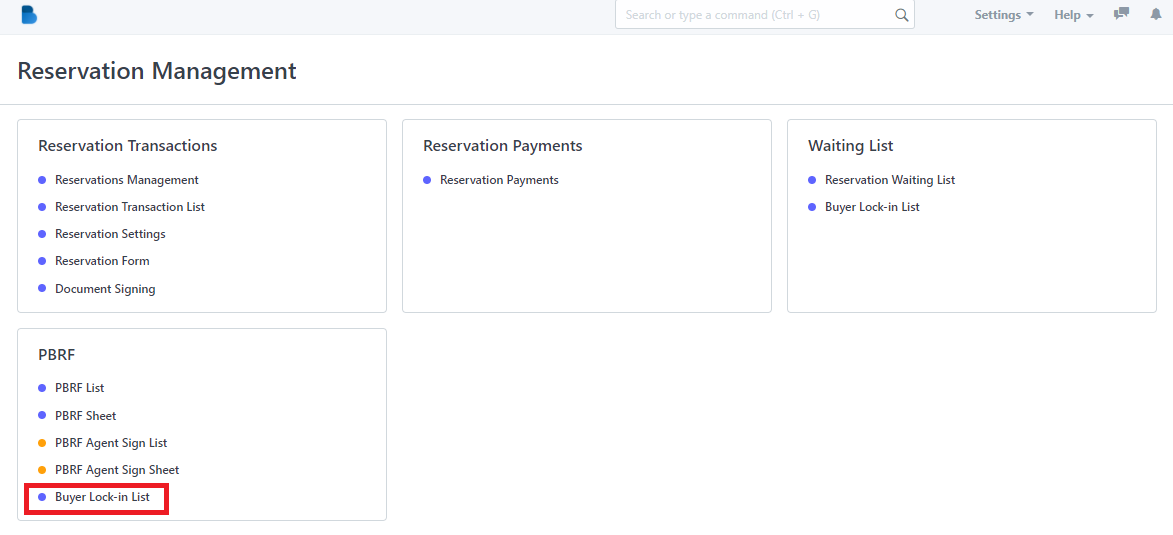
How to Use Buyer Lock-in List
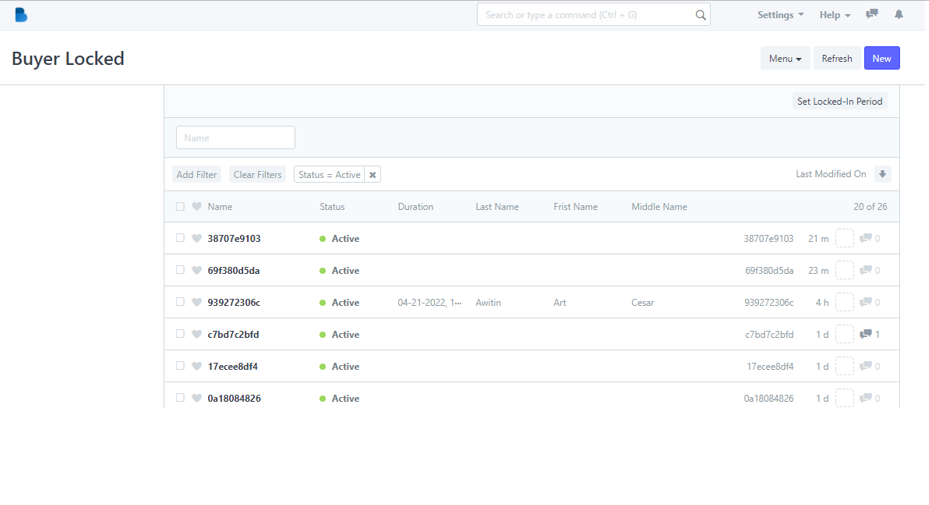
- In the Reservation Management Module under PBRF Click 'Buyer Lock-in List'.
2. Admin can only check the details of the user's who made a reservation. Each user who has reservation is given 30days to complete the process if not. It will automatically cancel the reservation.
Agents Portal
How to Edit Buyers' Reservation Documents
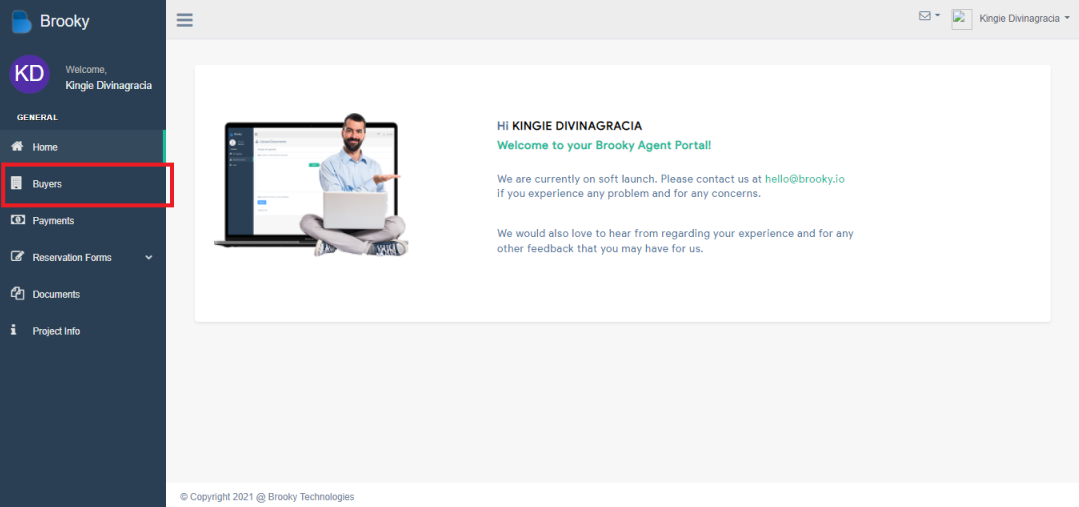
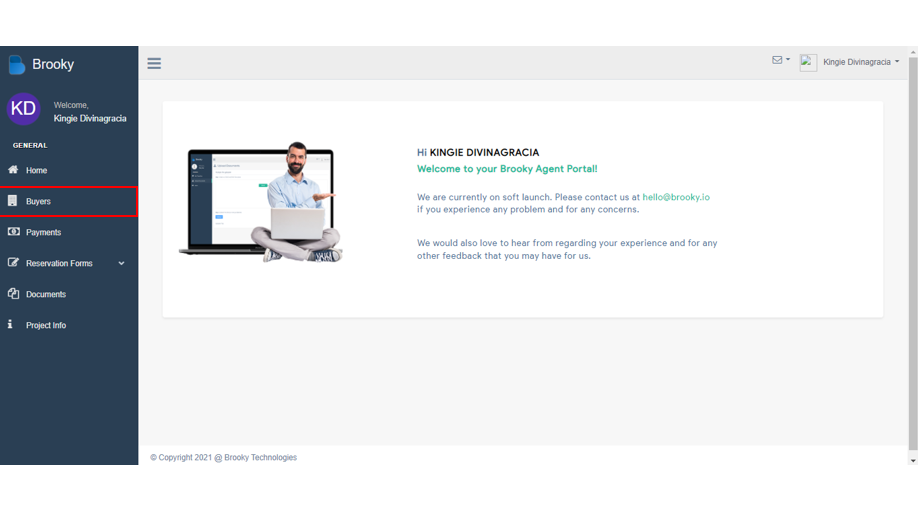
- In the Brooky Agents Portal, click the Buyers located in the sidebar.
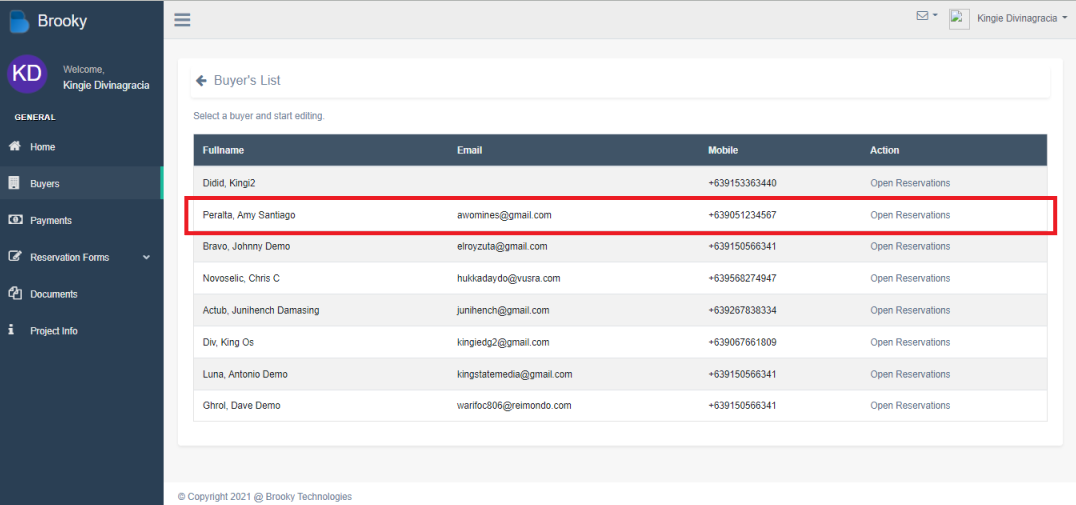
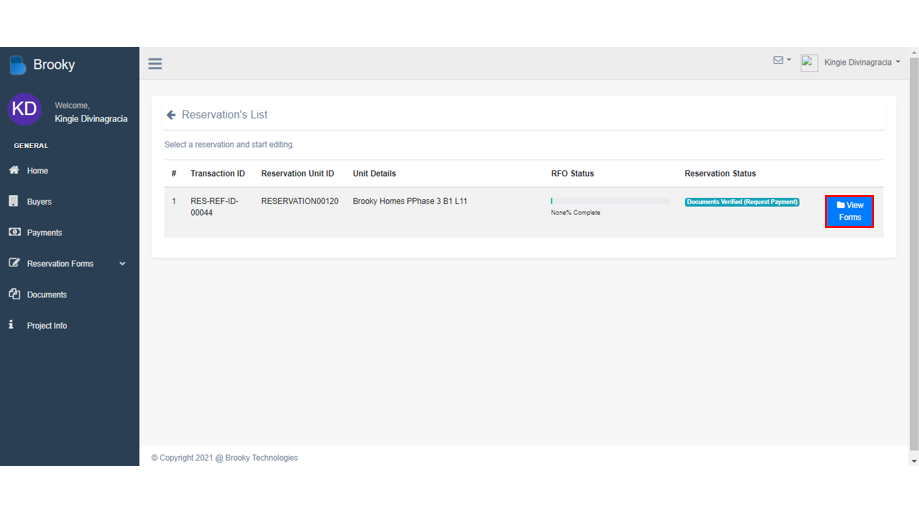
2. Select a Buyer to view their reservations.
3. Click "VIEW FORMS"

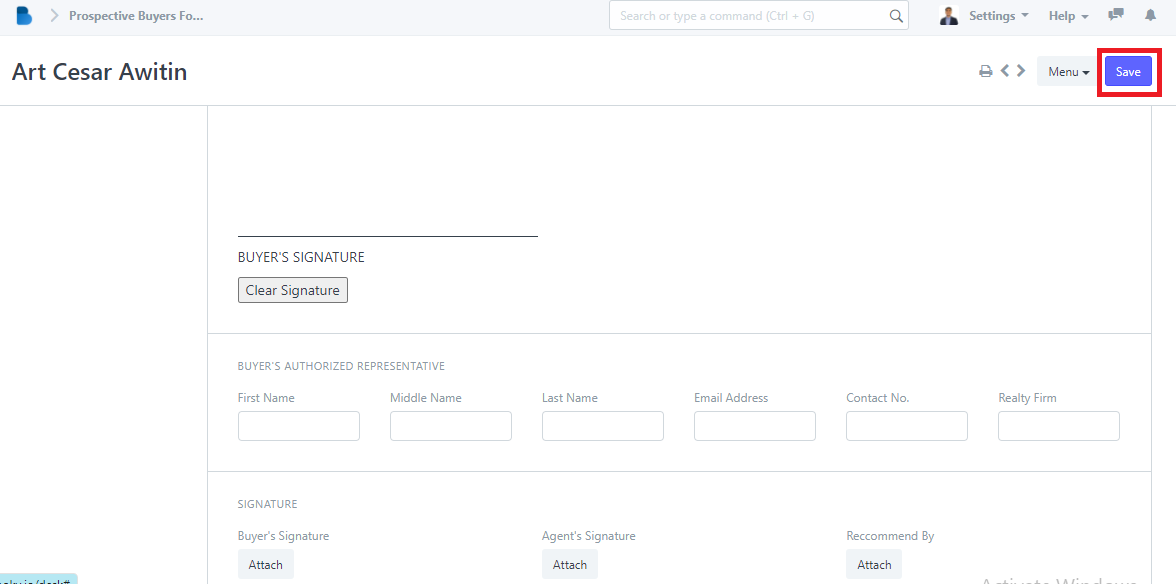
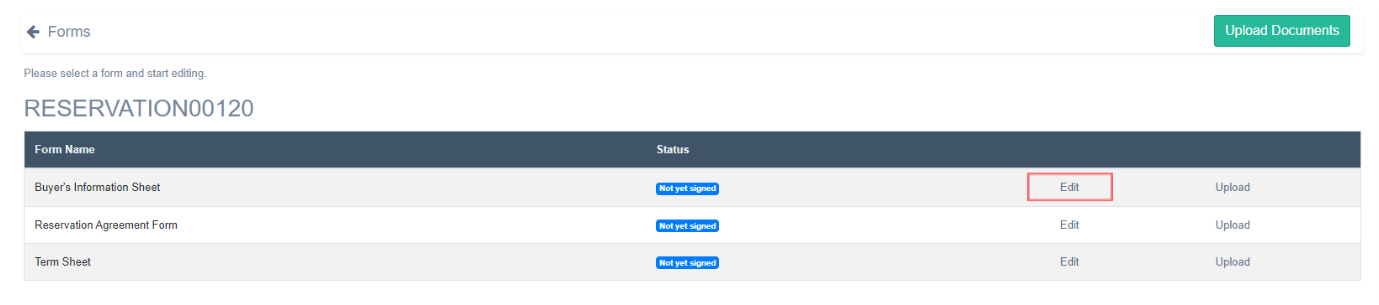
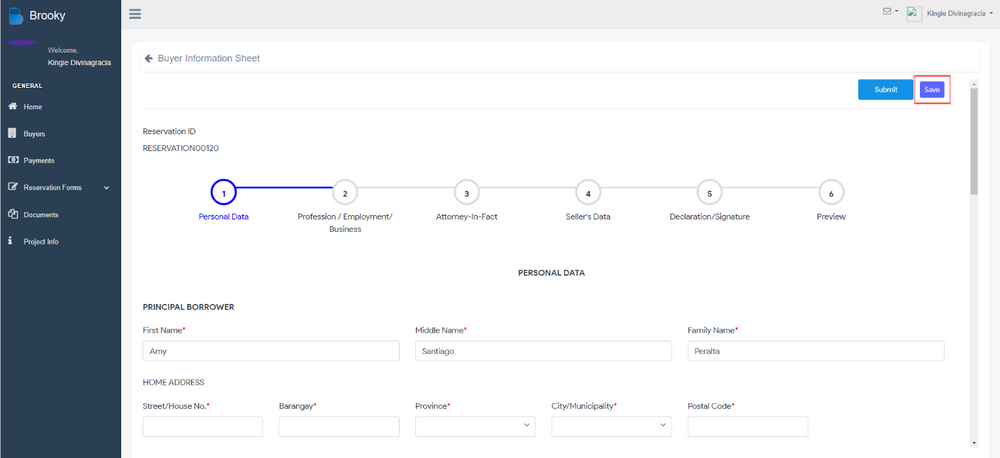
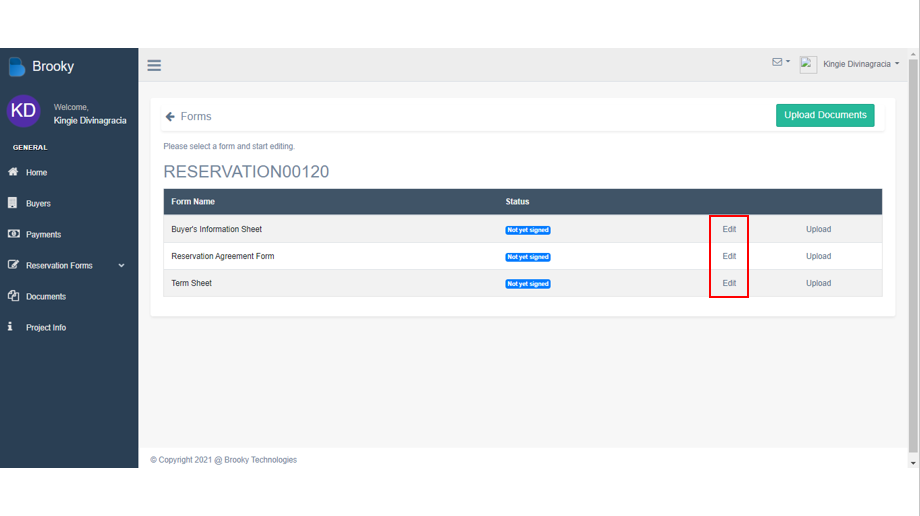
4. Now, you will see the "Buyer's Information Sheet" and to edit it, you must click the EDIT.
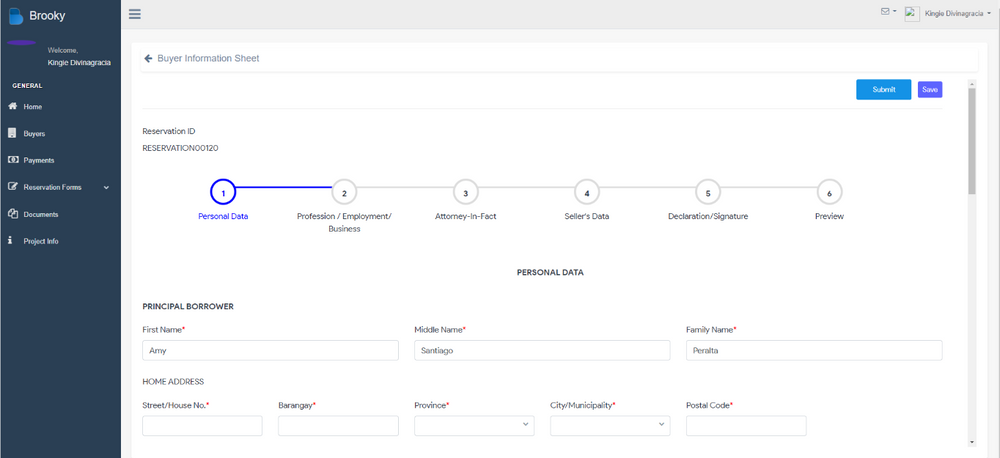
5. Next, update the necessary fields of your buyer's information sheet and drag it down to see other fields.
6. When you are done, click the SAVE button to save your updated buyer.s information sheet.
How to View and Sign Buyer's Reservation Form
- Login to your Agent Brooky account.
2. You will be redirected to your Brooky Agent Portal. On the left side, there is a menu sidebar. Click Buyers to proceed.
3. Buyer’s List will automatically be displayed. Find the name of the buyer you wanted to view and click it.

4. If you want to view the forms, just click the View Forms button.
5. After clicking View Form, you will be redirected to the Buyer's Information Sheet, Reservation Agreement Form, and Term Sheet forms. The only form the agent can edit is the Buyer’s Information Sheet. If you want to edit the Reservation Agreement Form and Term Sheet, you must ask for the admin's permission first.
To sign the Buyer’s Information Sheet, simply click the edit button.
6. Don’t change anything in steps 1 to 4 if you don’t have anything to edit with the other fields. Directly navigate to step 5 by clicking the button Declaration/Signature button.
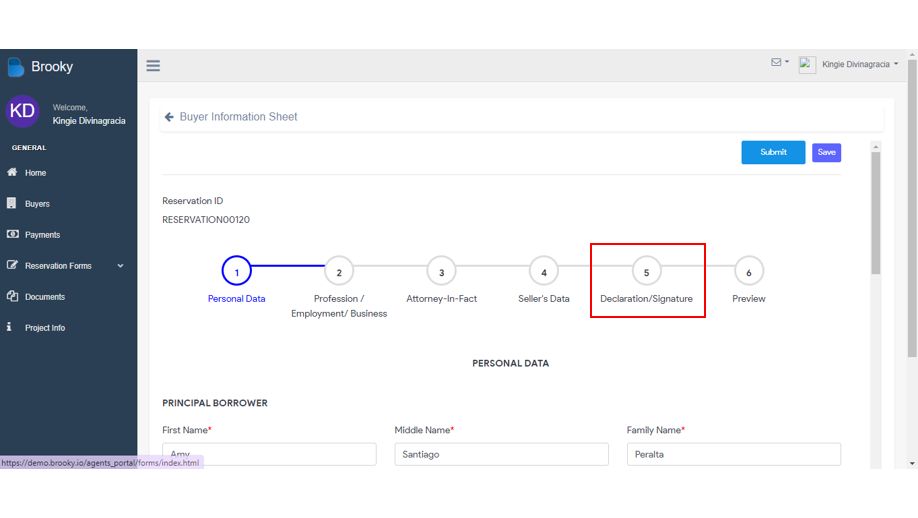
7. The Signature field can be found at the bottom of the form. Put your signature in that field before clicking the Submit or Save button in the lower right portion of the screen.

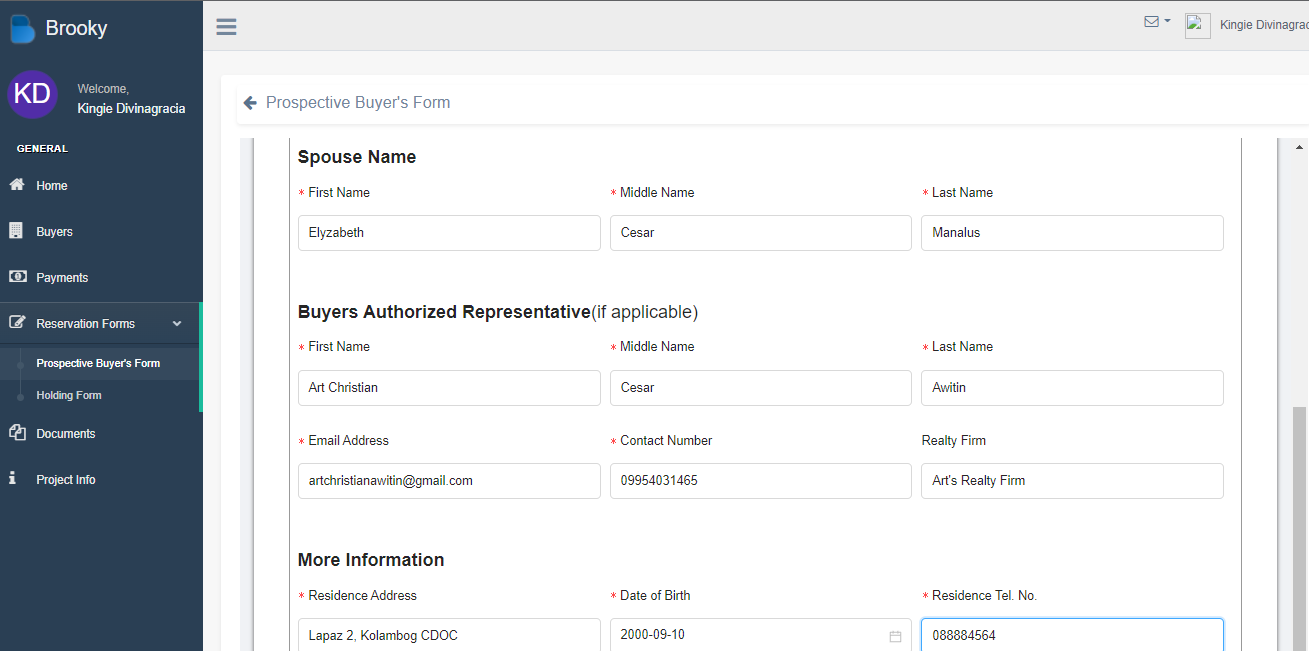
How to Register a Prospective Buyer in the Agent's Portal
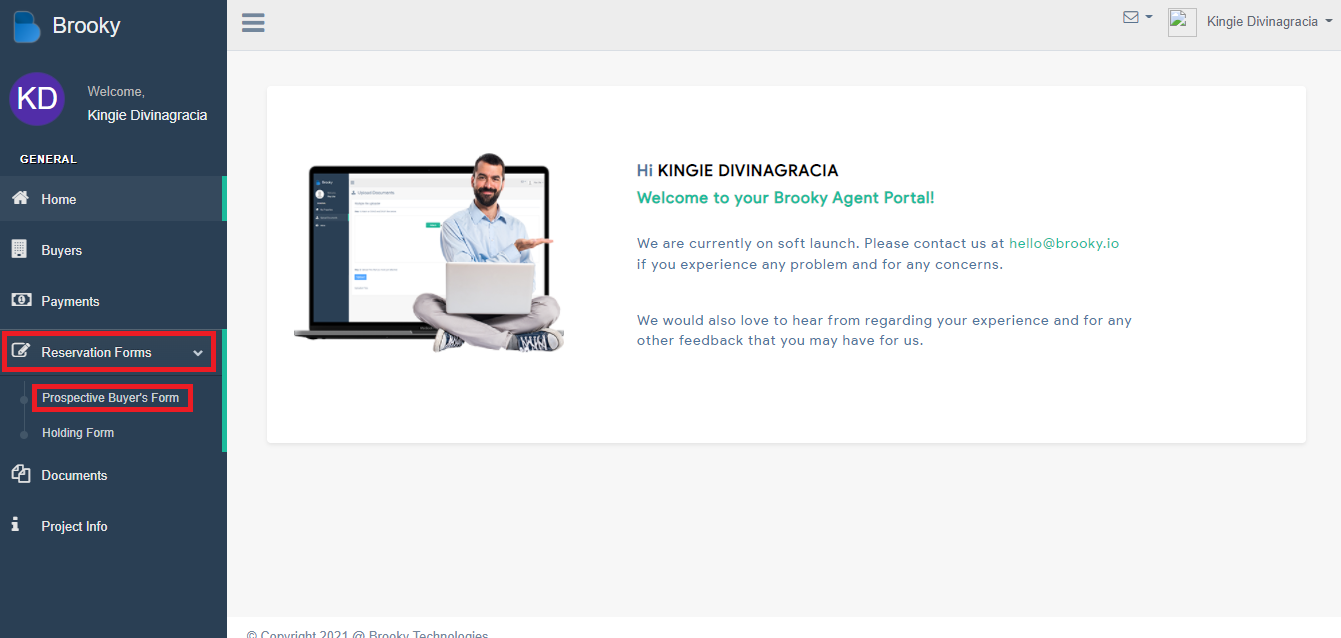
- On Brooky Agent Portal View click under "Reservation Form" click "Projects".
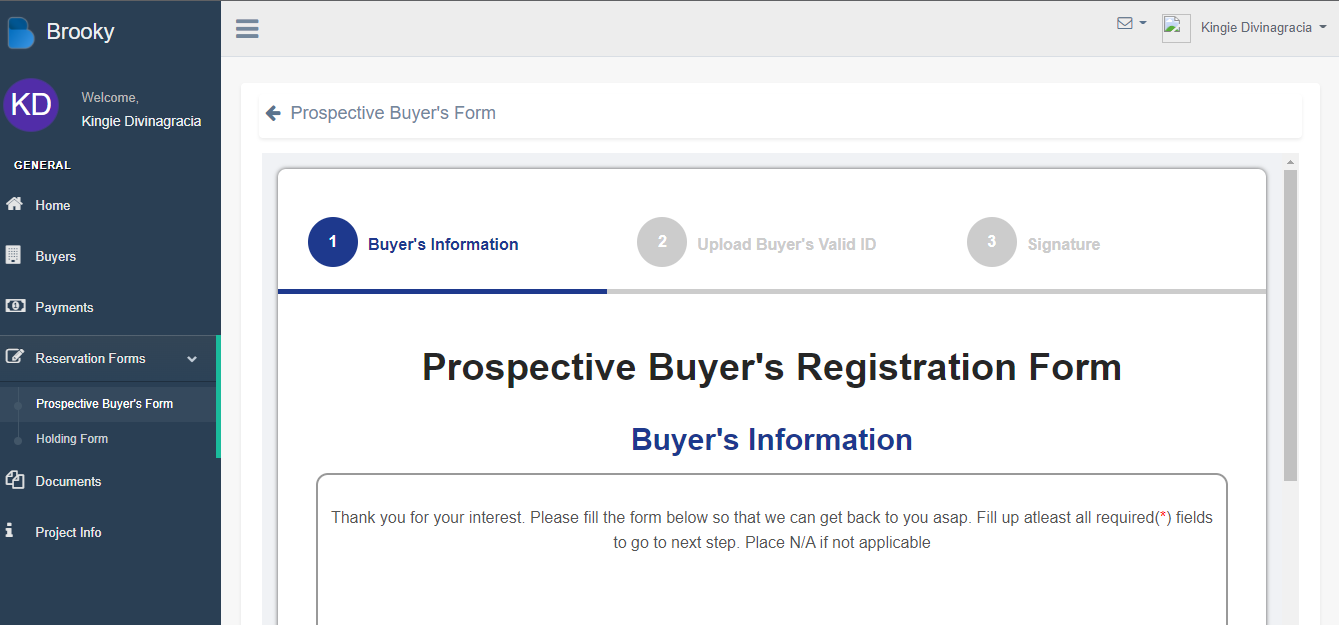
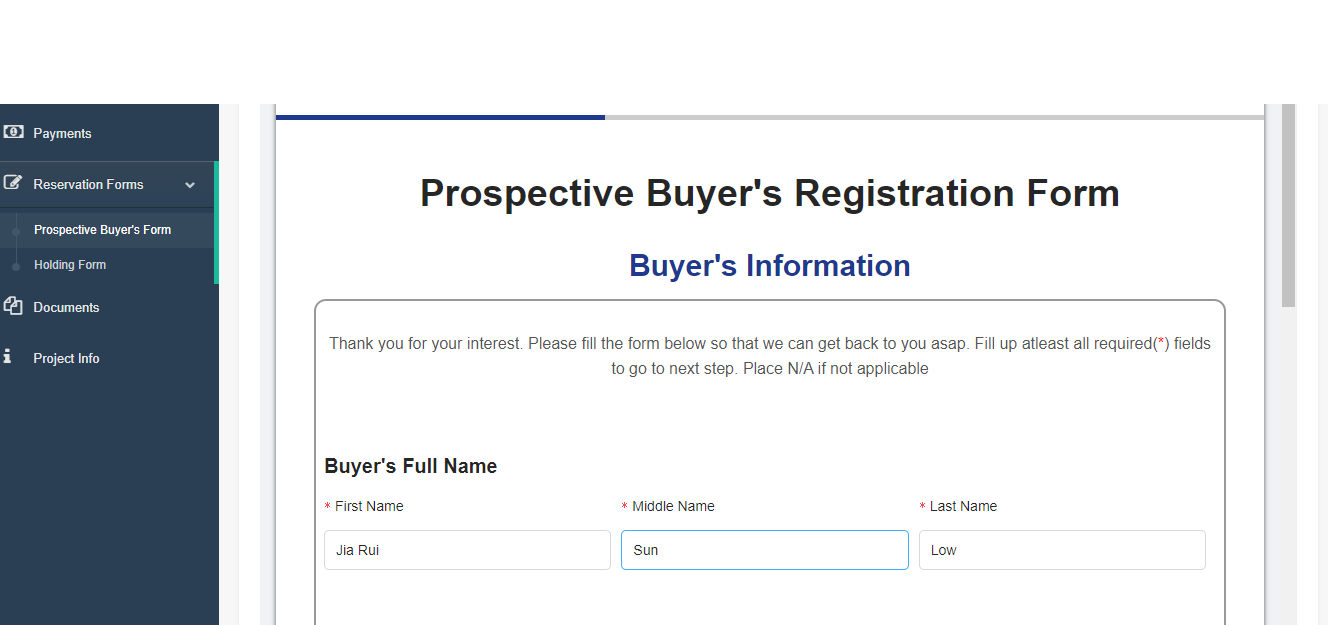
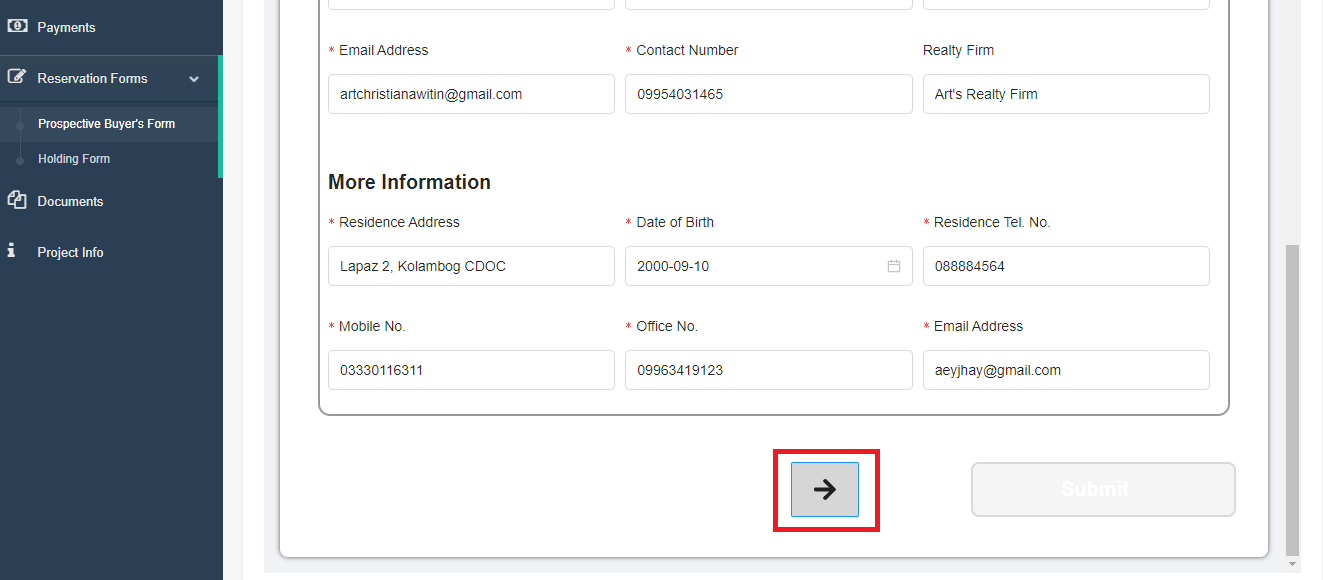
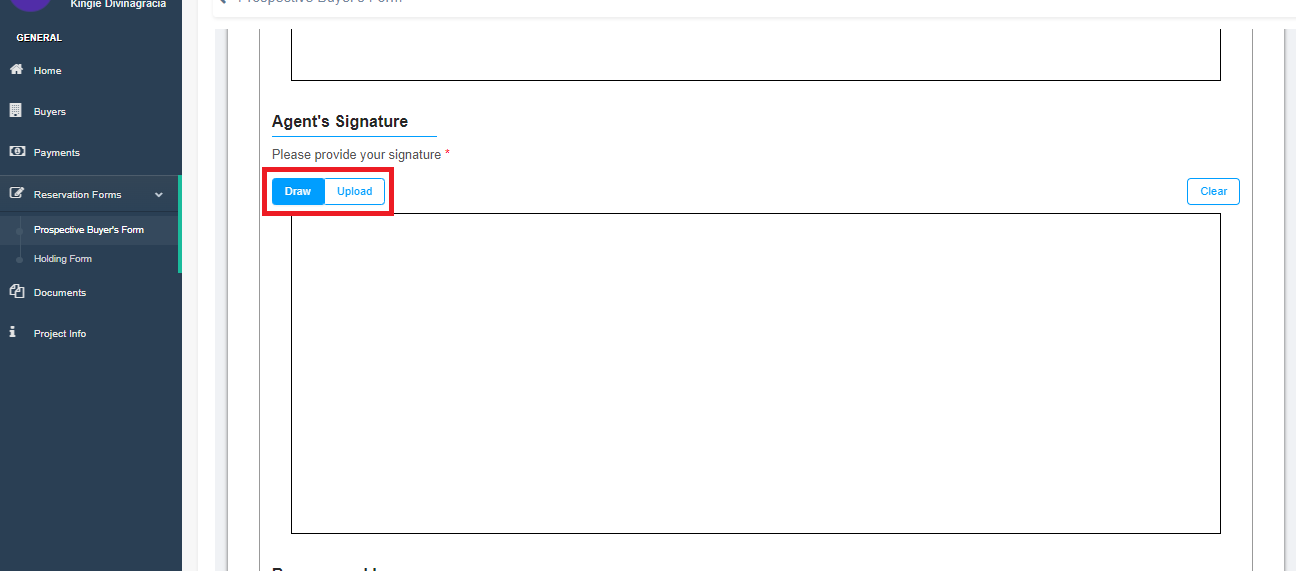
2. Fill up the buyer's information's, attached his/her id, and let you and the buyer signed the form or upload a signature, then click "Submit".
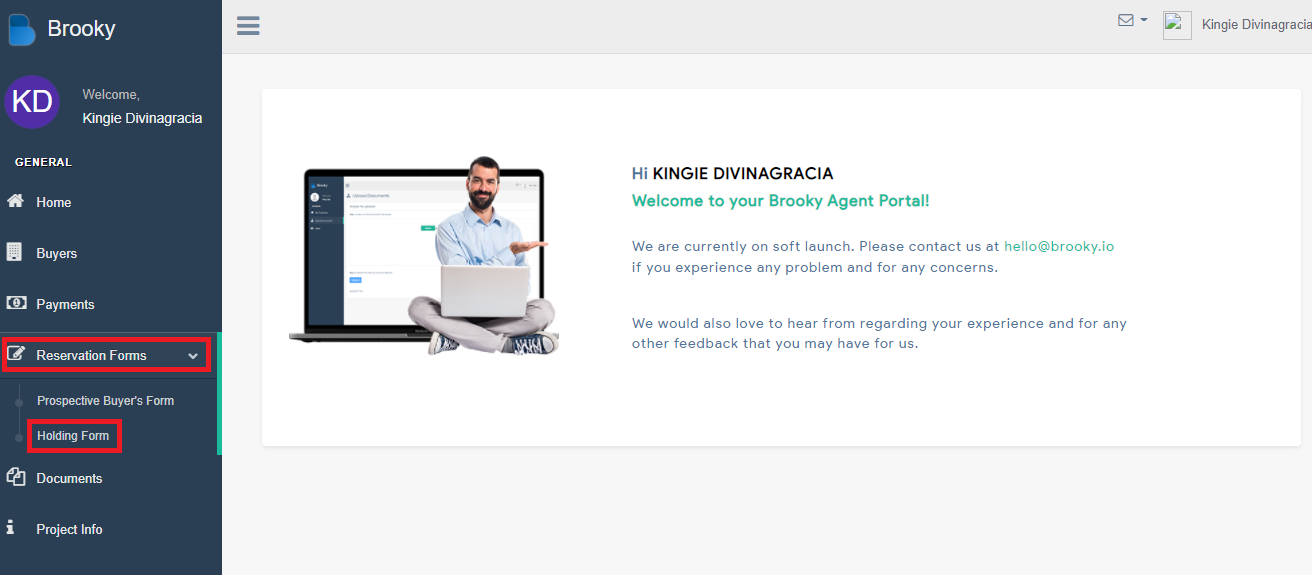
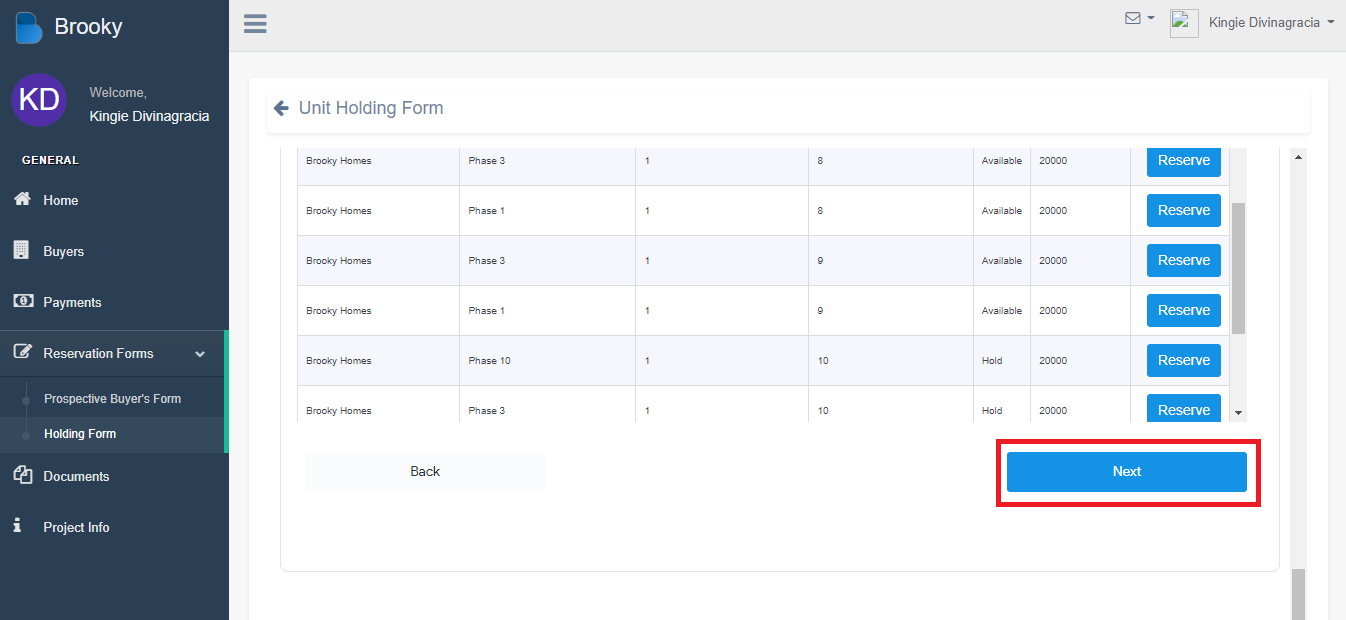
How to Reserve a Unit Holding Form to Prospective Buyers.
- On Brooky Agent Portal View click under "Reservation Form" click "Holding Forms".
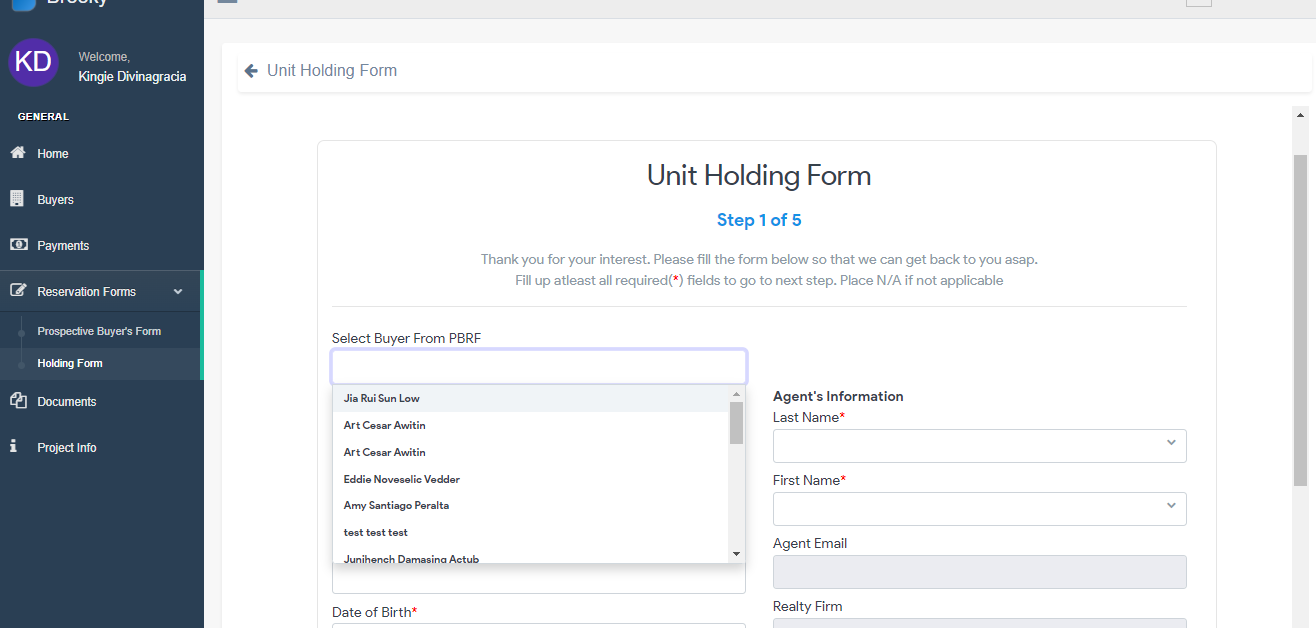
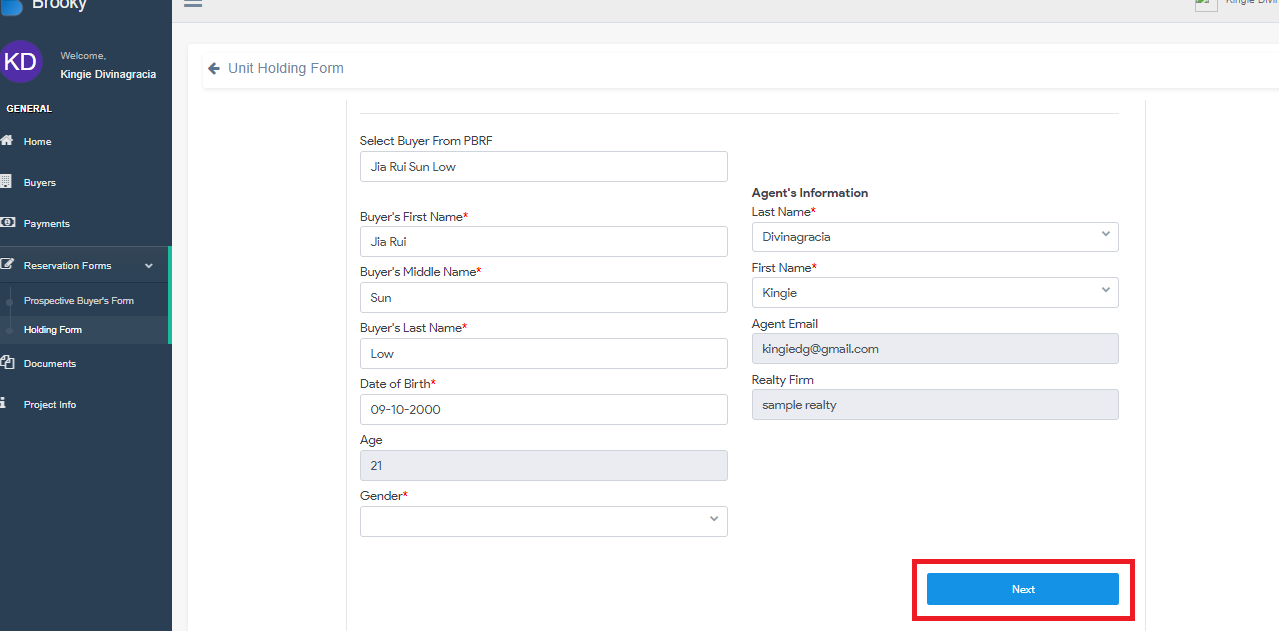
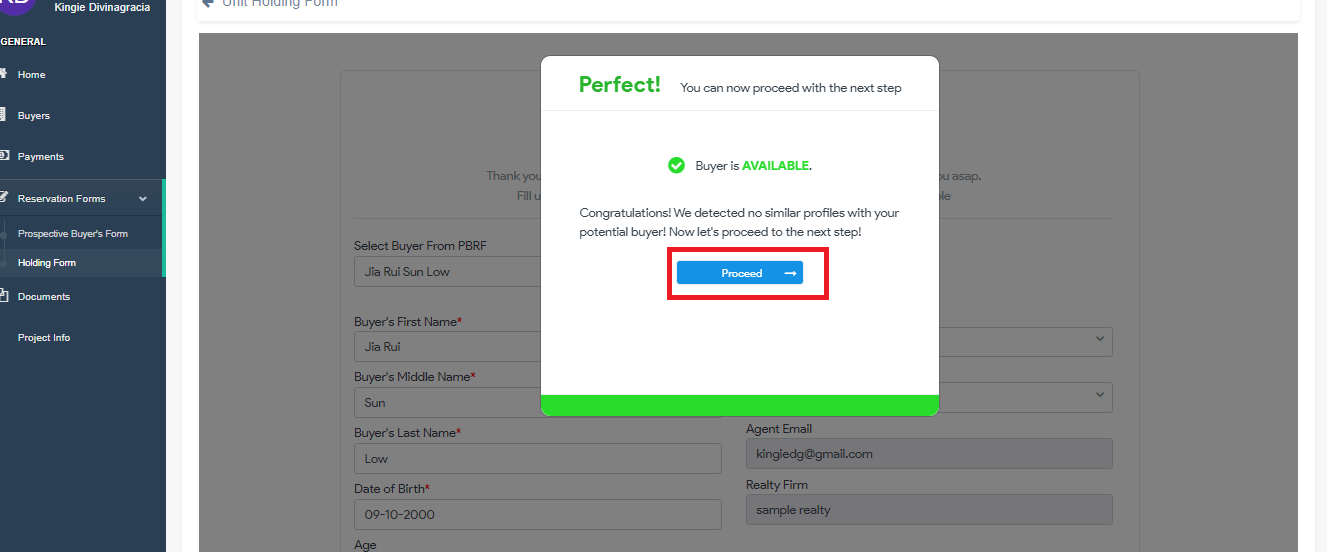
2. Select Buyer's from PBRF and fill up missing information and click 'Next' then press 'Proceed'.
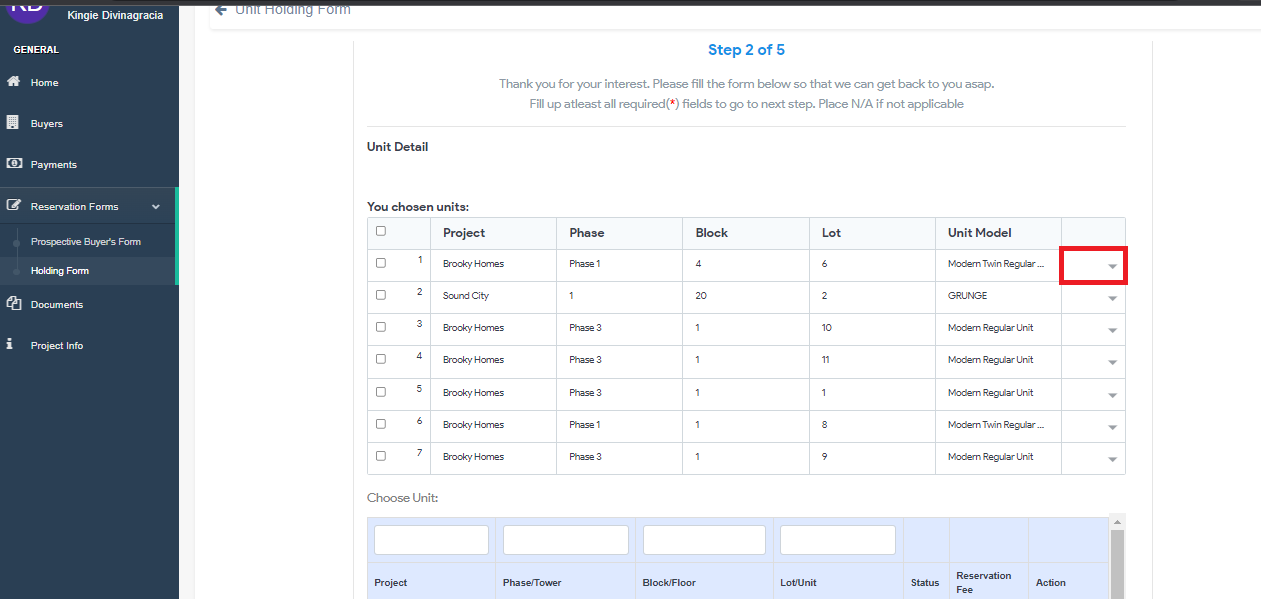
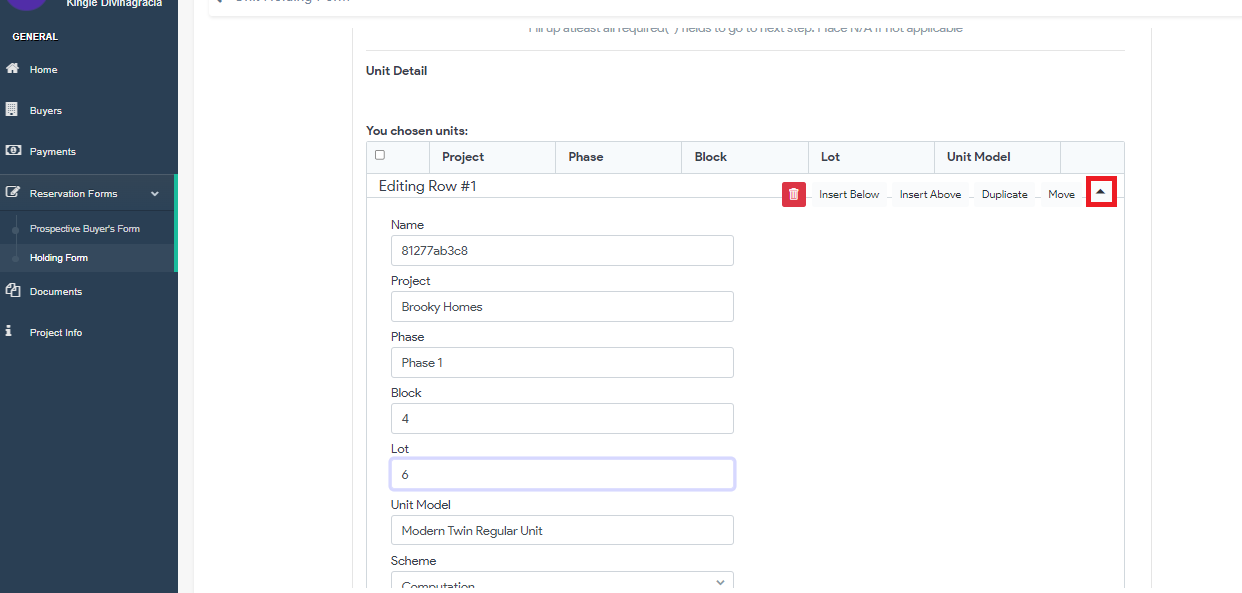
3. You can edit the table by simply clicking the highlighted area. If you make any changes, click the 'Up Arrow Icon' it will automatically save the changes you've made.
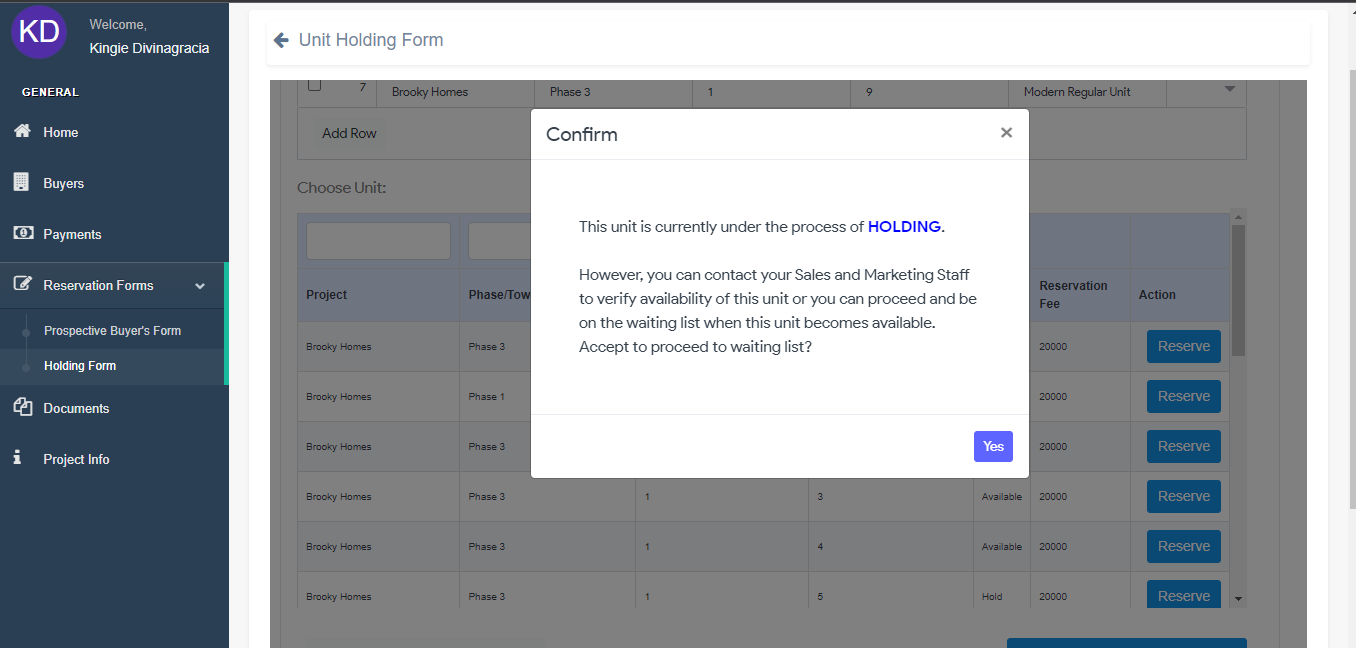
4. Click 'Reserve' On Brooky Agent Portal View click under "Reservation Form" click "Projects" to reserve your buyers a unit slot. There will be two message box that will appear once you click Reserve.
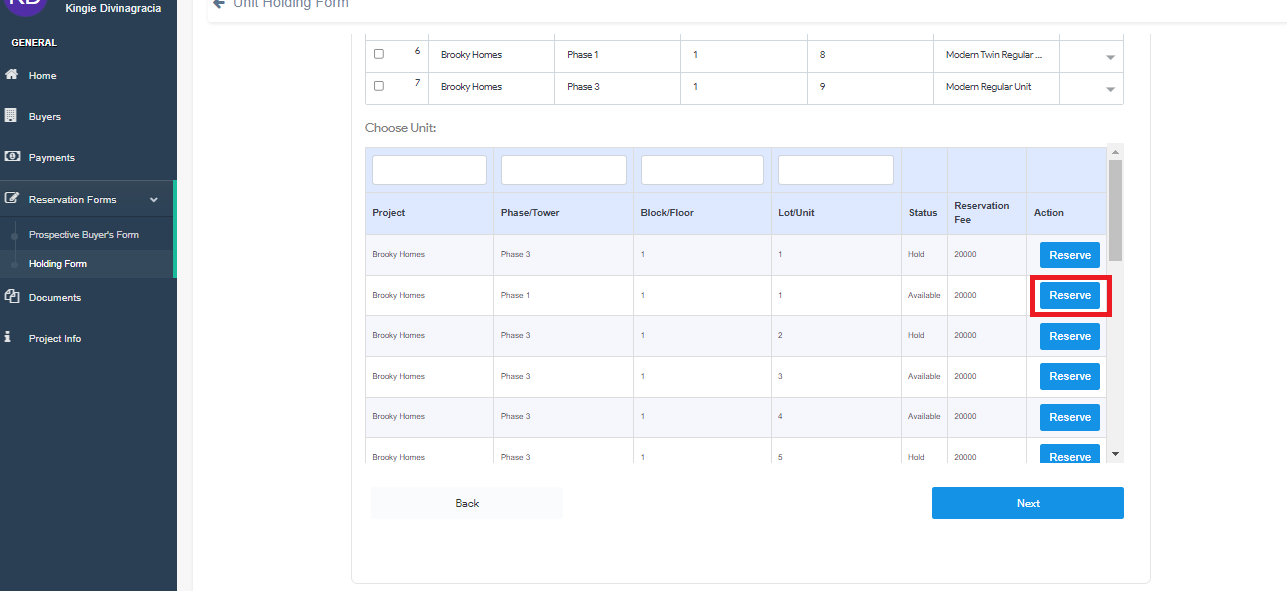
4.1 When someone already has a reservation on that specific unit then it will be put on "Hold" which makes the buyers to put in the queuing list. In which he/she have to wait until the slot will be open.
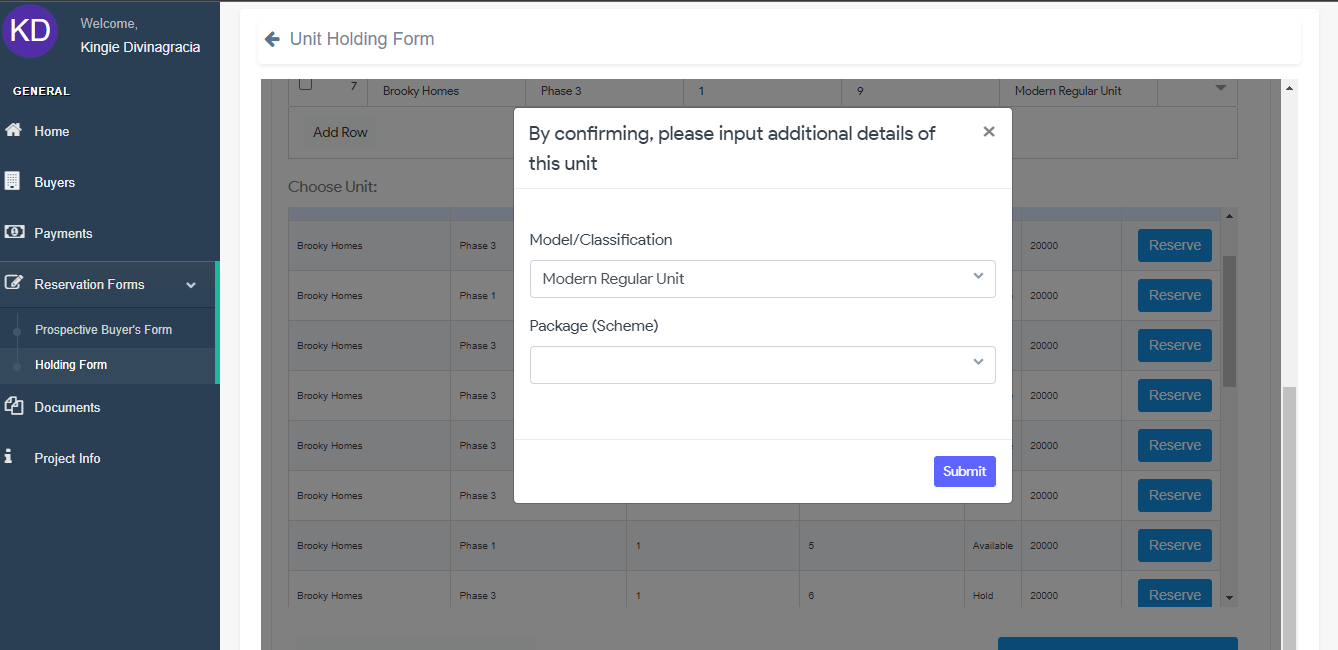
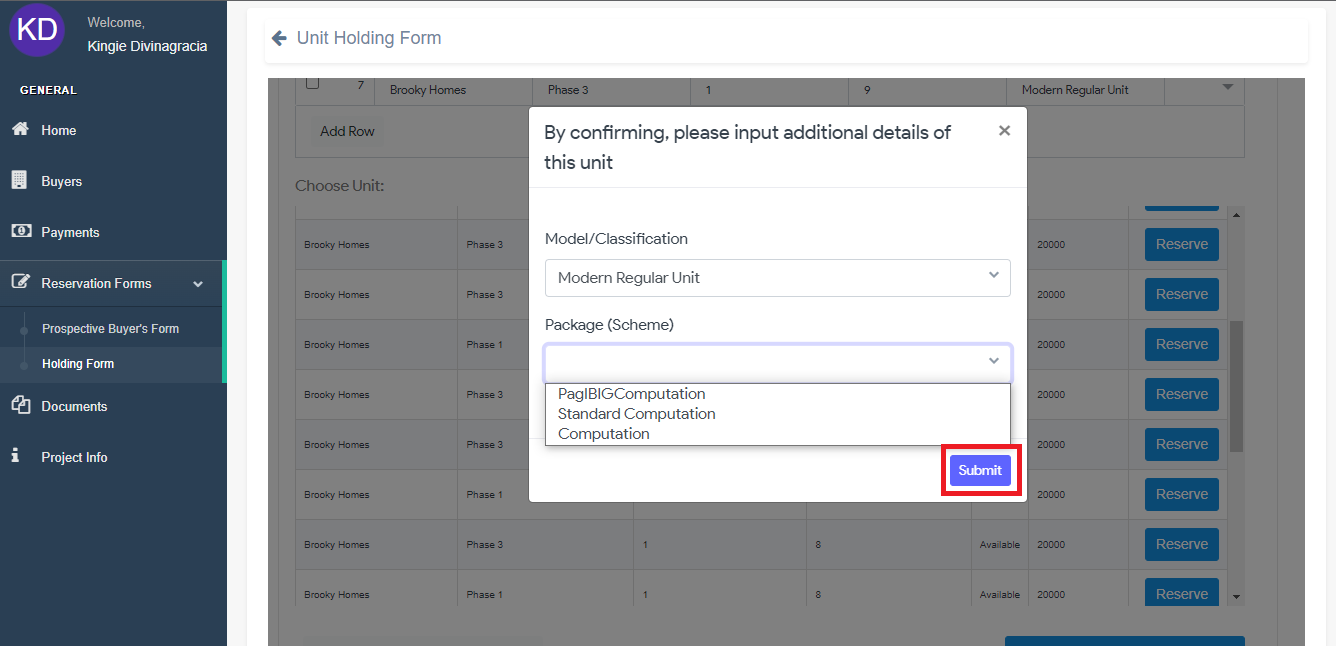
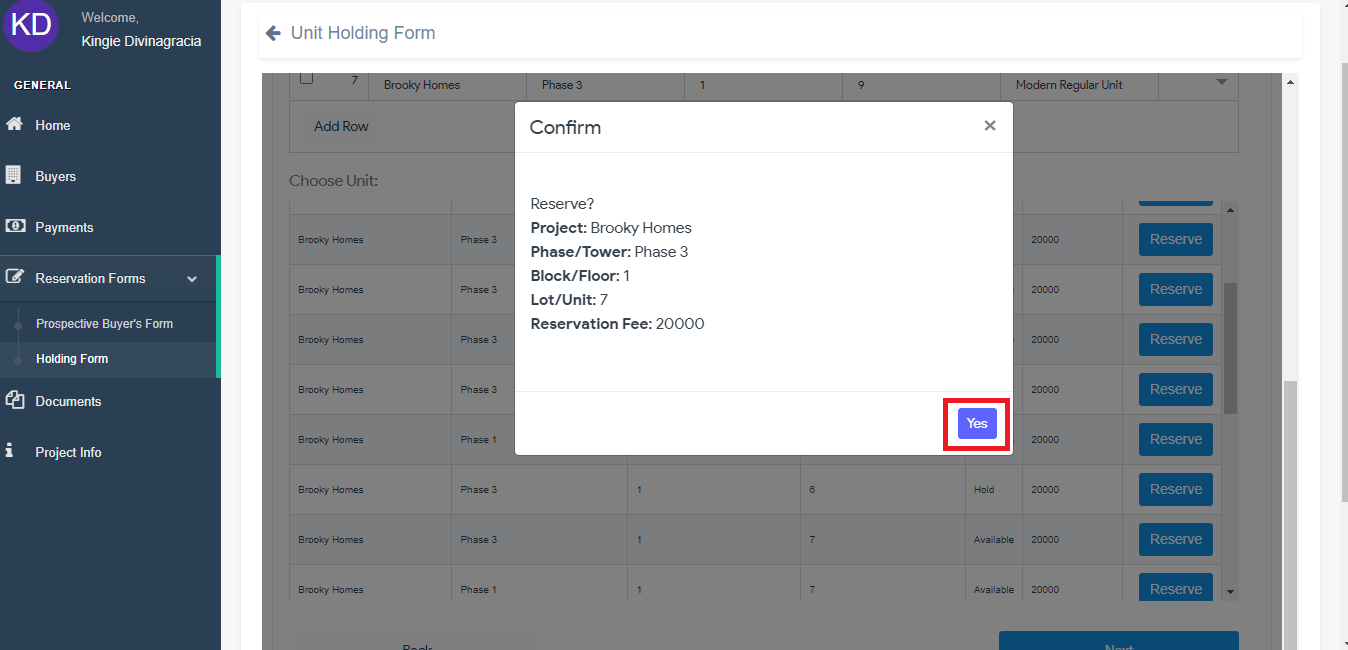
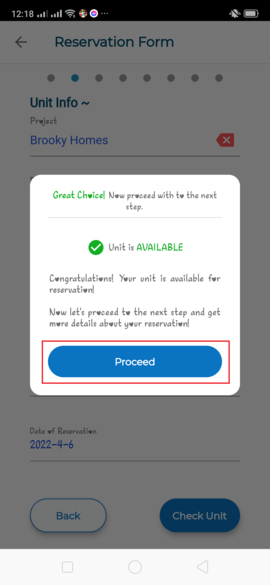
4.2 If the unit is available this message box will appear. All you need to do is fill up the information and click "Submit" and Confirm your reservation by clicking "Yes".
5. Click 'Next' once you finished reserving your Prospective Buyer a unit.
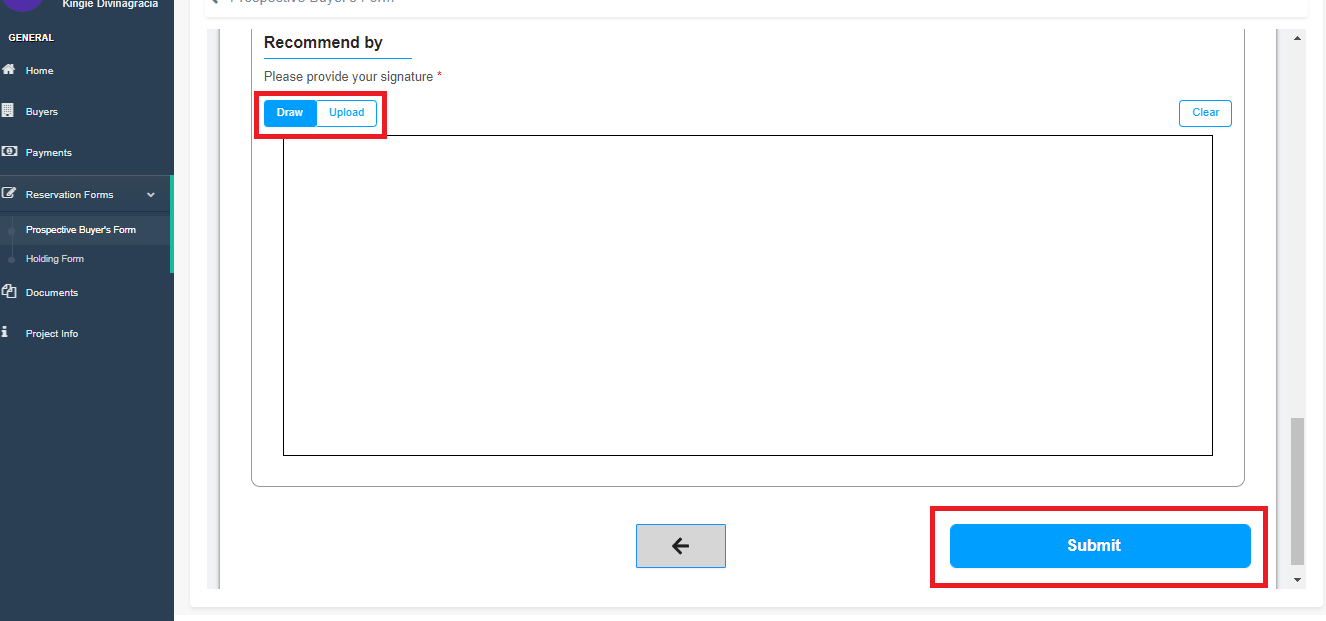
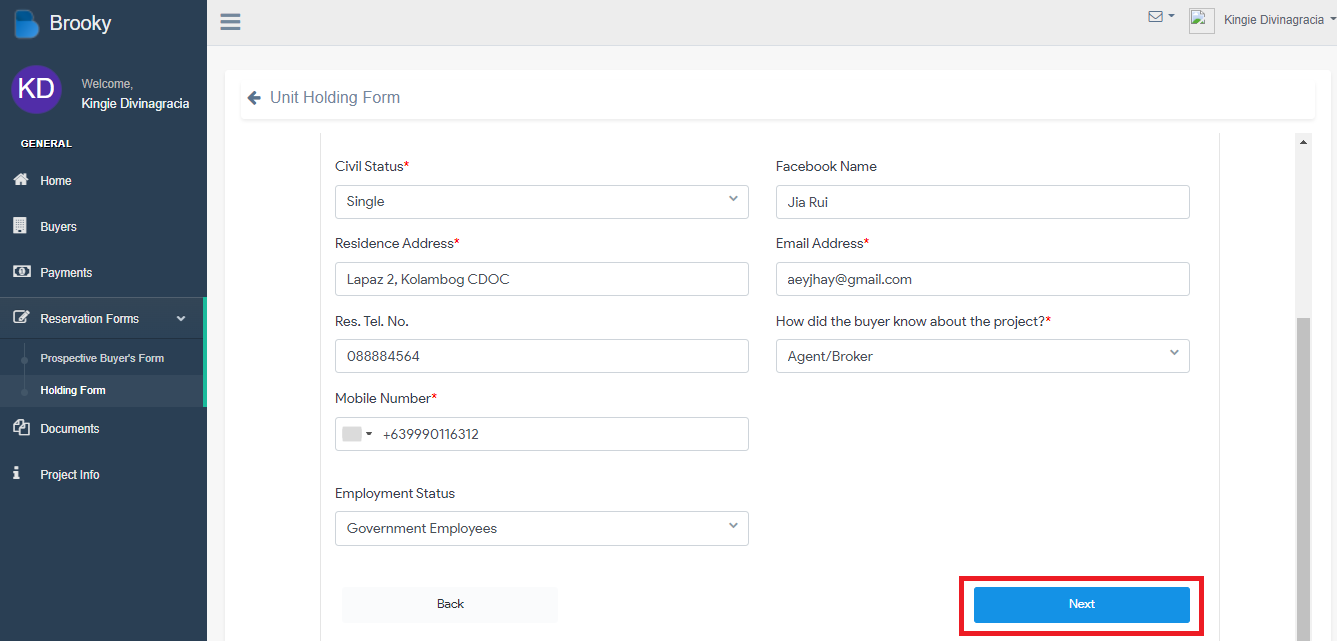
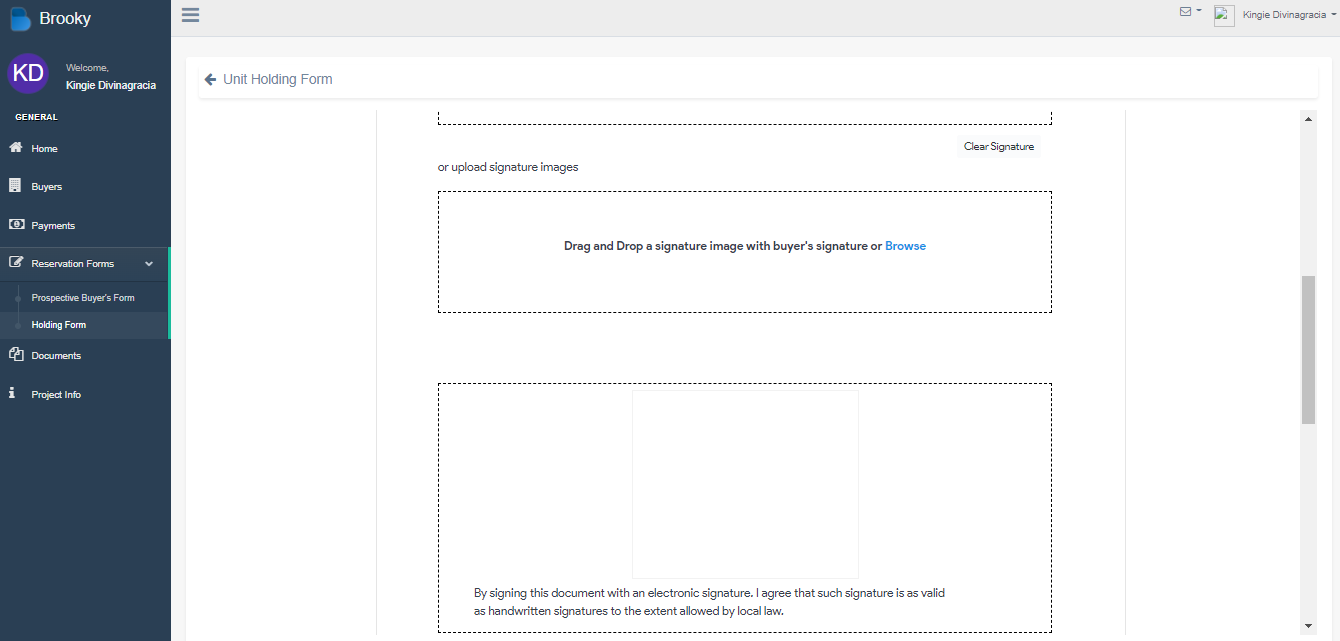
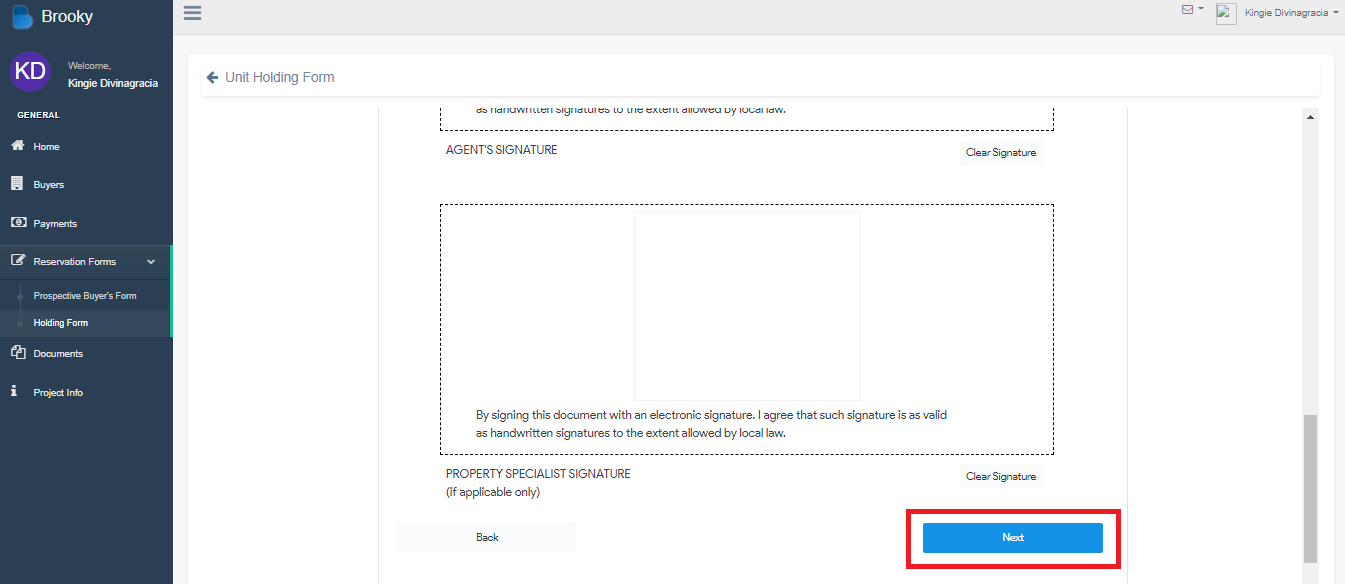
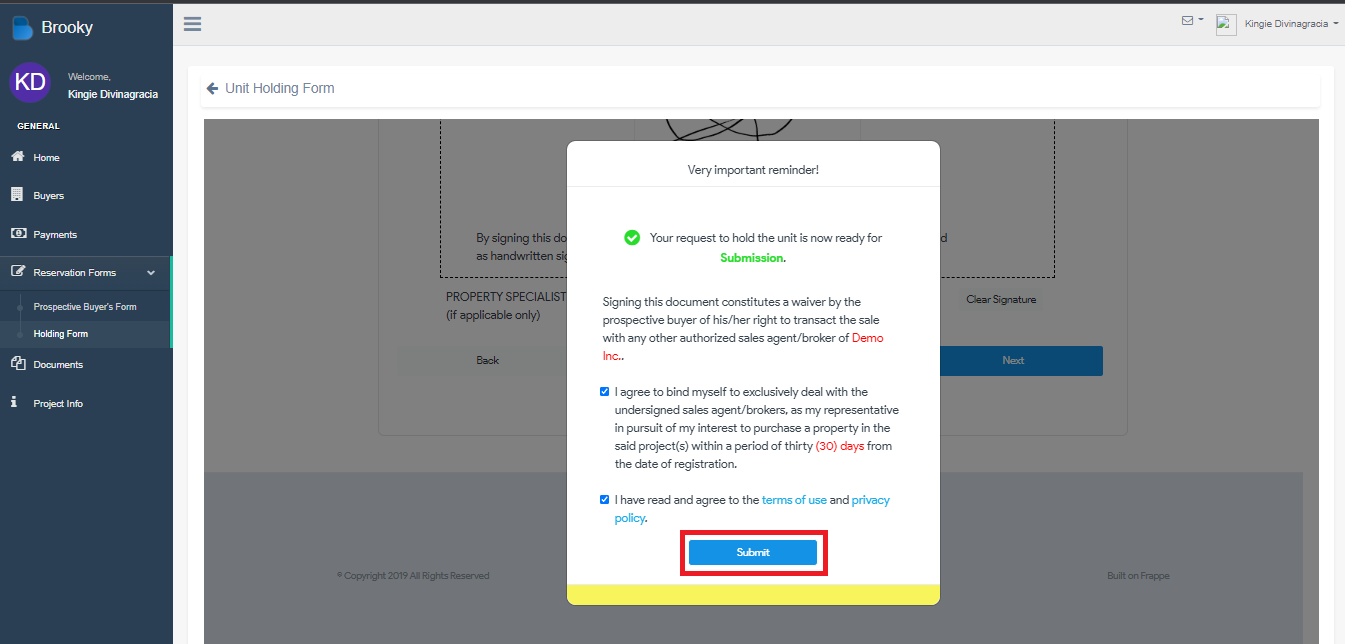
6. Fill up the information, attached the necessary file and click "Next". Once your finished check all the checkbox to agree with the terms and services then click "Submit".

Buyers Portal
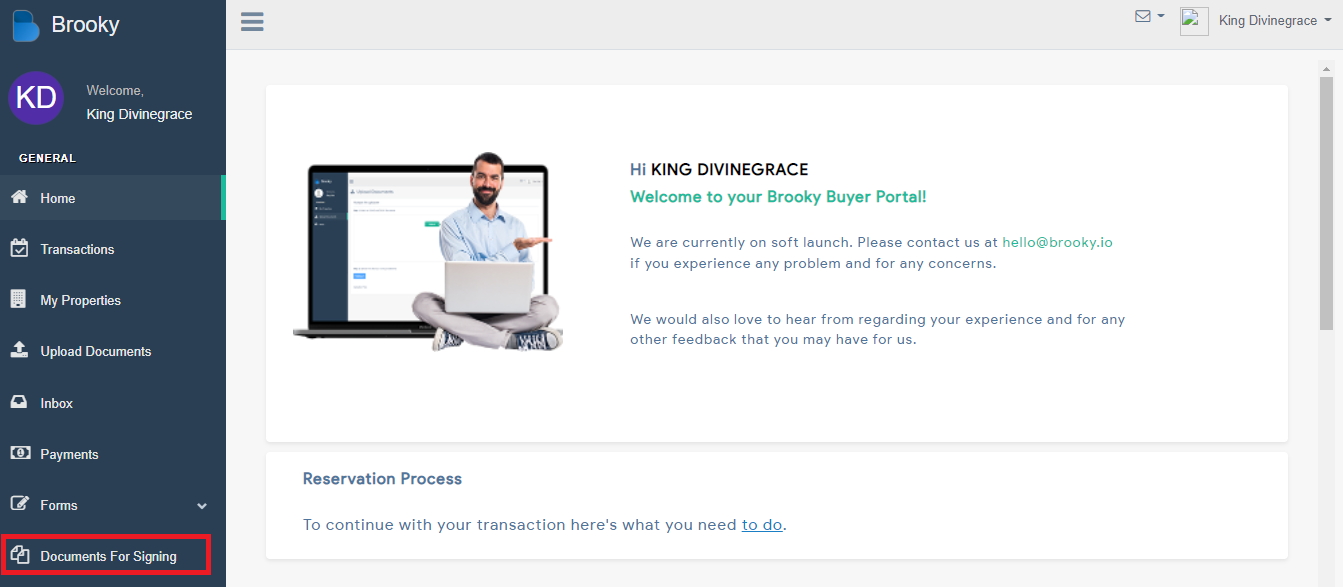
How to Sign/Download Documents/Forms in Reservation Units
- On Brooky Buyer's Portal View click "Documents For Signing".
2. Choose a Reservation Unit that you reserve and click "View Forms for Signing".
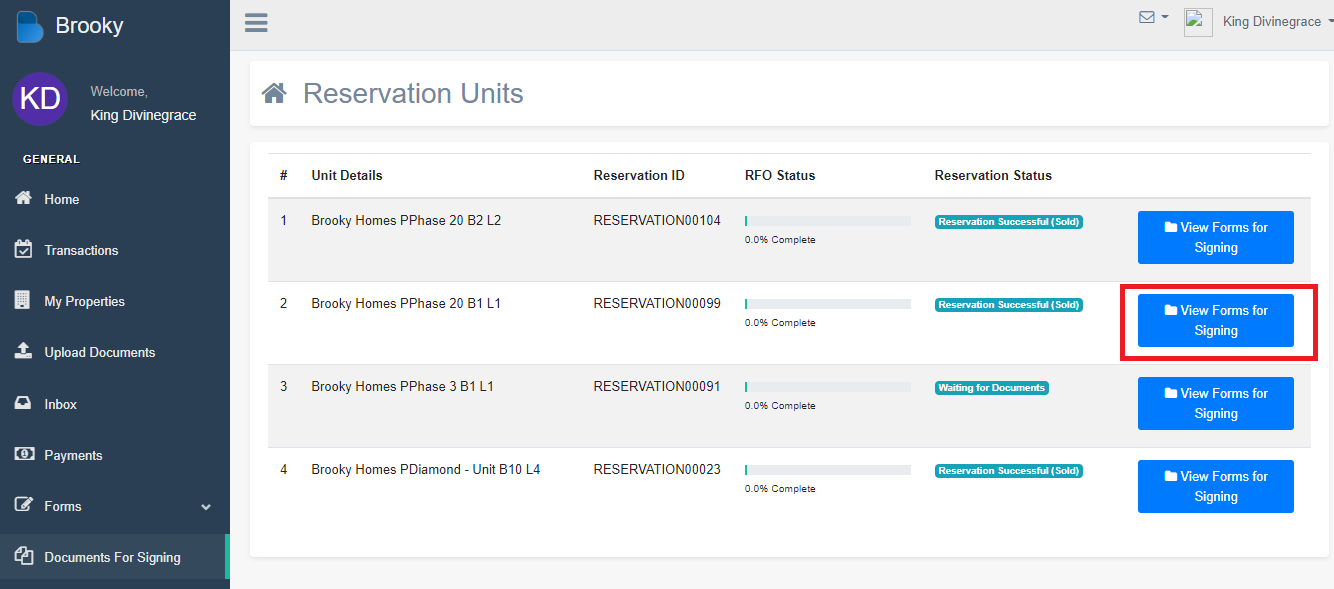
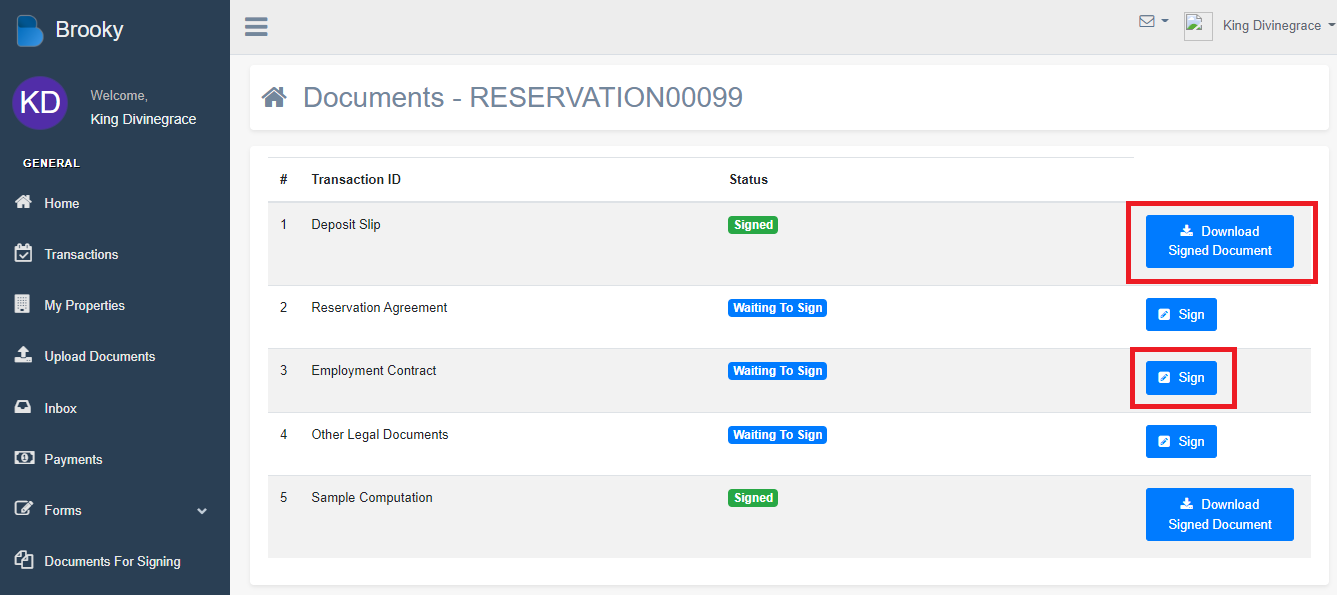
3. There's 2 different buttons will appear.
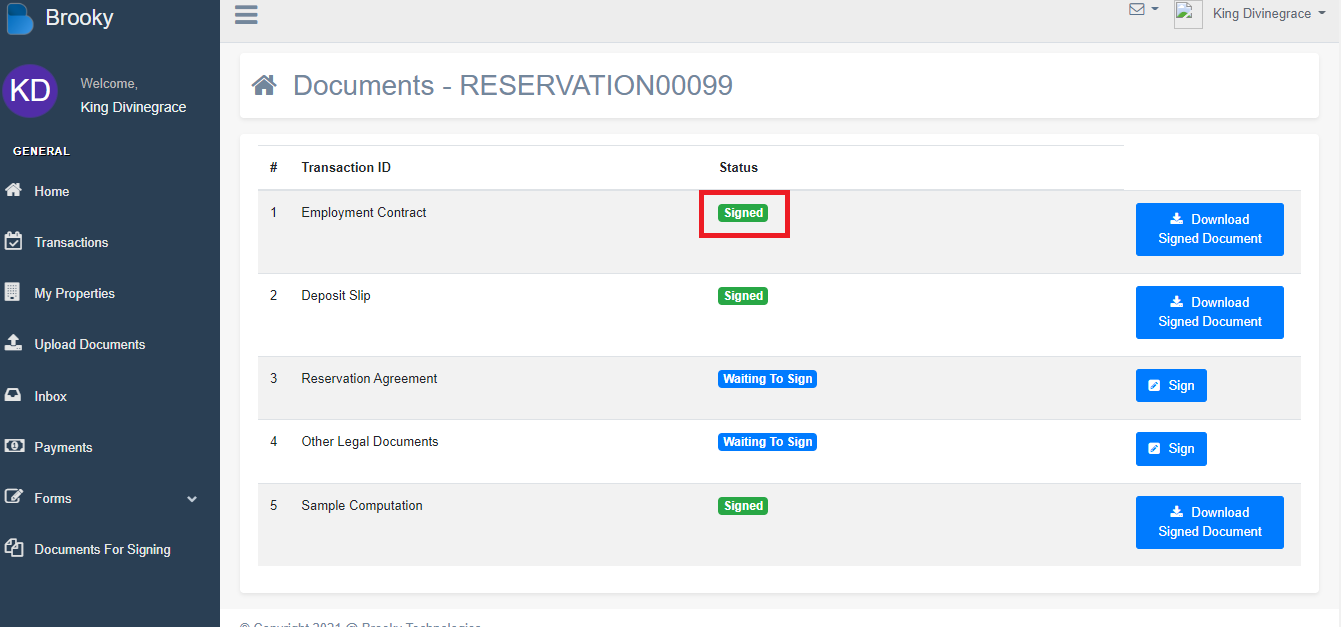
3.1 Download Signed Documents you can only download once a buyer and agent signed the document and status will changed into Signed. If there's one missing signature in a specific document then the status will remain Waiting To Sign.
3.2 Sign will appear when an agent upload a document that need to be signed by both the buyers and the agent. In this case it must be signed by the buyer.
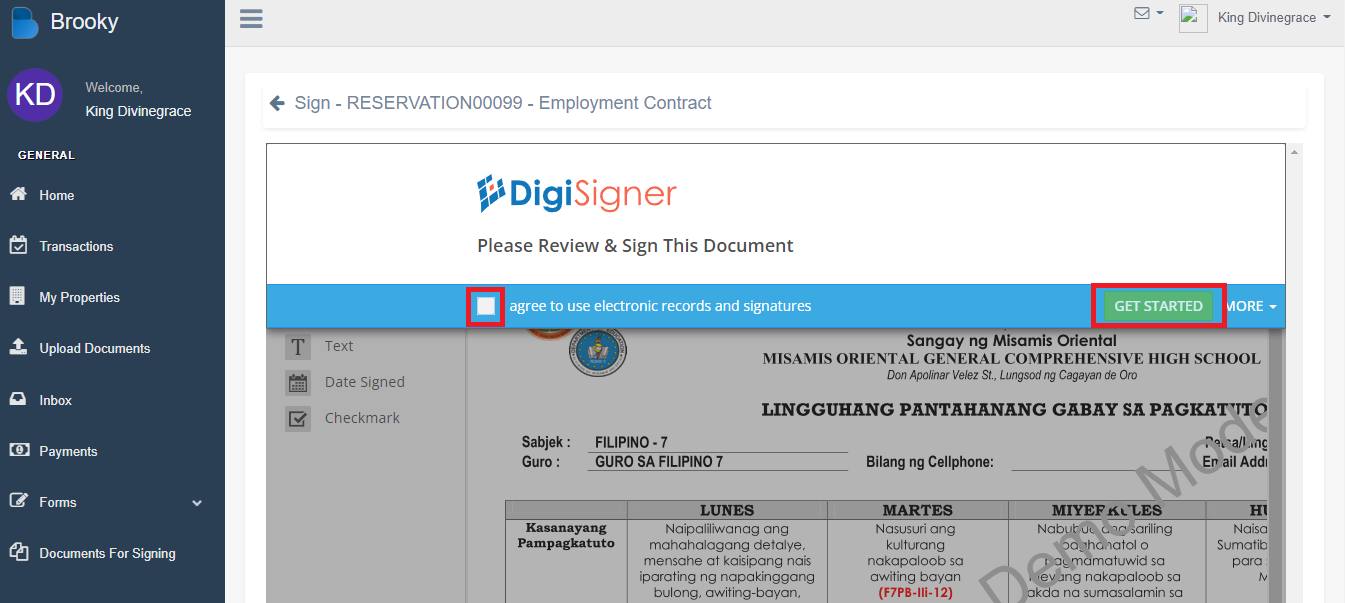
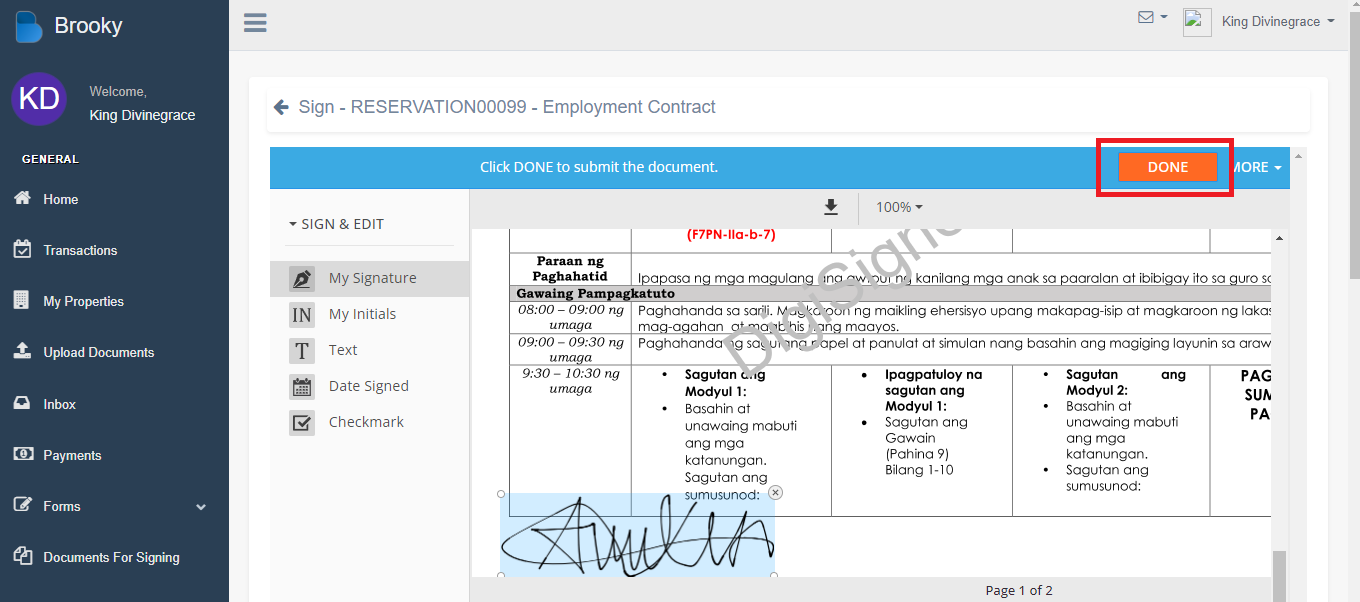
4. To sign the document click "Get Started". You can either draw(write) or upload your signature. Once finished click "Sign", "Cancel" to cancel the signature, and "Clear" to clear the signature.
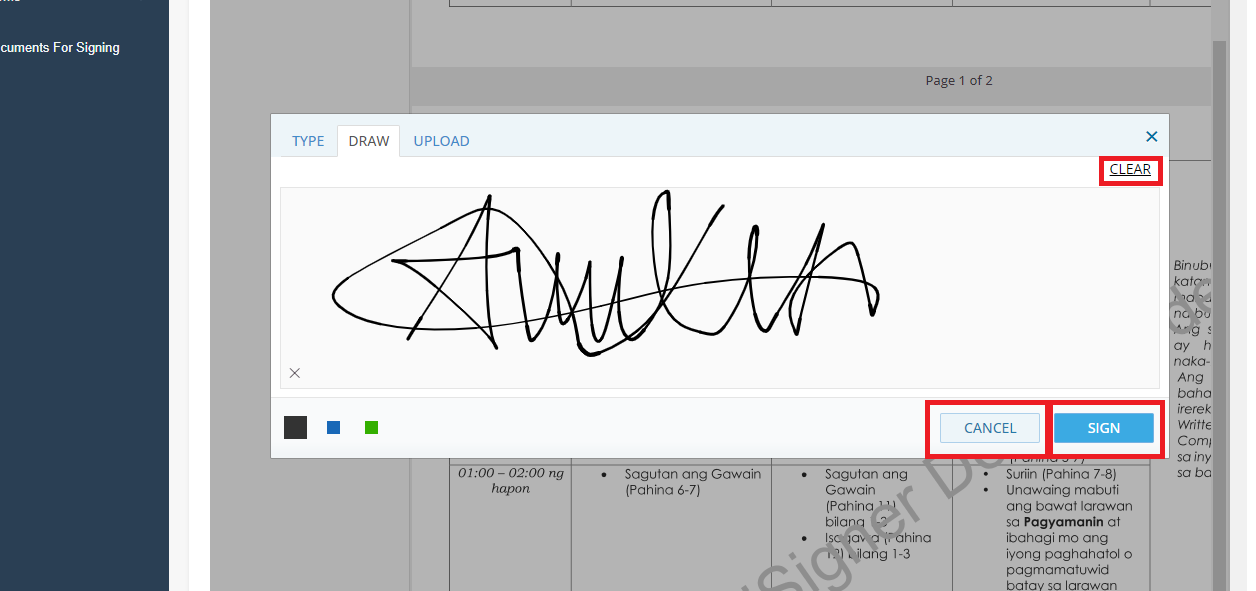
5. Once finished, click "Done".
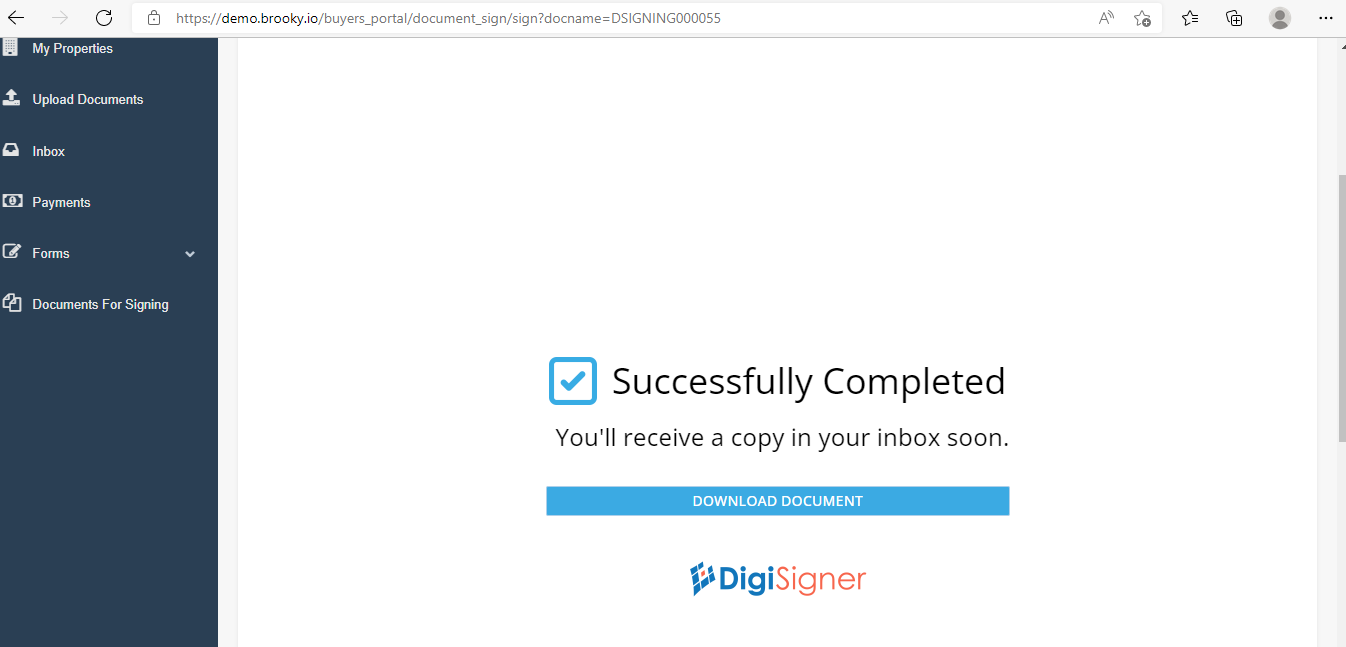
6. Status will change to signed when both buyers and agent signed this specific document. If not then the status will remain Waiting to Sign.
Agents Mobile App
How to Make a Reservation
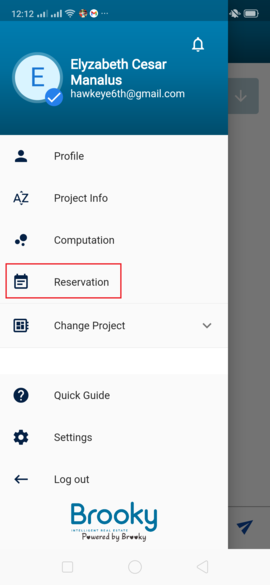
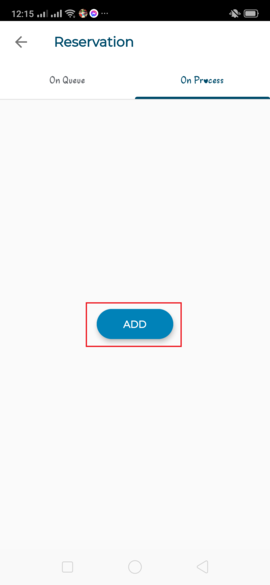
- Click on 'Reservation' to request to reserve a unit.
2. Click 'Add' button to create a reservation.
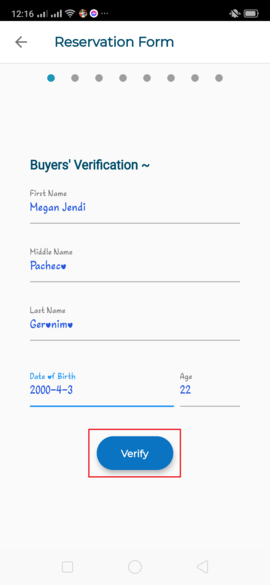
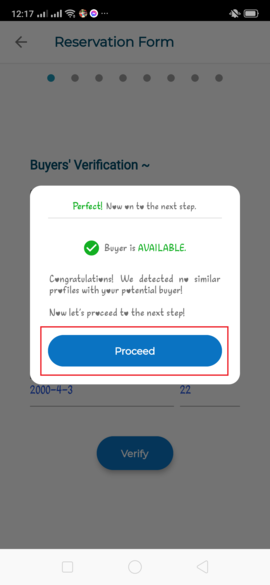
3. Fill up the information and click 'Verify'. The system will automatically whether the potential buyer is available or not. If available click 'Proceed'.
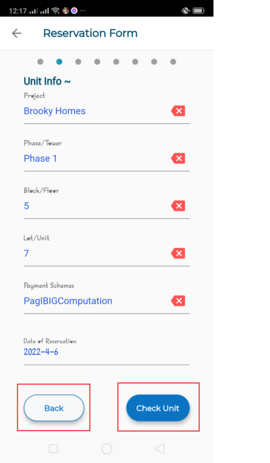
4. Choose your Unit for Reservation and press 'Check Unit' to check if this unit is available or not. If not it will be put into Hold/Queuing. If available press 'Proceed'. You can press 'Back' if you made a mistake filling up the information before this step.
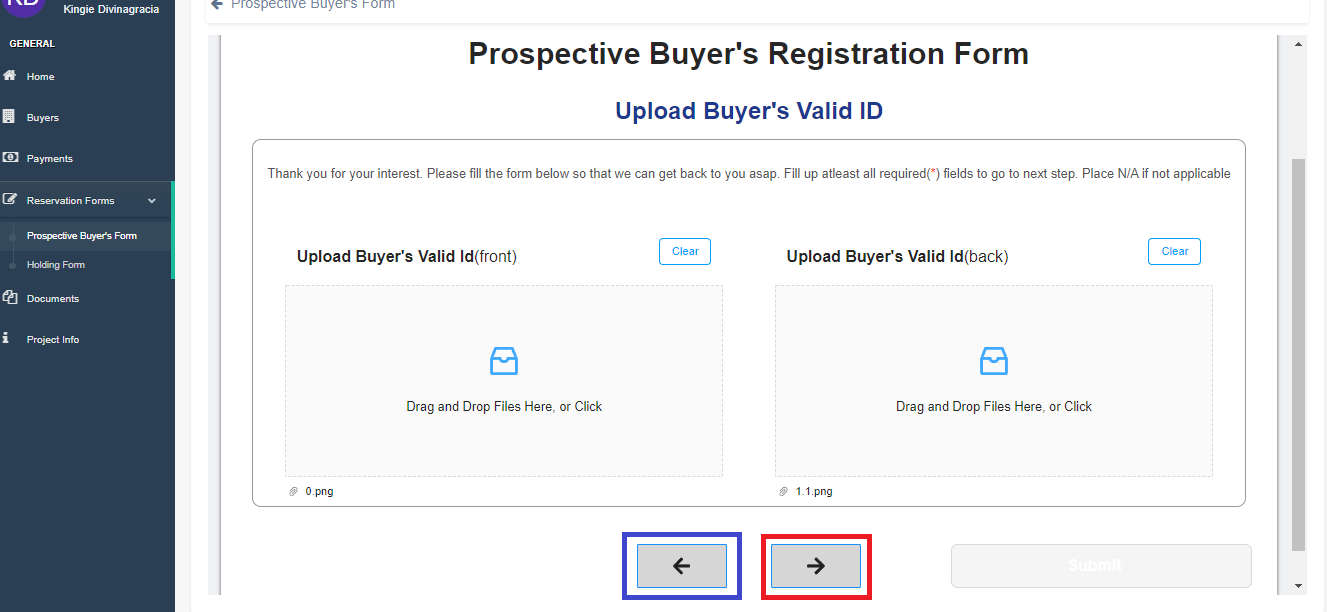
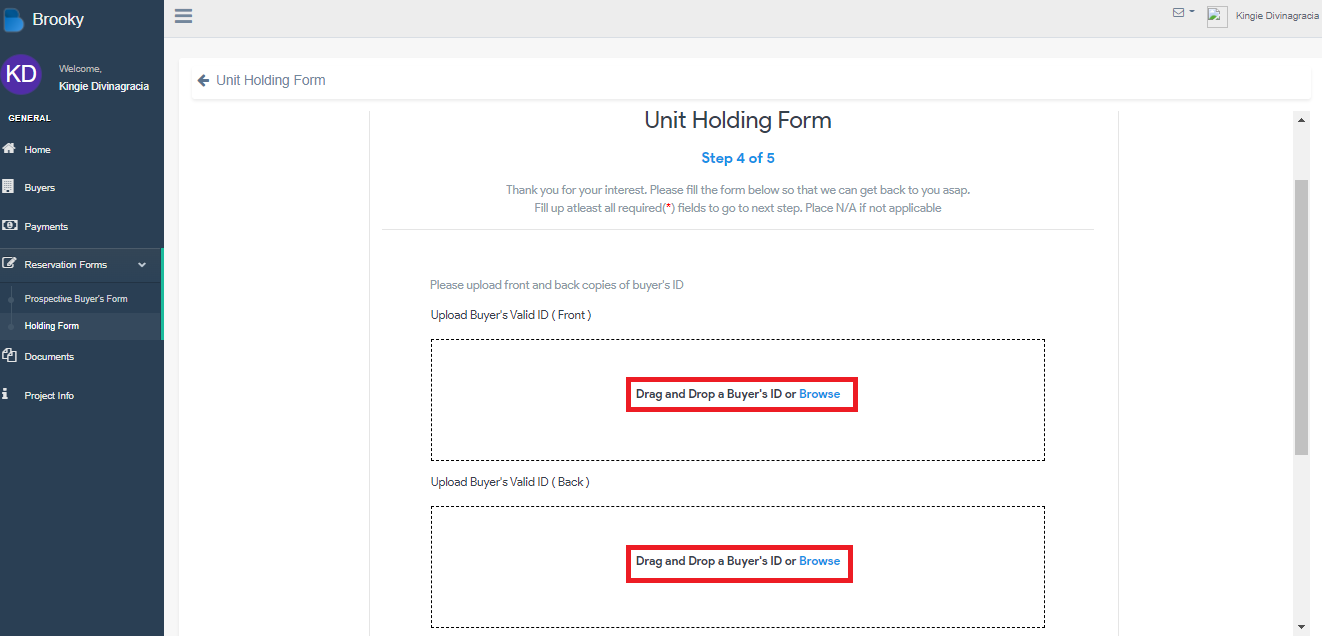
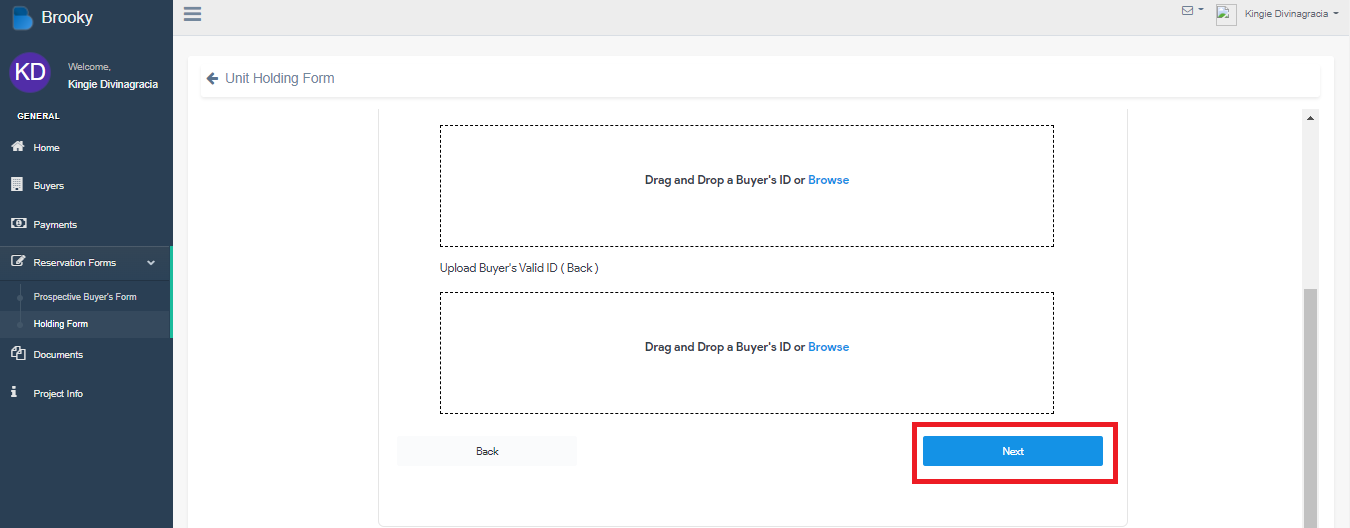
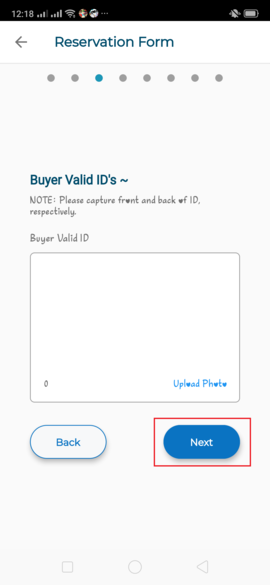
5. Upload the Buyer's ID and press 'Next'.
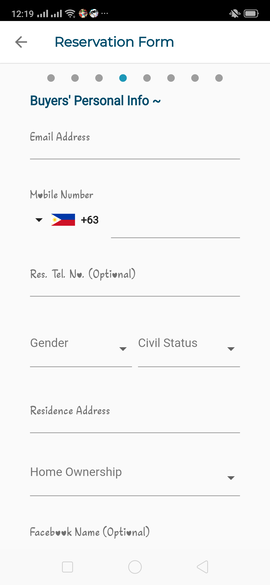
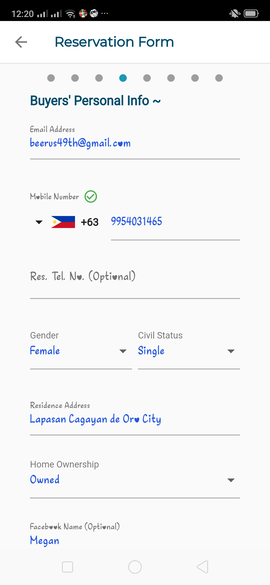
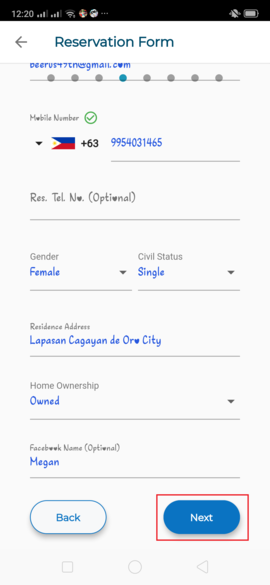
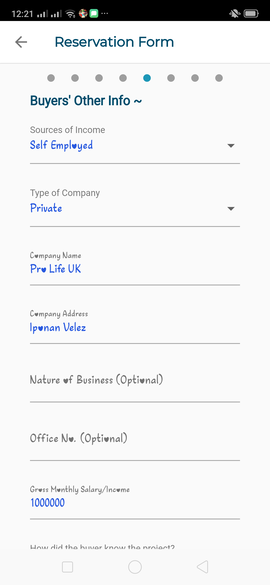
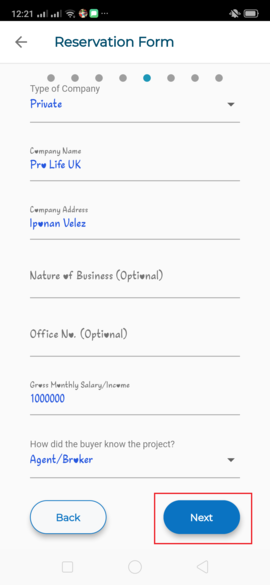
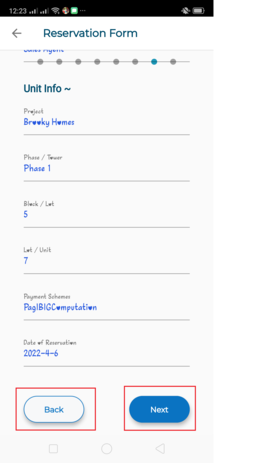
6. Fill up the Buyer's Information and press 'Next'.
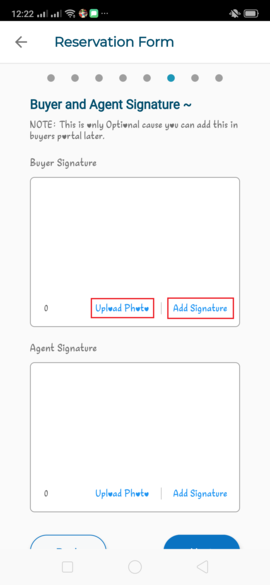
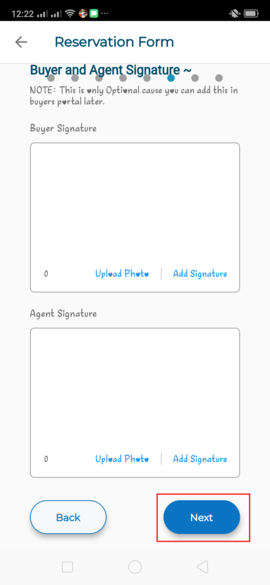
7. You can upload or add a signature of the buyer. Add signature is most likely used when agent and buyers faced each other, and upload photo is used if the buyer is far away, busy and etc.
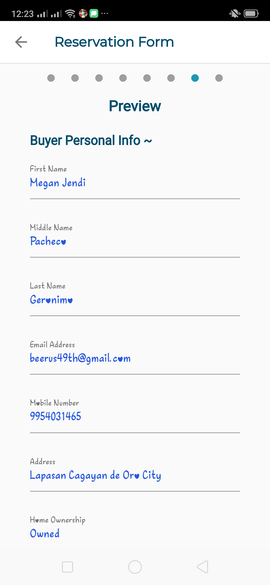
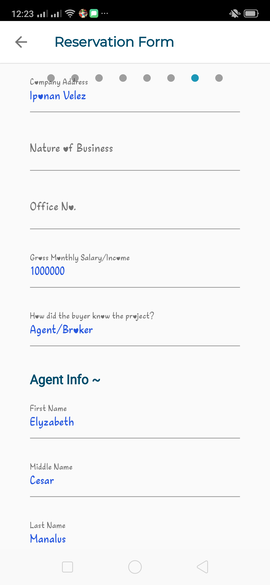
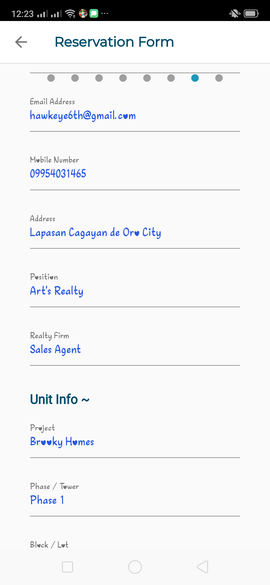
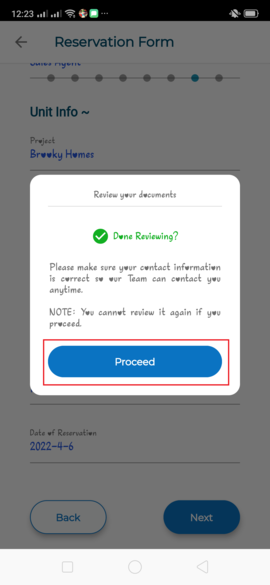
8. Preview is basically a preview of all the information you filled up. If you see a mistake just simply click the 'Back' button to go back and edit the mistakes you made.

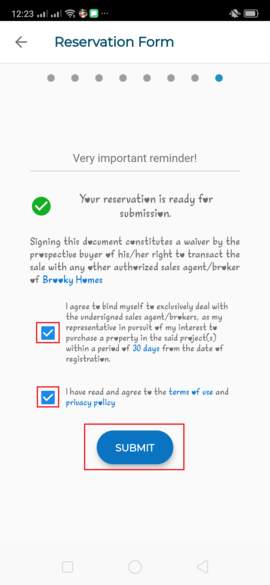
9. If your 100% sure that all the information you provide is correct press 'Proceed' and check the agreement/terms of use and policy then click 'Submit' to successfully reserve a unit.
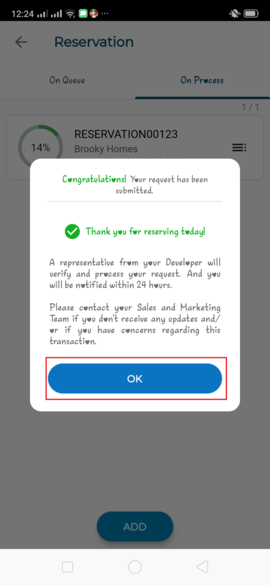

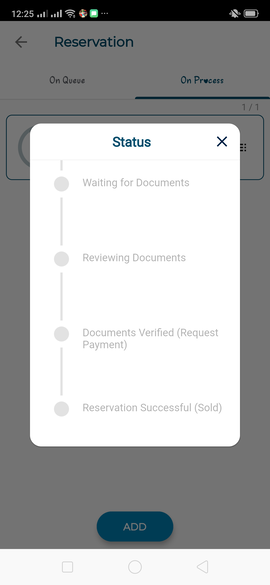
10. You can see the status of your reservation and it will reflect in the App.
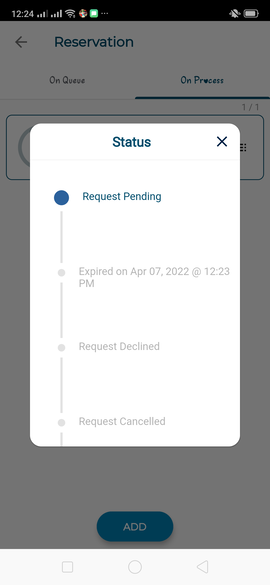
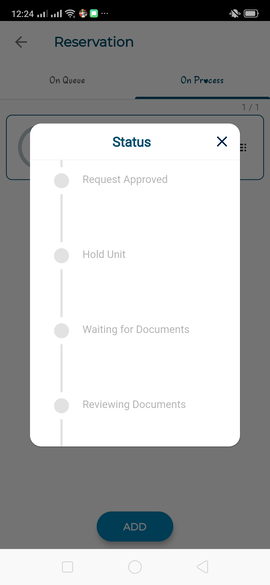
11. ONCE THE RESERVATION REQUEST IS APPROVED.
An SMS and Email Alert will be sent to the Buyer with a Link to their Buyer's Portal.
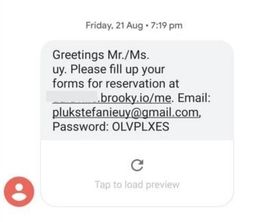
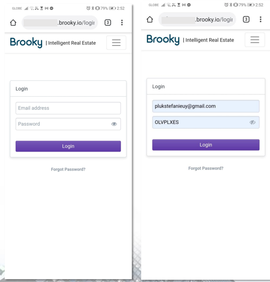
12. Once Buyer Clicks on the Link provided.
Buyer will LOG IN using his email, and the password provided.
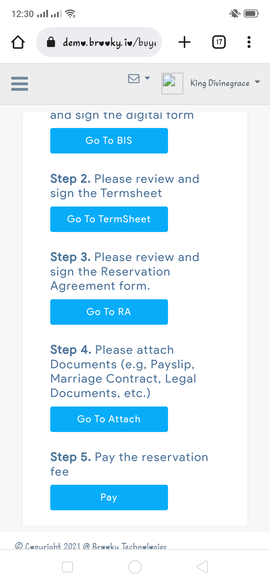
13. Buyer can Follow the Steps indicated in the Buyer's Portal.
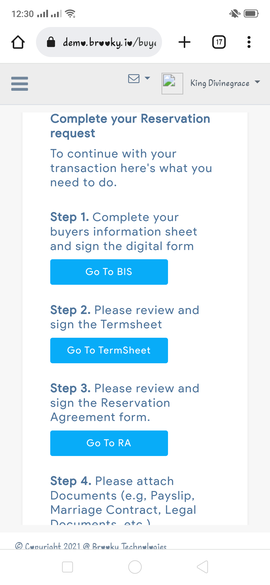
14. After BUYER fills up his information sheet.
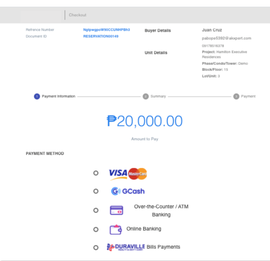
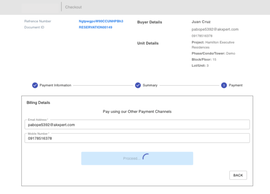
Brooky Team will receive the digital form and send the Payment Link.
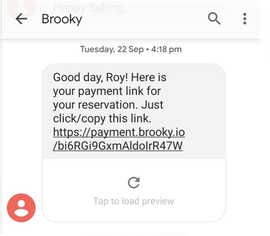
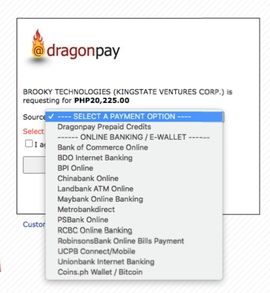
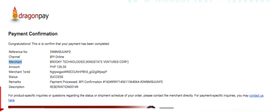
15. Buyer will see the amount of the Reservation Fee, and can choose the different payment options.