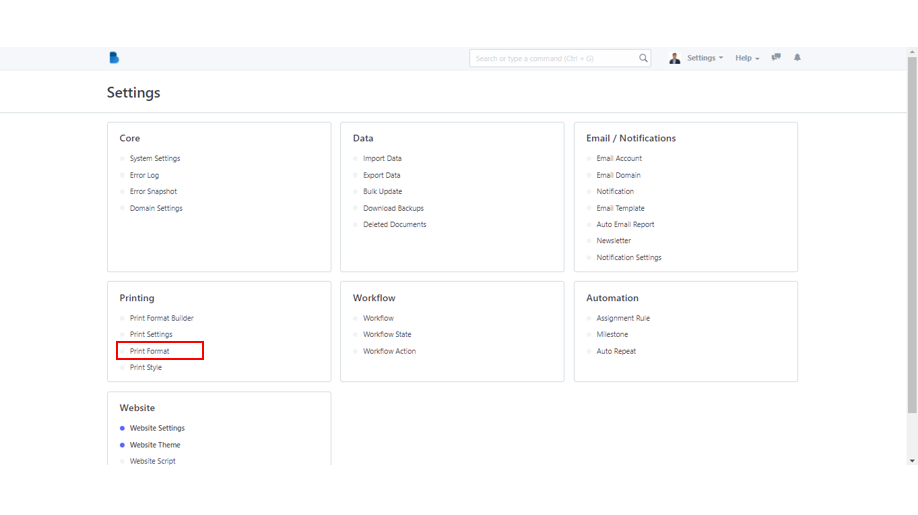
(Settings) Printing
- Scroll down to the ADMINISTRATION area of the Admin Dashboard to locate the Settings module. To continue, click on the module.
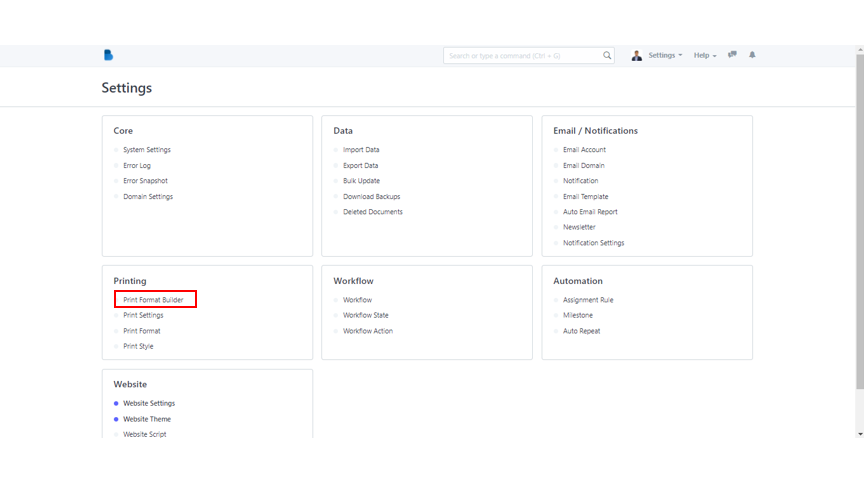
2. Pay attention to the Printing category in the Settings module. Under Printing, select Print Format Builder.
3. You can either edit an existing print format or create a new one. If you wanted to create a new one, simply fill in the last two fields (Select a DocType to make a new format and Name of the new Print Format) before clicking Create a New Format button.

- In the ADMINISTRATION section, look for Settings module.
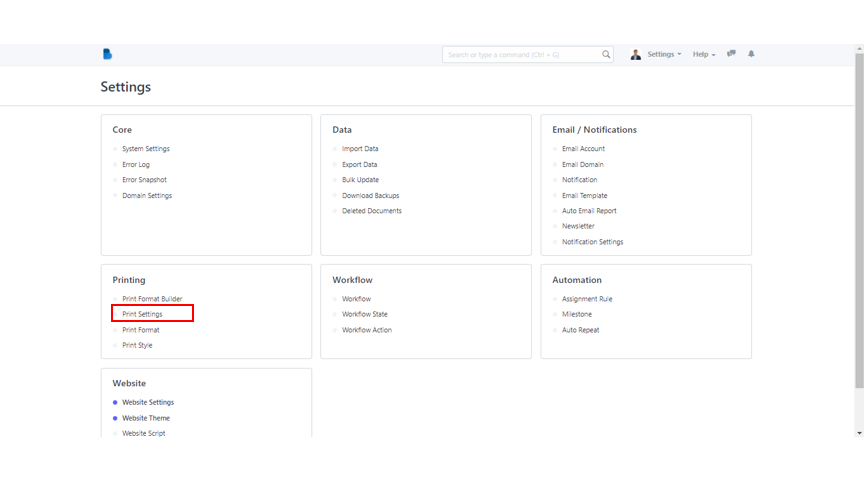
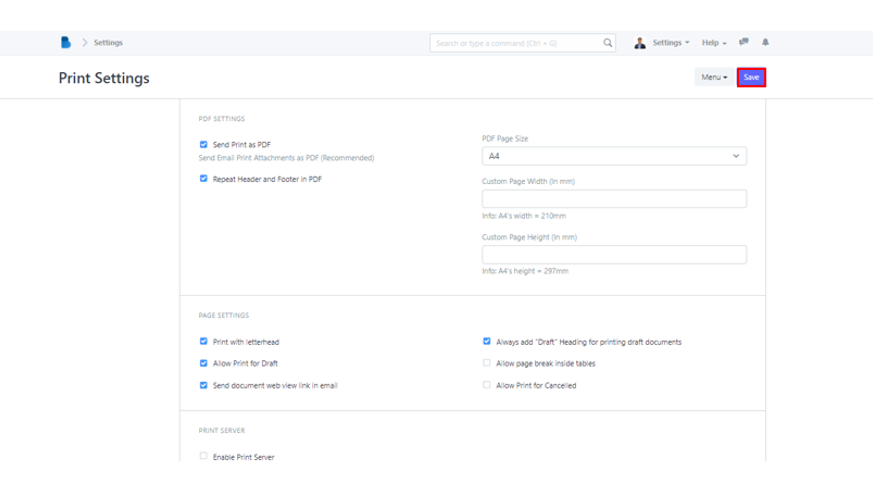
2. Under Printing category, select Print Settings. Once clicked, it will redirect you to Printing Settings.
3. You can alter the checkboxes and fields to update the printing status. After that, simply click the Save button to save your changes.
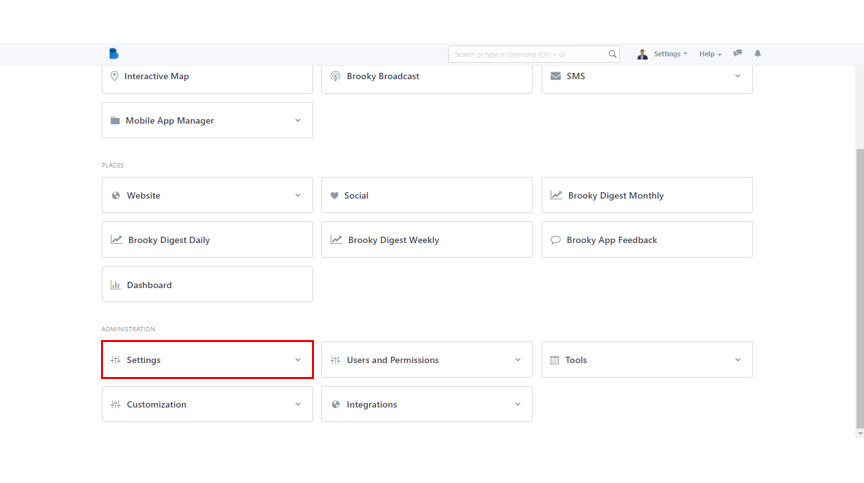
- Navigate to the lower portion of Admin portal homepage and look for Settings module in the ADMINISTRATION section.
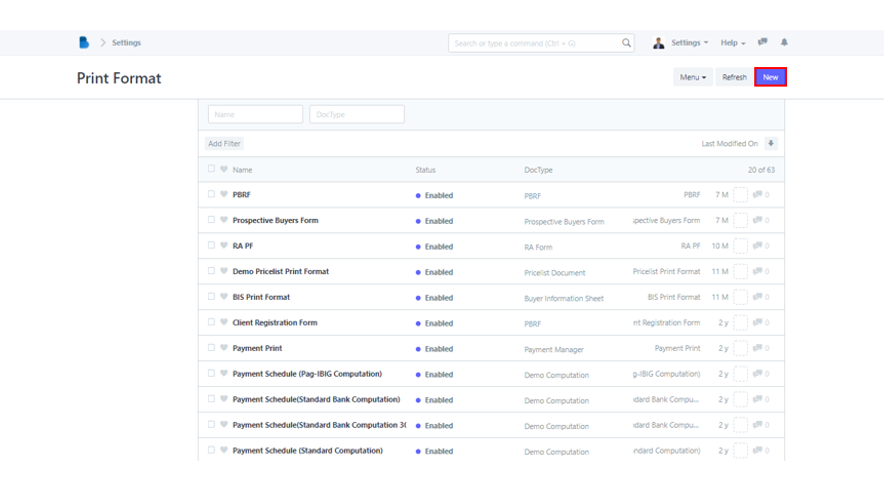
2. Under the Printing category, select Print Format.
3. To create a new print format, simply click the New button.
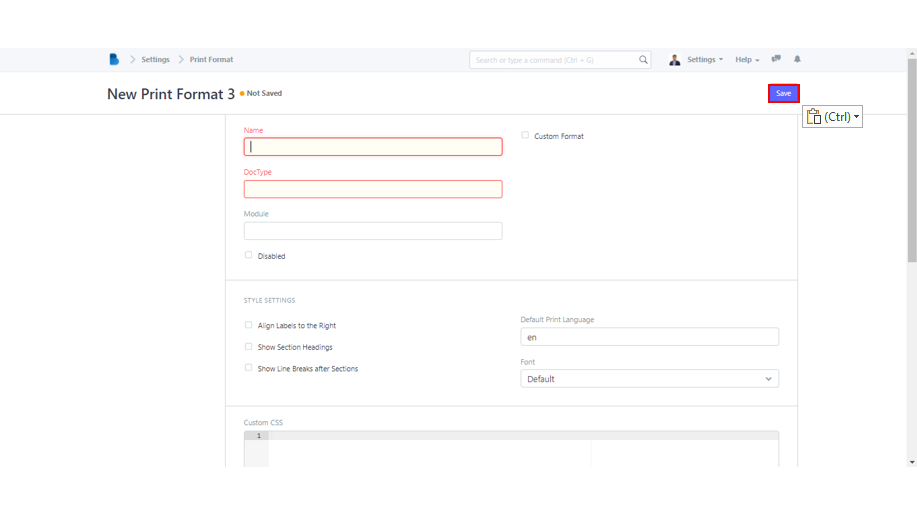
4. The system will prompt you to enter the Name, as well as the type of DocType it is, including its Module and whether you want it to be Disabled. By simply checking and unchecking the checkboxes, you can customize the Style Settings to your liking. After you've completed all of the required fields, click Save.
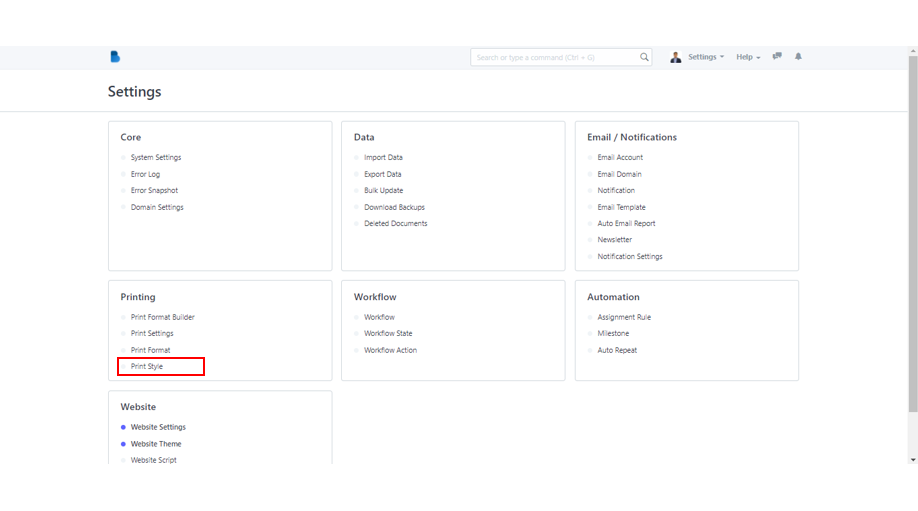
- On the Admin portal homepage, go to the Settings module in the ADMINISTRATION section.
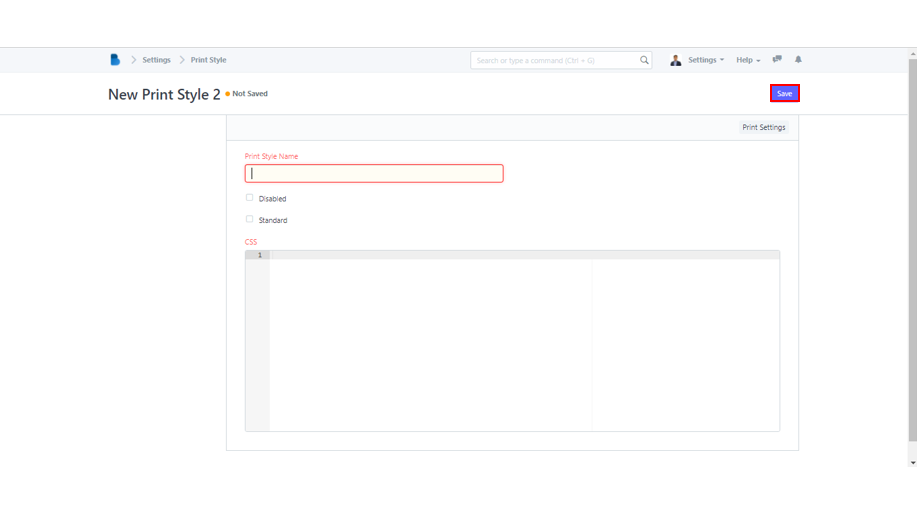
2. Select Print Style under Printing category to continue.
3. A few list of printing styles are already available. Click the New button in the upper right corner of the page to create a new printing style.
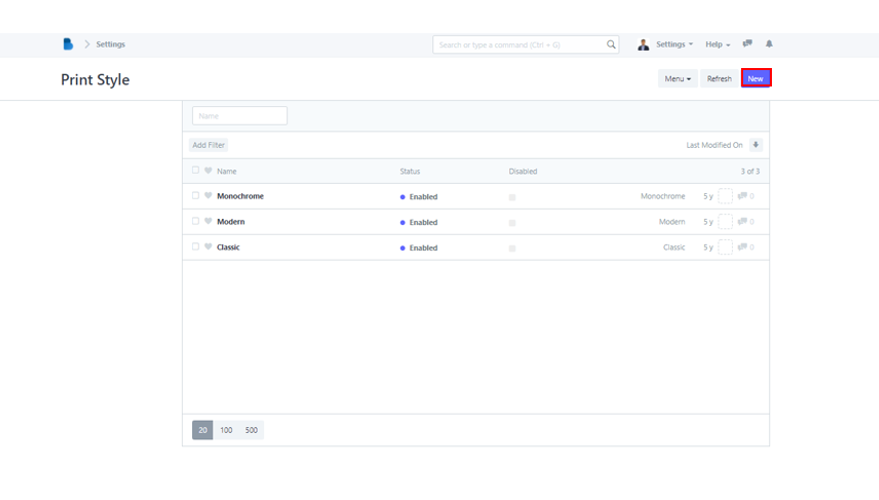
4. Simply type in the Print Style Name and the CSS code for it. You can also choose whether the newly developed style will be the Standard or enabled. When you're finished, click Save to add the new print style to your list.