Step 3: Submission of RA form
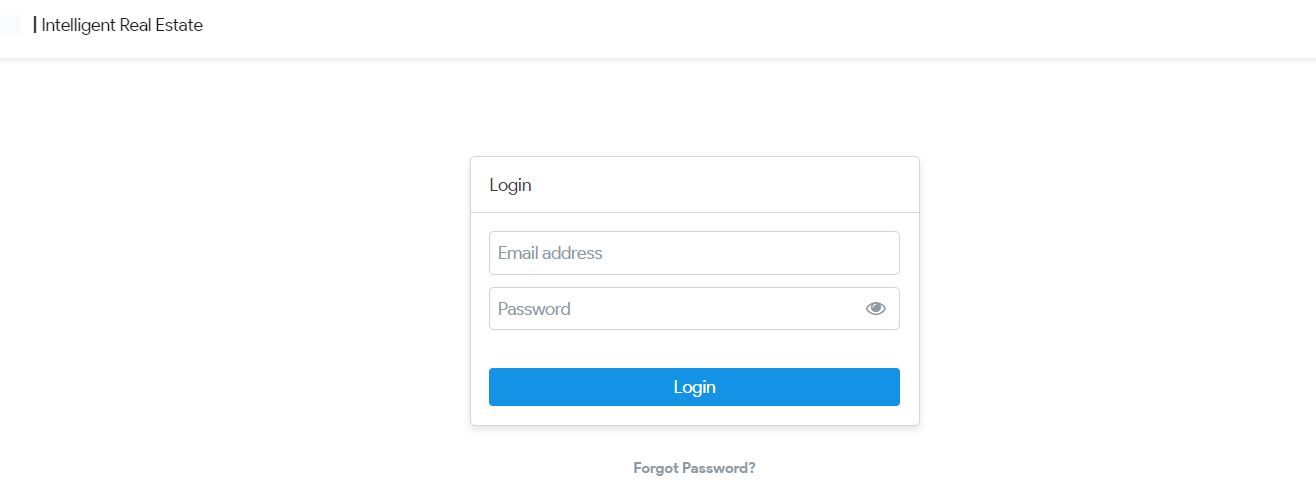
Step 1: Login
- Log in to your Real Estate Agents Portal account using your credentials.
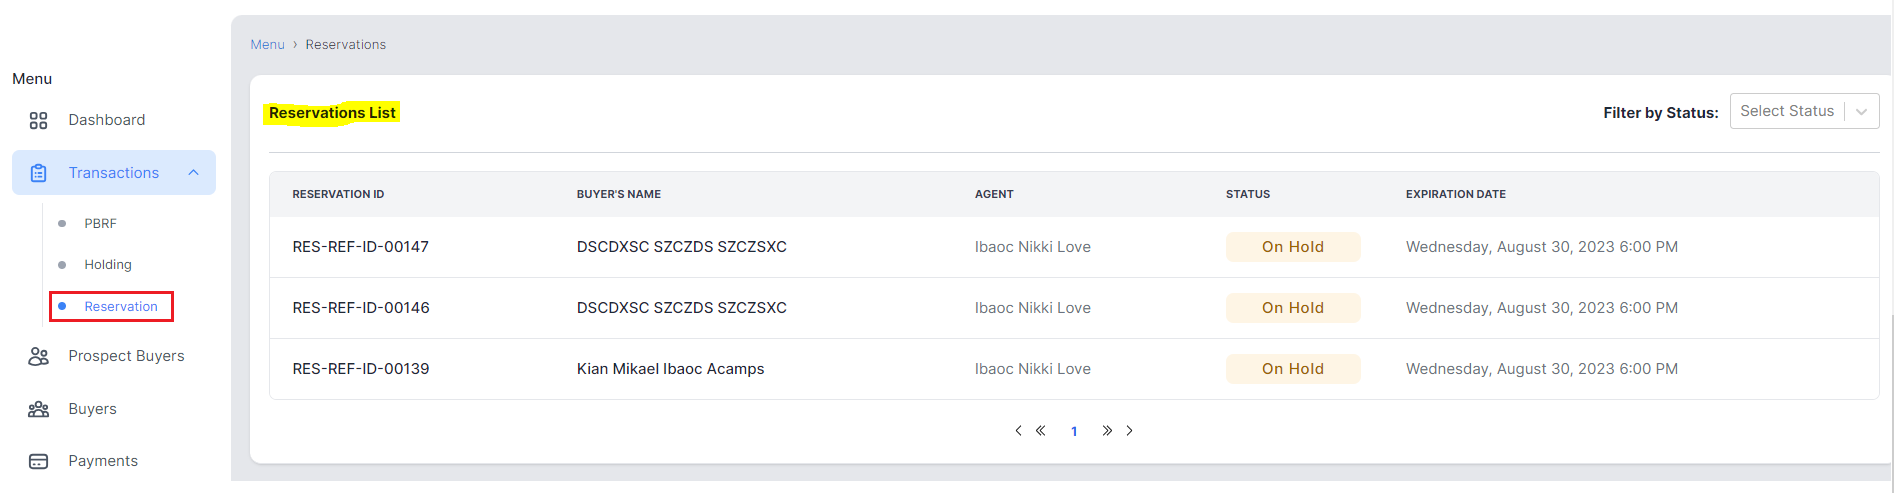
Step 2: Reservation Transactions Page
Under Reservation List select the specific Reservation transaction that you want to update or complete.
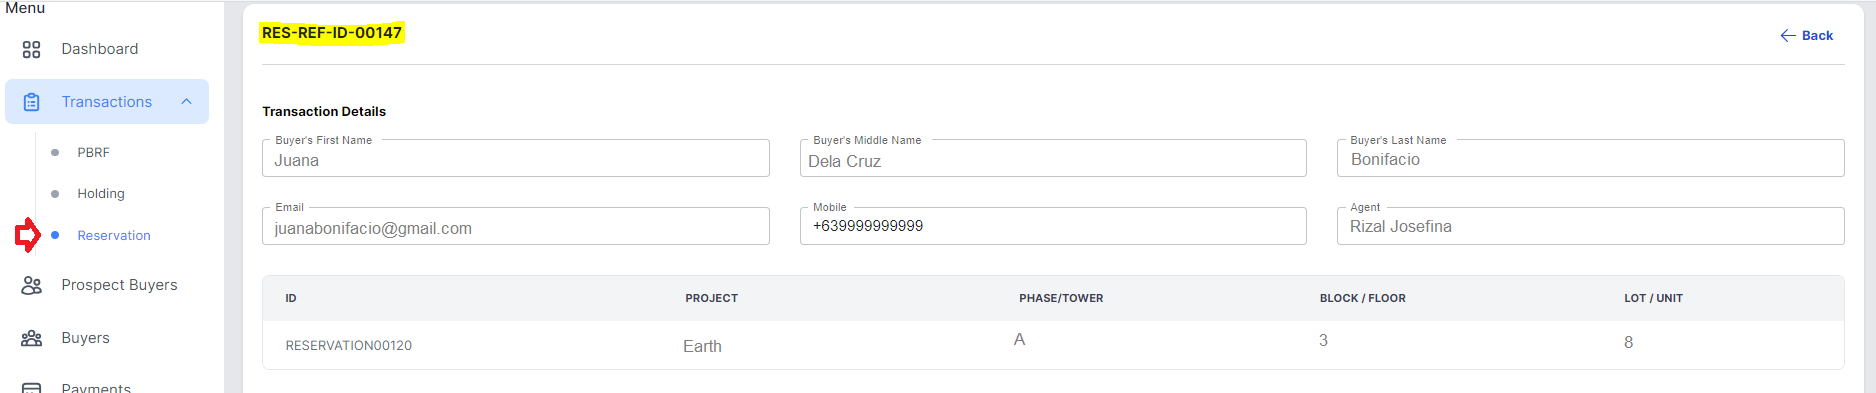
Step 3: Processing Reservation Documents
- This will open the Reservation transaction details and below are the guided steps on the required documents to complete the transaction.
2. You have three (3) options to complete this requirement via "Sign", "Upload Signed" or "Upload to be signed" documents.
Option 1. If via Sign, you continue and sign out the form online.
Option 2. If via Upload Signed, you can submit a complete and signed document. (redirect here)
Option 3. If via Upload to be signed, you can upload a completed form and forward a copy to the buyer for his/her signature with the integration of DigiSigner. (redirect here)
Option 1: Sign form online
RA Form via Sign
step1: RA Form
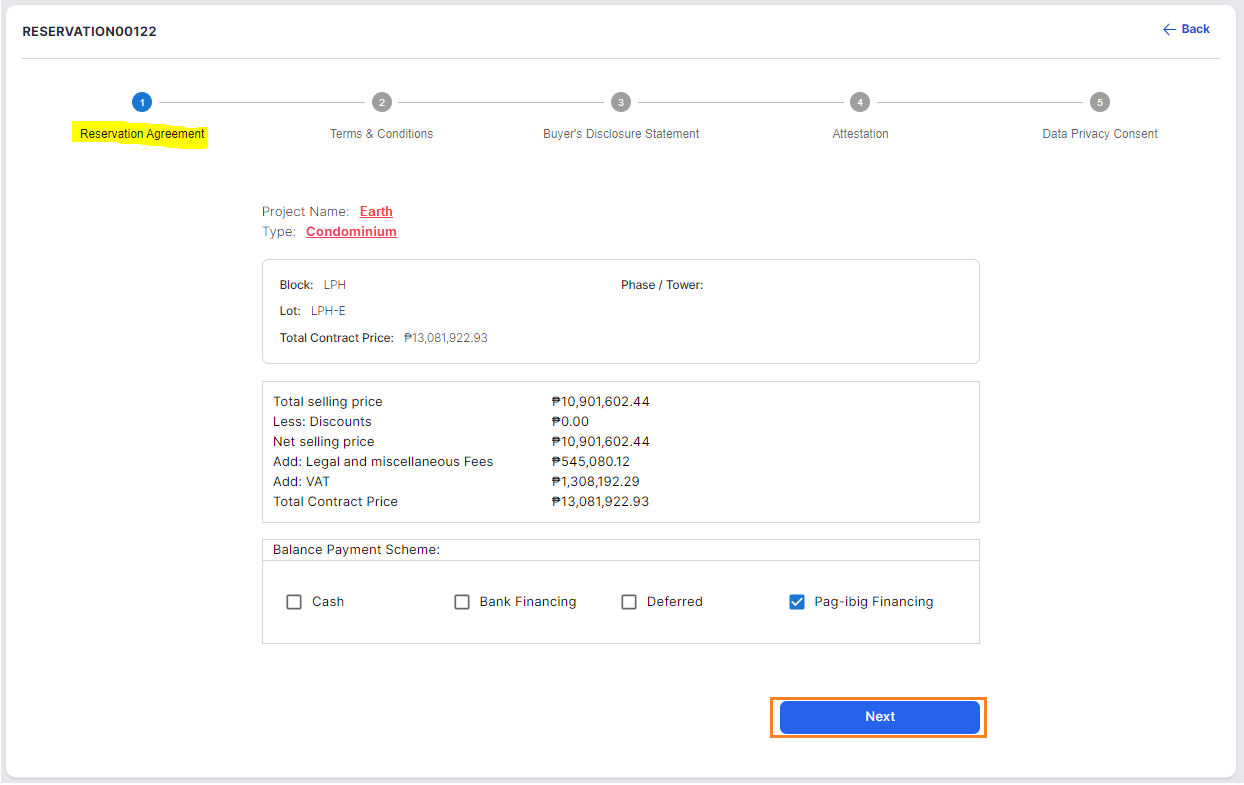
After selecting the specific reservation from the list go to Step 3: RA Form then click "Sign" button.

step2: Reservation Agreement
Review and select balance payment scheme and once done click "Next" button.
step3: Terms & Conditions
- Make sure to review the given Terms and Conditions.
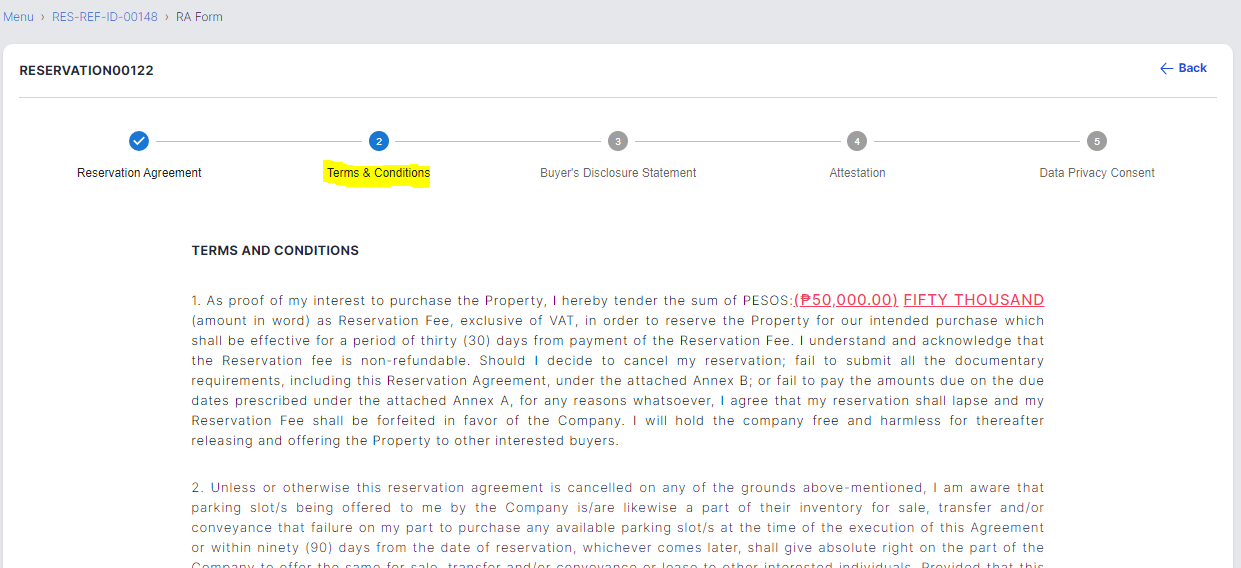
2. Provide the property holder/ buyer for purchase registration purposes and once done click "Next" button.
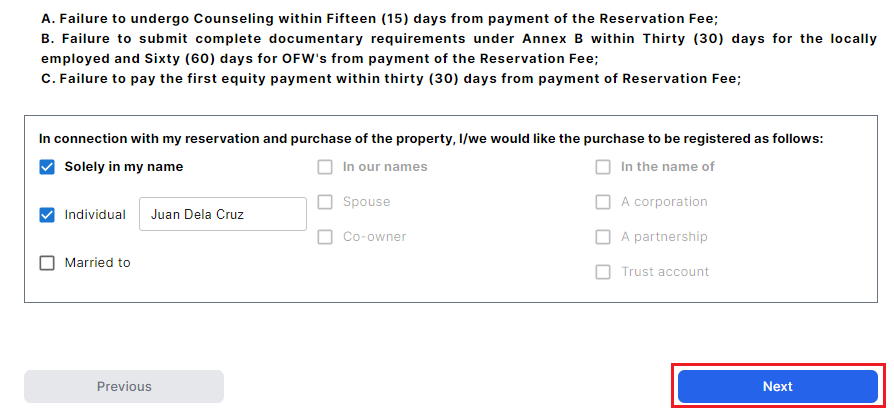
step4: Buyer's Disclosure Statement
Complete and fill-up the required/ applicable checkbox and fields.
A. If without Co-Buyer click "Next" button once done completing all the applicable checkbox and fields.

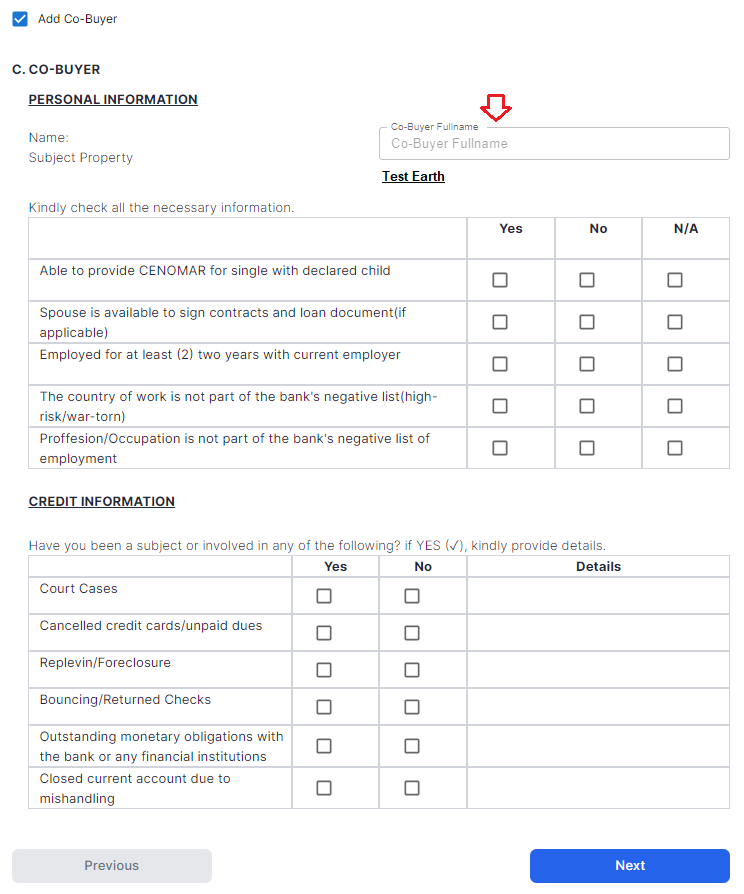
B. If with Co-Buyer check "Add Co-Buyer".
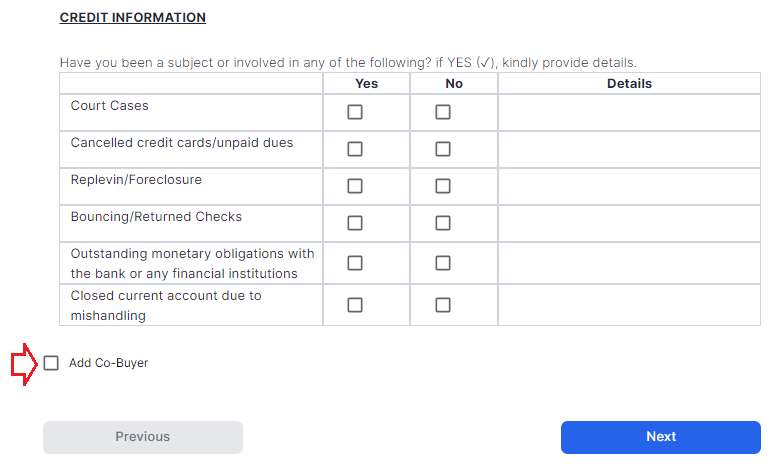
Add the Full name of the Co-Buyer then fill up the additional form required. Once done click "Next" button.
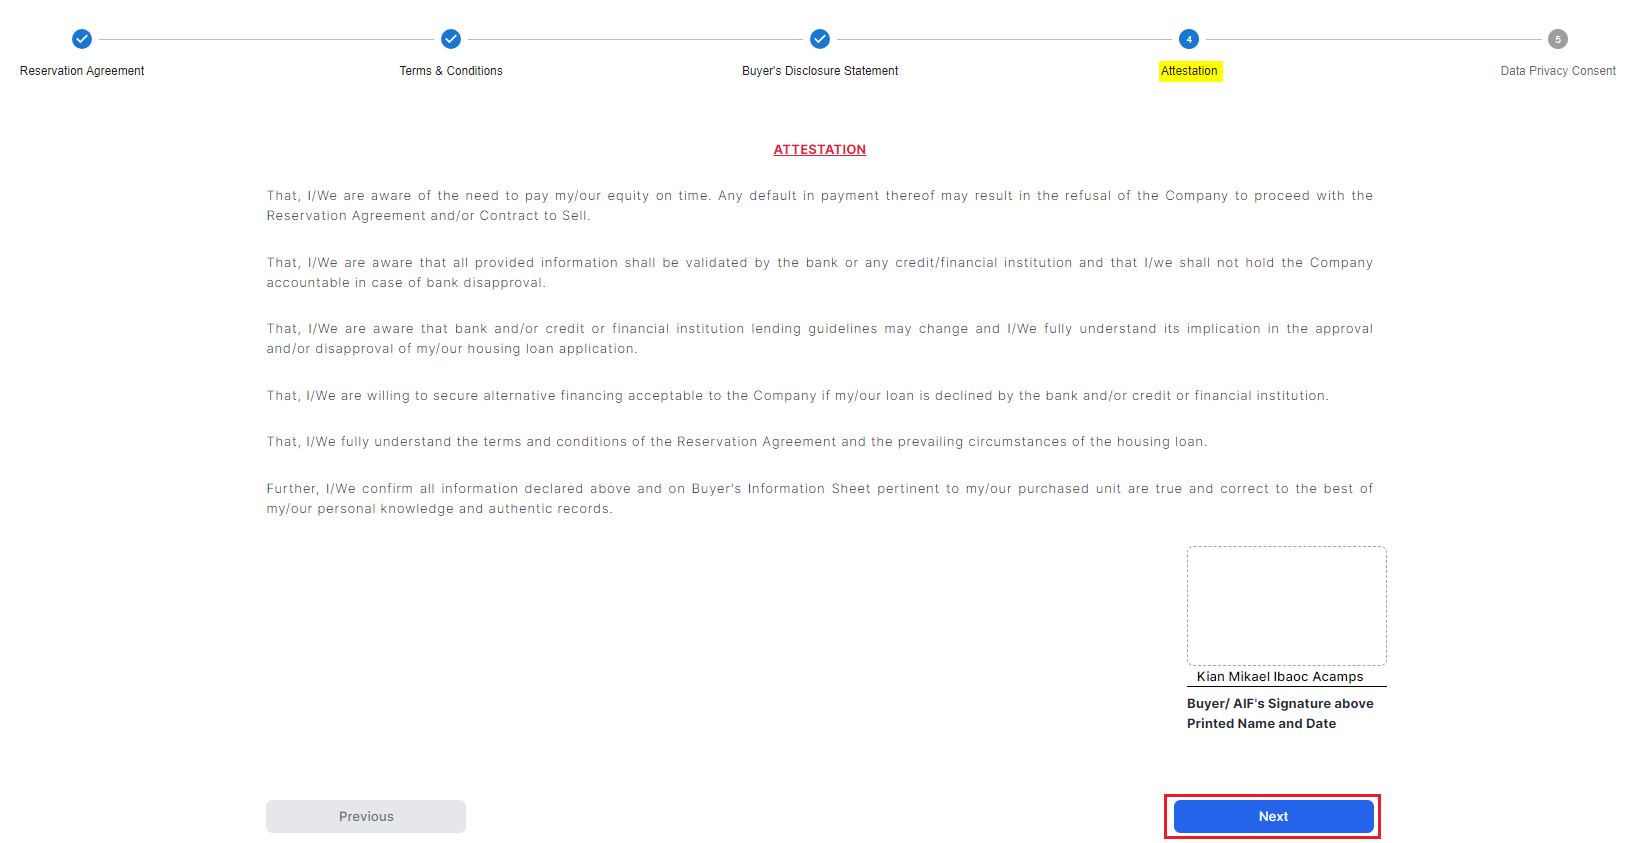
step5: Attestation
Read properly the Attestation for a legal and genuine process of the reservation. Then click "Next" button.
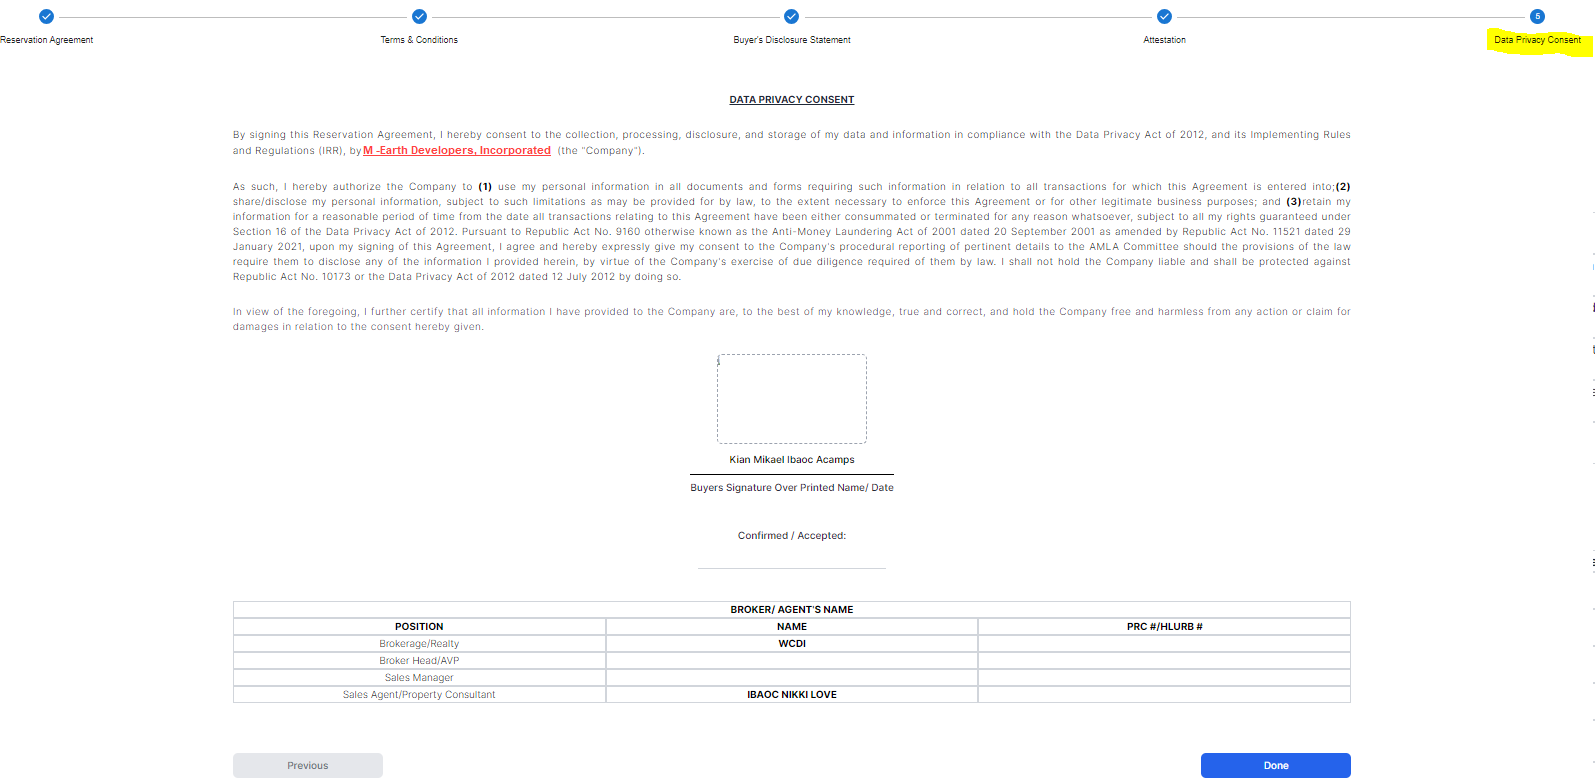
step6: Data Privacy Consent
In the real estate business, data privacy consent is vital for both buyer, agent and the developer so review and understand the consent to ensure a secure collection, and sharing of personal information all through out the whole reservation process.
step7: Review and Confirm
- Double-check all entered information for accuracy by clicking "Previous" button. Click "Done" button and wait for confirmation pop up message.
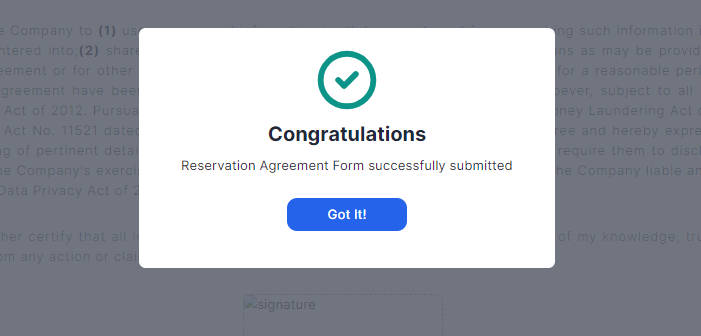
2. Once confirm go back to your portal and review any changes under Step 3: RA Form table.
Try to re-check the document by clicking "View" button to make sure that all the data you added where being replicated properly.

Once complete, then proceed to the next Step. (redirect here for Valid ID/AIF Details)
RA via Upload signed document
RA via Upload to be signed document