Step 3: Submission of RA form (Opt. 3)
Option 3: Upload to be signed document
RA via Upload to be signed document
step1: RA Form
- After selecting the specific reservation from the list go to Step 3: RA Form then click "Upload" button.

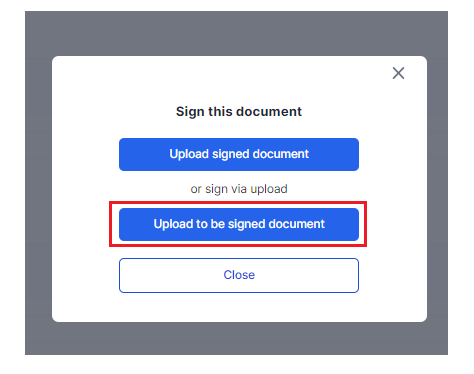
2. From the choices select "Upload signed document" button again.
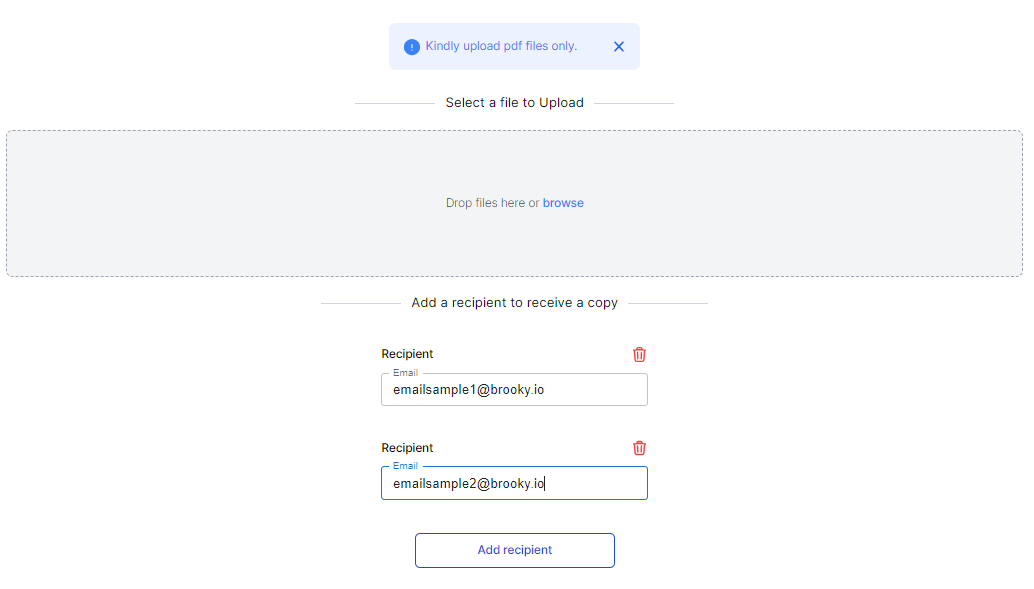
3. Browse and upload required document button.
You can also add recipient/s to received a copy of the file to be signed by clicking "Add recipient" (not required).
then click "Prepare Document".

Then wait for the confirmation message.
step2: Forward Document for Signing to Recipient
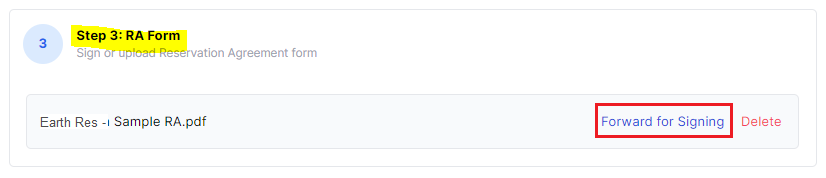
- Under Step 2: Package Computations table click "Forward for Signing" button.
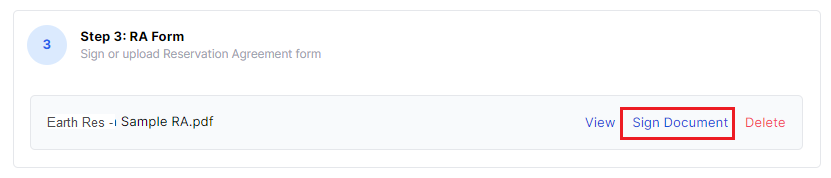
2. Then you can check your email or click "Sign Document" button.

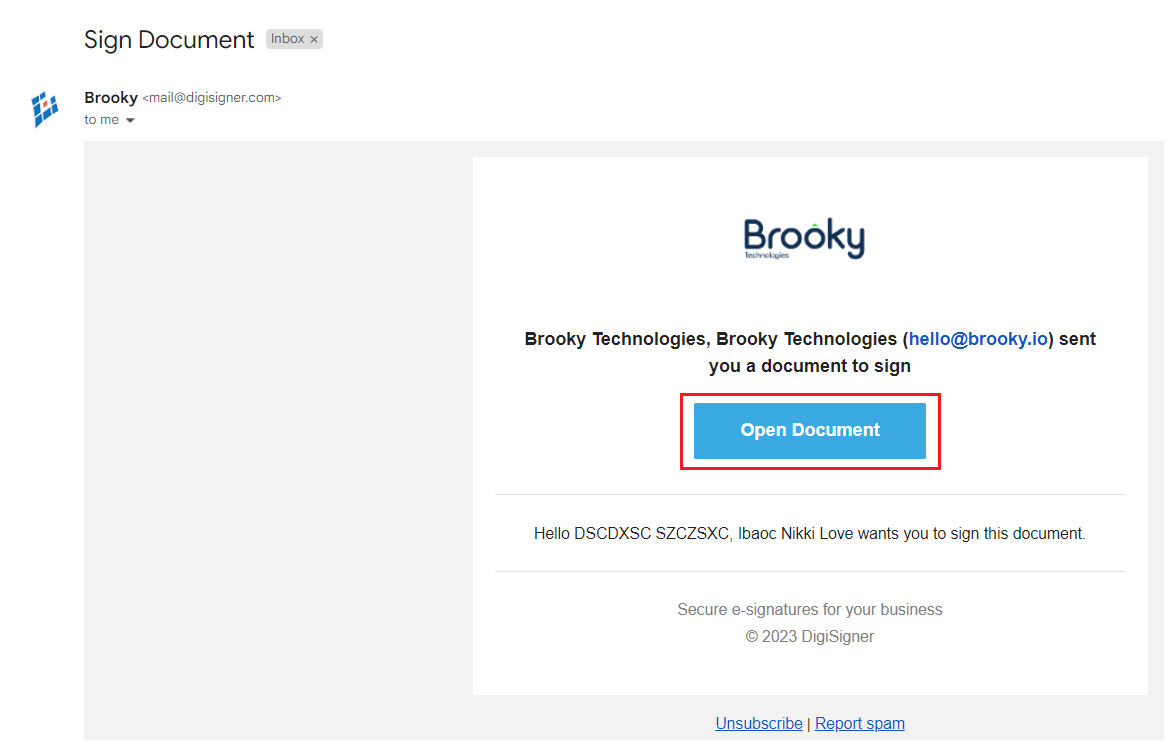
3. After checking your email or using portal's "Sign Document" you can directly click "Open Document".
step3: Signing of Document with DigiSigner Integration
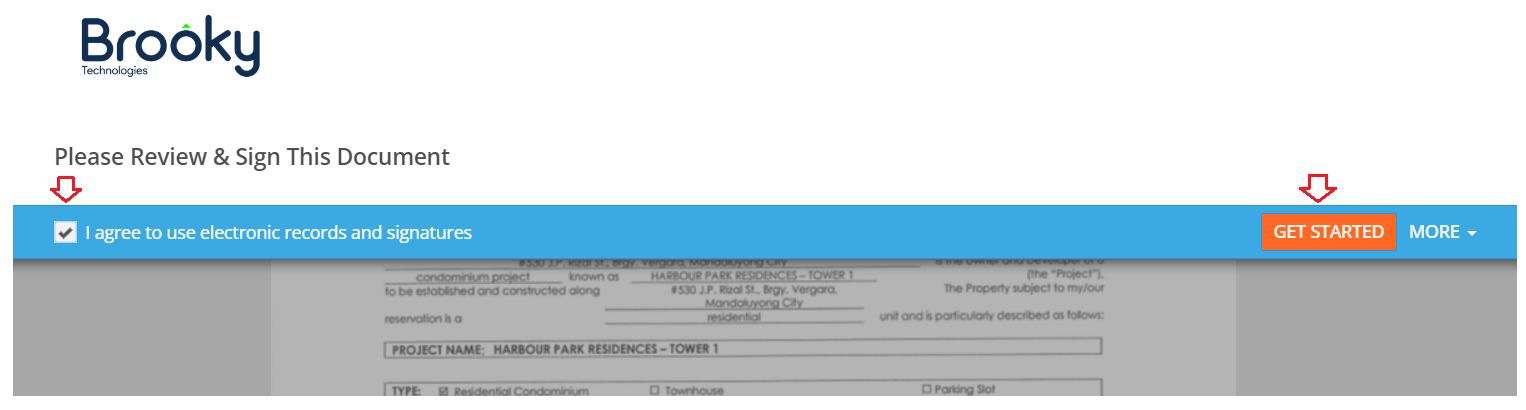
1. You will be then redirected to DigiSigner signing page and then check I agree to use electronic records and signature and then click "GET STARTED" button.
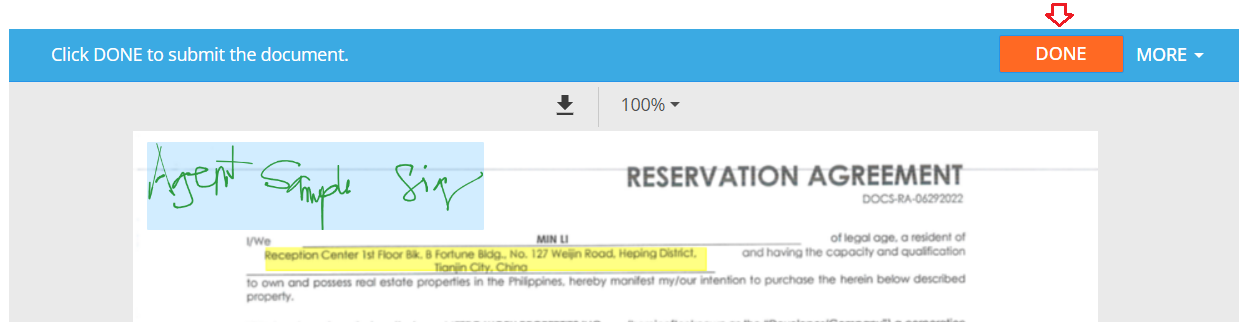
3. Add your Signature and then click "DONE" button to submit the document.
step4: Review and Confirm
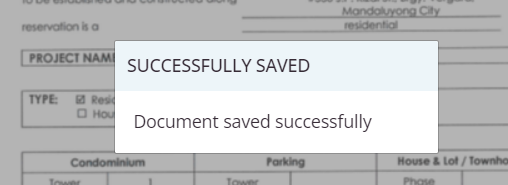
- Make sure to wait for the confirmation message for a successfully saved document.
2. Once confirm go back to your portal and review any changes under Step 2: Package Computations table.
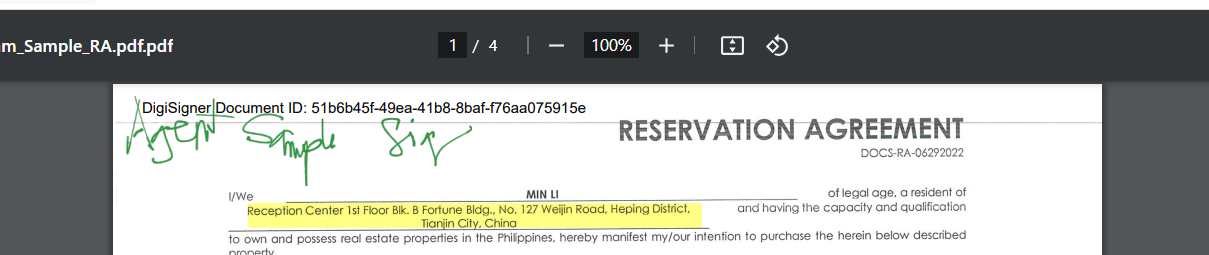
Try to re-check the document by clicking "View" button.

3. Double check added signature being replicated to the updated document.
Once complete, then proceed to the next Step. (redirect here for Valid ID/AIF Details)
RA via Sign Form Online
RA via Upload signed document