(Users and Permissions) User
- Open the Brooky Portal and login to your account.
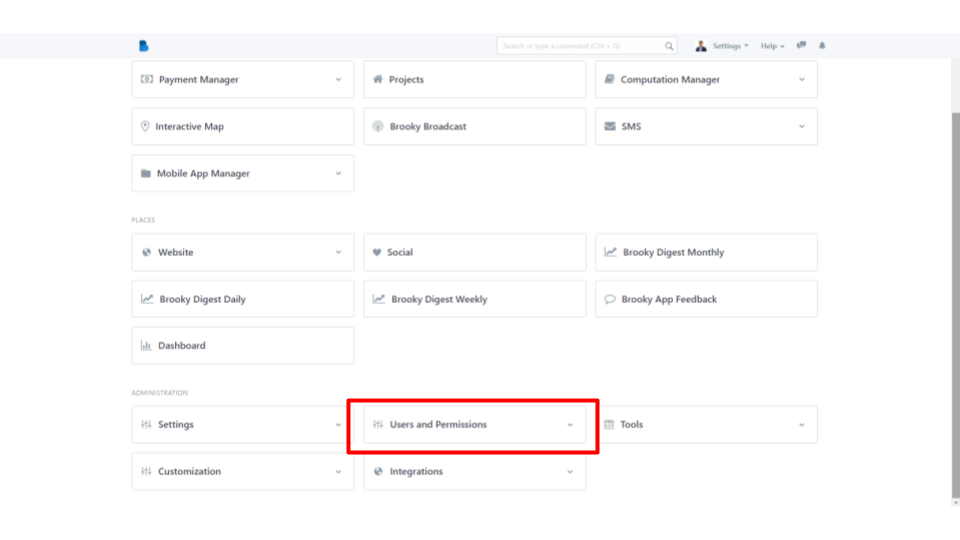
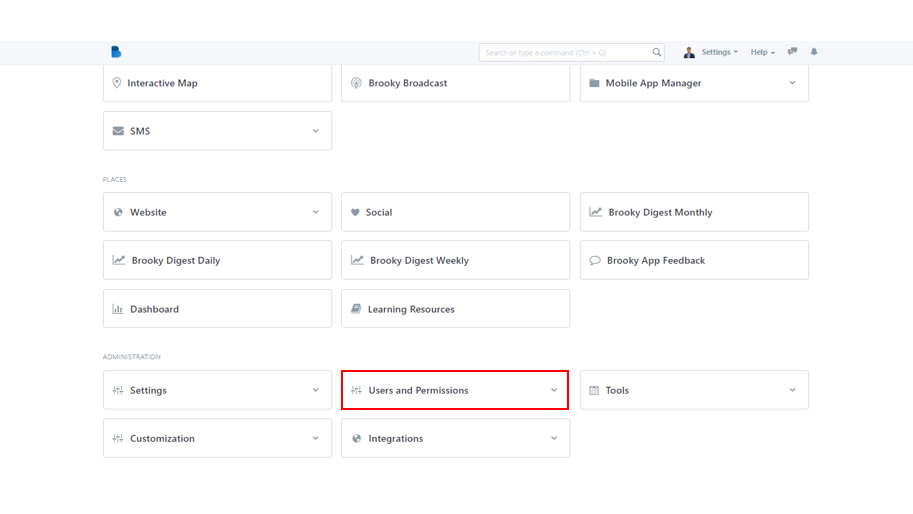
- Once you’ve logged in, you are directed to the Admin Homepage. Scroll to the bottom of the screen to locate the ADMINISTRATION section.
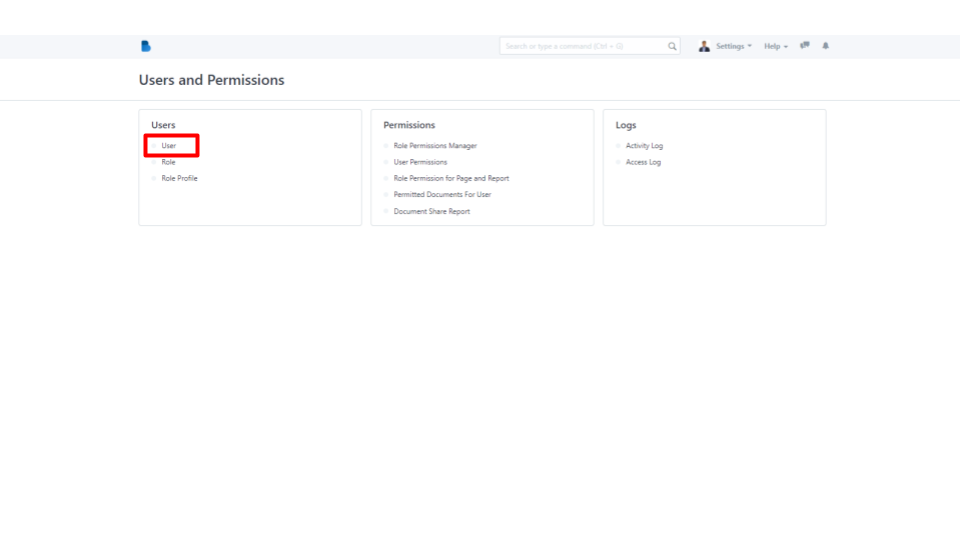
3. Select the Users and Permissions module.

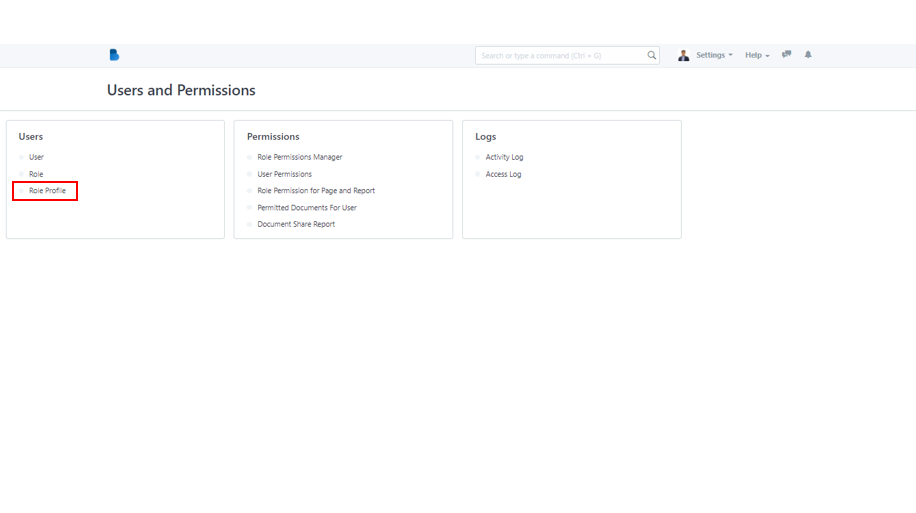
4. After selecting the module, click User under Users.
5. Enter necessary details on creating a new user.
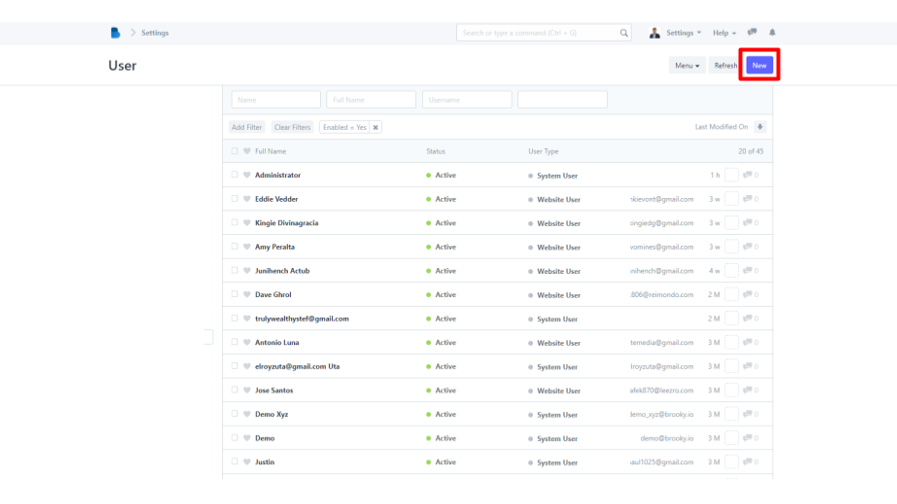
6. Once you’re done, click Save to add the new user.
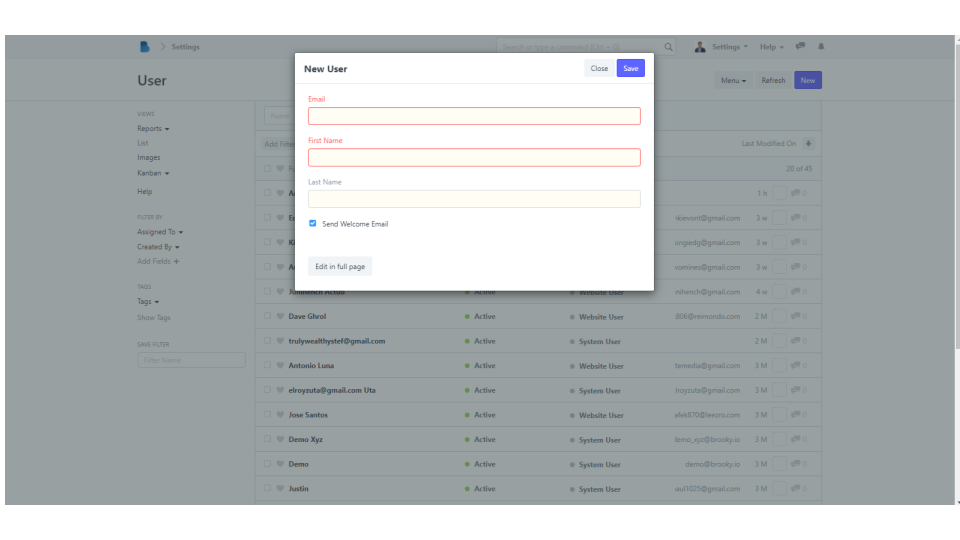
Great! You’re done in creating a new user!
- Following Steps 1 - 4 above. Once you’ve been directed to the User Module, click any User you want to edit.
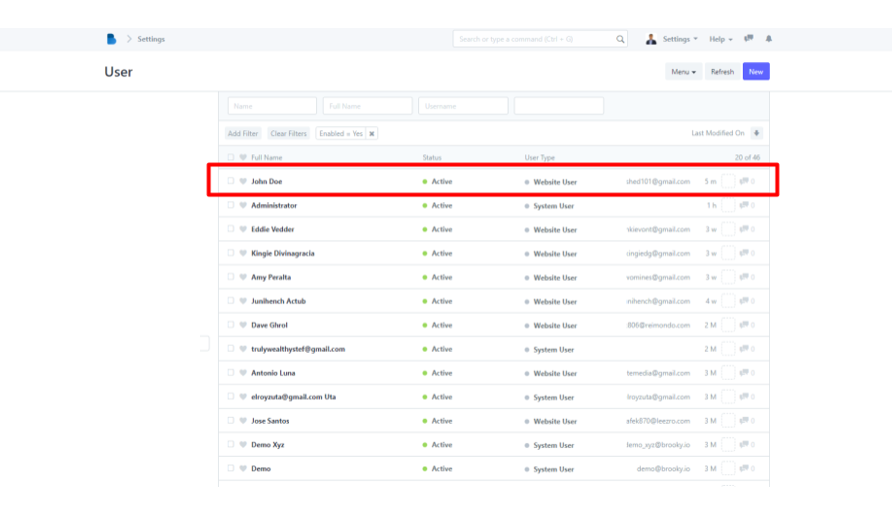
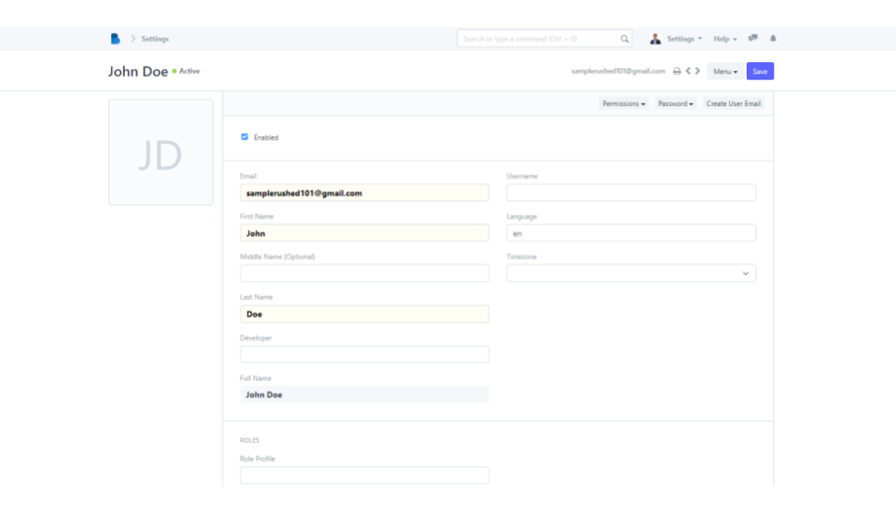
2. Once you have chosen a user, enter details you want to edit.
3. When you are done, click Save on the top right corner of your screen.
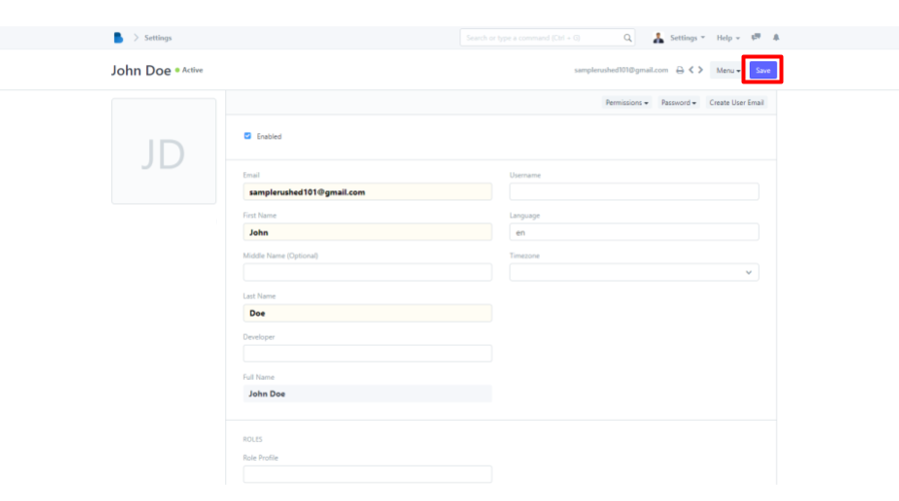
You’re done! You’ve successfully edited your user.
- Open the Brooky Portal and login to your account.
- Once you’ve logged in, you are directed to the Admin Homepage. Scroll to the bottom of the screen to locate the ADMINISTRATION section.
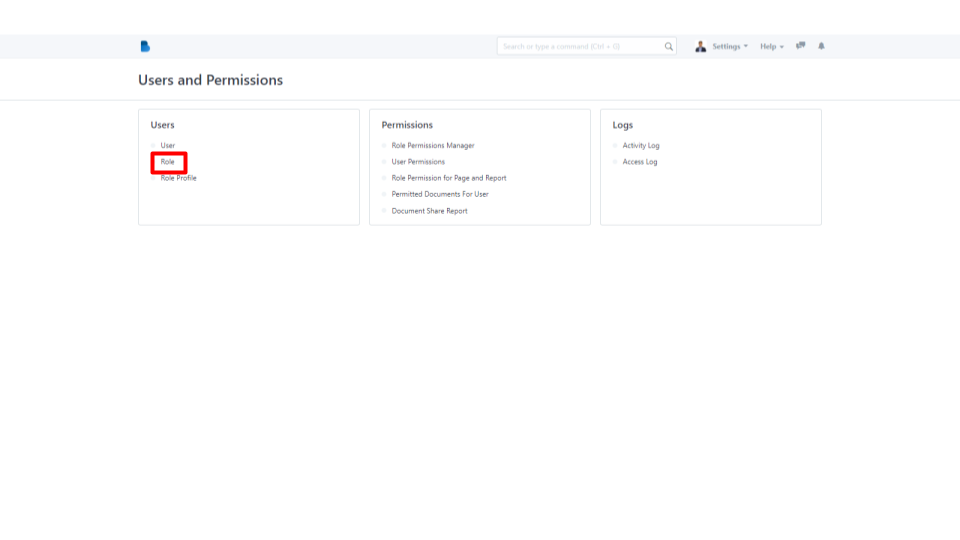
3. Select the Users and Permissions module.
4. After selecting the module, click Role under Users.
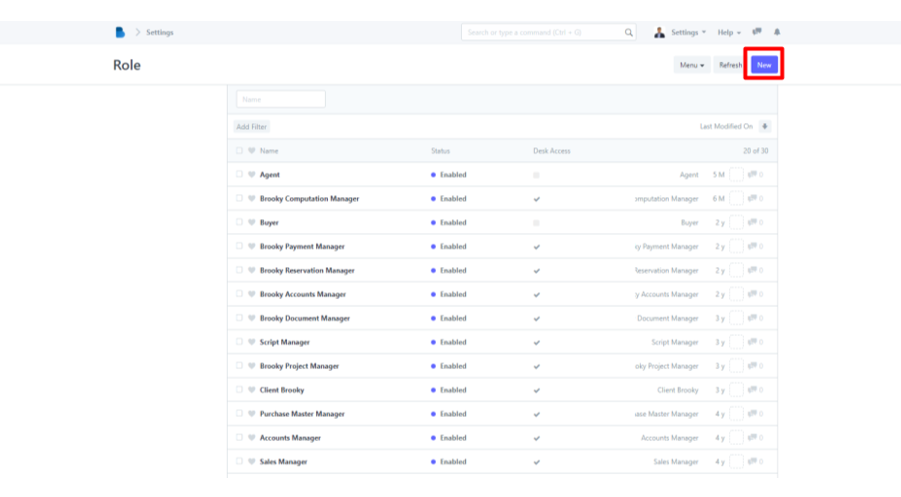
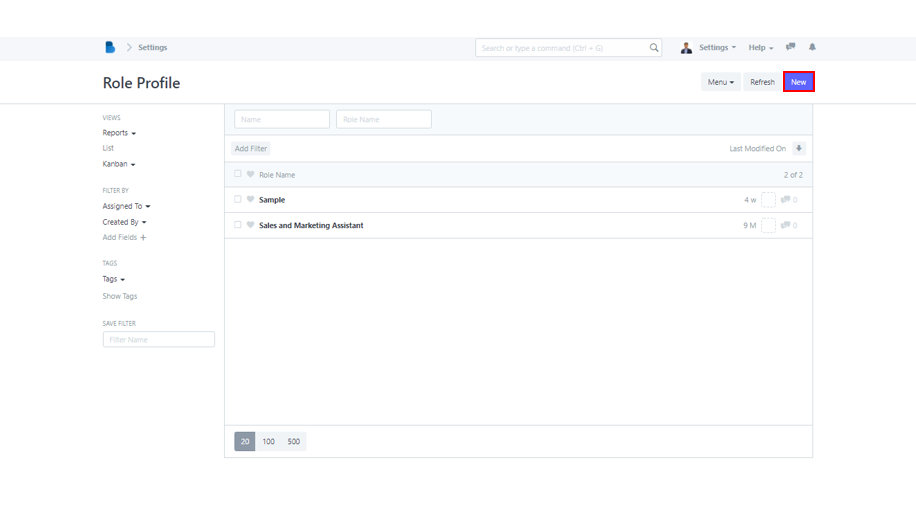
5. Once you’ve been directed, to add a new role click the New button on the top right corner of your screen.
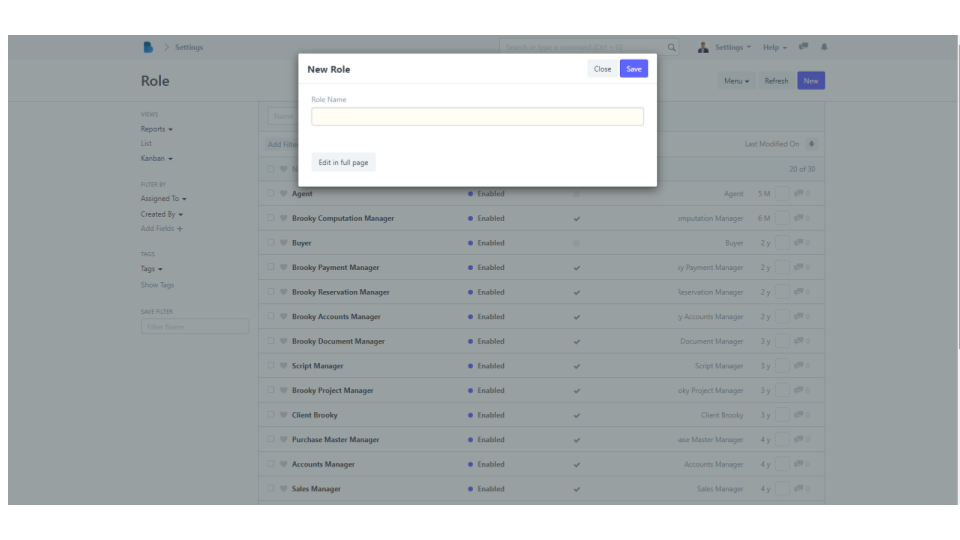
6. Enter a new role.
7. When you’re done, to save your new role created click Save on the top right of your screen.
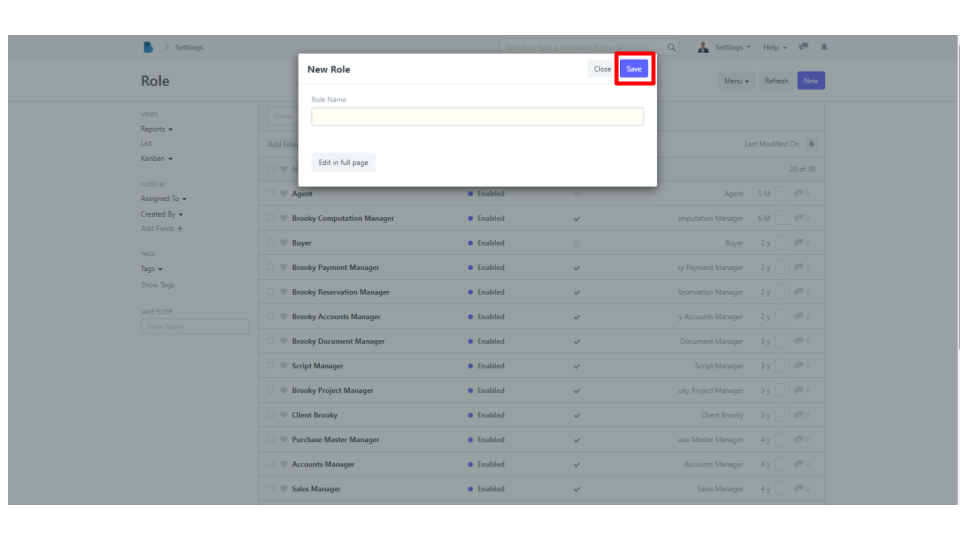
You have successfully created a new role!
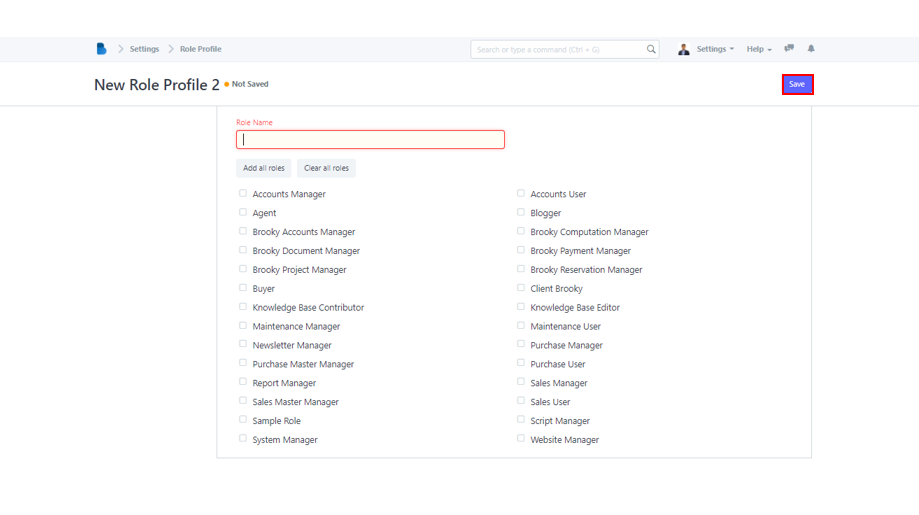
- Click the User and Permissions module under ADMINISTRATION section.
2. In the Users category, notice the Role Profile. Click it to continue.
3. Simply click the New button to create a new Role Profile.
4. You have to enter the Role Name and select what are there Roles. Simply check the checkbox to proceed and click Save when finished.