Website
- Open the Brooky Portal and log in your credentials.
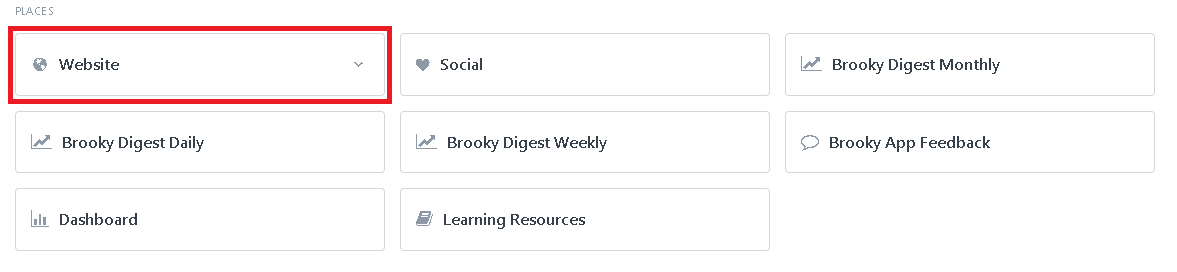
- On the Brooky Admin Portal homepage, click on the Website and it will redirect you to its page.
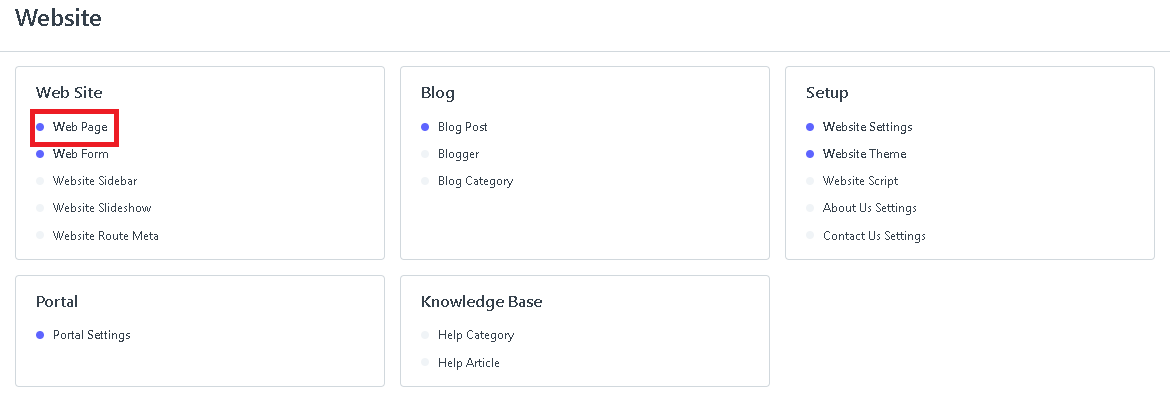
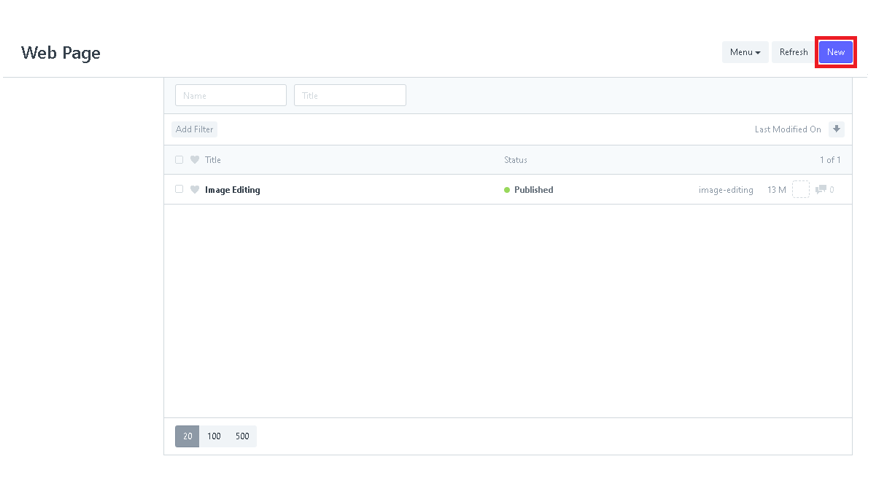
3. Click the Web Page.
4. Click the New button to create a New Web Page.
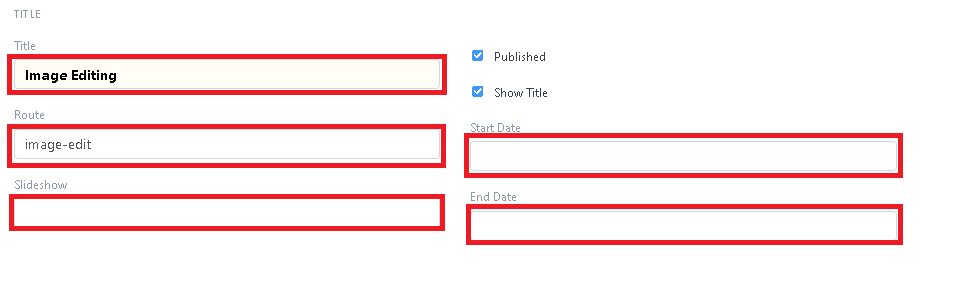
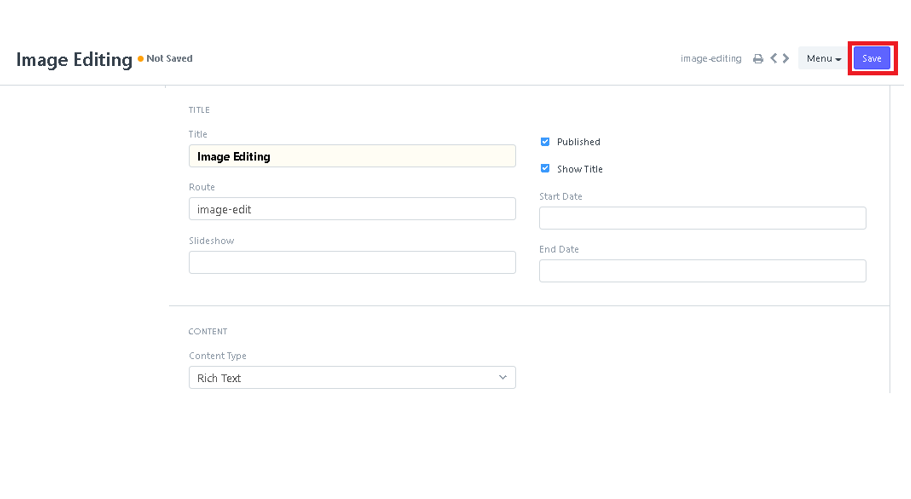
5. After clicking the New button, Fill in the Title of the web page such as Title, Route, Slideshow, Start Date, and End Date.
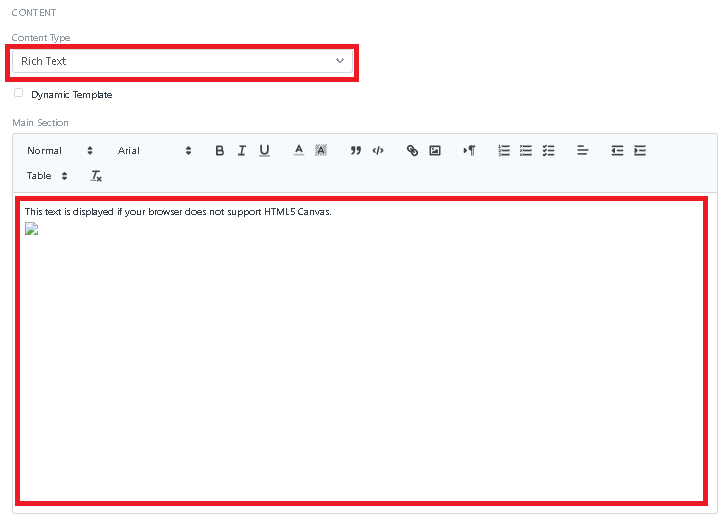
6. After Filling in the Title section , Fill in the Content of the web page such as the Content-Type, and the Main Section. You can also edit the format of the text in the Main Section.
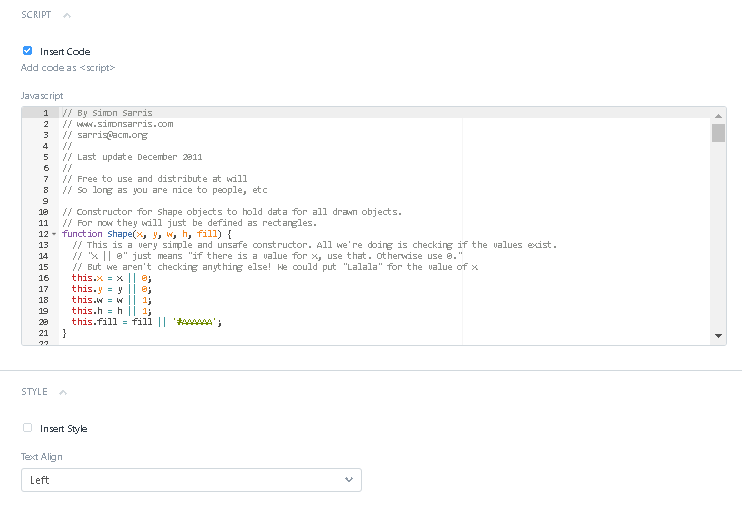
7. After filling in the Content section, Insert the code in the Script section, and Insert Style in the Style section.
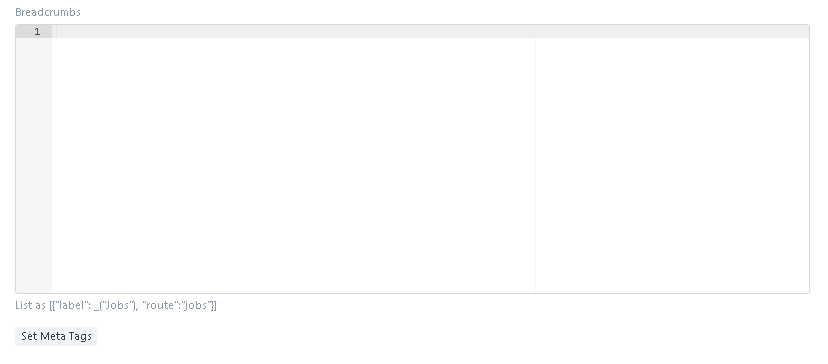
8. After Inserting the Script and Style section, add a Header, Breadcrumbs, and Meta Tags.

9. Click the Save button after you fill in each section.
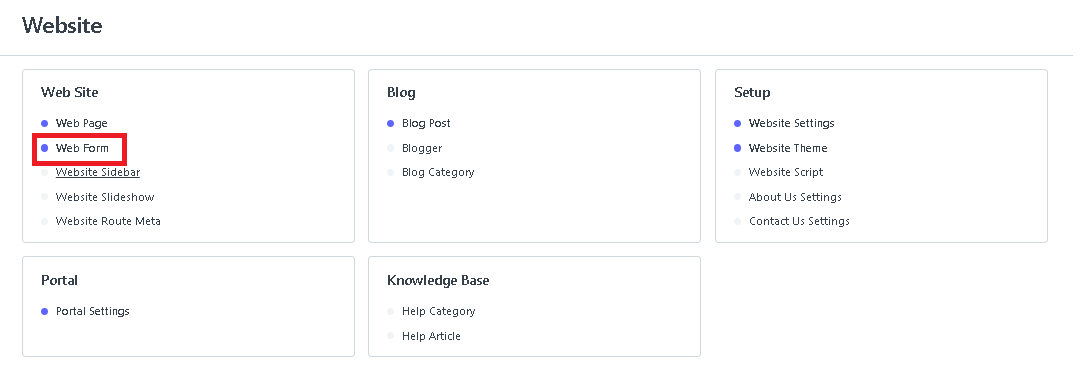
- Click the Web Form and it will redirect you to its page.
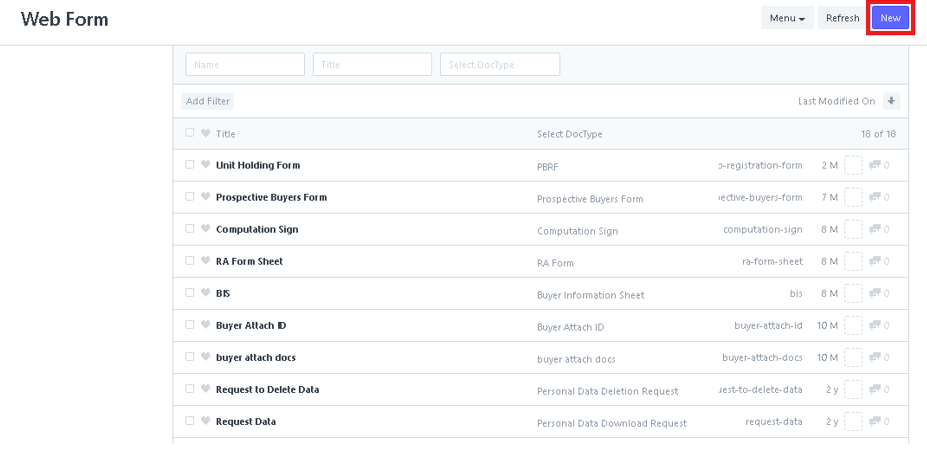
You can see here all the list of the forms
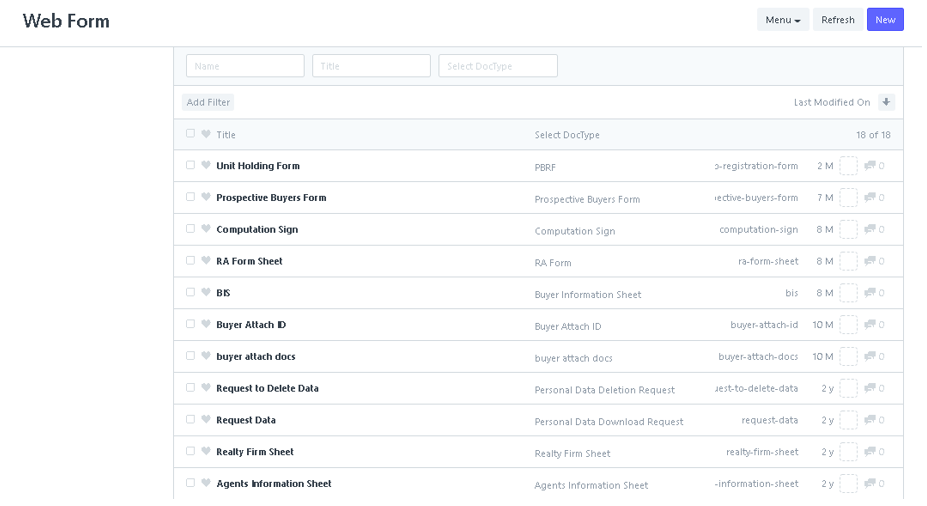
2. Click the New button to create a new Web Form.
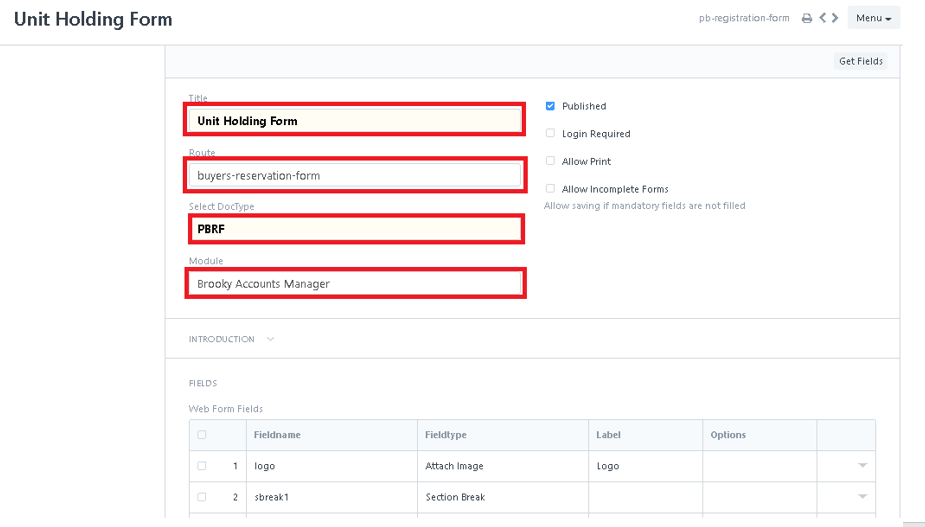
3. After clicking the New button, you can see the form. Fill in the form such as Title, Route, Module, and Select a DocType.
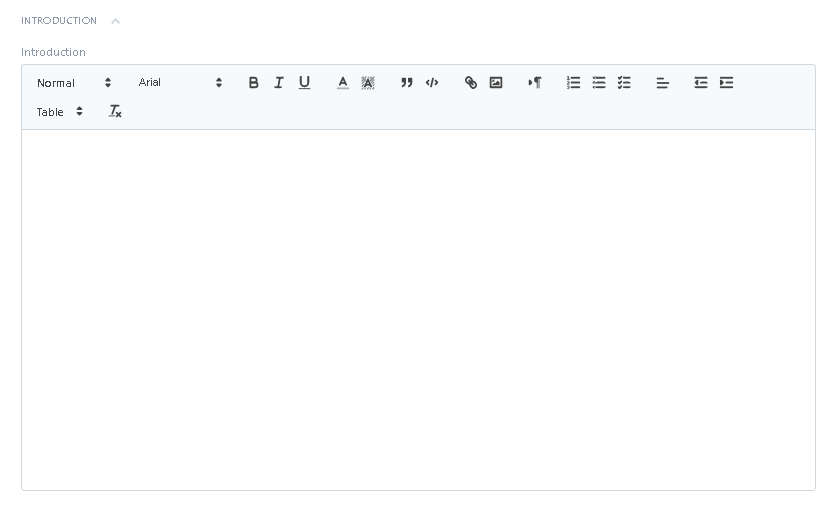
4. In the Introduction, you can edit the format of the text.
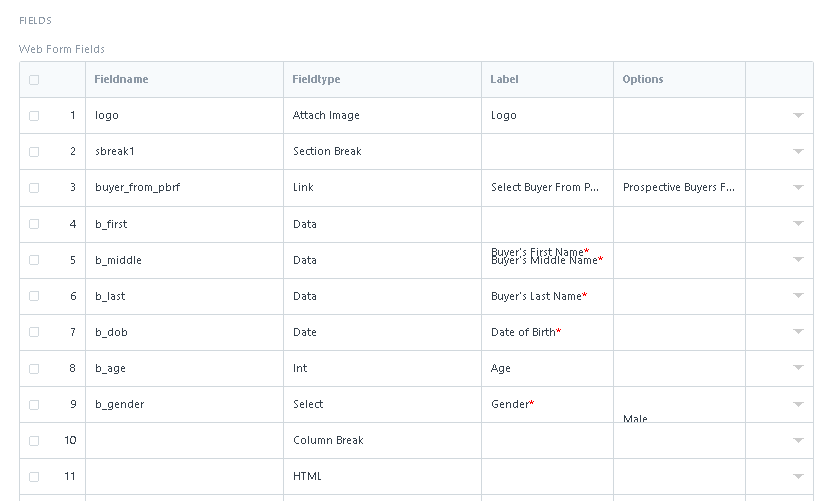
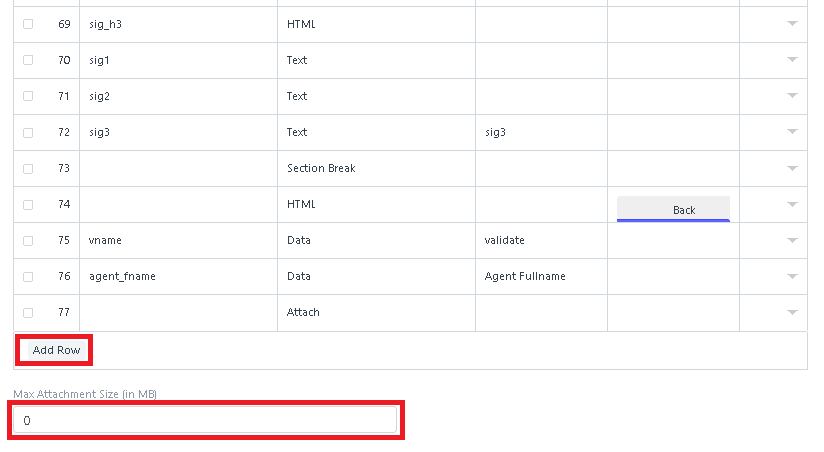
5. In the Fields section, you can see here all the web form fields. You can also add a row in the web form fields and set an attachment size.
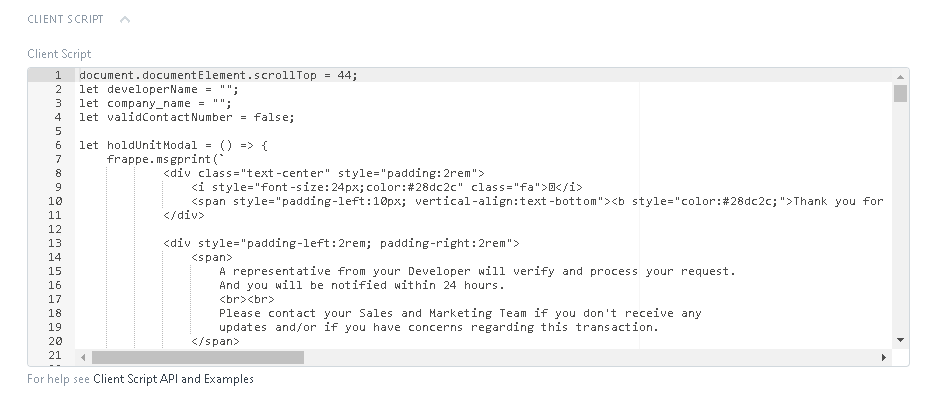
6. In the Client Script section, input the code. As you can see the example of Client Script API below.
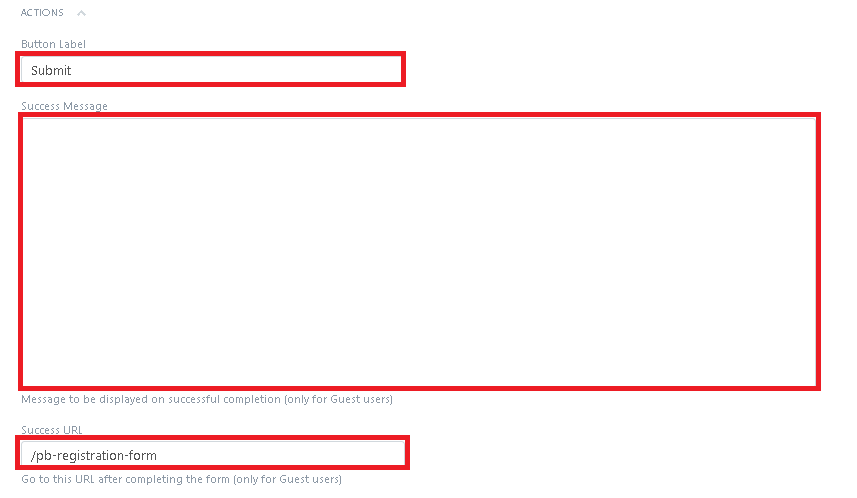
7. In the Actions section, Input a Button Label and fill in the Success Message and Success URL.
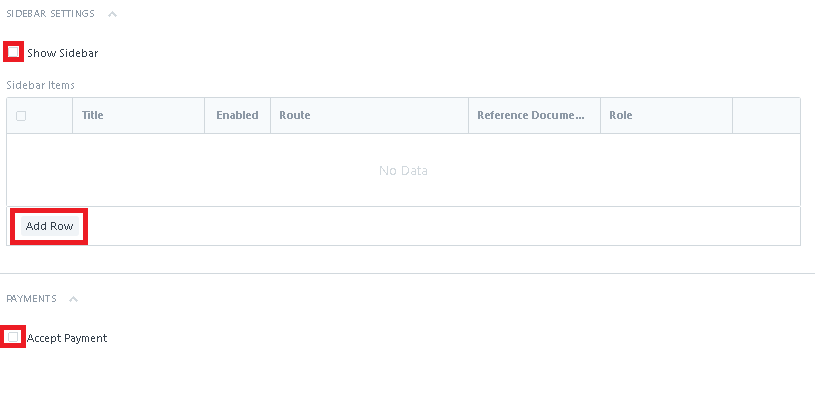
8. In the Sidebar Settings section, you can show the sidebar and add a row in the sidebar items. In the Payments section, just click the check box to accept the Payment.
9. In the Advanced section, fill in the Web Page Link Text and Breadcrumbs.

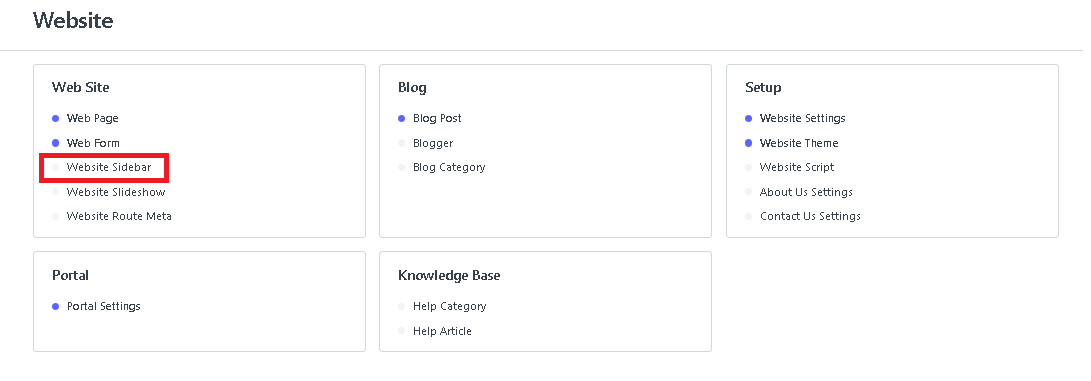
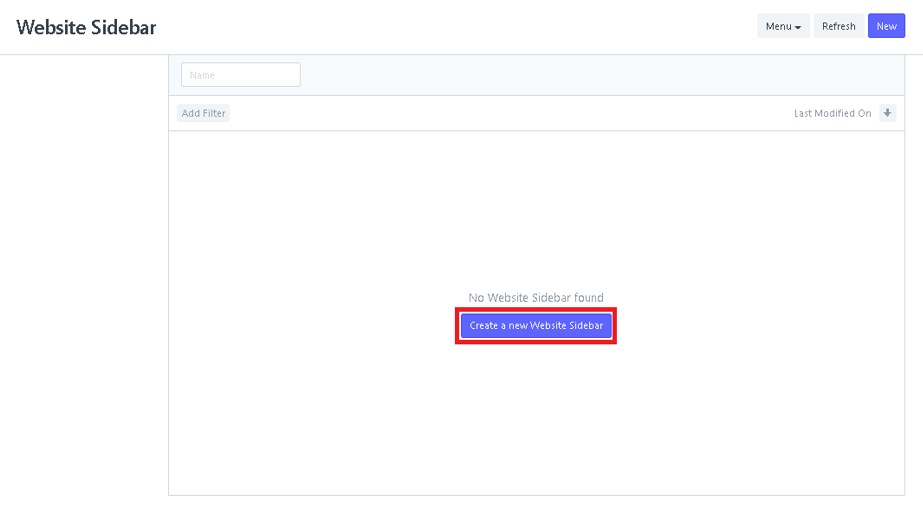
- Click a Website Sidebar.
2. After clicking a Website Sidebar, Click New to create a new Website Sidebar.
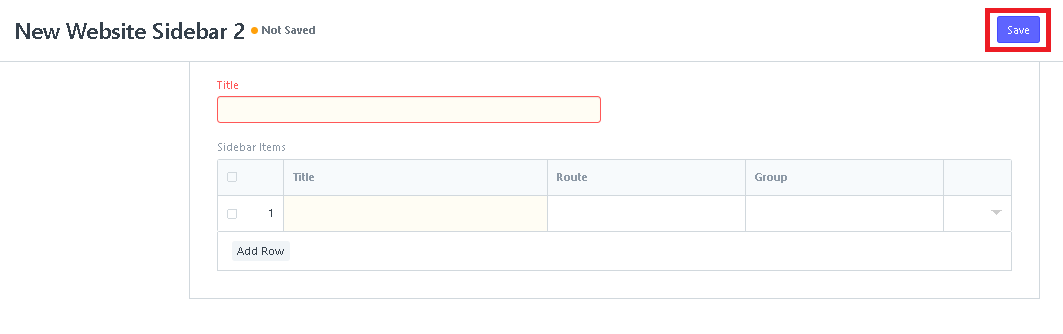
3. Fill in the Title and you can also add a row and fill the Title, Route, and Group.

4. After filling in the Title of the website sidebar, click the Save button to create a new sidebar.
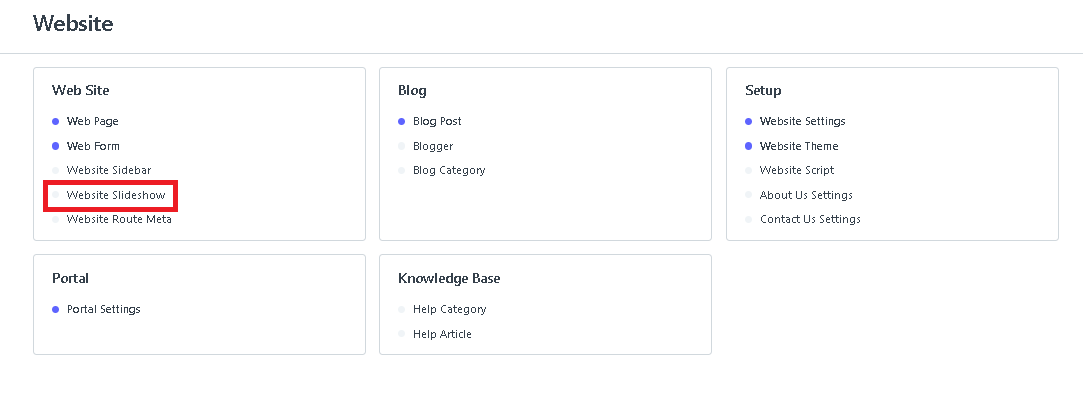
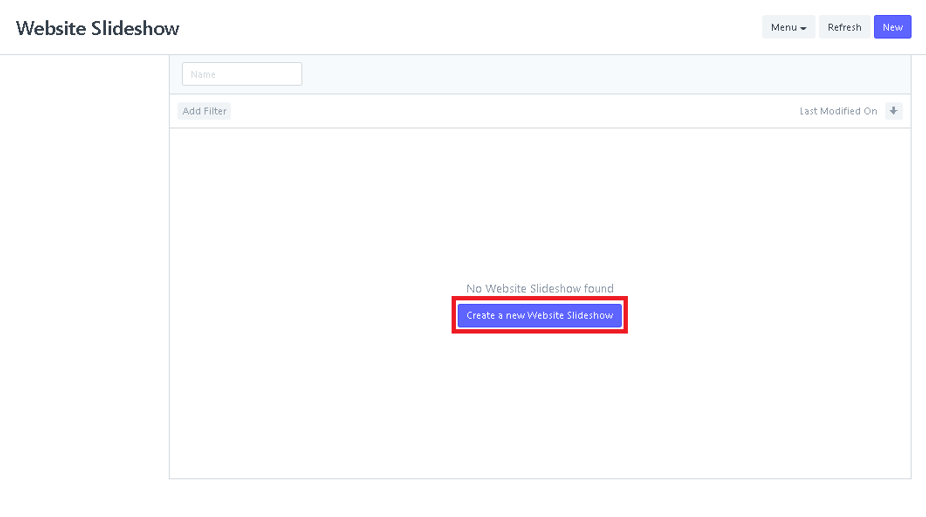
- Click A Slideshow.
2. After clicking a Website Slideshow, Click New to create a new Website Slideshow.
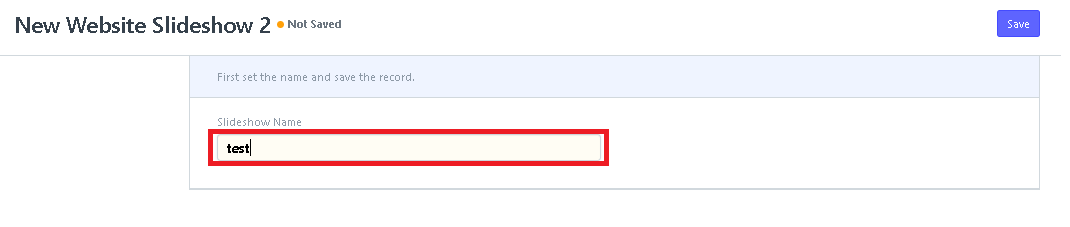
3. Fill in the Slideshow Name and Click Save to create a new slideshow.

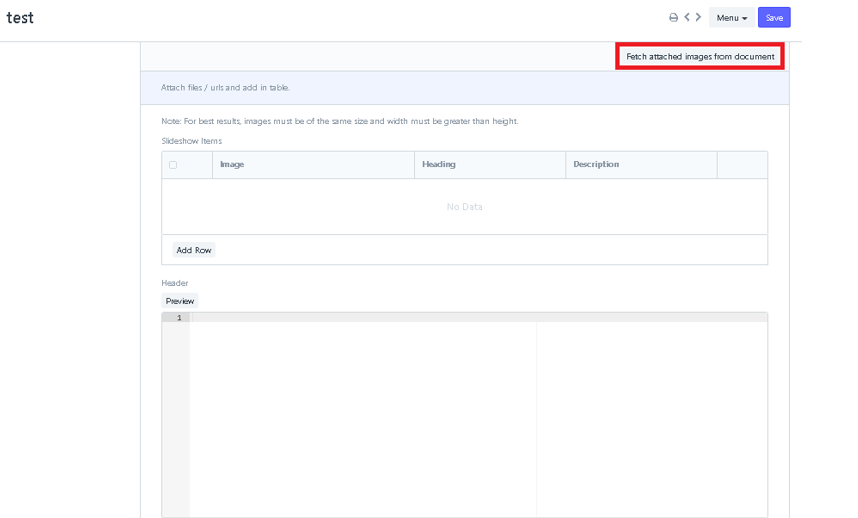
4. After clicking the Save button, click the Fetch attached images from document.
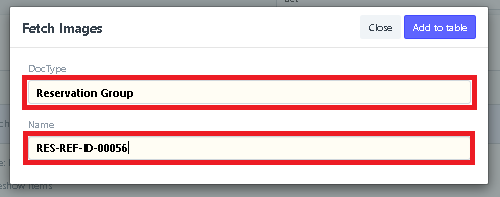
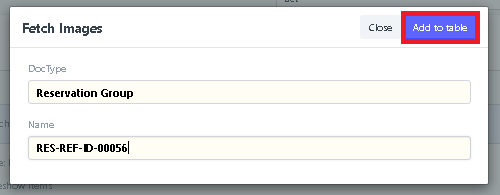
5. After clicking the Fetch attached images from document, select what DocType and Name of the fetch images and click Add to table.
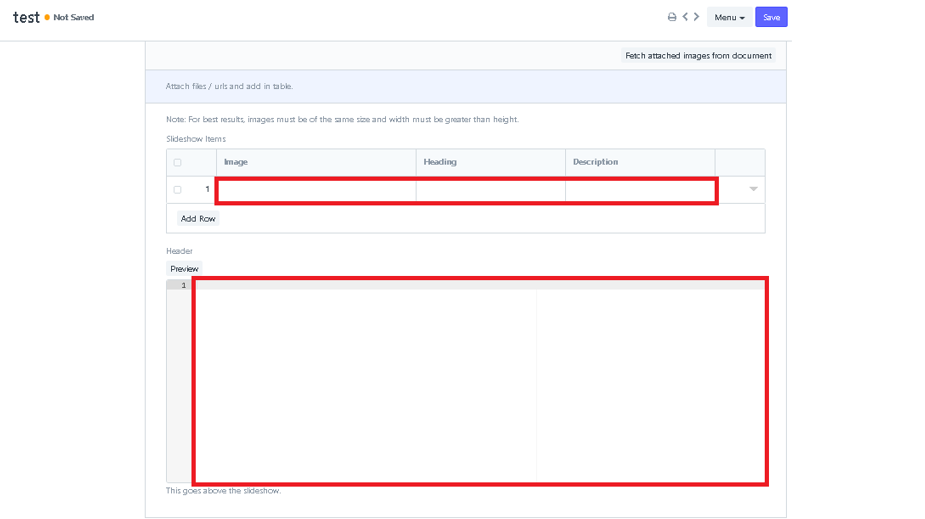
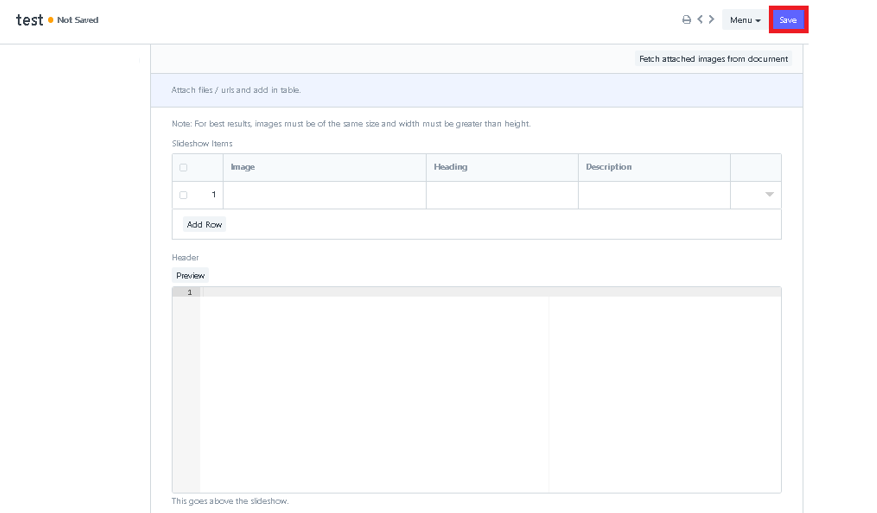
6. After clicking Add to table in Fetch images, input an Image, Heading, and Description in slideshow items. And Input a Header on the slideshow and click Save.
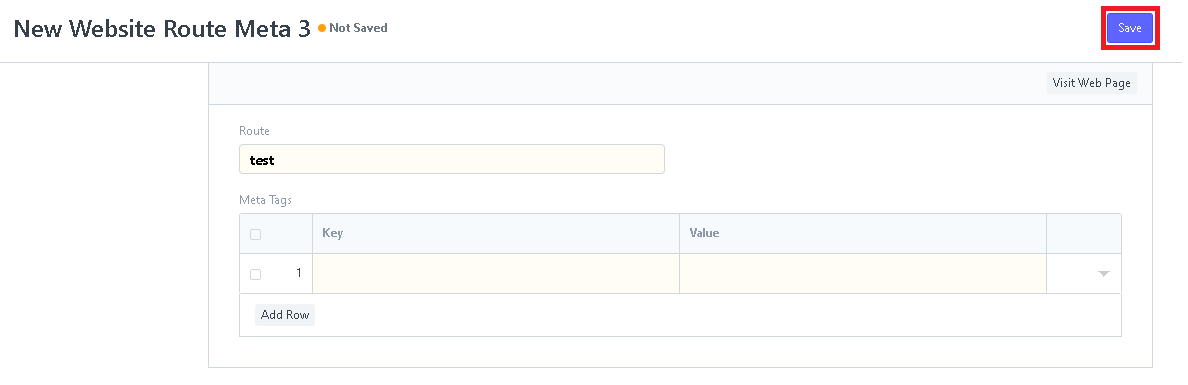
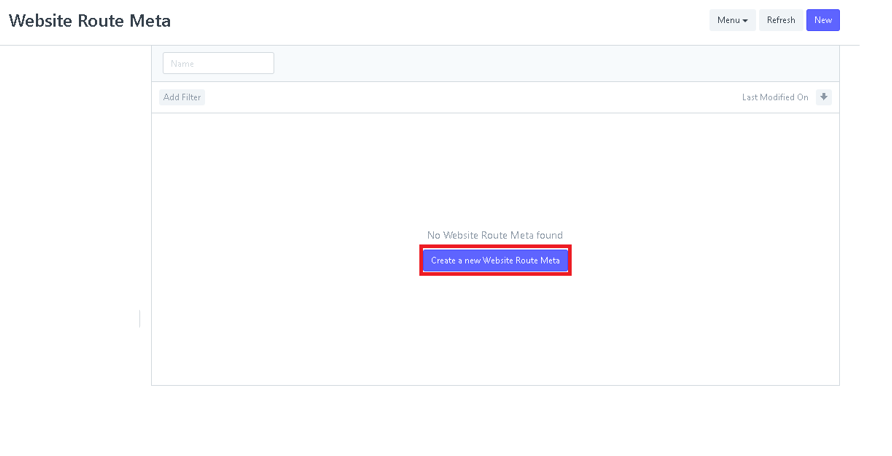
- Click a Website Route Meta.
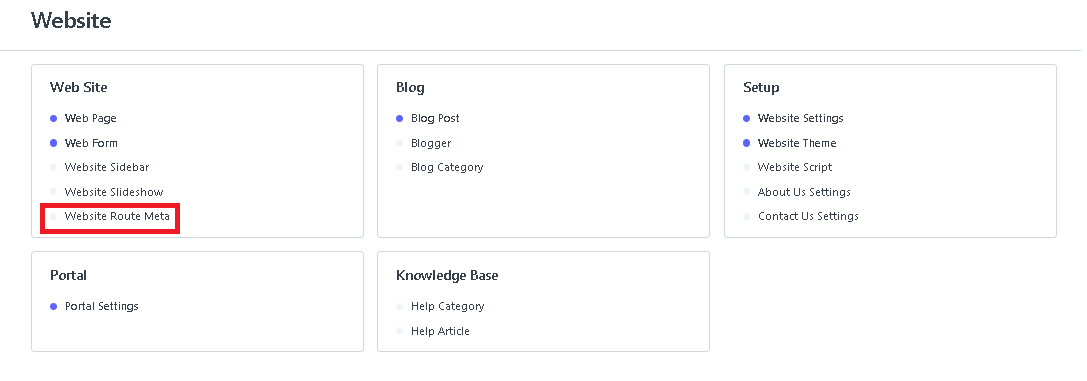
2. After clicking a Website Route Meta, Click New to create a new Website Route Meta.
3. In creating a new Route Meta, just fill in the Route. And also fill in the Key, Value in Meta Tags.
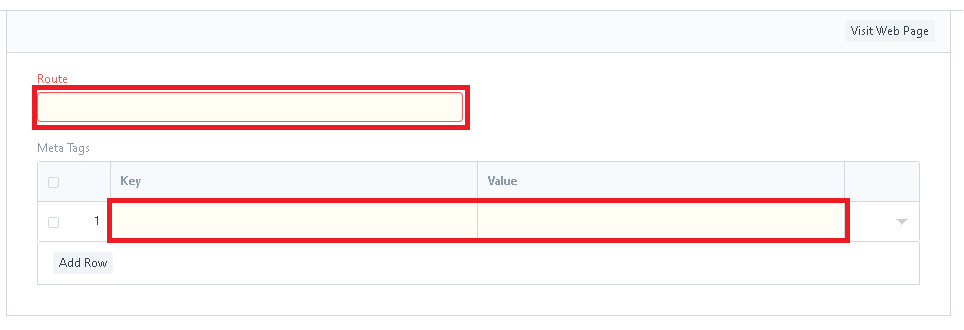
4. After filling in the Route name and Meta Tags, click Save.